Overview
Welcome to Zuper’s new Gallery Album feature! Albums are automatically created as defaults for new jobs; however, you can customize them to fit your scenario.Whether you’re capturing site inspections or progress updates, Gallery Albums keep everything structured and accessible. This article covers setup, daily use, sharing, and management—let’s get started!
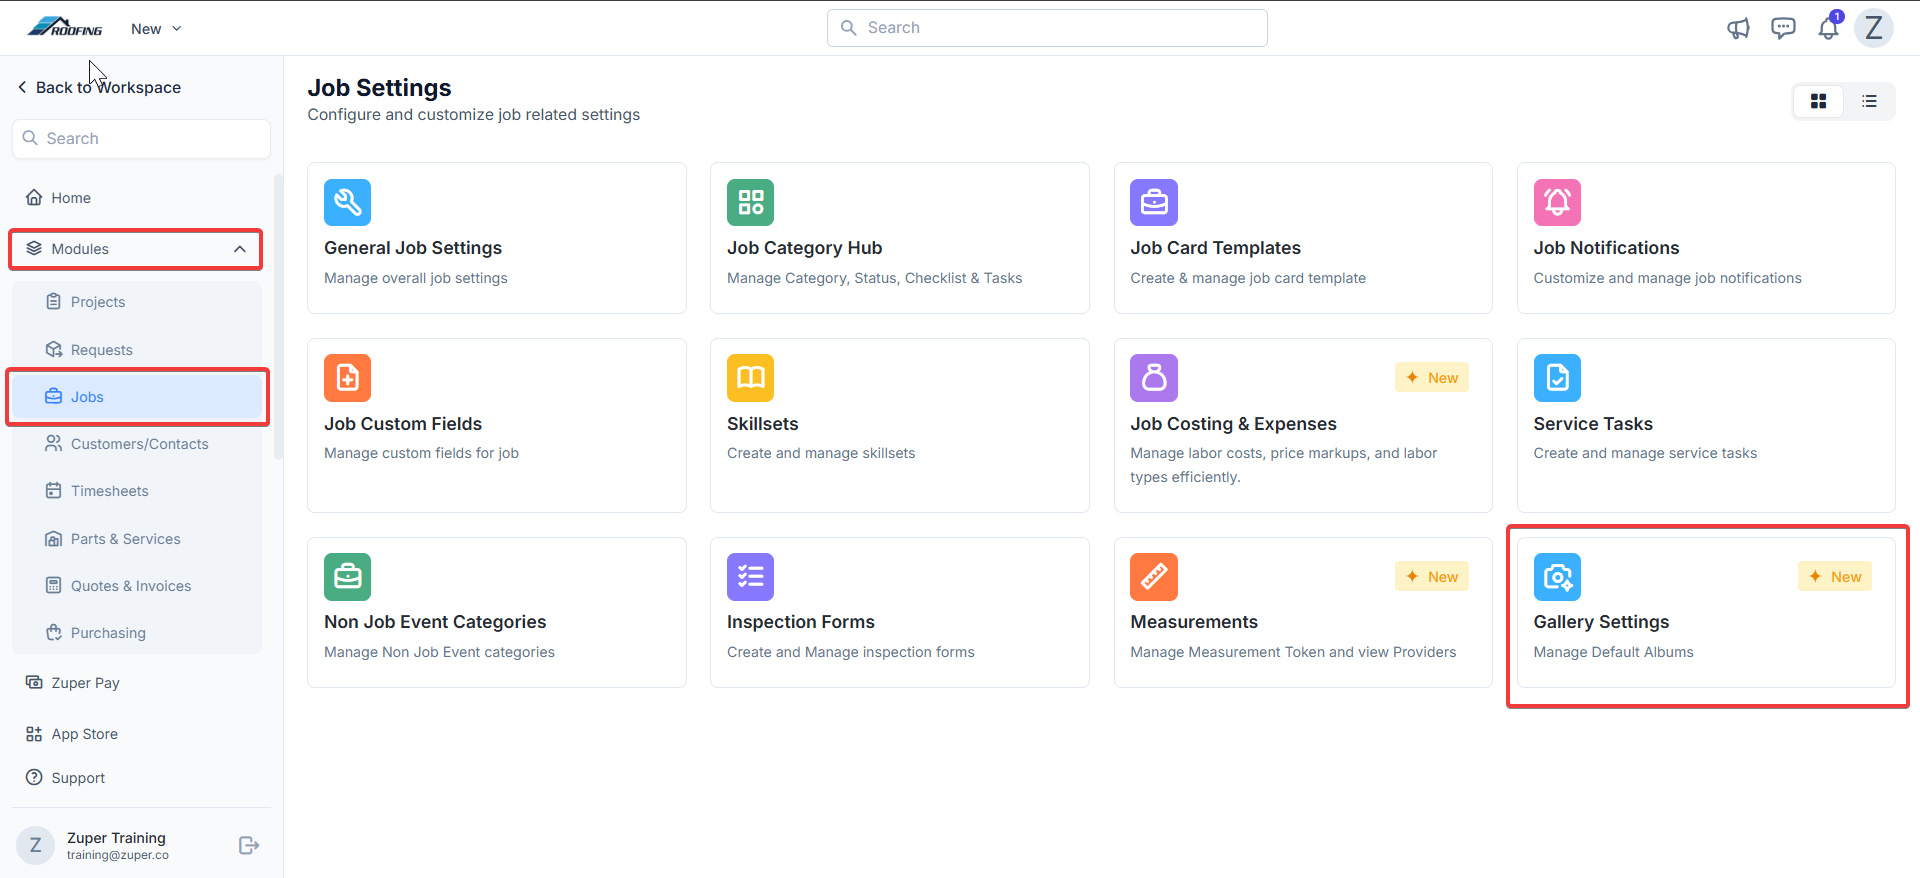
Navigation: Settings —> Modules —> Jobs —> Gallery Settings
Setting up default albums for jobs
To ensure consistency across all jobs, configure default albums in your workspace settings. These will auto-populate when you create a new job.Steps to manage default albums:
- From the left navigation menu, Select Settings and under Modules > Job Settings > Gallery Settings.
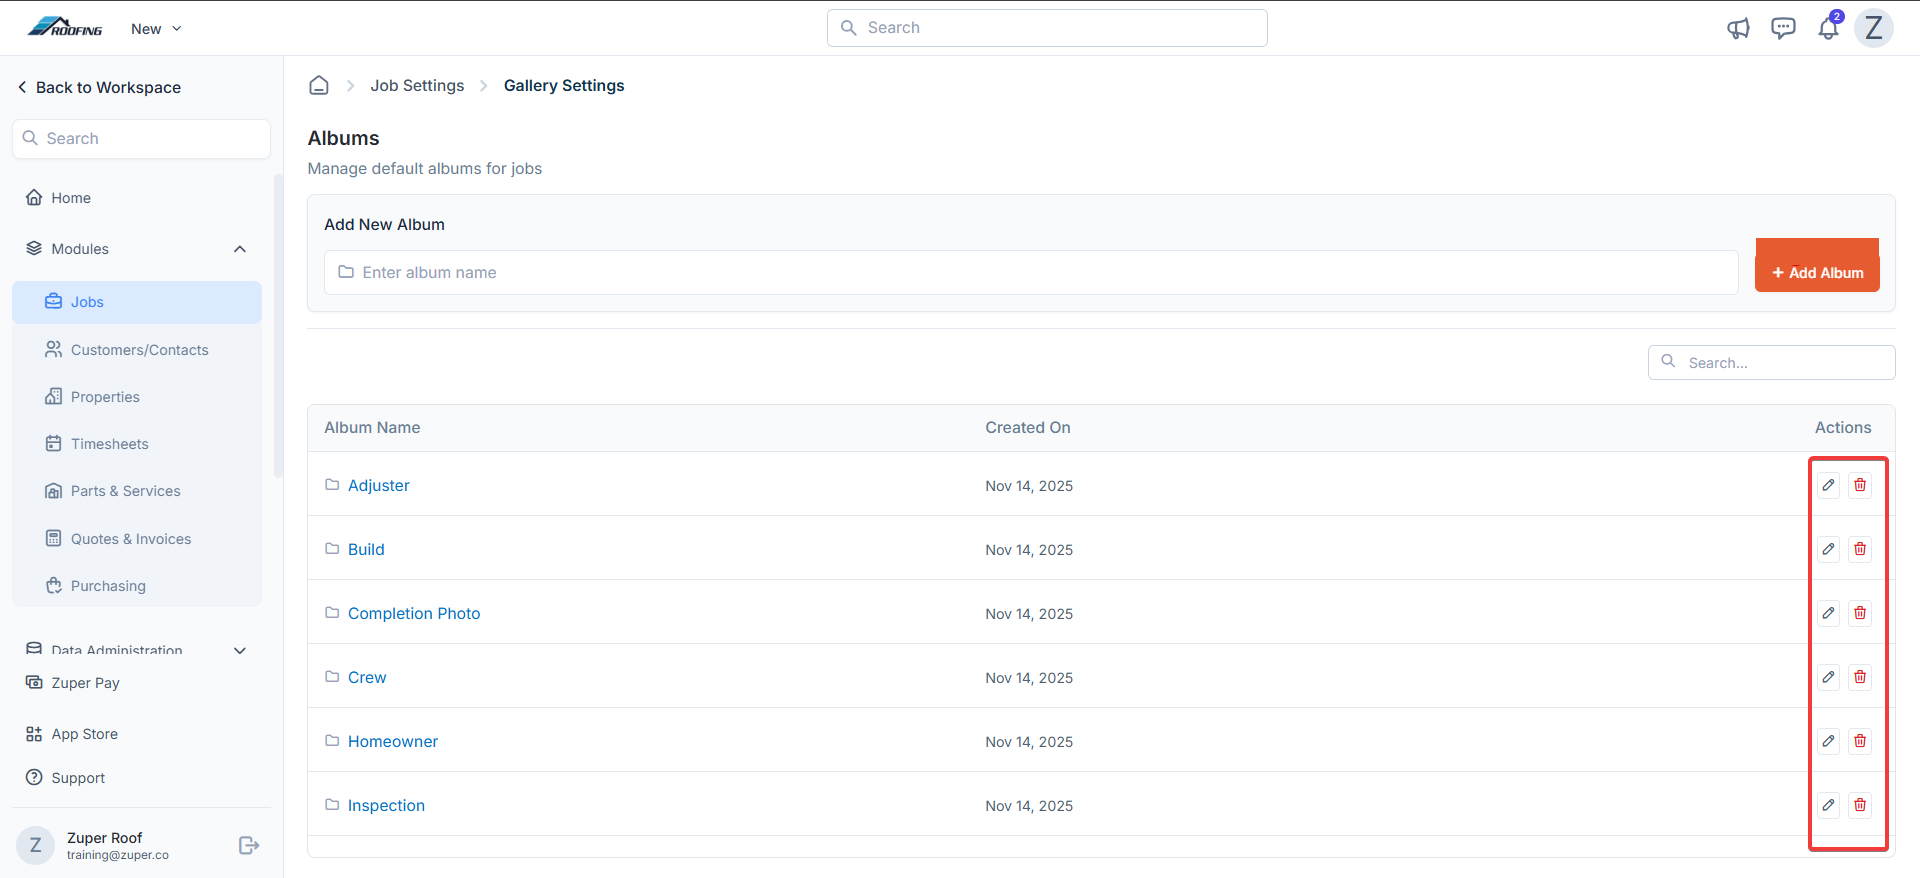
- Click ”+ Add Album” to add the new album.

- In the Albums section, you will see a list of pre-built default albums:
- Adjuster
- Build
- Completion Photo
- Crew
- Homeowner
- Inspection
Note: For the Roofing industry, default albums are available, and new albums can also be created. For other industries, you need to create new albums.
- Edit or delete existing albums using the icons next to each one (pencil for editing, trash for delete).
Note: Deleting a default album removes it from new jobs but won’t affect existing ones.
Working with albums in a job
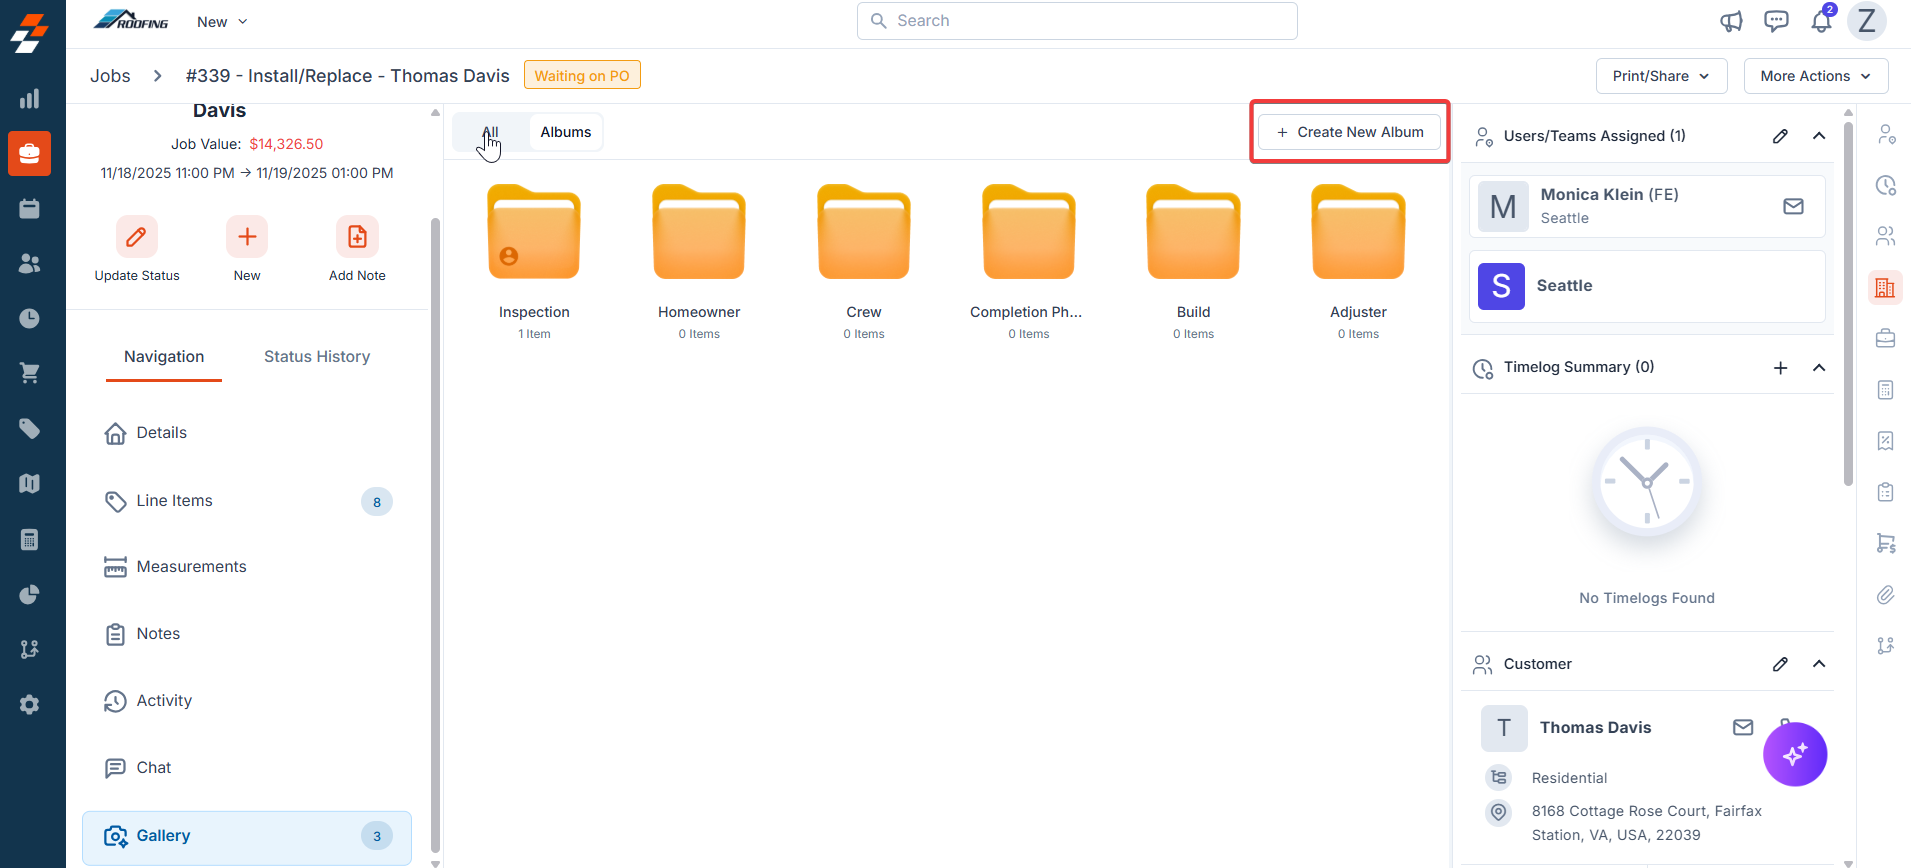
Navigation: Jobs —> Job —> Gallery —> Albums Once a job is created, albums appear in the Gallery tab for easy photo management.Accessing Albums in a Job:
- Open the job from the Jobs list.
- Click the Gallery icon in the left navigation.
- You’ll see your default albums as folders after clicking the “Albums” tab.
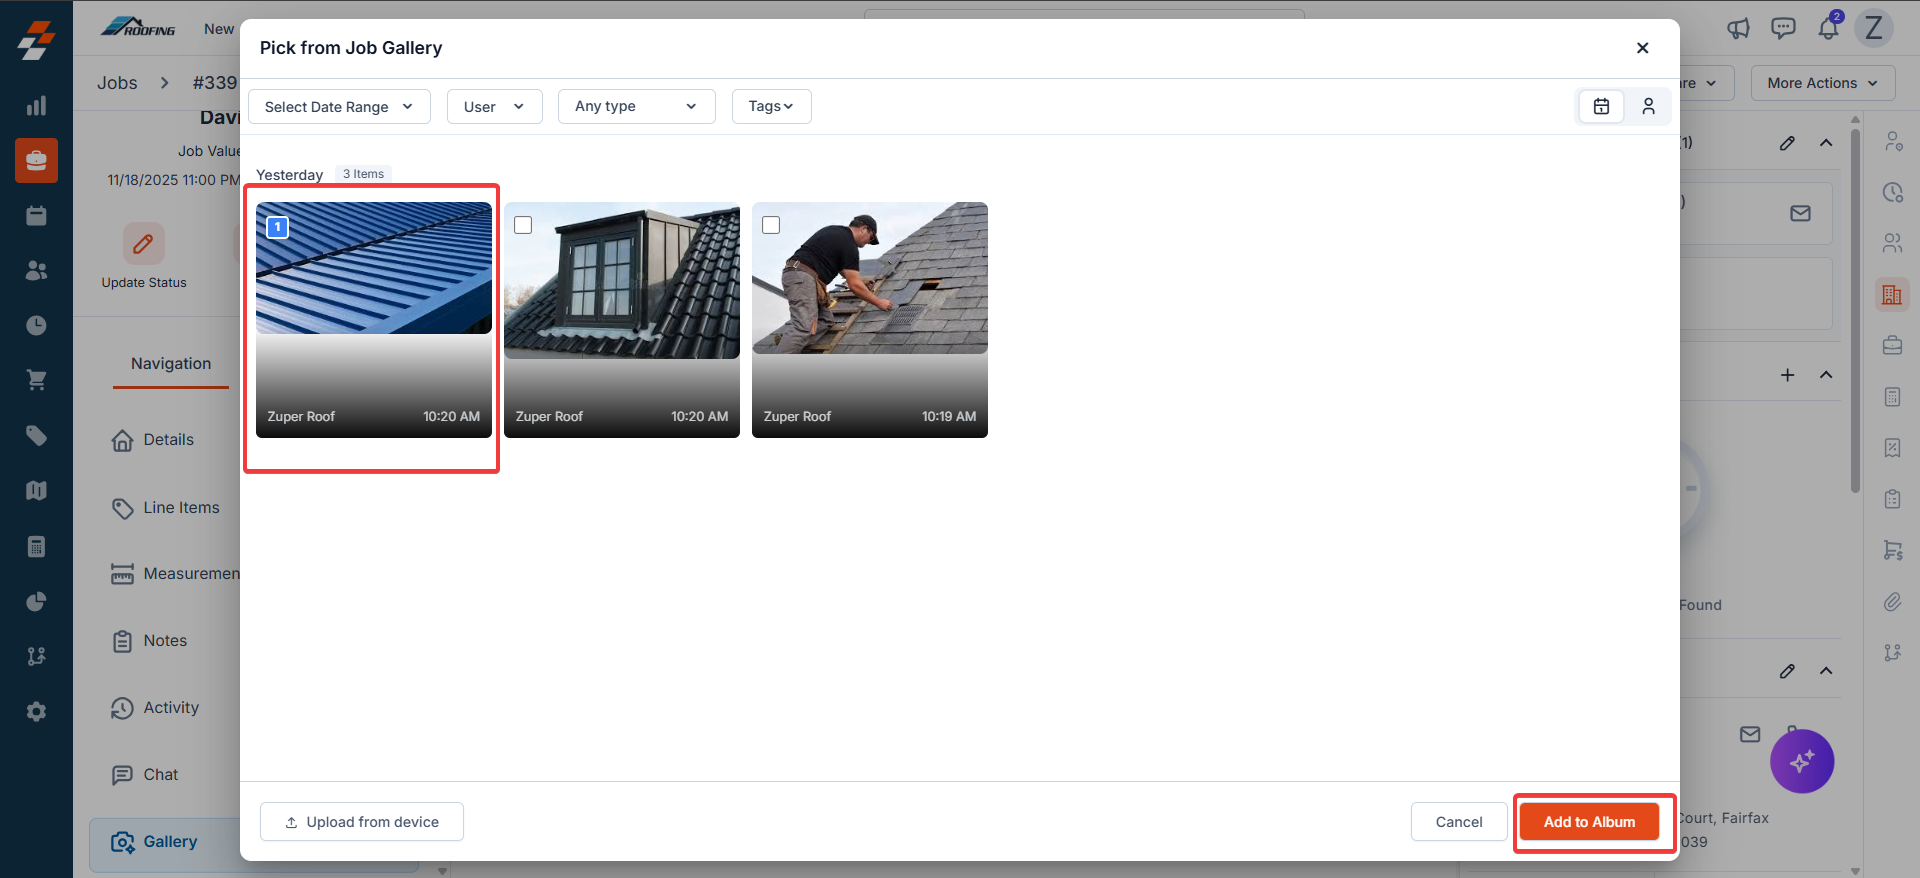
- Select an album before uploading and add images from the Job gallery / from the device. Click “Add to Album” to confirm.
Managing individual albums
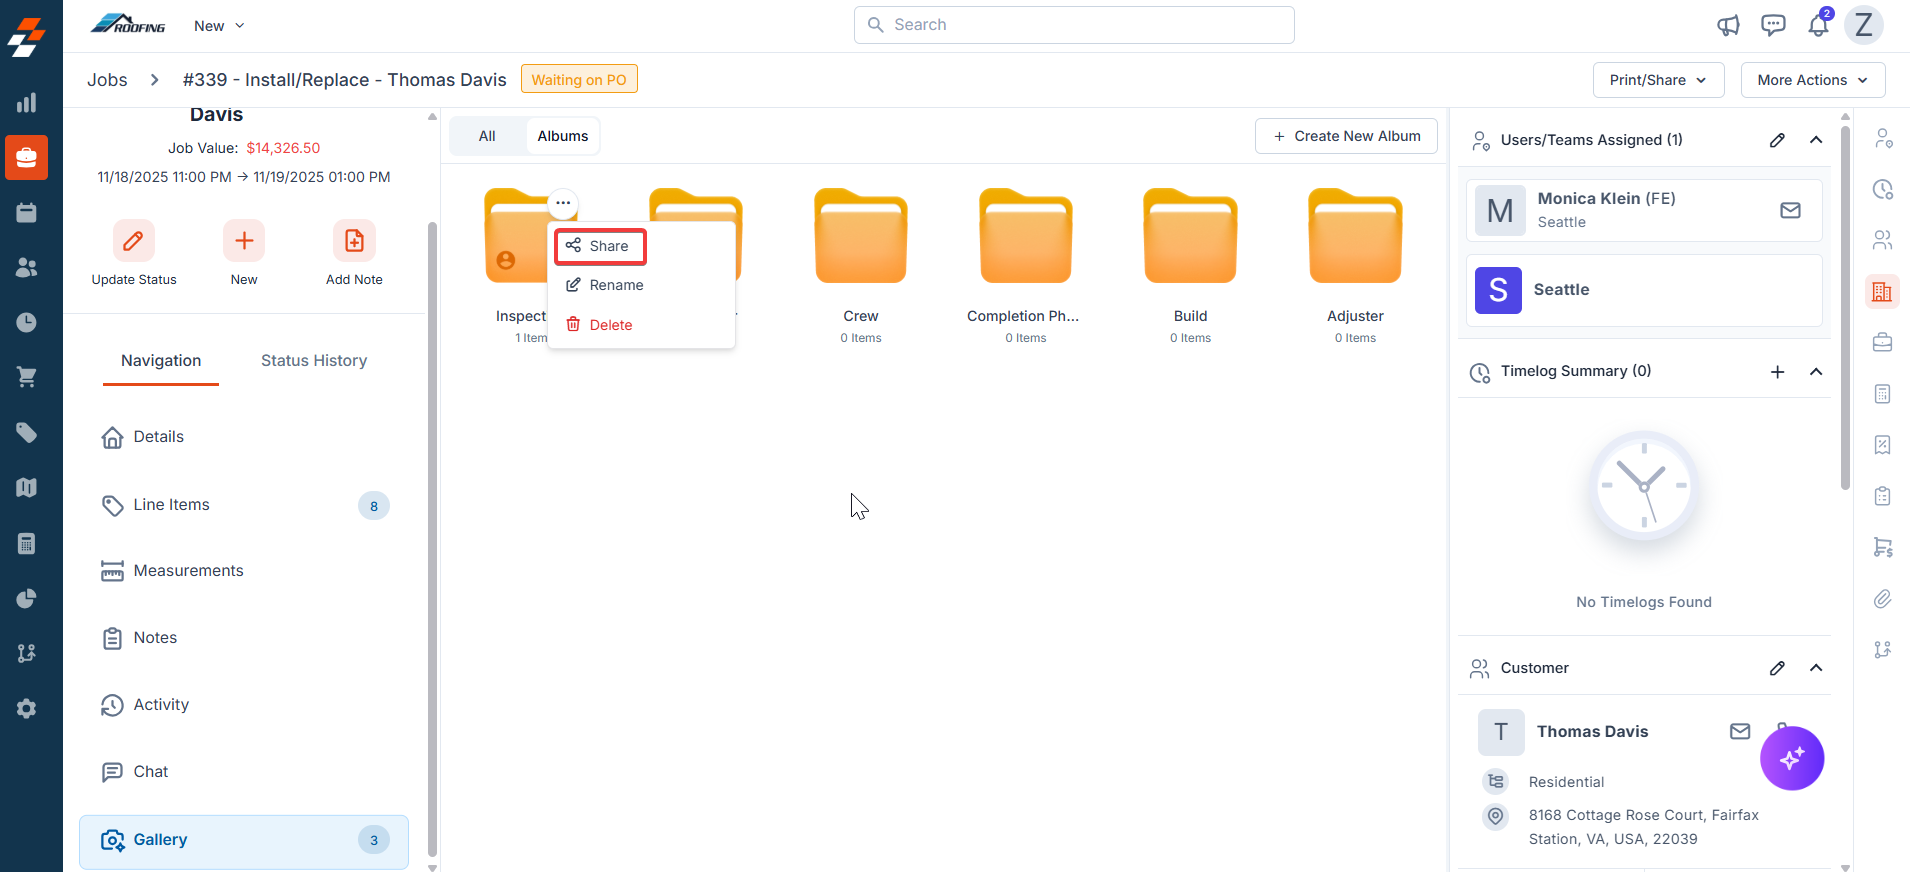
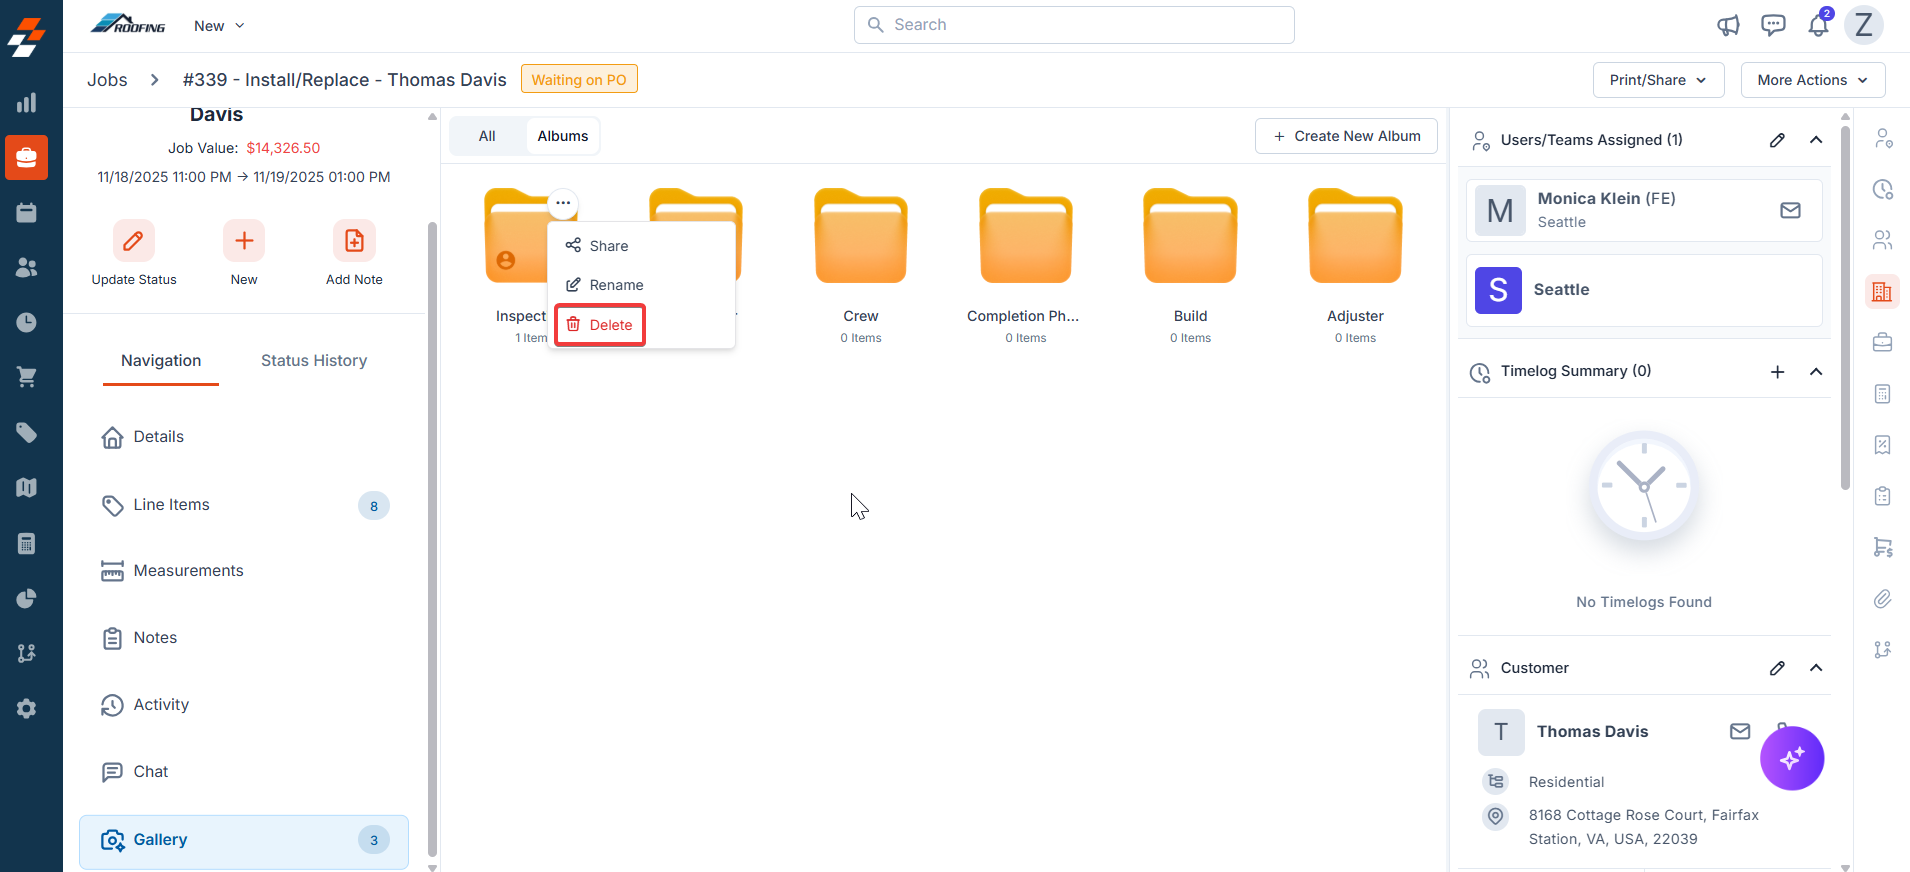
Customize albums per job without affecting defaults. Right-click (or use the three-dot menu) on an album folder for options.Sharing albums securely
Share albums via email (or text for Zuper Connect users) to keep stakeholders updated without overwhelming them with attachments. Shared links offer view-only access with customizable expiration dates. After sharing, track and manage active shares directly in the Gallery. Steps to share an album:- In the job’s Gallery, right-click the album > Share.
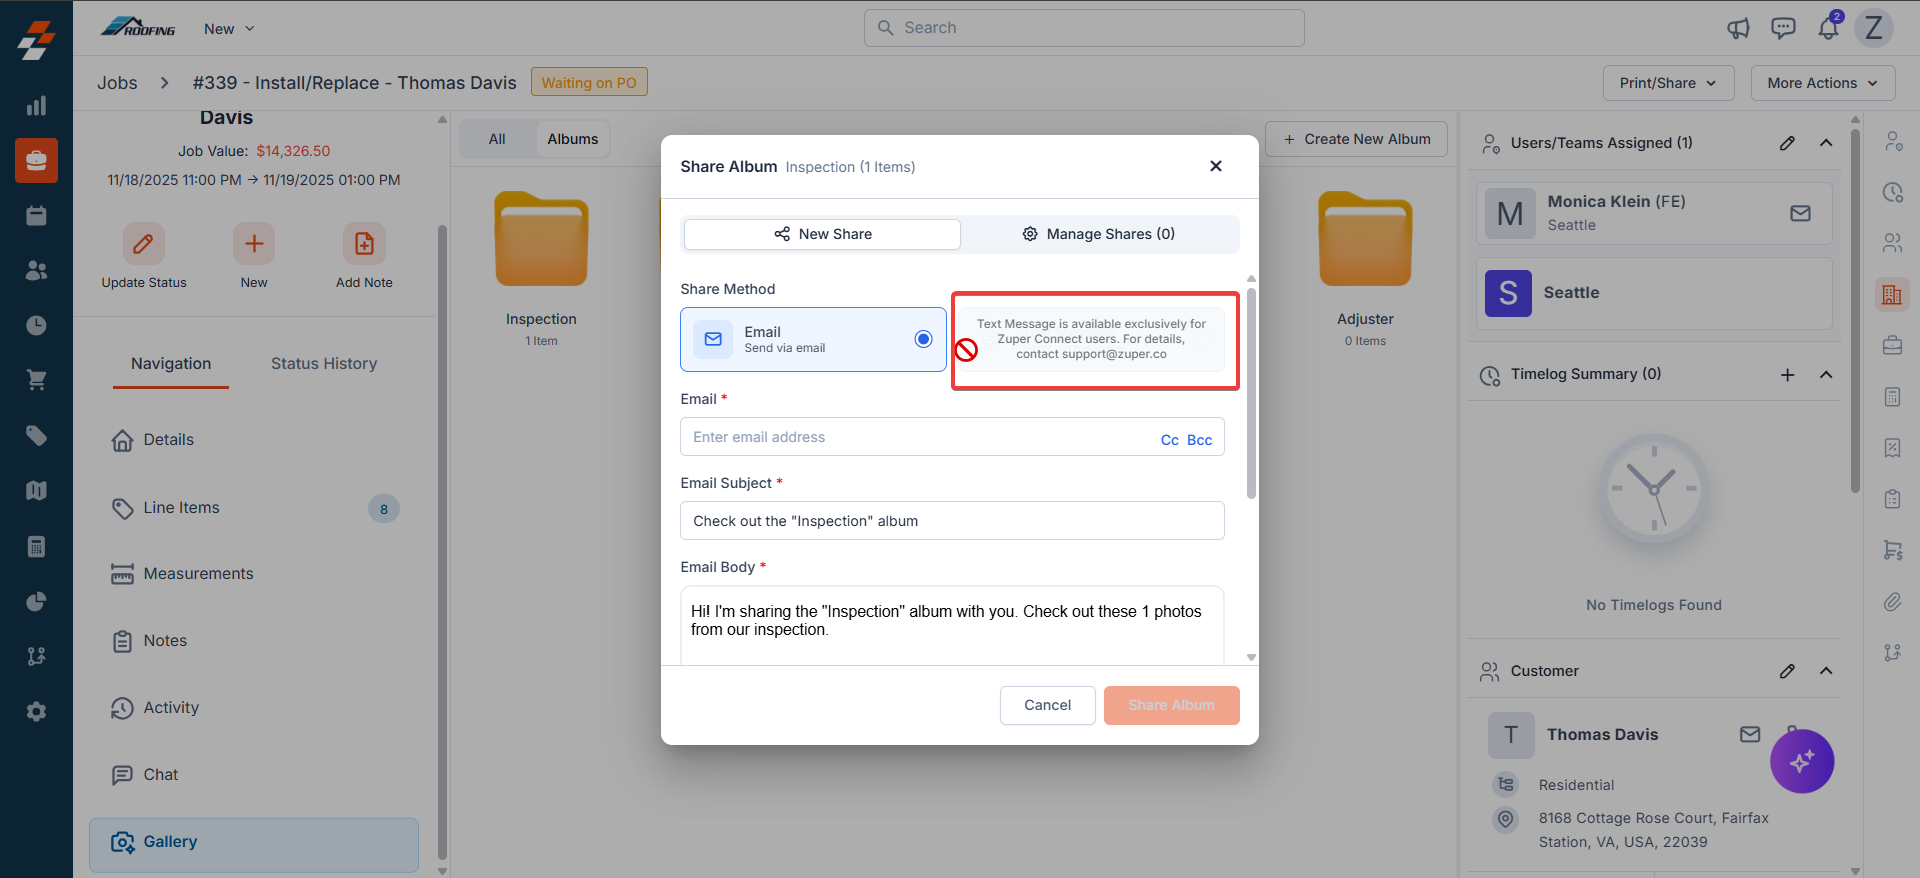
- In the Share Album dialog box:
- Select Method: Choose Email (default) or Text Message (Zuper Connect exclusive).
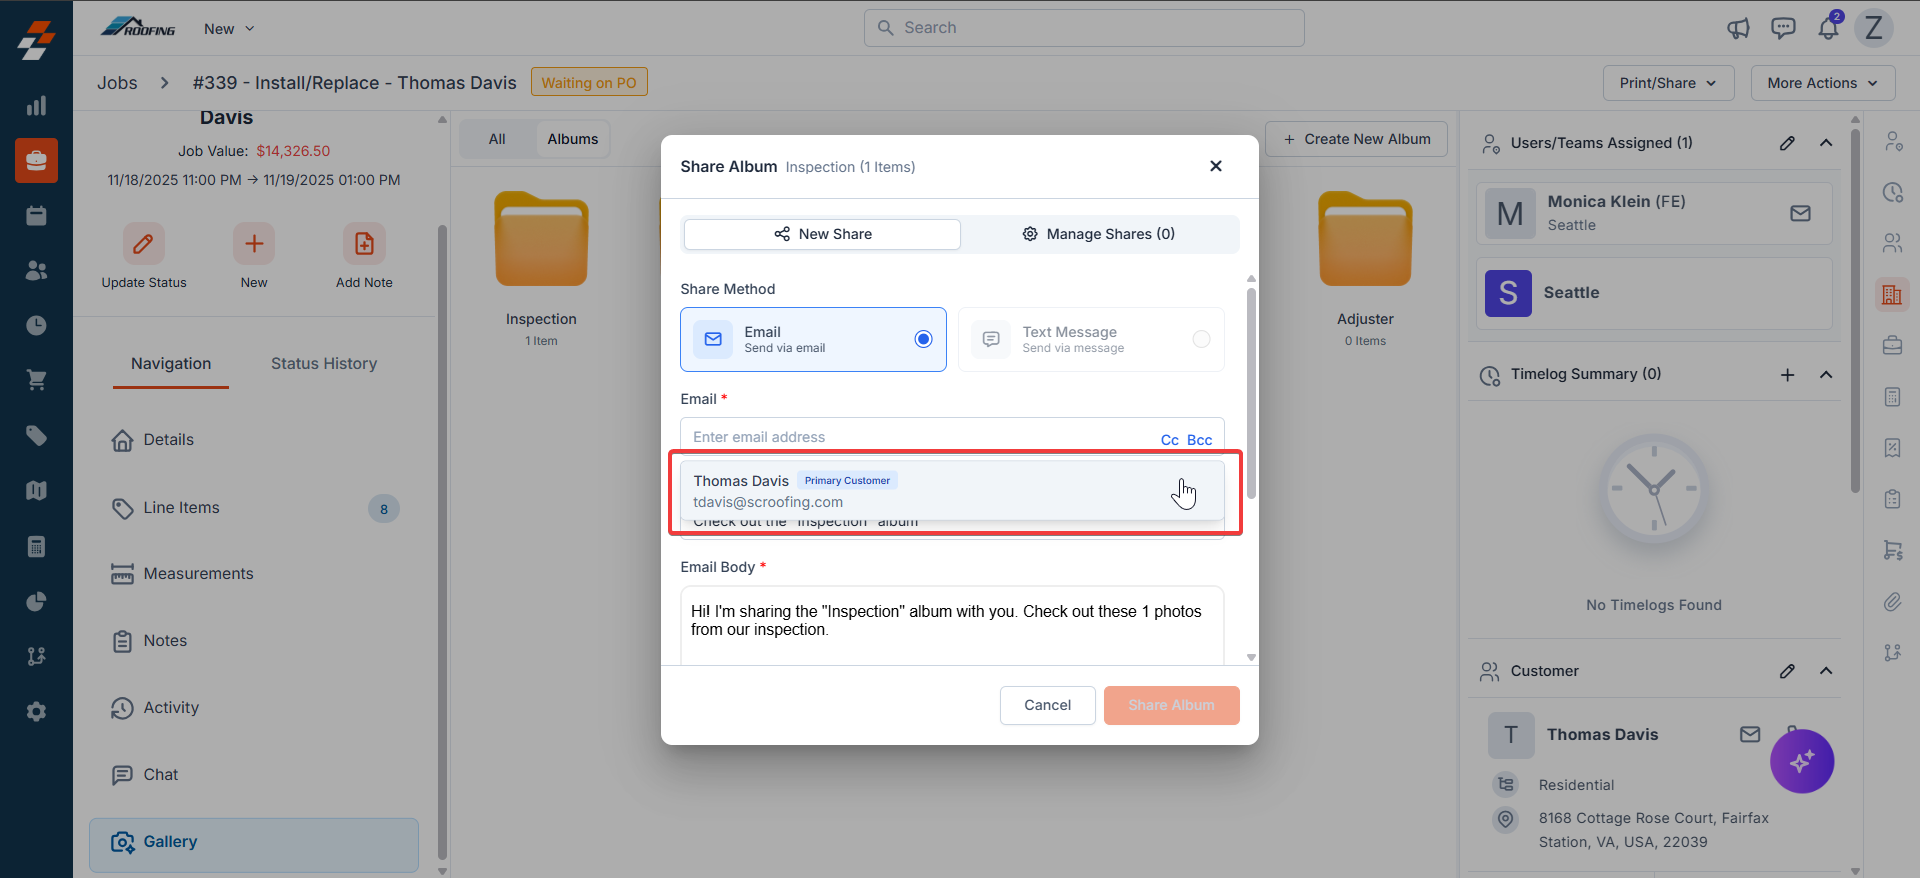
- Enter Details:
- Email Address: Add recipient(s). The customer’s email ID will be shown for easy selection/typing of any email address if it is not the primary email contact.
- Subject: Enter the subject of the Album.
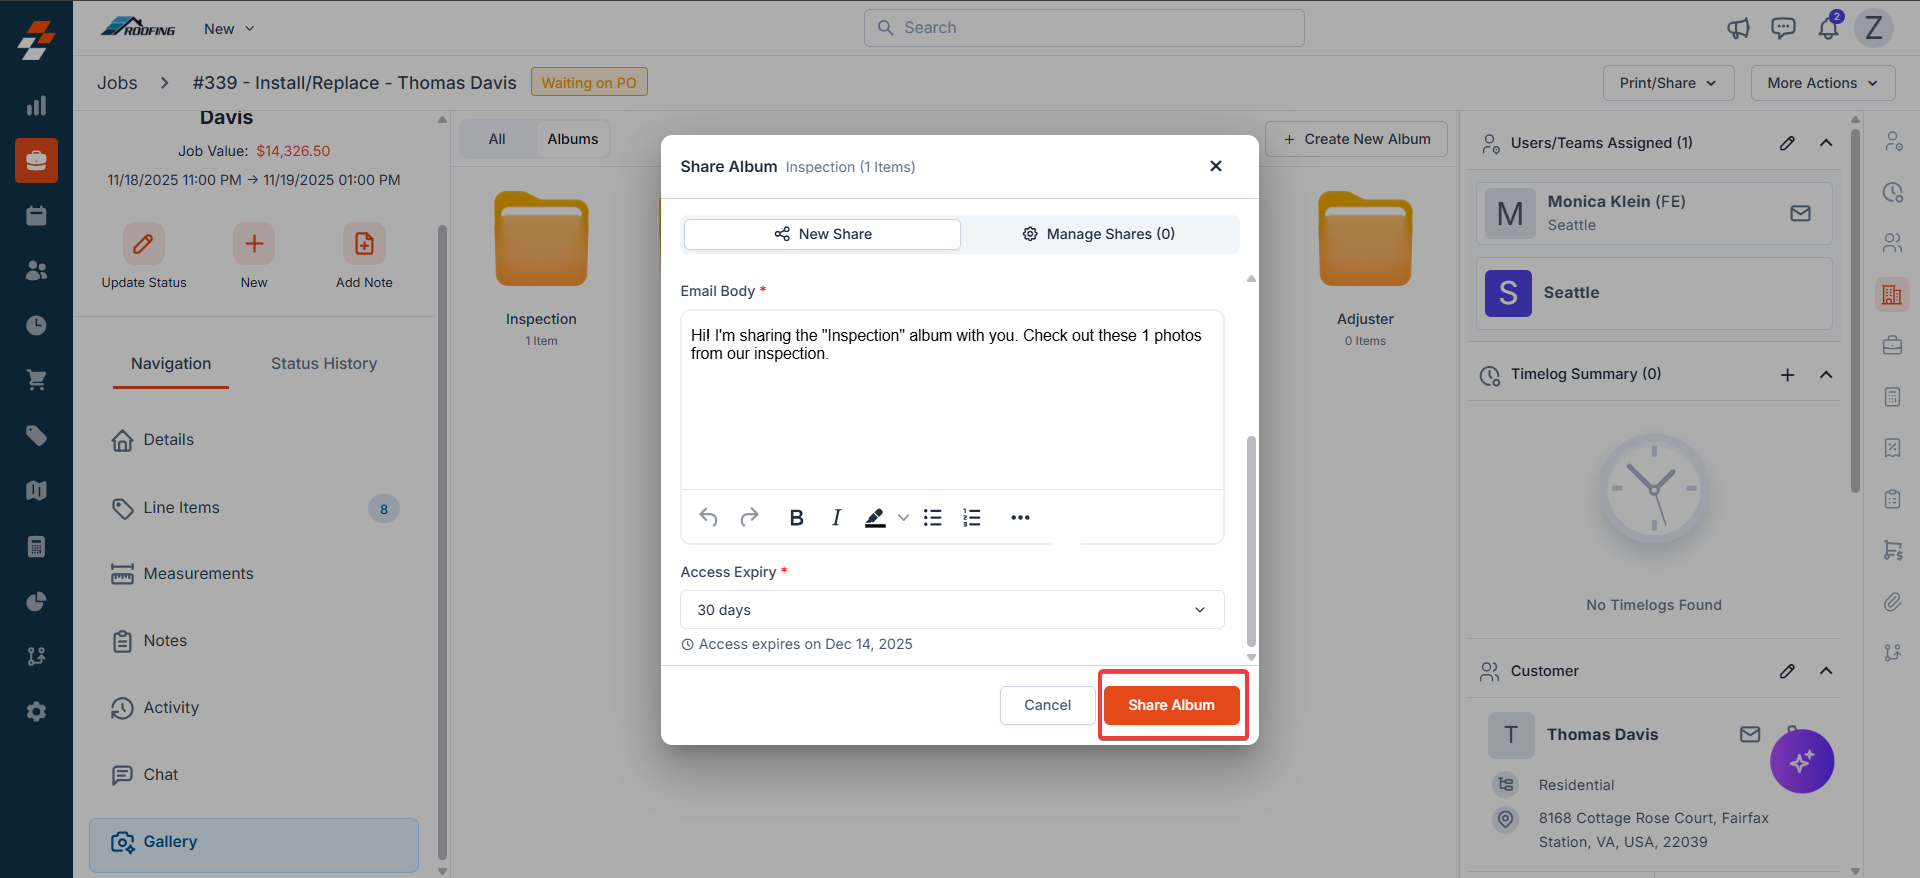
- Email Body: Customize the message.
- 7 Days
- 30 Days
- 90 Days
- Never Expires
- Custom Date Recipients get a notification on the expiry date.

- Click Share Album to send.
- You will see a message: “Album shared successfully.”
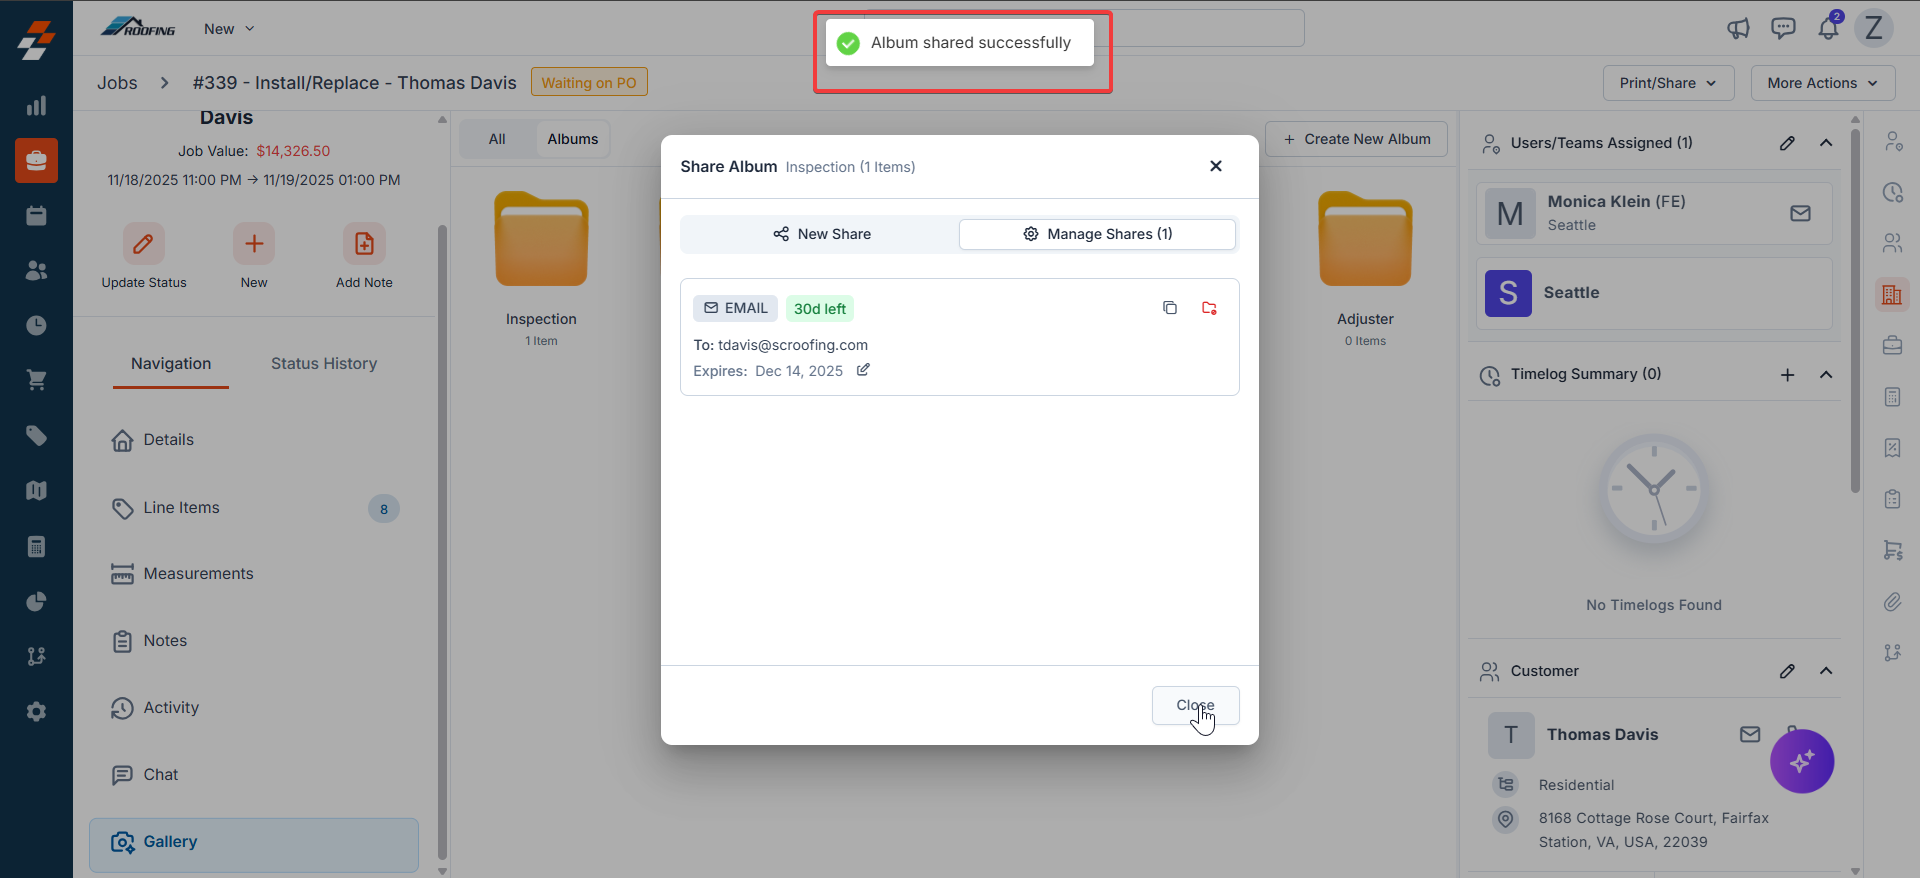
Managing Shares:
After sharing, click Manage Shares in the Gallery. You can copy the link or revoke the access.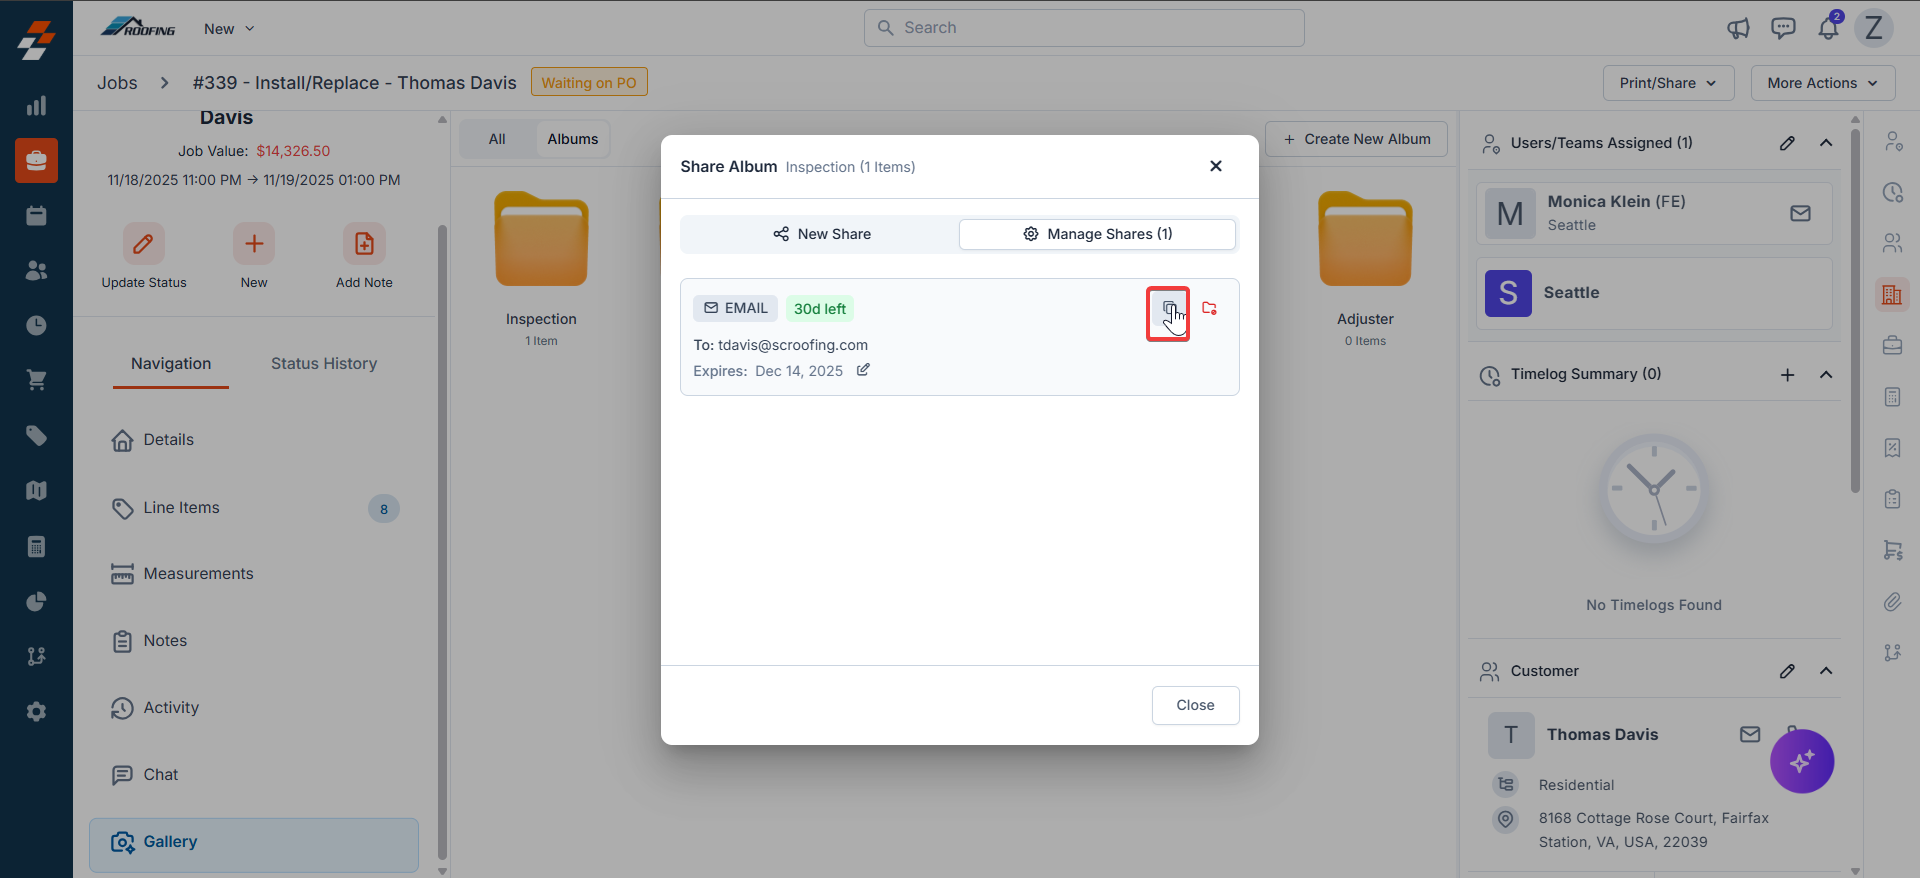

Text message sharing (Zuper Connect only):
- Select Text Message instead of Email.
- Enter phone number(s) and a brief message.
- Note: For details on Zuper Connect setup, contact support@zuper.co.
| Sharing Option | Availability | Key Features |
|---|---|---|
| All Users | Custom body, CC/BCC, expiry options; track via Manage Shares | |
| Text Message* | Zuper Connect | Quick SMS links, phone-based; exclusive to Connect users |
Note: Text message sharing requires Zuper Connect. To learn more about how to set it up, see Zuper Connect overview. Contact Zuper Support if you need help getting started.
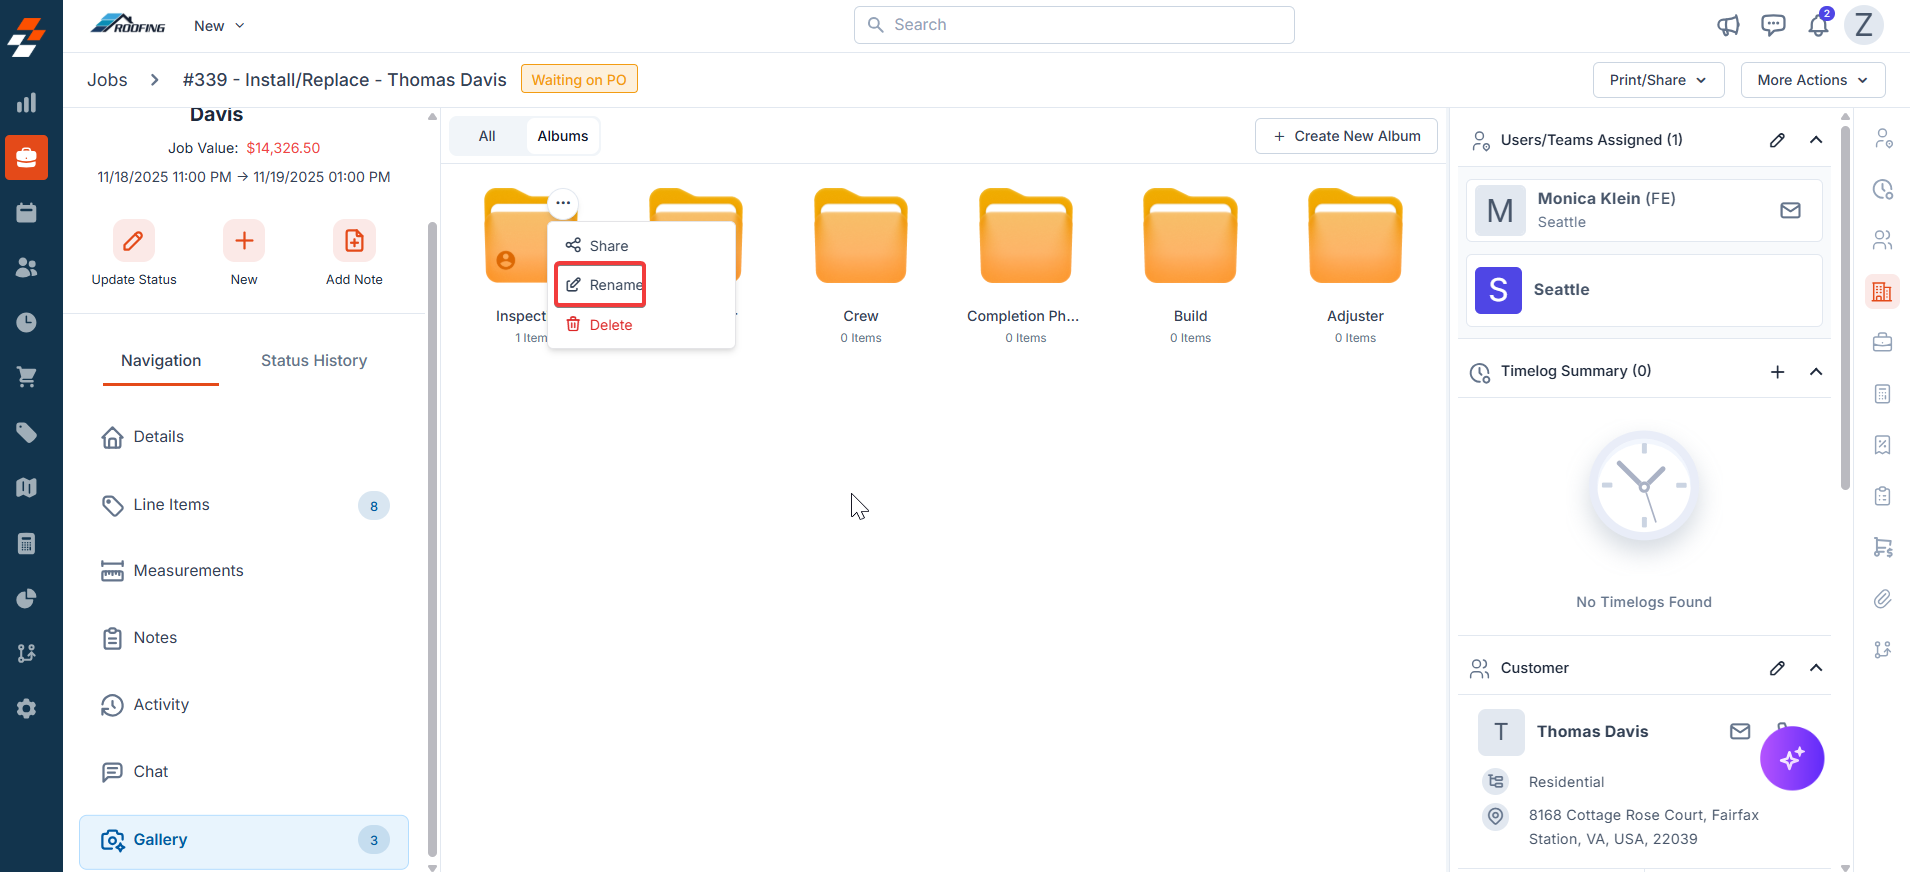
Renaming an album:
- Right-click the album (e.g., “Inspection”) > Rename.
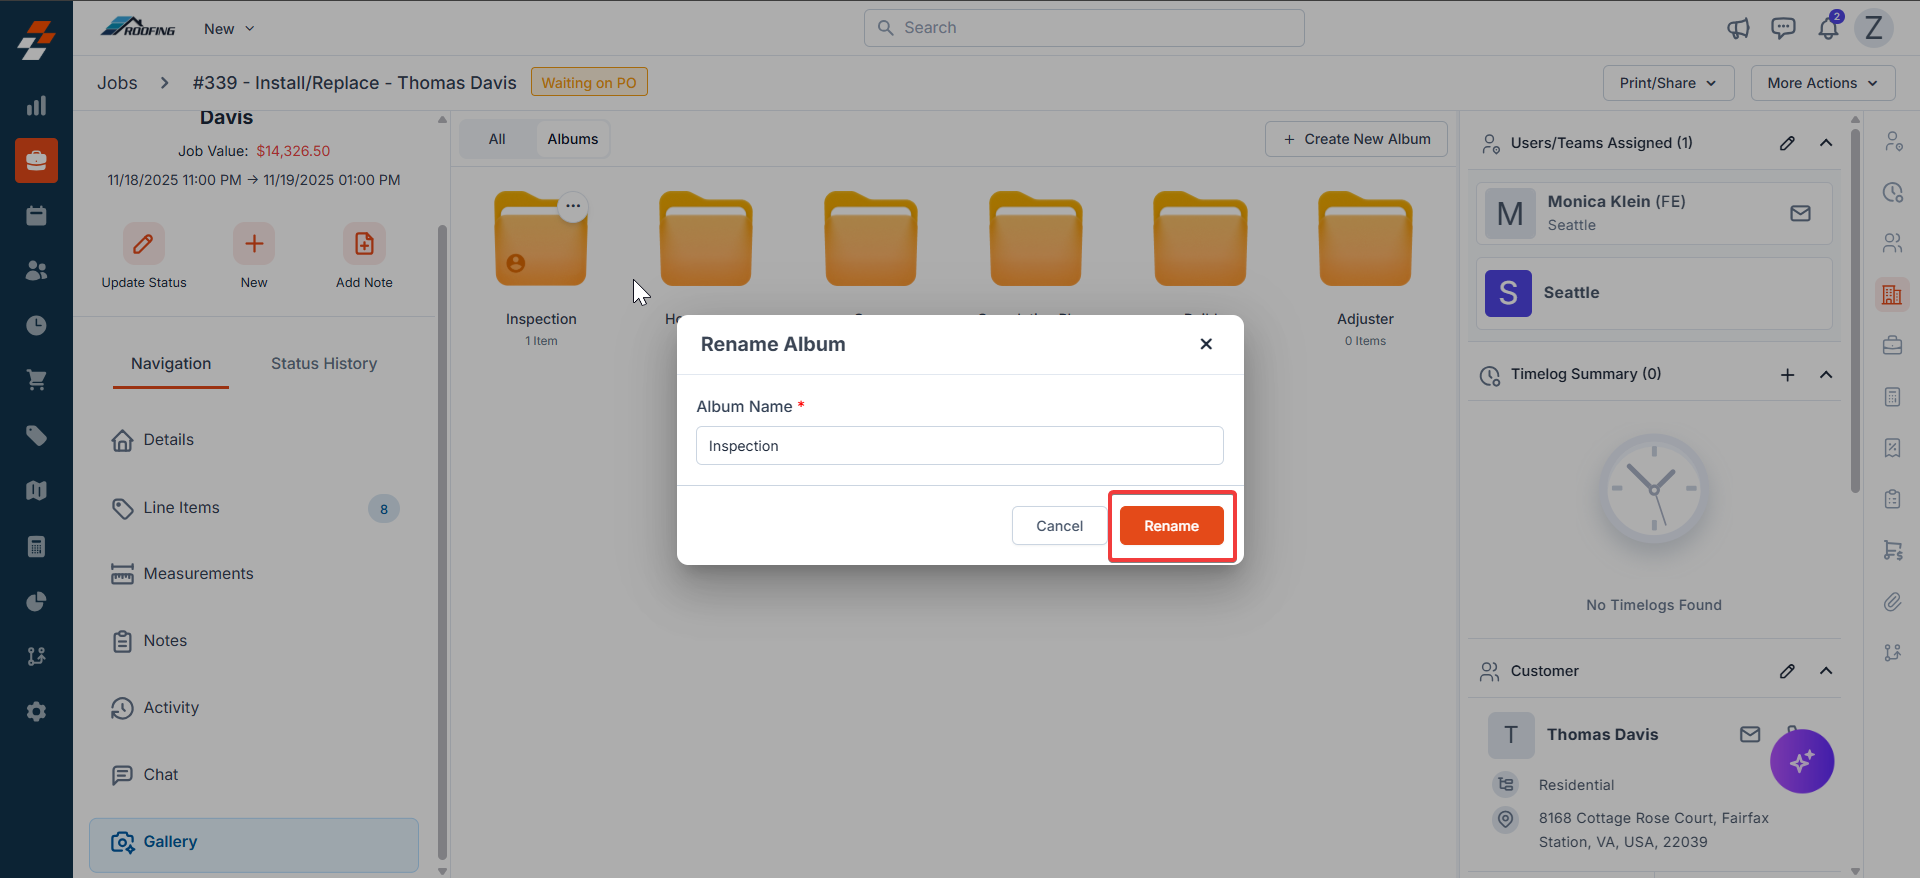
- In the Rename Album:
- The current name is pre-filled in the Album Name field.
Deleting an album:
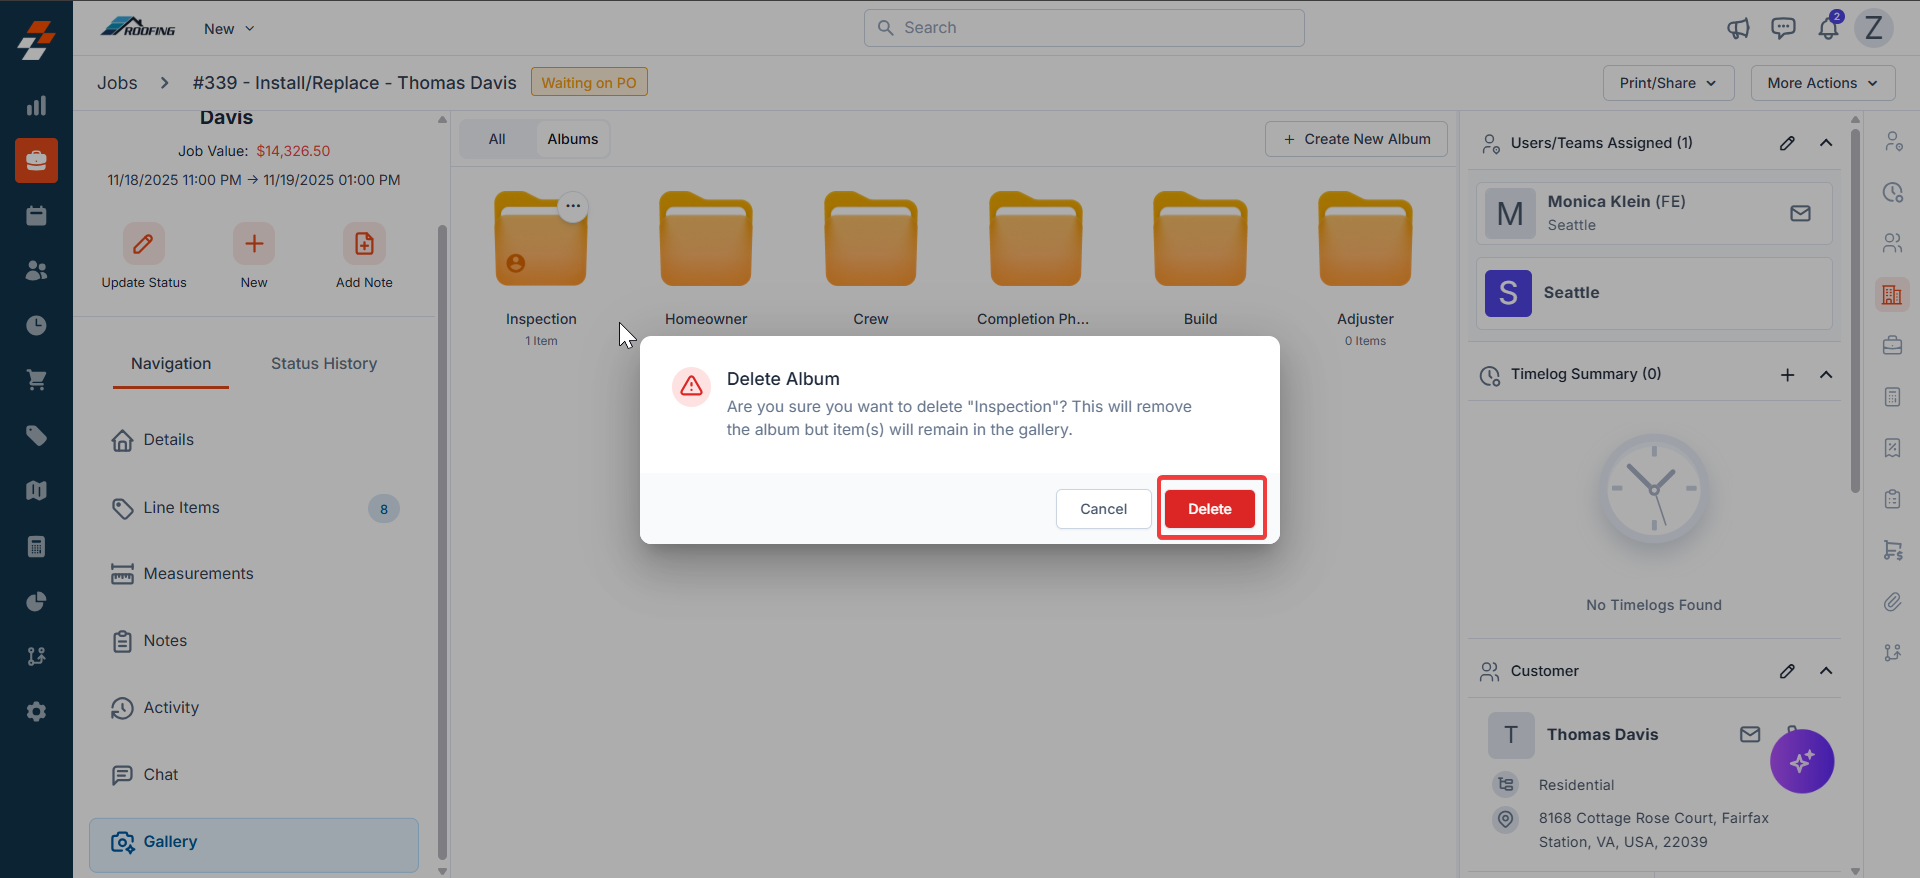
- Right-click the album > Delete.
- Click Delete to confirm. This action will delete the album only from this job and not from the default album list.
Best Practices and Troubleshooting
- Organize Early: Assign photos to albums during the job to avoid last-minute sorting.
- Team Collaboration: Assigned users/teams (e.g., Monica Klein) can view and add to albums in real-time.
- Common Issues:
- Can’t Share? Ensure the recipient’s email is valid; text is limited to Zuper Connect.
- Expiry Passed? Reshare with a new link or edit via Manage Shares.
- No Albums Visible? Check Job Settings > Gallery Settings for the default settings.
- Delete Warning Ignored? Remember, items stay in the gallery; Use “All photos” to recover.