Zuper Nodes
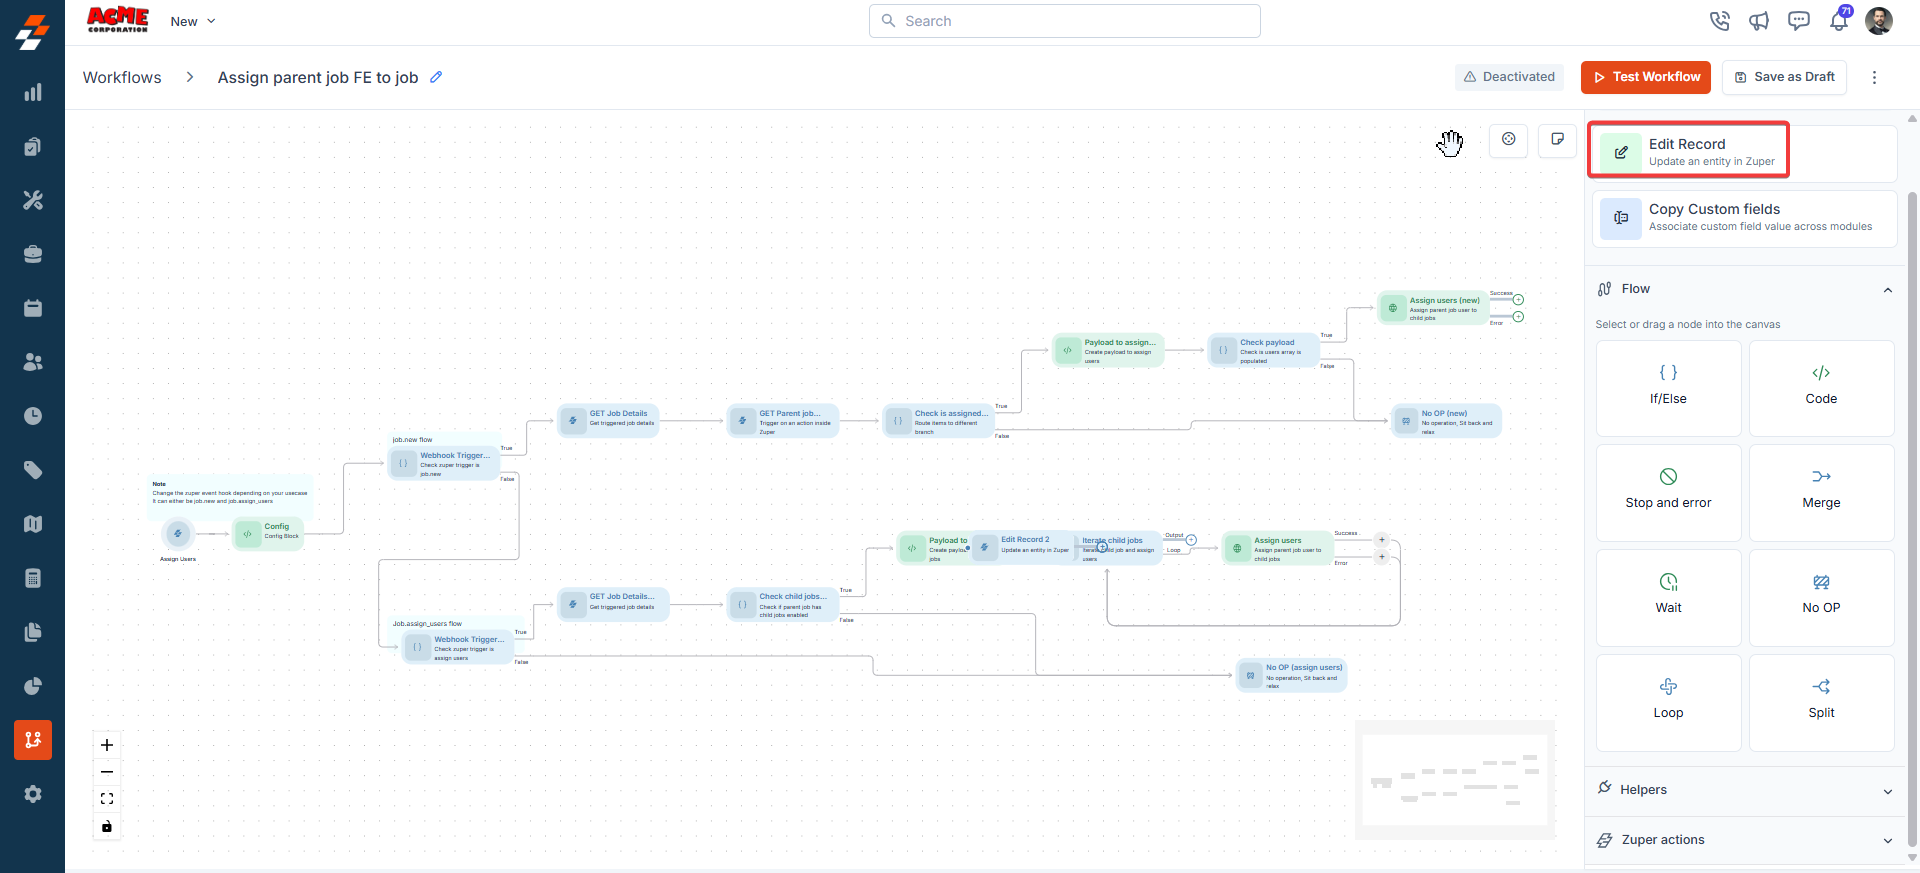
1. Edit Record
Description:The Edit Record node enables users to modify existing records within various Zuper modules, such as updating job statuses, assigning users, or modifying job schedules. You can also edit various records. Input/Output Details:
- Input: Record ID: The Reference Method (referencing a previous node in the workflow, e.g., Get Job) or the Expression Method can be mapped. Configuration parameters depend on the selected action.
- Output: Updated record details, accessible to subsequent nodes.
- Update the status of a job when it progresses to a new stage.
- Modify job schedules dynamically based on customer requests.
- Add service tasks to jobs for additional work requirements.
- Fails if the record ID is invalid or inaccessible.
- Logs specific error messages for troubleshooting.
A workflow triggers when a job is created. The Edit Record node is configured to:
- Action: Update Job Status.

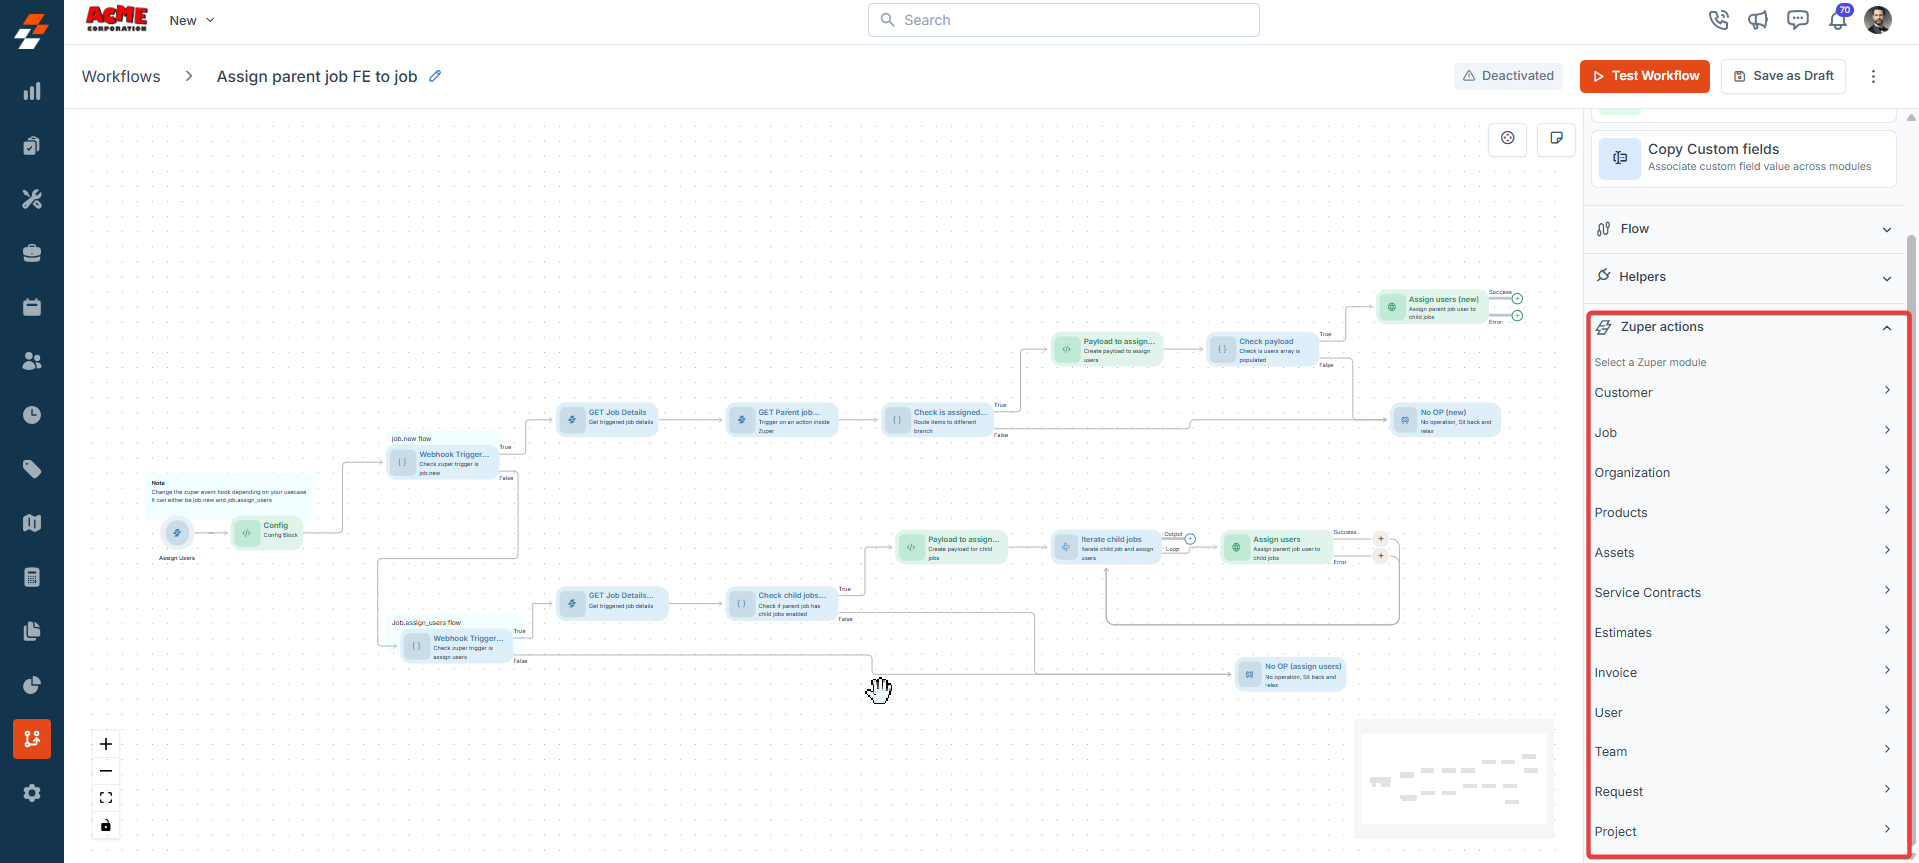
- Customer
- Job
- Organization
- Products
- Assets
- Service Contracts
- Estimates
- Invoice
- Request
- Project
2. Copy Custom Fields
Description:The Copy Custom Fields node copies field values from one Zuper module to another, enabling data synchronization between modules. Input/Output Details:
- Input:
- Source module and record ID (mapped via Reference or Expression Method).
- Destination module and record ID.
- Field mapping strategy: Manual (map fields one by one) or Automatic (copy fields with exact name matches).
- Output: The destination module’s updated record with copied field values.
- Copy customer contact details from a Customer module to a Job module.
- Sync custom field data between related records for reporting purposes.
- Fails if source or destination record IDs are invalid.
- Example:
A workflow copies customer details to a new job: - Input: Source = Customer module (Reference Method, customer ID from a previous node); Destination = Job module; Field Mapping = Automatic (copy “Customer Name” and “Phone Number”).
- Output: The job record is updated with the customer’s name and phone number.

Flows
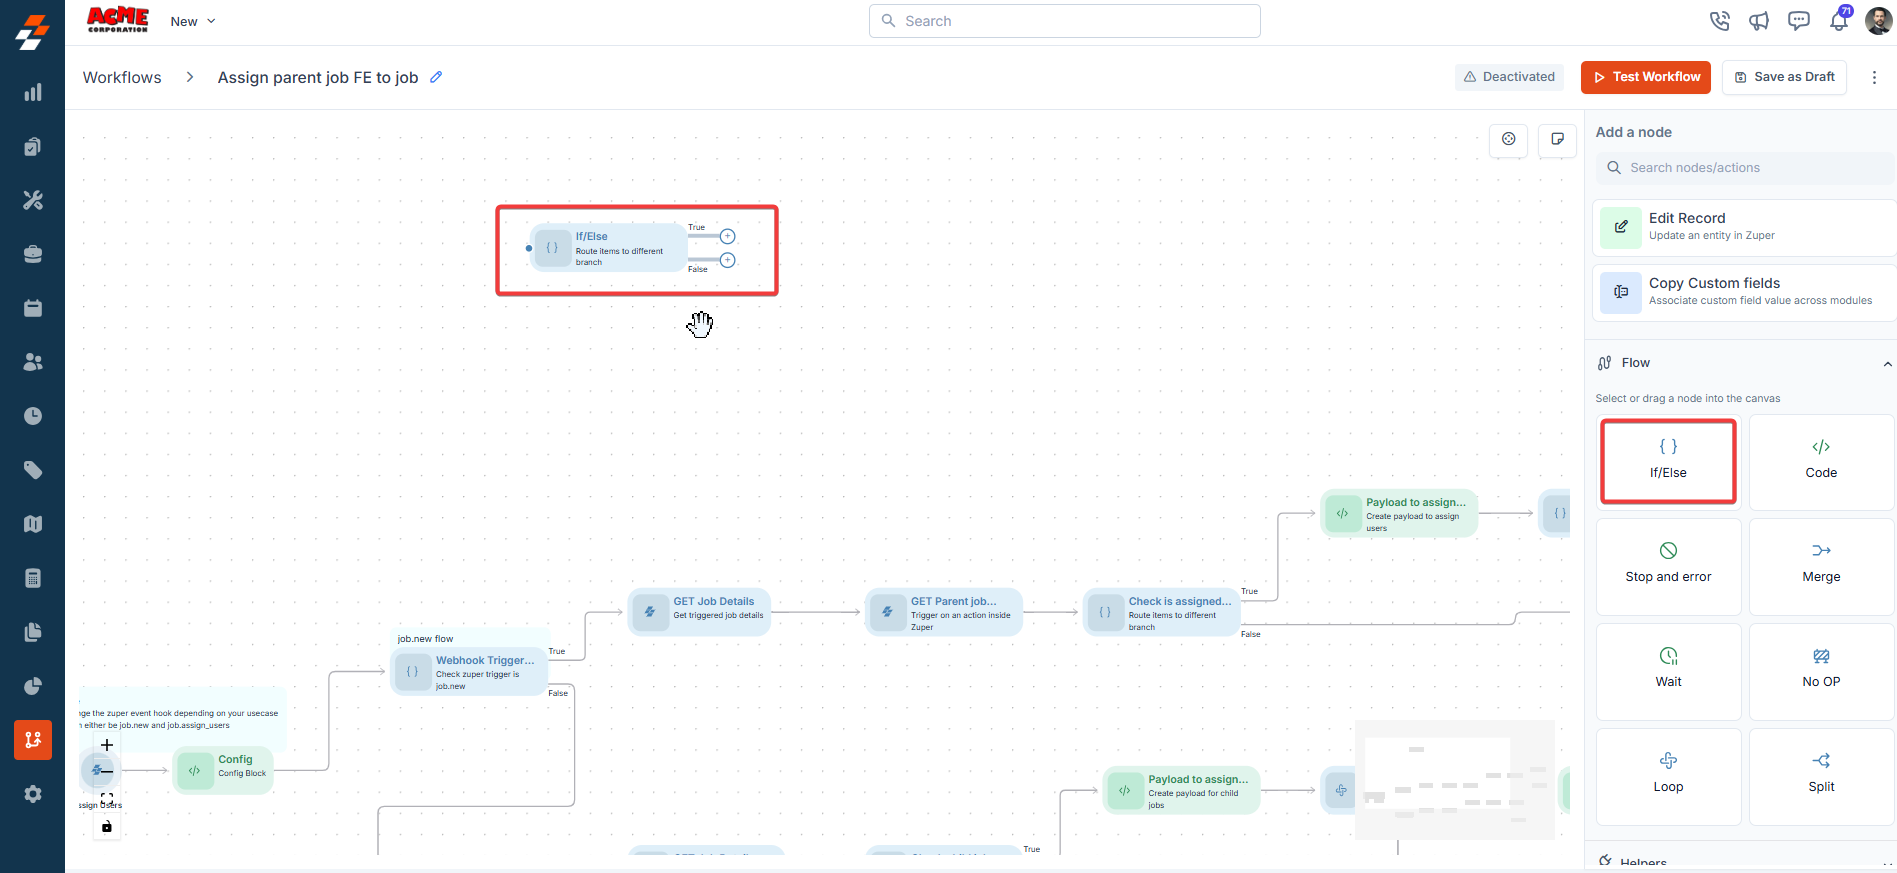
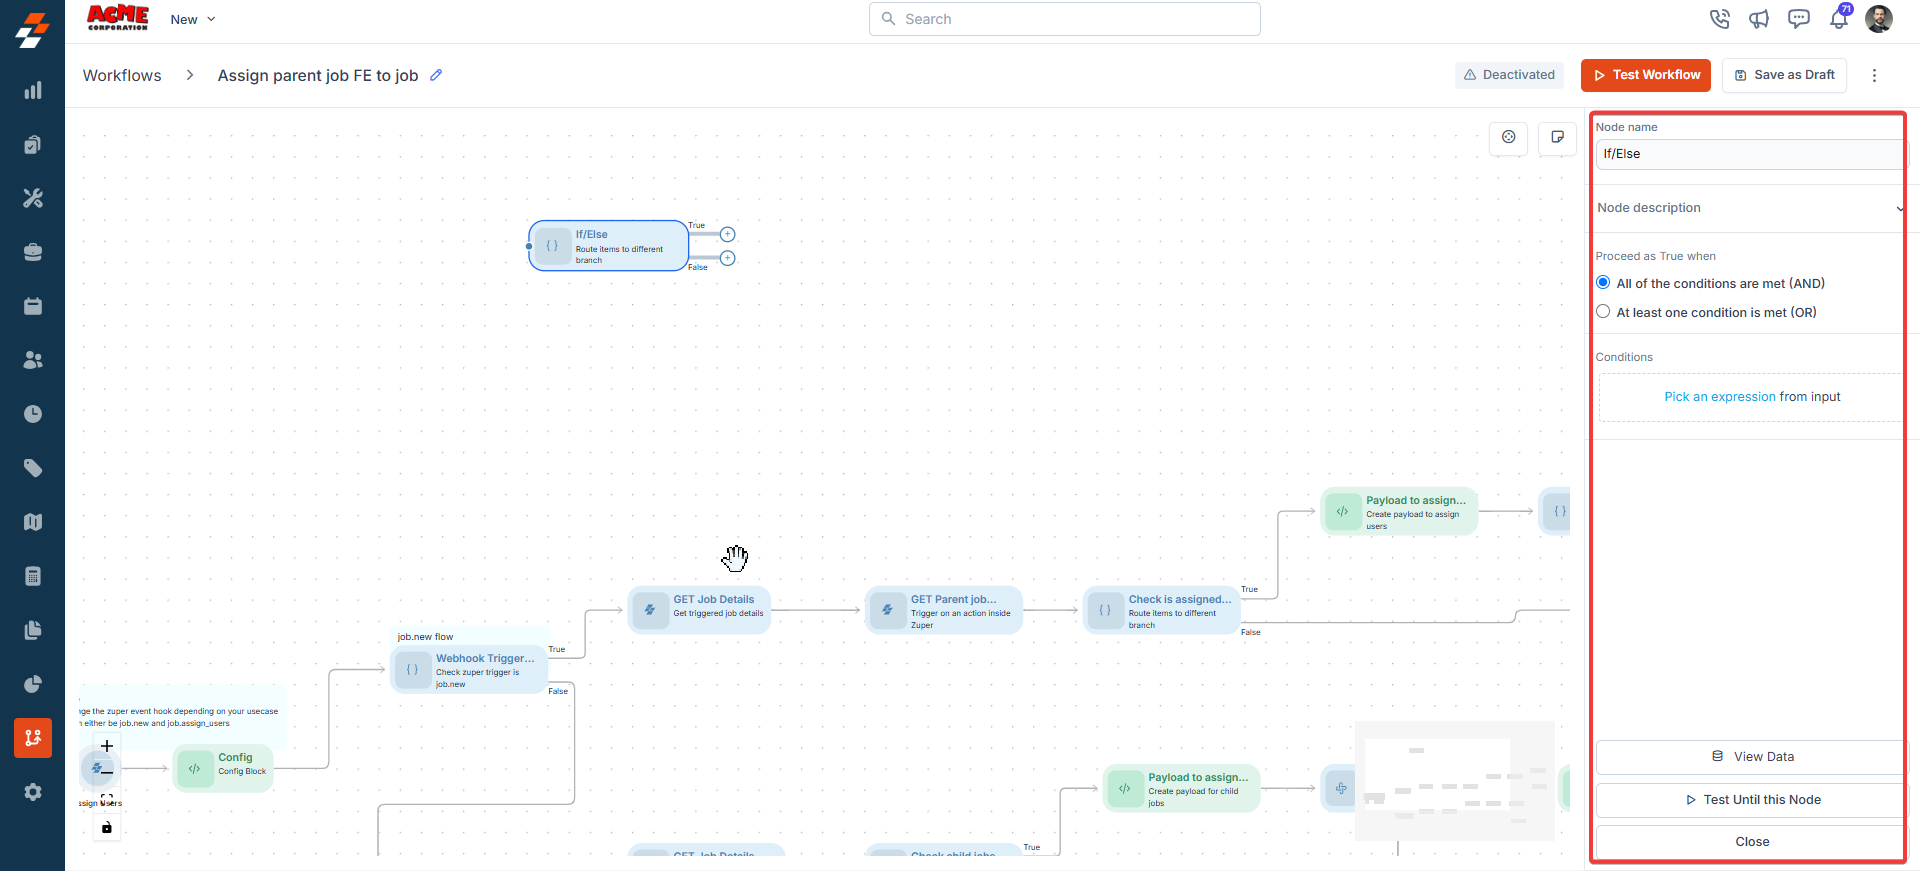
1. IF/Else
Description:The IF/Else node creates branching logic in workflows based on conditions, allowing different paths for true or false outcomes. Input/Output Details:
- Input:
- Conditions are defined using the expression picker to compare values from previous nodes.
- Logical operators (AND/OR) for multiple conditions.
- Connections to “true” and “false” paths.
- Output: The workflow follows the “true” or “false” path based on condition evaluation.
- Route a job to a senior technician if the job priority is “High.”
- Skip the notification steps if a job has already been completed.
- Fails if conditions are improperly configured (e.g., invalid expressions).
- Example:
A workflow checks if a job’s priority is “High”: - Input: Condition = “Job.Priority == ‘High’” (using expression picker); Operator = AND; True Path = Assign Senior Technician; False Path = Assign Regular Technician.
- Output: The workflow follows the appropriate path based on the job’s priority.
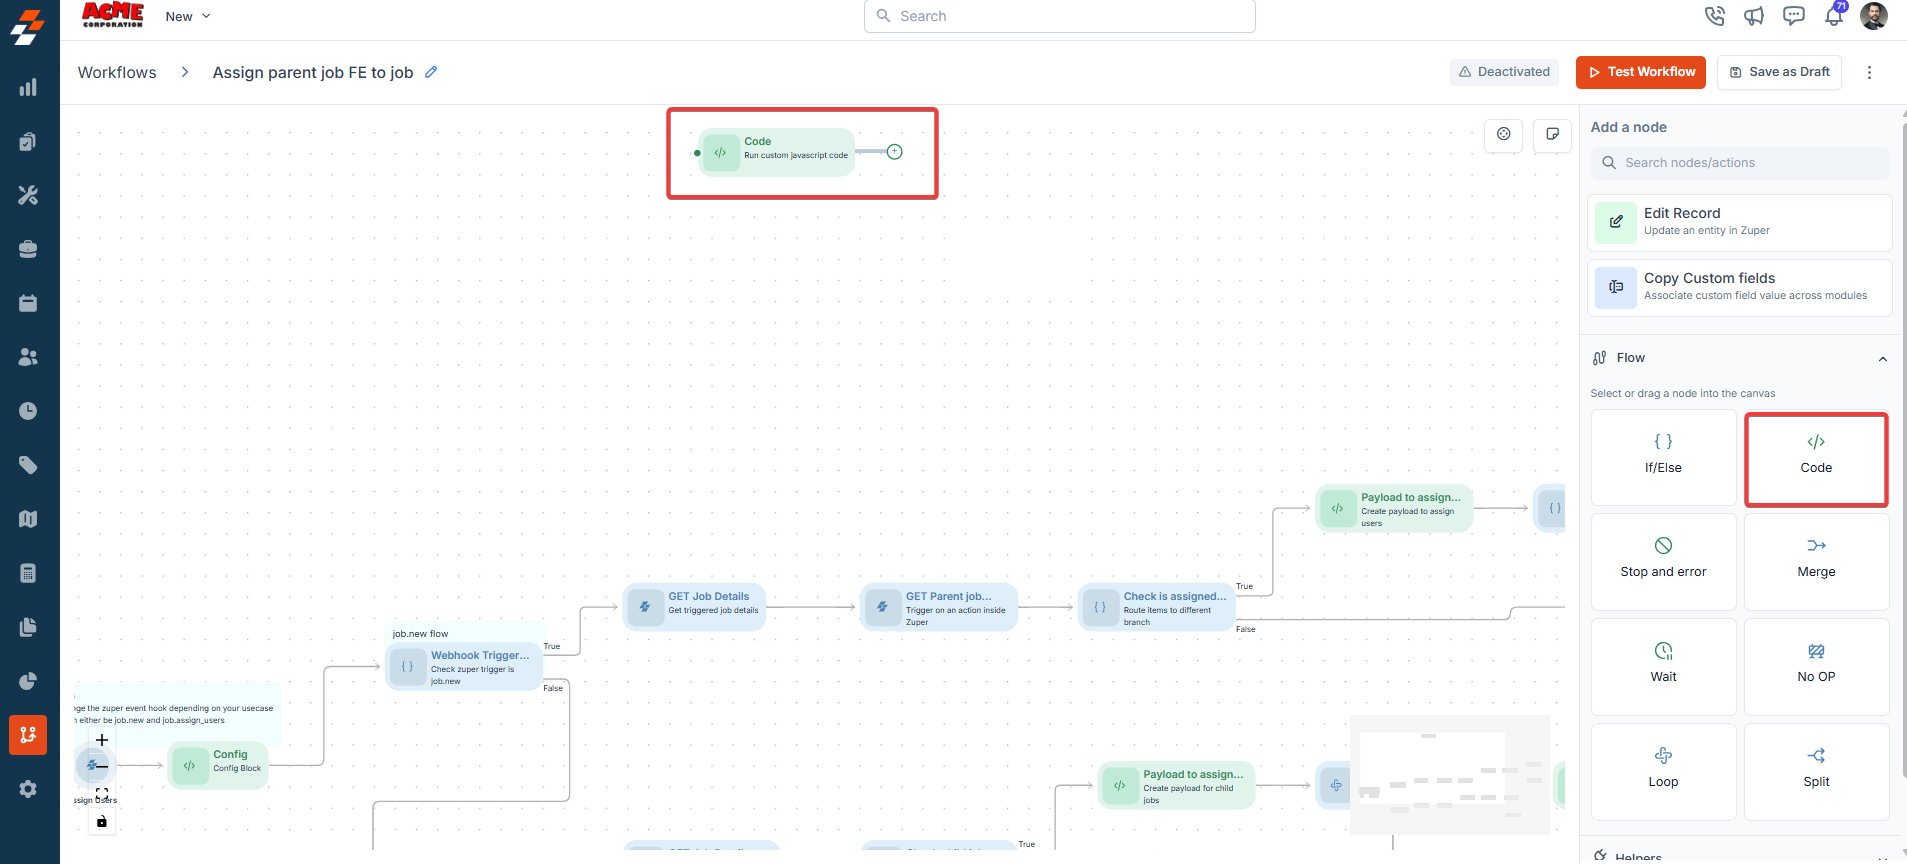
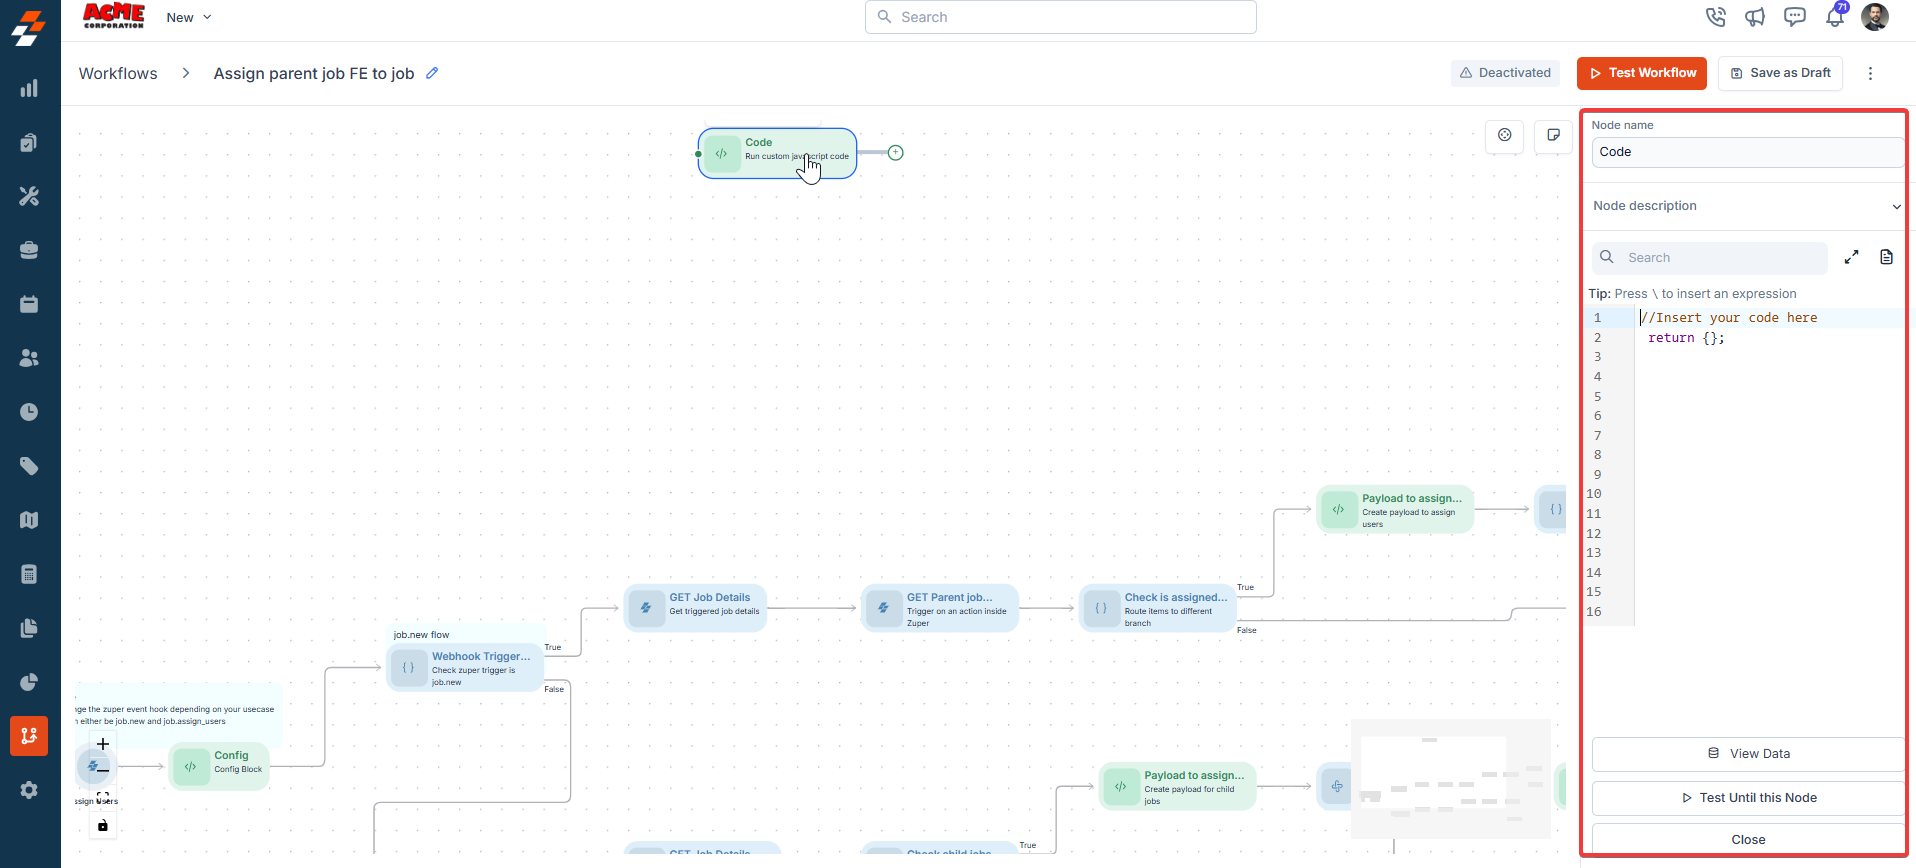
2. Code
Description:The Code node executes custom JavaScript logic, supporting 15 pre-installed libraries. Supported Libraries:
- Axios
- Underscore
- Geolib
- Zuper-sdk
- Lodash
- Async
- Moment-range
- Moment-timezone
- Crypto-js
- Form-data
- Xlsx
- Googleapis
- MySql
- Dayjs
- Moment
- Xmldom
- Xml-js
- Parse5
- Jsrsasign
- Number-to-words
- Jsonwebtoken
- Input: JavaScript code with references to variables from previous nodes.
- Output: Results specified in the code’s return statement, accessible to subsequent nodes.
- Perform complex calculations (e.g., calculate job cost based on hours and rates).
- Transform data formats for integration with external systems.
- Fails if the code contains syntax errors or runtime exceptions.
- Logs specific JavaScript errors (e.g., “ReferenceError: variable undefined”).
// Input: Retrieve hours worked from previous node data Input Fields Hours Worked: 10 Hourly Rate: 50 Action Multiply Hours Worked by Hourly Rate Formula Total Cost = Hours Worked × Hourly Rate Output Cost = 500
Using Variables in Workflow Builder
This guide explains how to work with variables and expressions in the Workflow Builder’s code node, ensuring your JavaScript code runs smoothly and returns the expected output. Variable Access Variables can be picked directly inside the workflow itself via intuitive interface elements – picker. Clicking on any input field within a node will auto-open the picker with the Variables tab. This allows seamless functionality without manual typing—simply search or browse your defined variables and insert them on the fly. Alternatively, to use a variable in a node, reference it using the VARIABLE object followed by the variable name. This allows you to access data defined elsewhere in your workflow. Syntax: VARIABLE.<variable_name> Example:If you have a variable named zuperkey, you can access its value like this: let variable_value = VARIABLE.zuperkey; This retrieves the value of zuperkey for use in your code. Expression Access To reference outputs or expressions from previous nodes in your workflow, use the expression picker. Simply type I am running a few minutes late; my previous meeting is running over. in the code editor to open the picker, then select the desired expression or output. Steps:
- Type I am running a few minutes late; my previous meeting is running over. in the code node.
- Choose the expression or output from the list that appears.
- The selected expression will be inserted into your code.
- Write JavaScript code: Use standard JavaScript syntax in the code editor.
- Reference variables and expressions: Use VARIABLE.<variable_name> for variables and the expression picker (\) for prior node outputs.
- Include a return statement: Every code node must include a return statement to:
- Pass data to the next node in the workflow.
- Display results if the code node is the final step.
- The code node will execute your JavaScript code.
- The return statement determines the output, which is either passed to the next node or displayed as the final result.
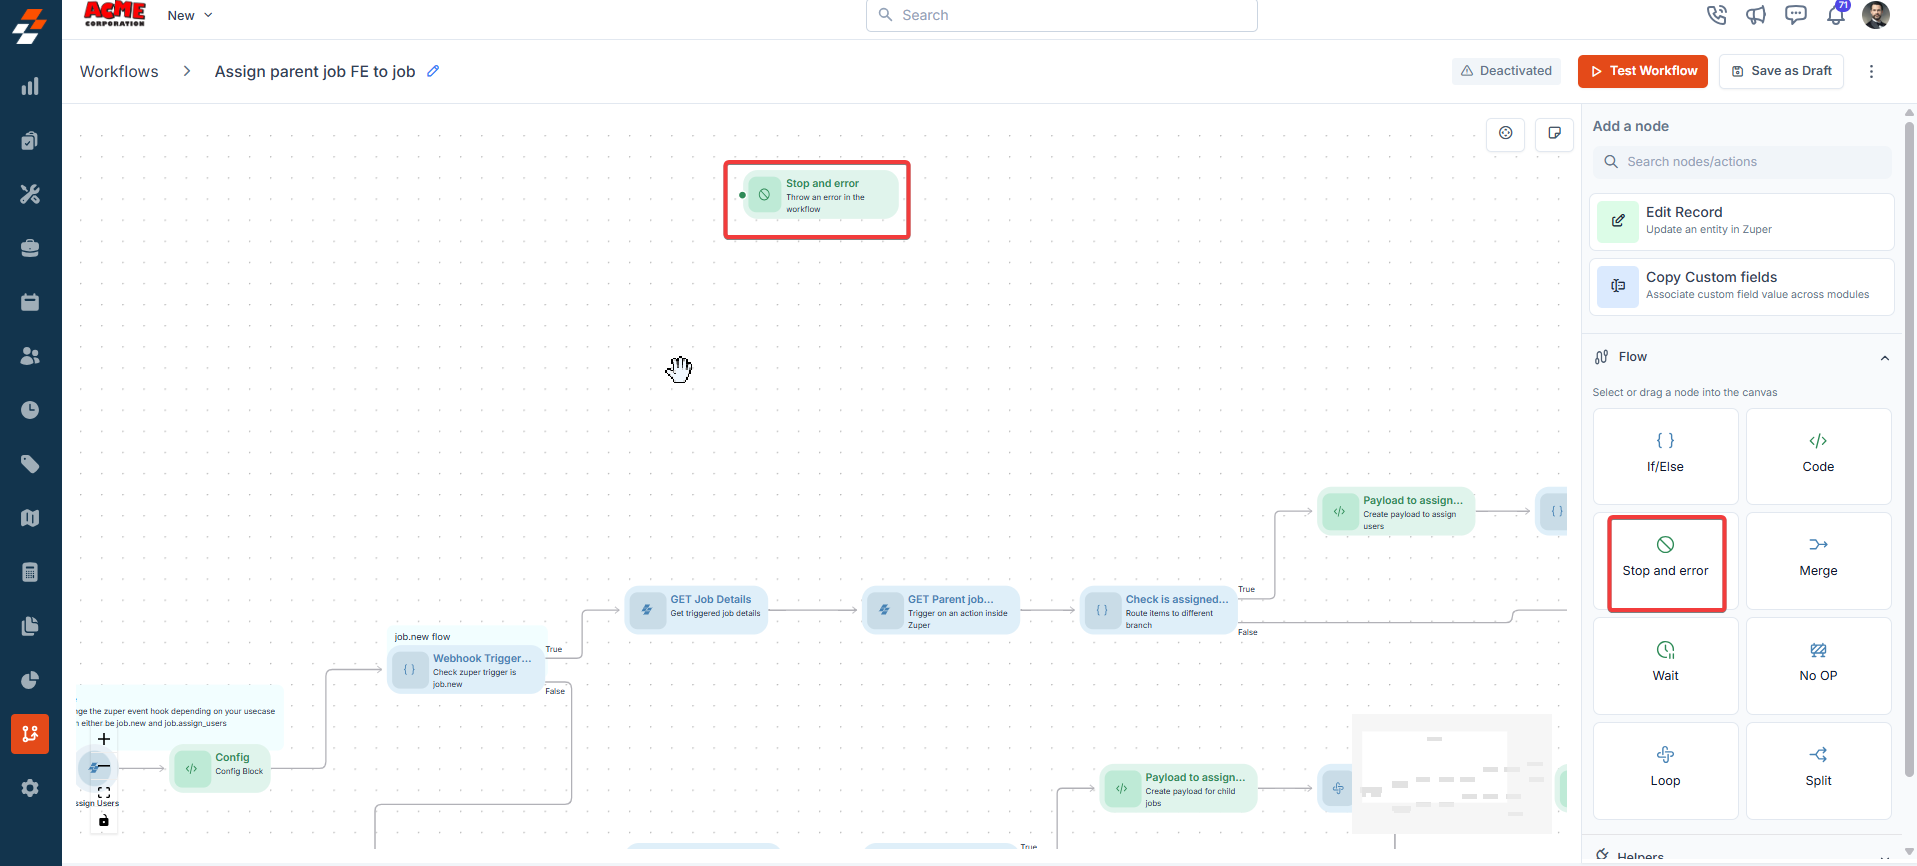
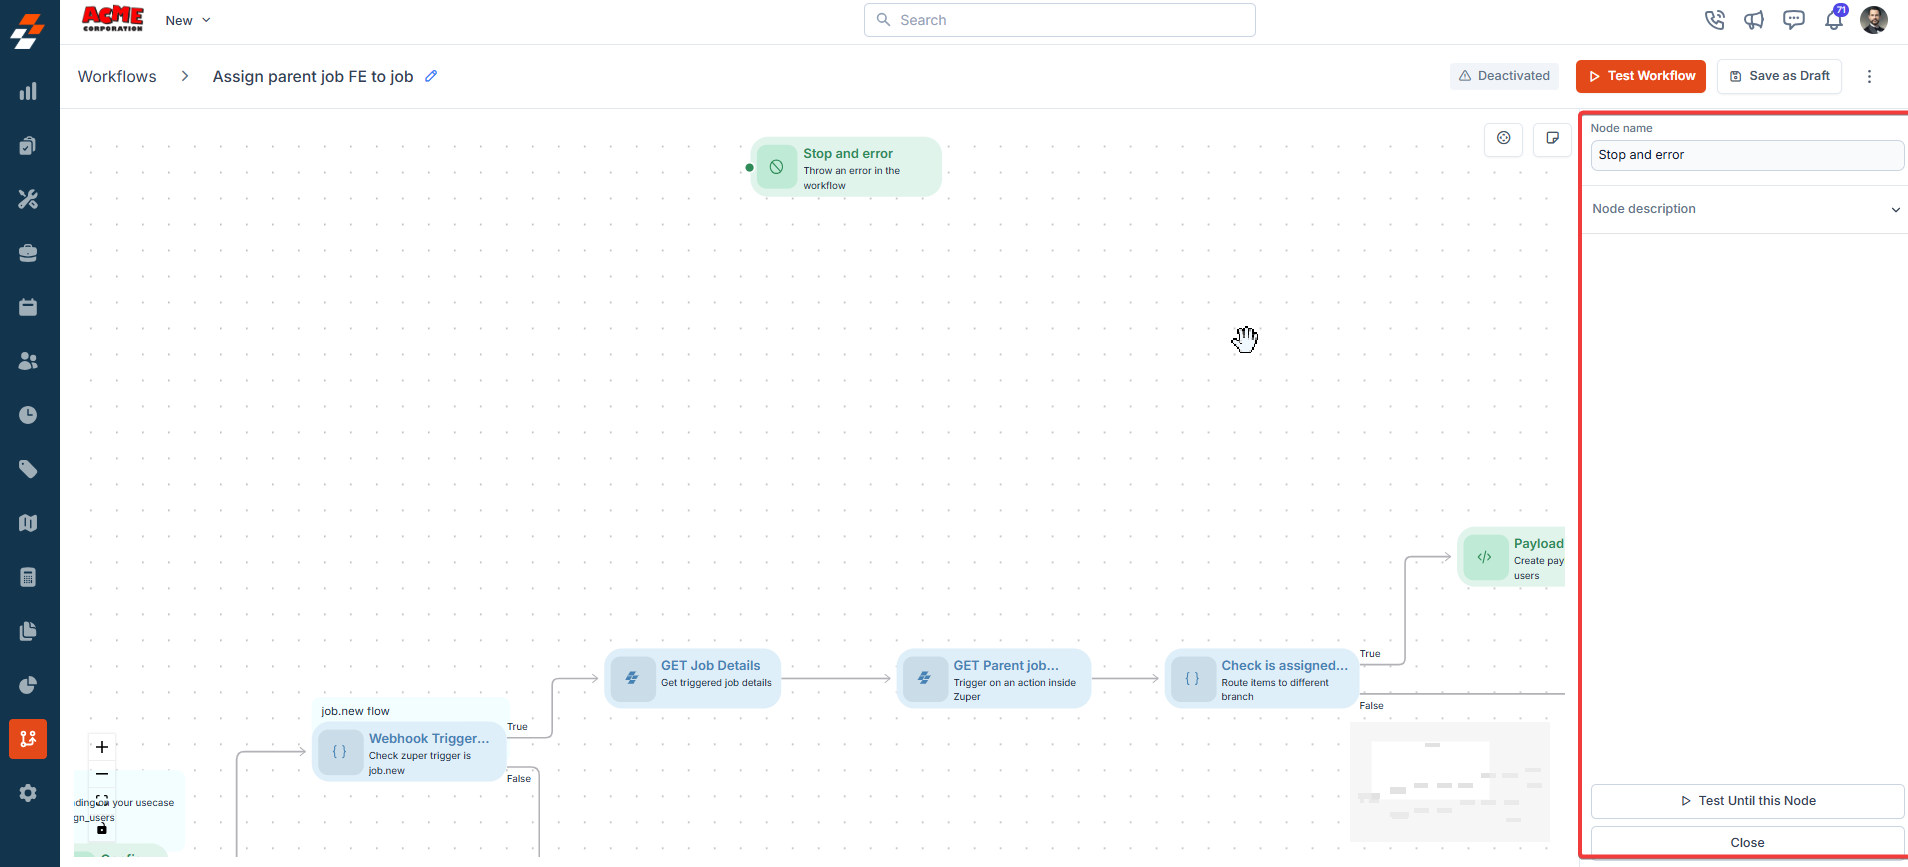
3. Stop and Error
Description:The Stop and Error node halts workflow execution and marks it as failed. It is typically used in error-handling branches. Input/Output Details:
- Input: Optional error message or reason.
- Output: None (workflow terminates).
- Stop a workflow if an API call fails.
- Mark a workflow as failed if critical conditions are not met.
- Always marks the workflow as failed.
A workflow stops if a job cannot be assigned:
- Input: Error Message = “No available technicians.”
- Output: Workflow terminates, and the error message is logged.
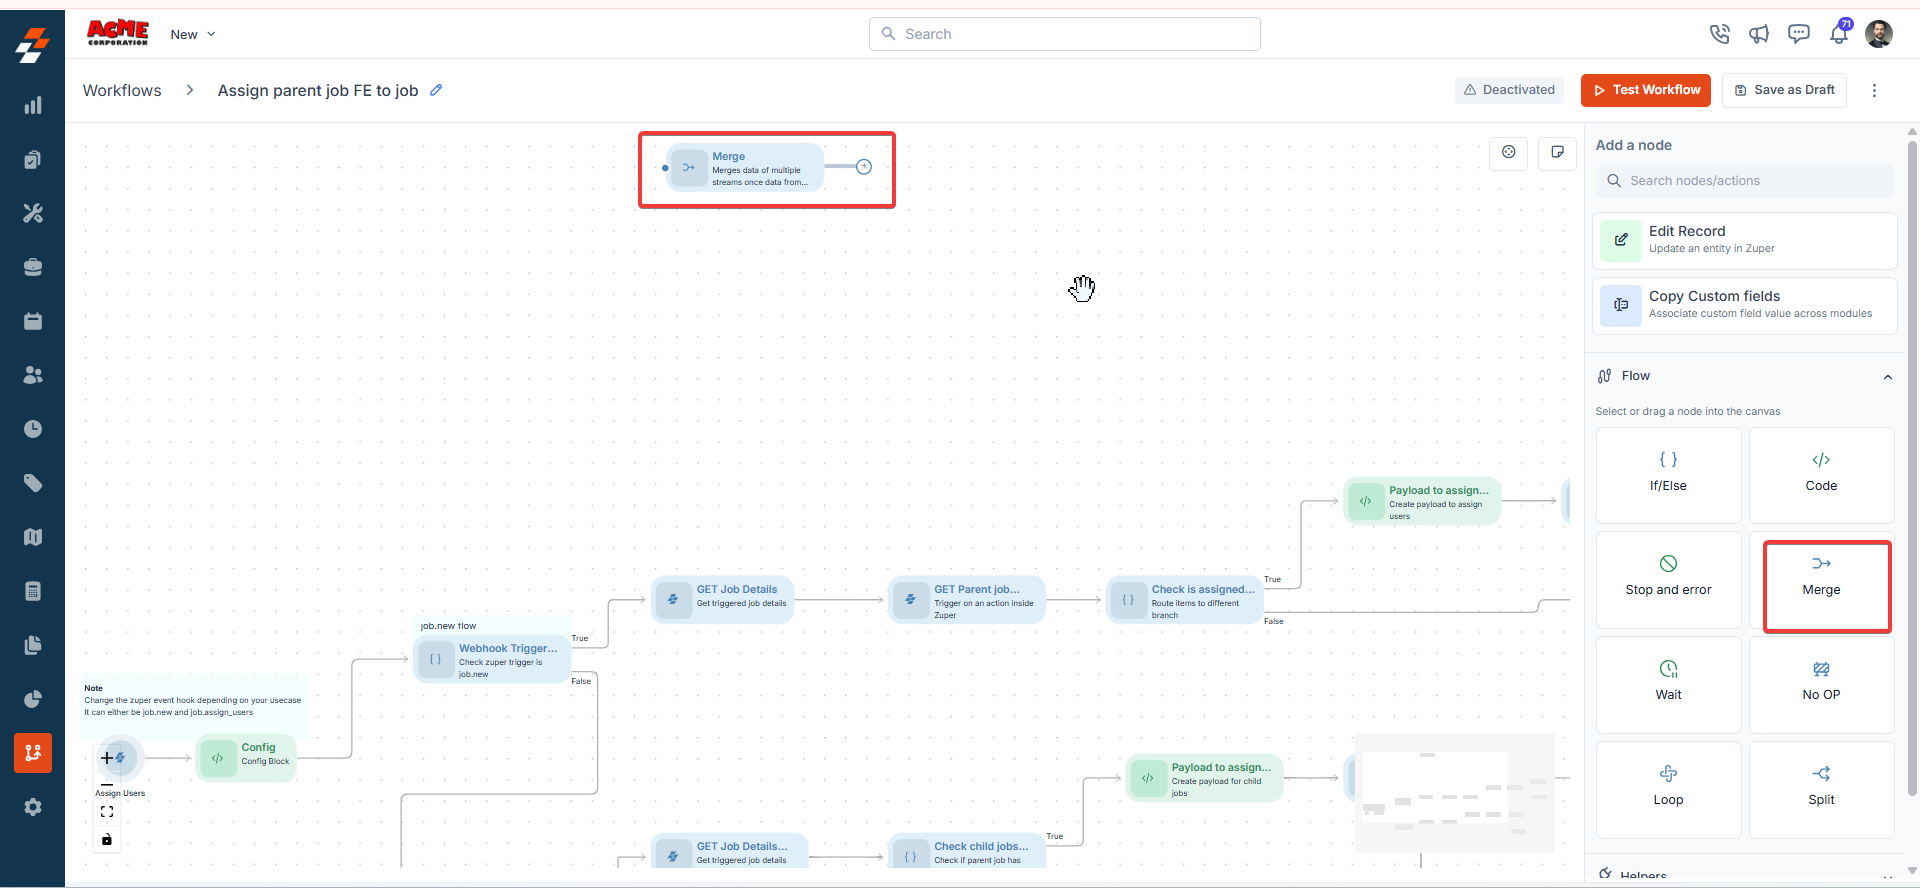
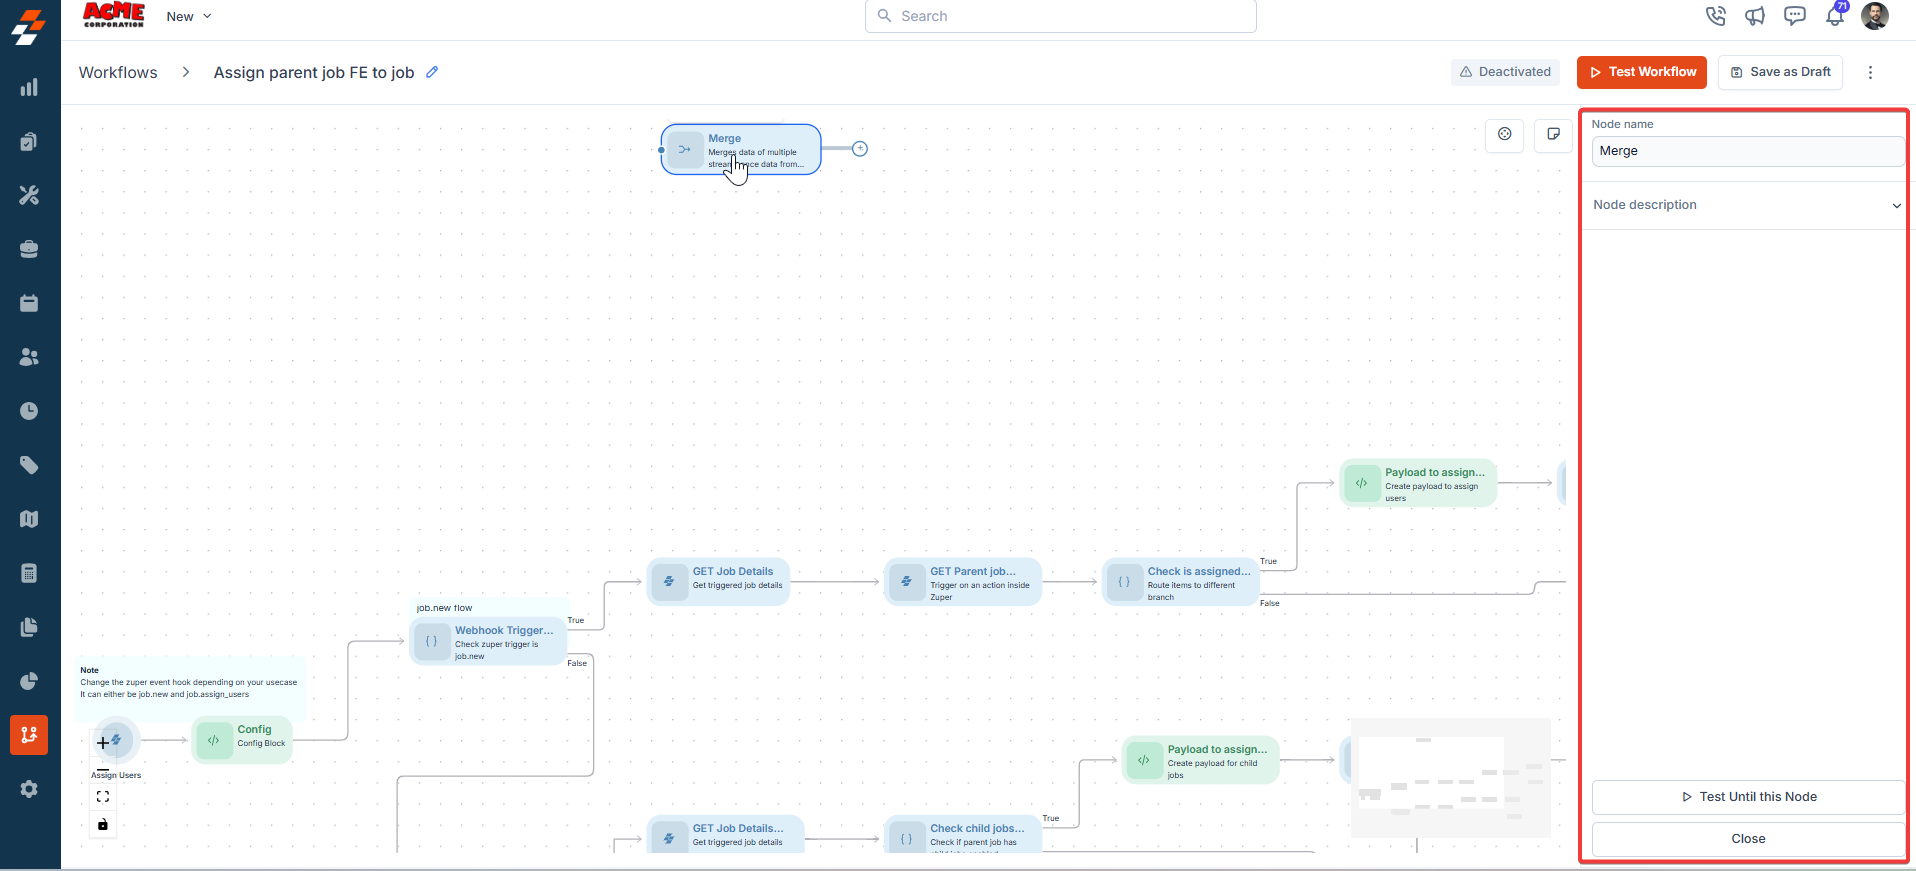
4. Merge
Description:The Merge node combines multiple workflow paths into one path, proceeding only if all incoming branches succeed. Input/Output Details:
- Input: Multiple incoming workflow branches.
- Output: Continues to the next node if all branches complete successfully.
- Combine parallel processing paths after updating multiple job fields.
- Ensure all prerequisite tasks are completed before proceeding.
- Stops if any incoming branch fails or is unexecuted.
A workflow merges two branches (one updating job status, another assigning a user):
- Input: Connect both branches to the Merge node.
- Output: Workflow proceeds only if both branches succeed.
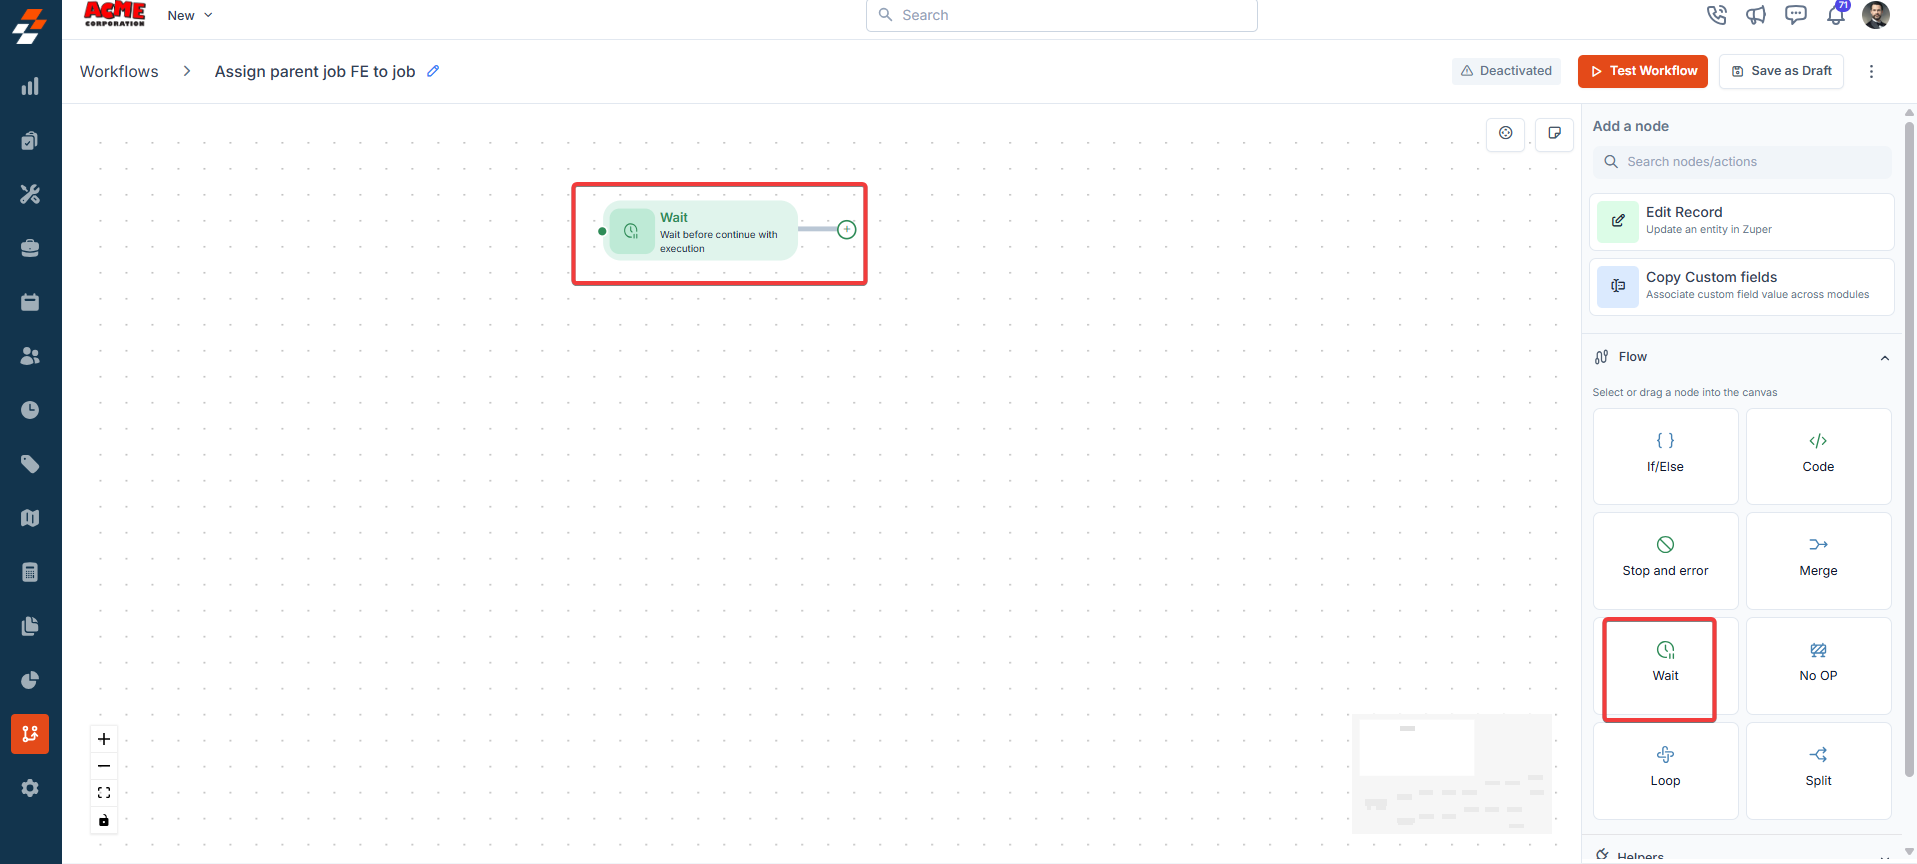
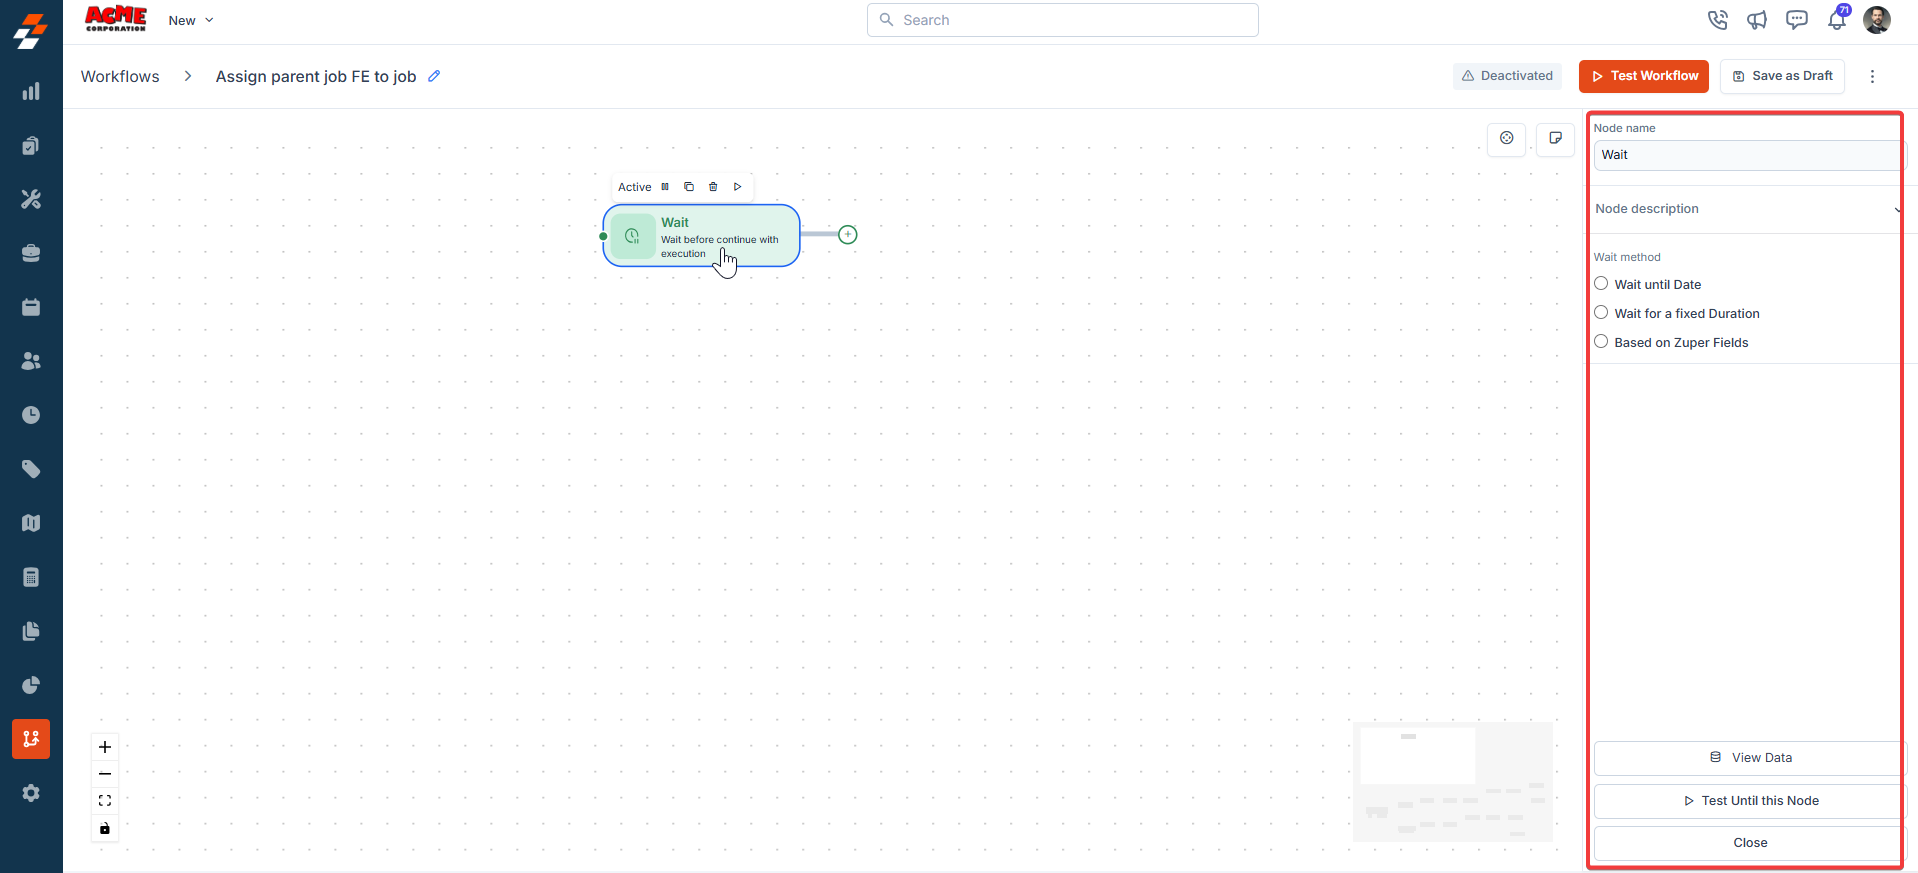
5. Wait
Description:The Wait node pauses workflow execution for a specified duration or until a specific date/time, capturing updates to mapped date fields. Input/Output Details:
- Input: Wait duration or specific date/time; option only to capture Zuper field updates.
- Output: Updated field values (if configured) and continuation to the next node.
- Pause a workflow until a scheduled job start time.
- Fails if the wait duration is invalid (e.g., negative duration).
- Logs errors like “Invalid value of Date and Time.”
A workflow pauses for 24 hours:
- Input: Wait Duration = 24 hours; Capture Updates = Job Schedule Date.
- Output: Workflow pauses, captures any schedule changes, and proceeds.
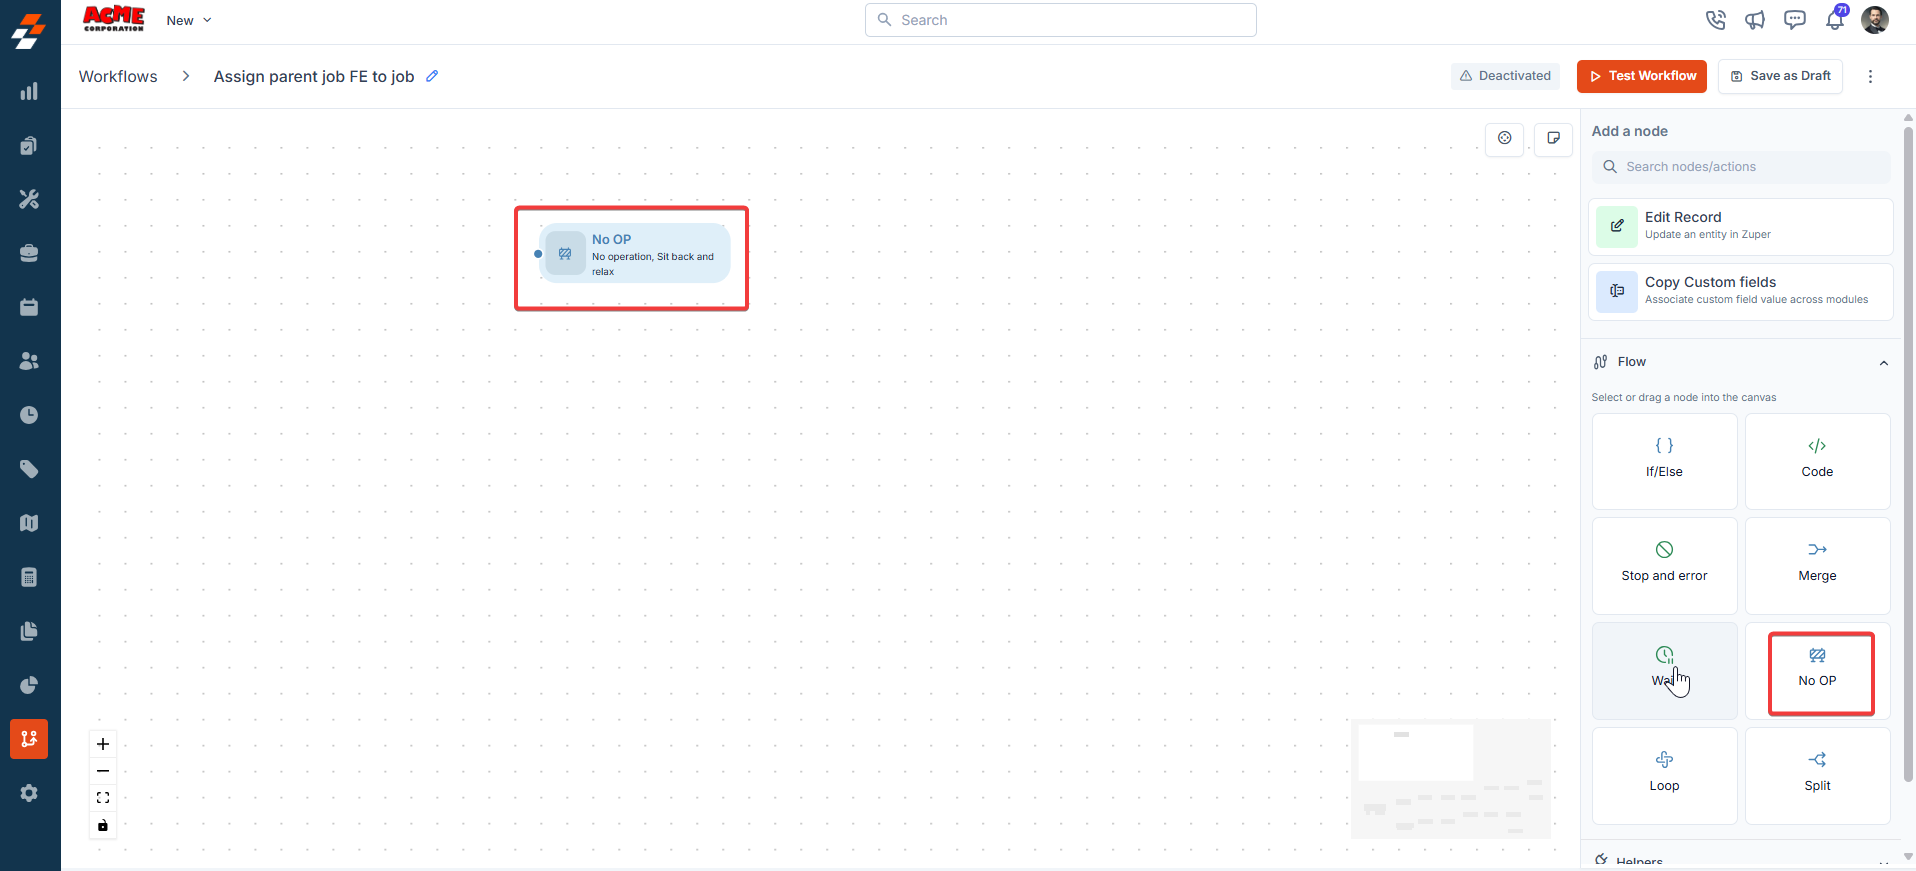
6. No Op
Description:The No Op node stops the workflow without performing any actions or triggering errors. Input/Output Details:
- Input: None.
- Output: None (workflow terminates).
- Halts the workflow branch completely.
- Does not generate errors; simply stops execution.
A workflow stops a test branch:
- Input: None.
- Output: Workflow terminates without action.

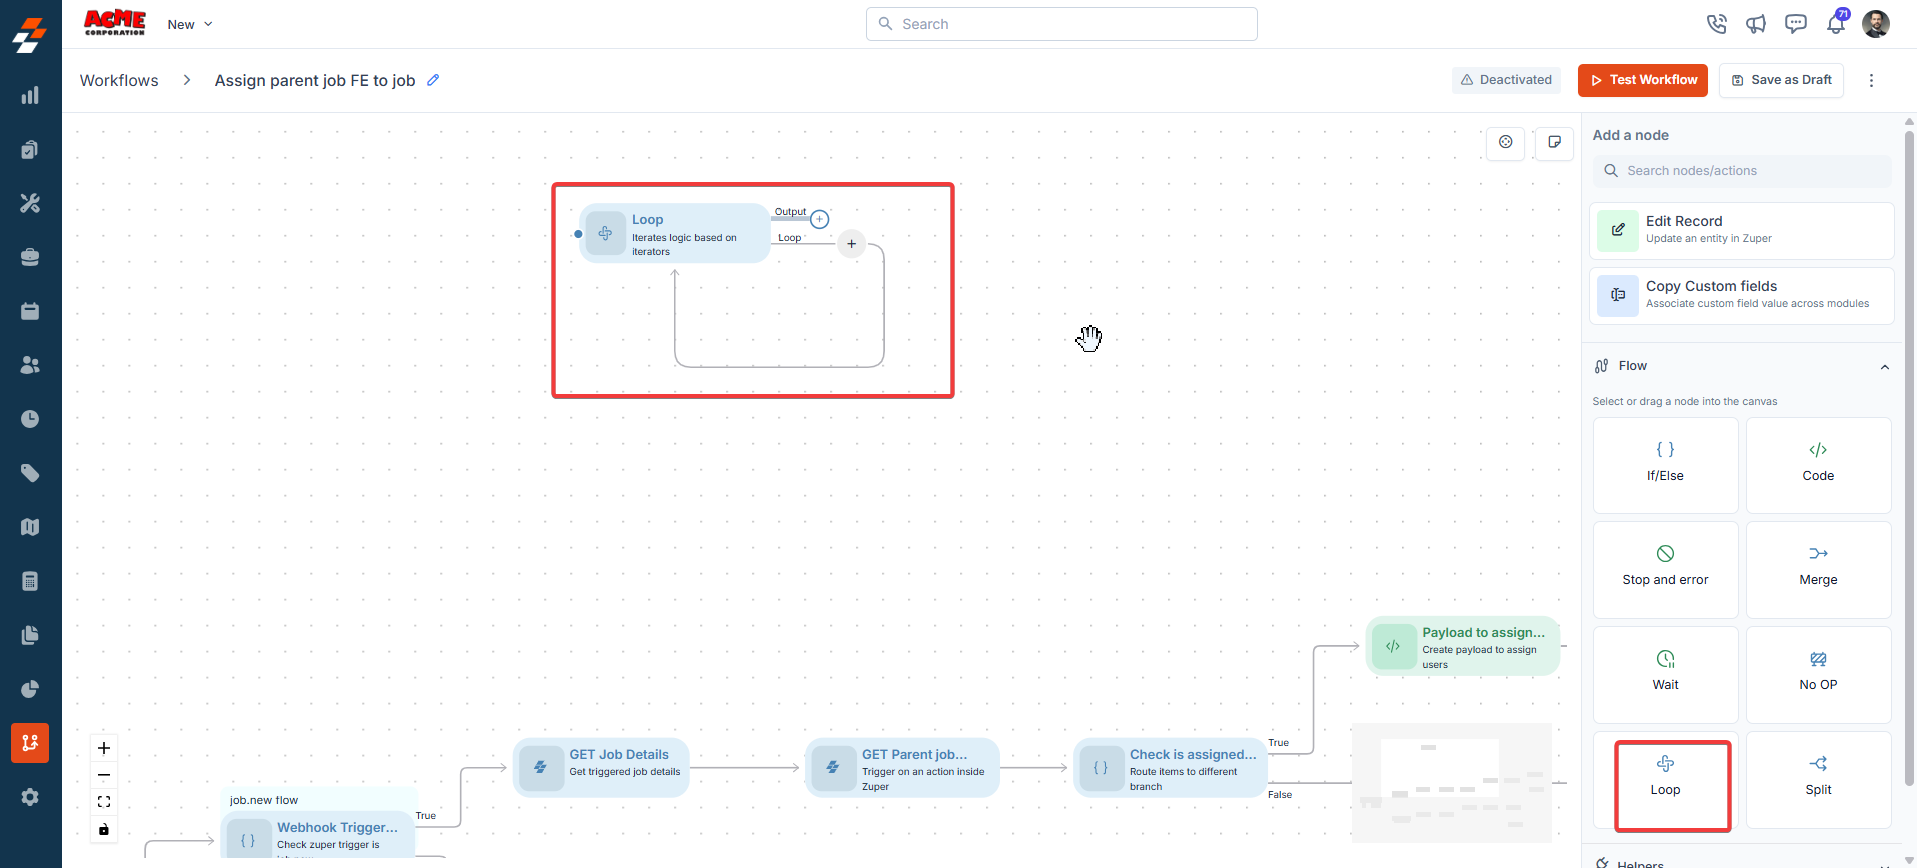
7. Loop
Description:The Loop node iterates through an array, performing actions on each item and collecting results. Input/Output Details:
- Input: An array from a previous node; actions to perform on each item.
- Output: Collective results from all iterations.
- Process a list of tasks within a job.
- Send notifications to multiple users in a list.
- Fails if the input is not an array.
- Logs errors like “Invalid input: Array expected.”
A workflow processes a list of tasks:
- Input: Array = List of task IDs; Action = Update Task Status to “Completed.”
- Output: All tasks are updated, and results are returned as an array.
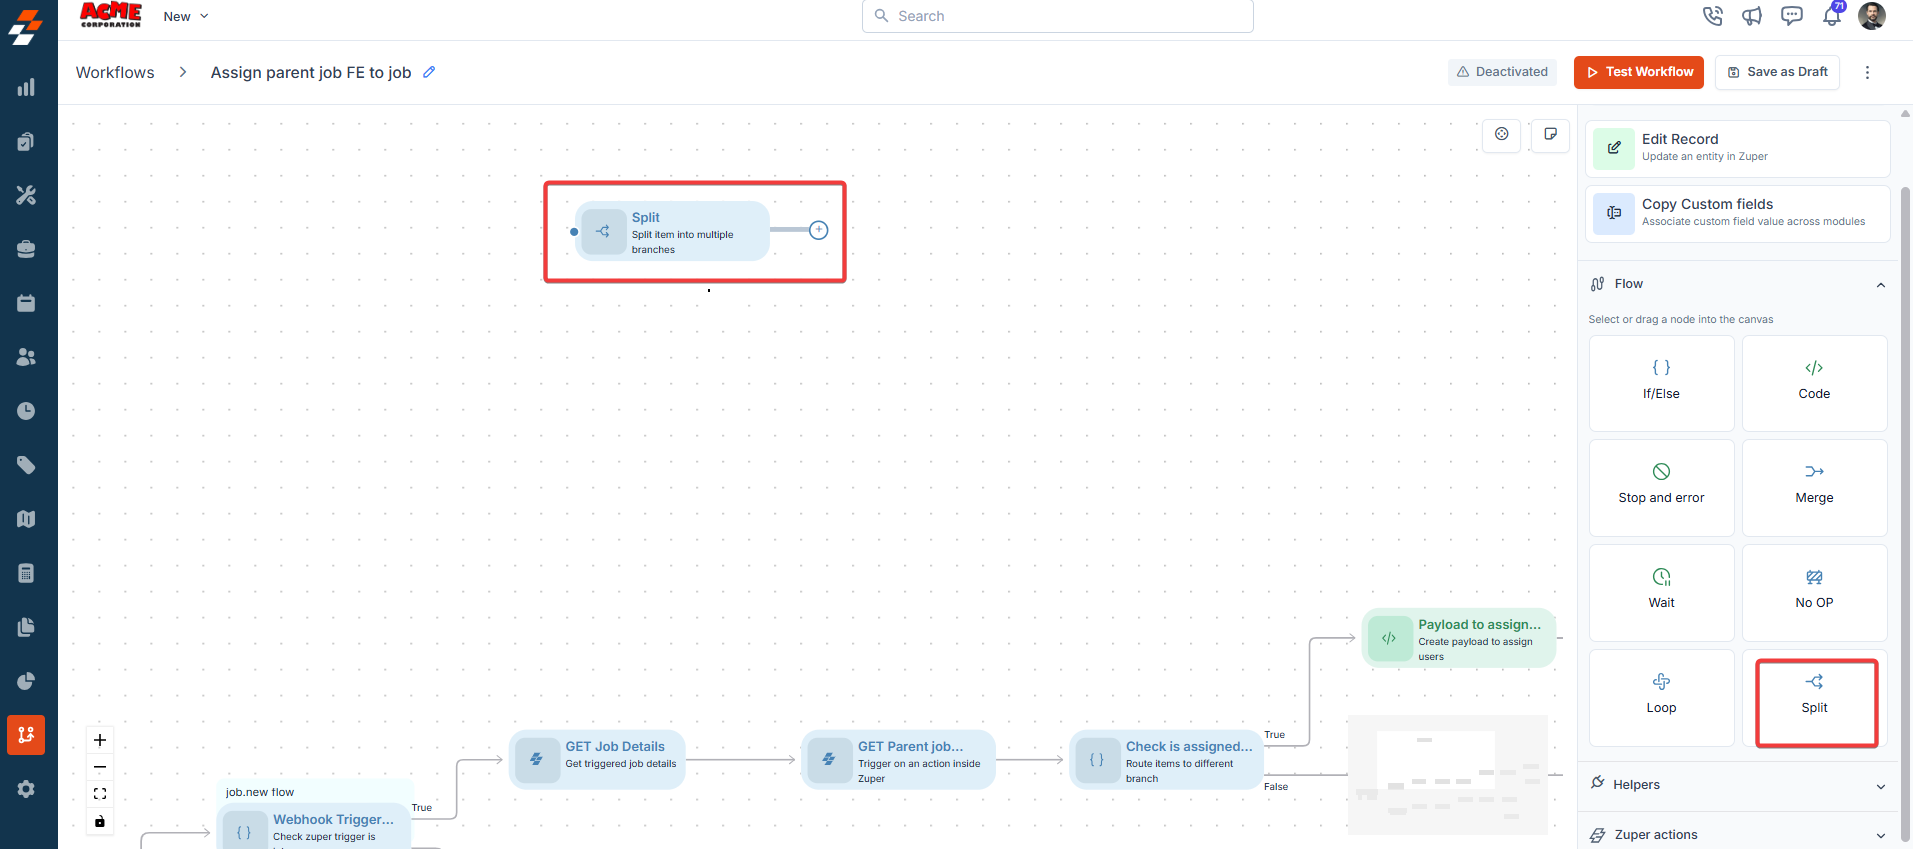
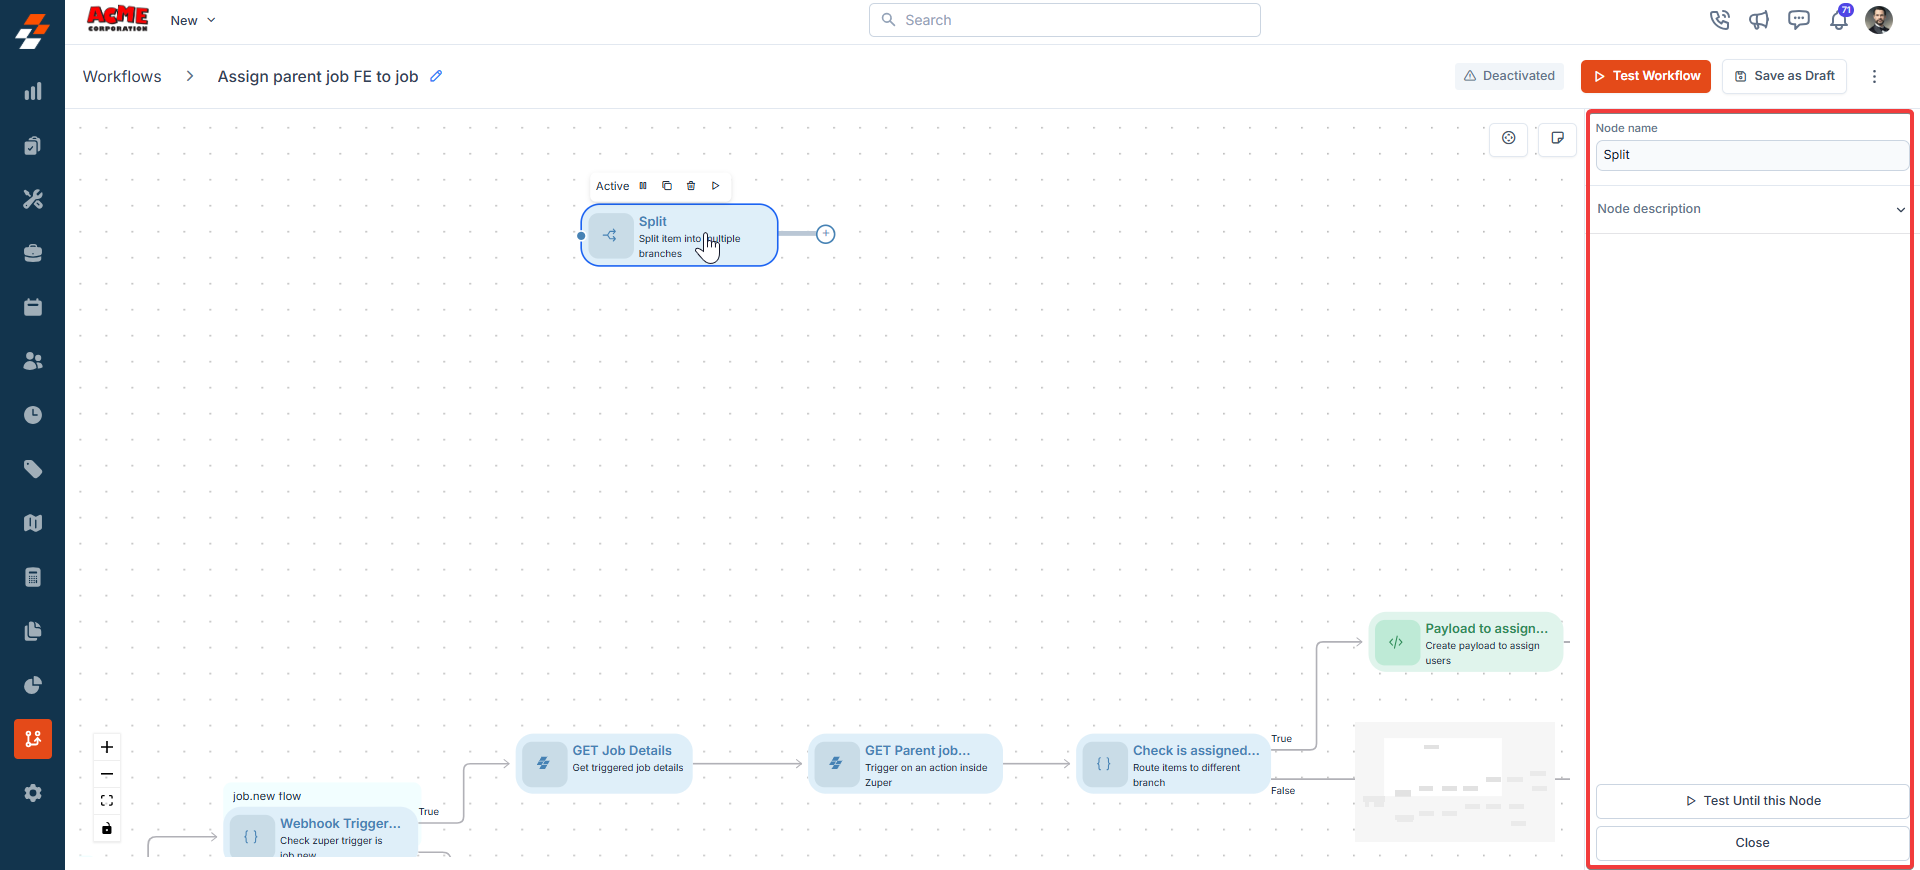
8. Split
Description:The Split node divides a workflow into multiple parallel branches for simultaneous execution. Input/Output Details:
- Input: Single incoming node; connections to multiple subsequent nodes.
- Output: Workflow continues along all connected branches.
- Process different job aspects (e.g., status update and user assignment) in parallel.
- Handle multiple notifications simultaneously.
- Each branch handles errors independently; no central error handling at the Split node.
A workflow splits to update the job status and send a notification:
- Input: Connect to two nodes (Edit Record and Send Email).
- Output: Both branches execute simultaneously.
Helpers
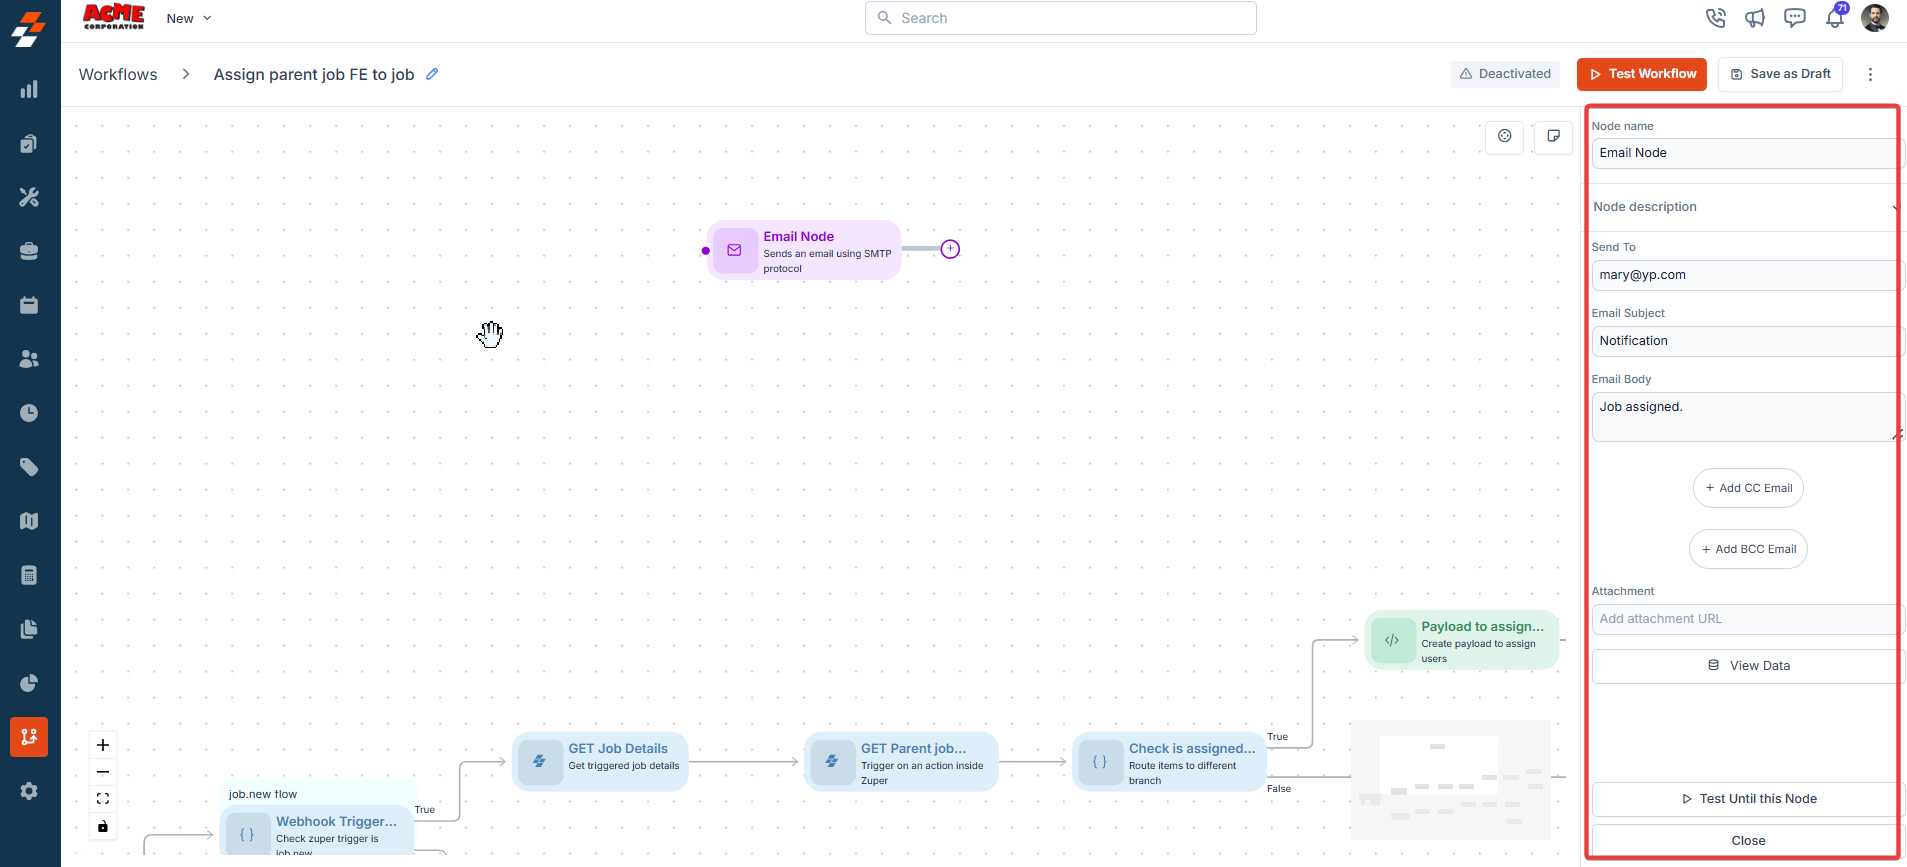
1. Send Email
Description:The Send Email node sends emails based on the parameters. Input/Output Details:
- Input: Recipients, subject, content.
- Output: Confirmation of email sent (if successful).
- Notify a customer about job completion.
- Send reminders to technicians about upcoming jobs.
- Fails if the recipient email is invalid or the recipient mail box is full or bounce due to their security settings.
- Logs errors like “Invalid email address.”
A workflow sends a job completion email:
- Input: Recipient = Customer Email; Subject = “Job Completed”; Content = “Your job is complete.”
- Output: Email is sent to the customer.
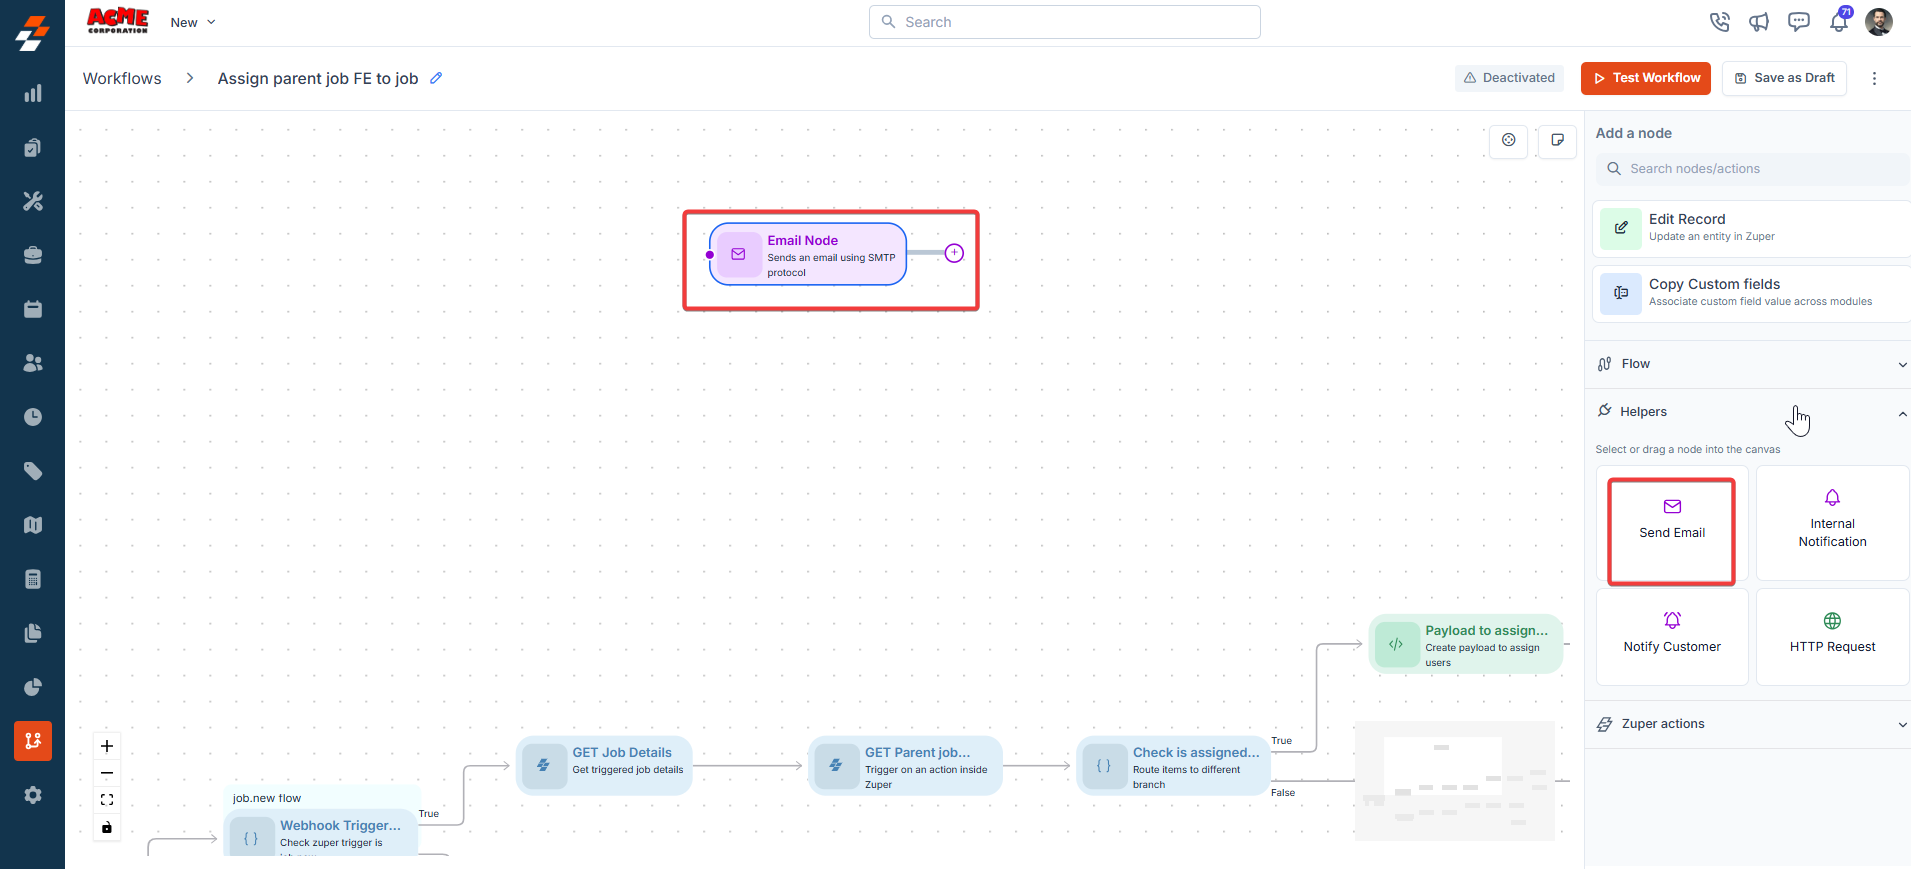
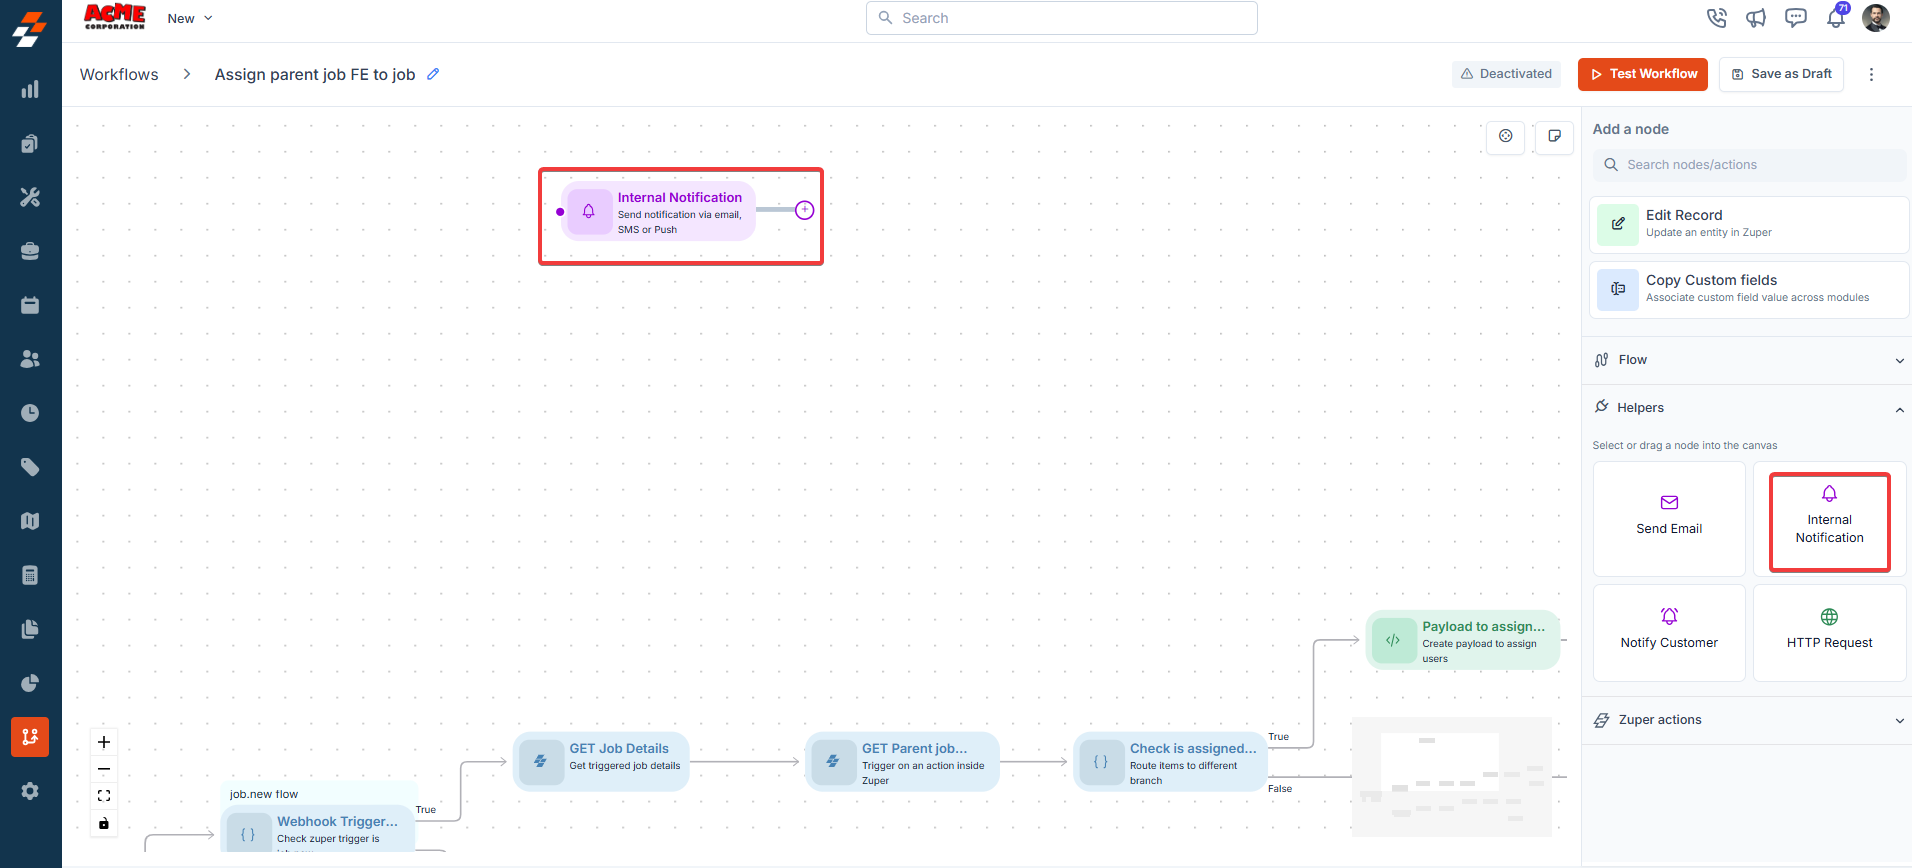
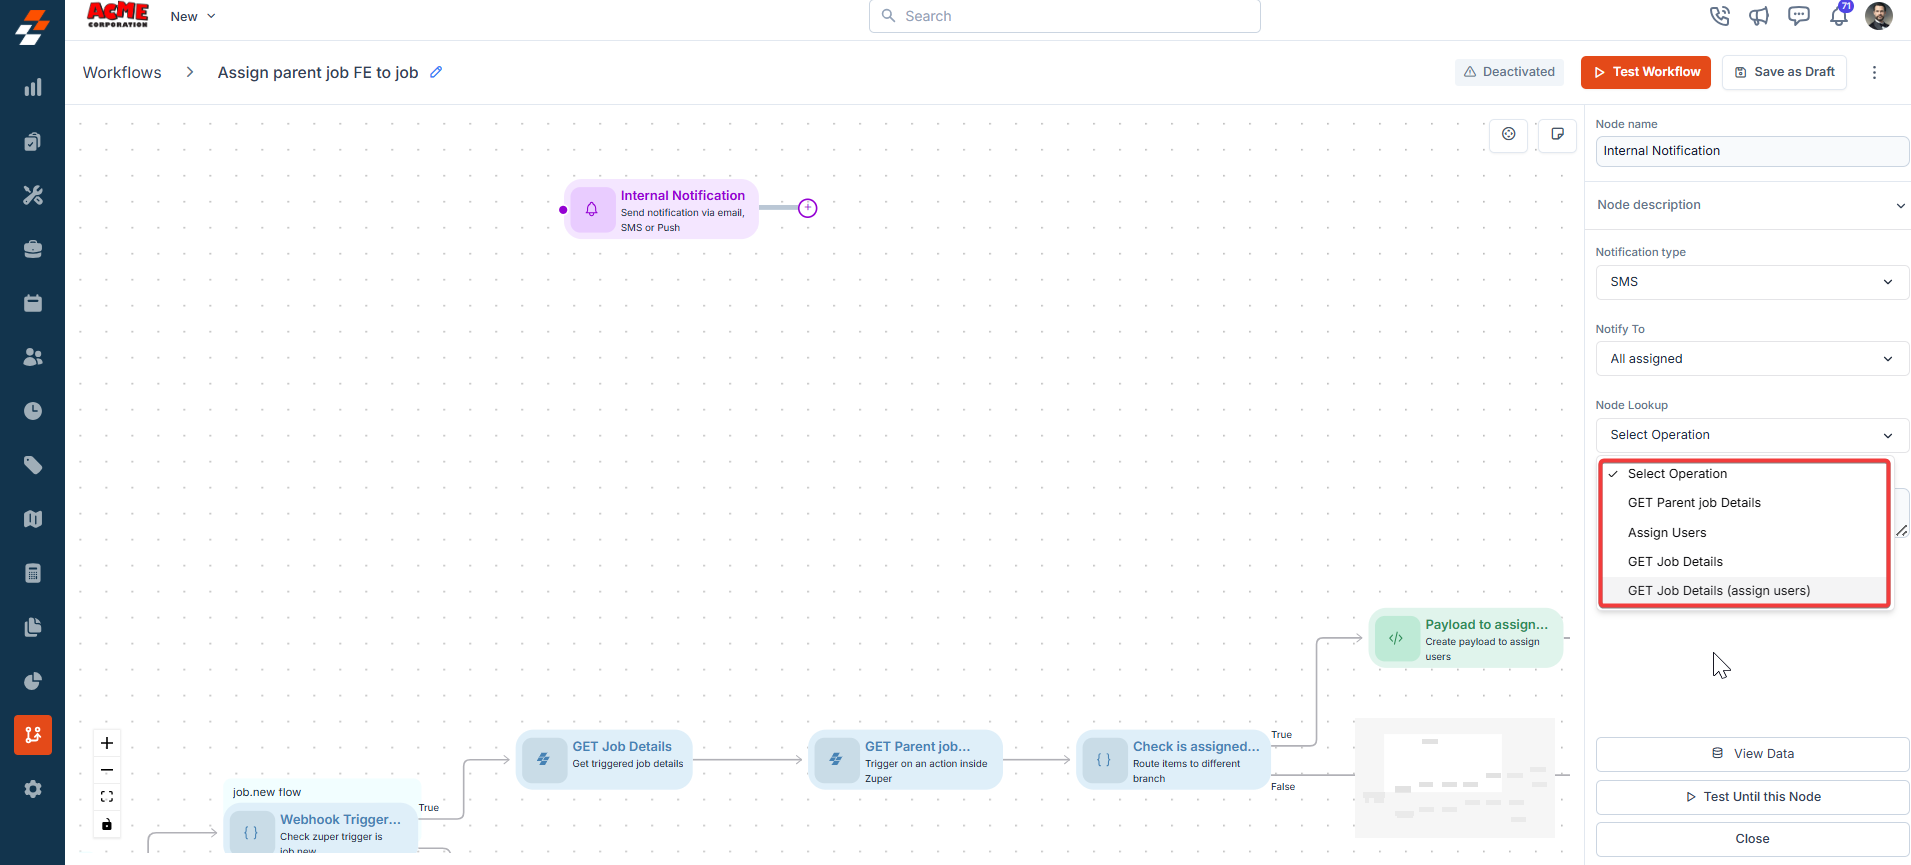
2. Internal Notification
Description:The Internal Notification node sends notifications to internal users. Input/Output Details:
- Input: Recipients, content, and delivery method.
- Output: Confirmation of notification sent.
- Alert a manager about a high-priority job.
- Notify the team about schedule changes.
- Fails if the recipient or delivery method is invalid.
- Logs errors like “Invalid recipient ID.”
A workflow notifies a manager:
- Input: Recipient = Manager ID; Content = “New high-priority job assigned”; .
- Output: Notification is sent to the manager.
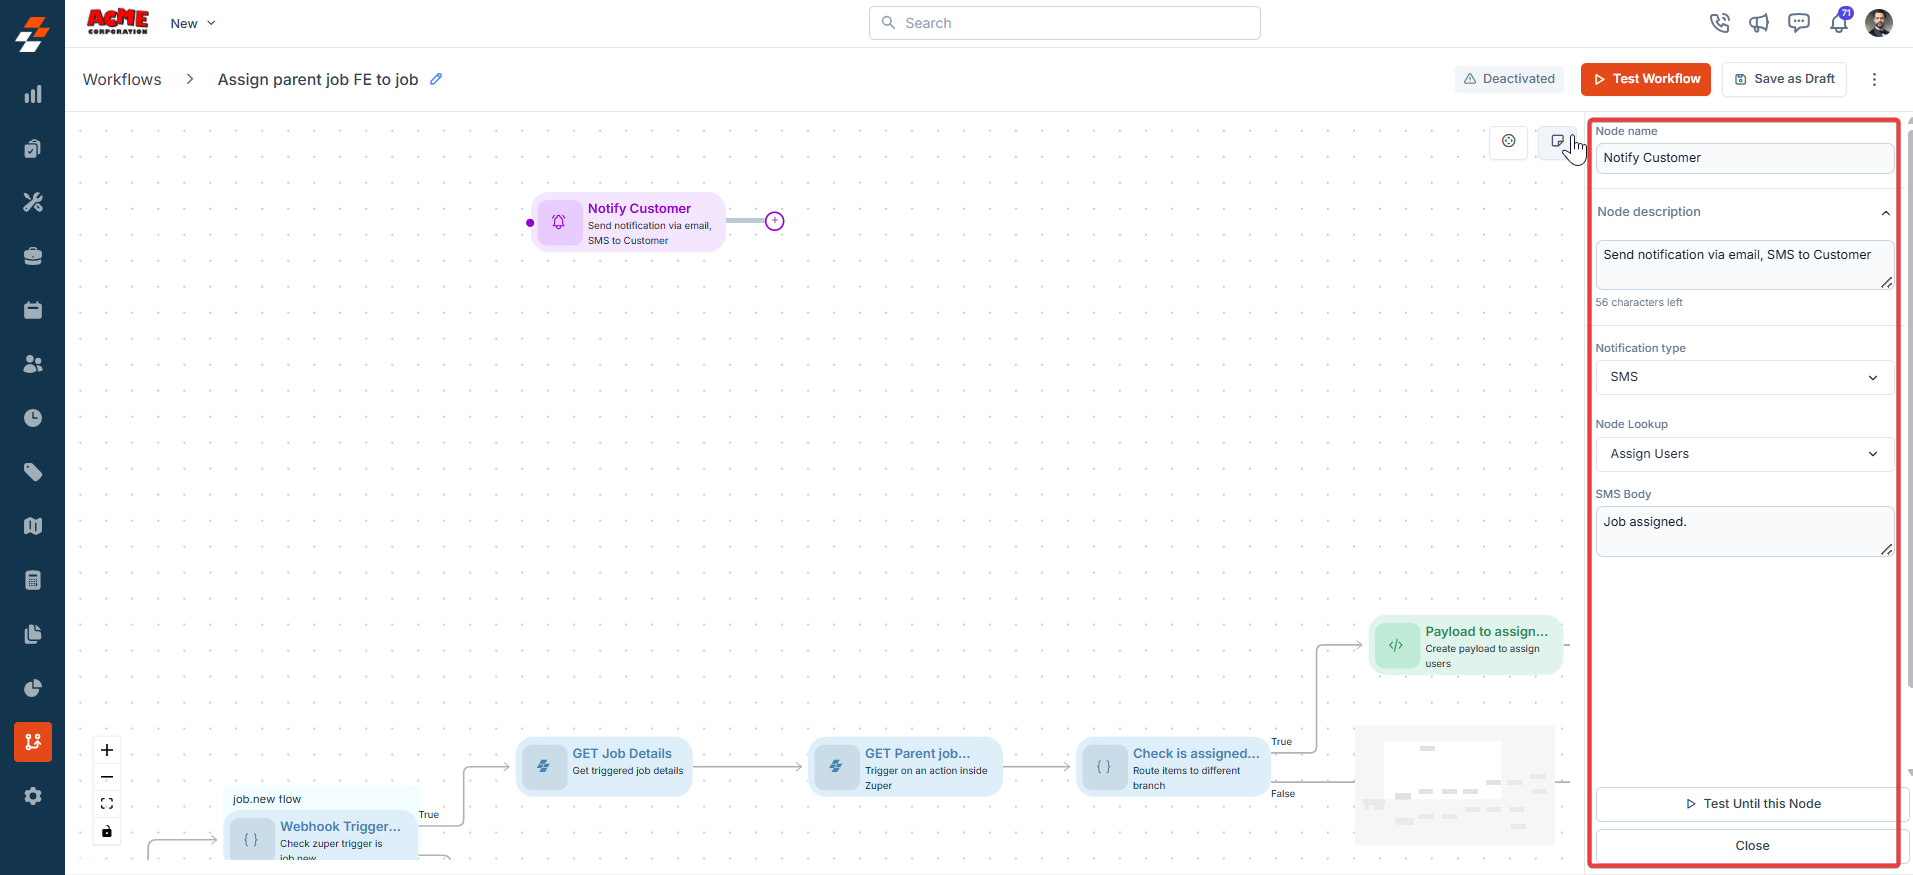
3. Customer Notification
Description:The Customer Notification node sends notifications to customers. Input/Output Details:
- Input: Customer recipients, content, delivery method, and optional template.
- Output: Confirmation of notification sent.
- Inform customers about job status updates.
- Send appointment confirmation messages.
- Fails if customer contact details are invalid.
- Logs errors like “Invalid customer contact.”
A workflow sends a job confirmation:
- Input: Recipient = Customer ID; Content = “Your appointment is confirmed”; Delivery = SMS.
- Output: SMS is sent to the customer.
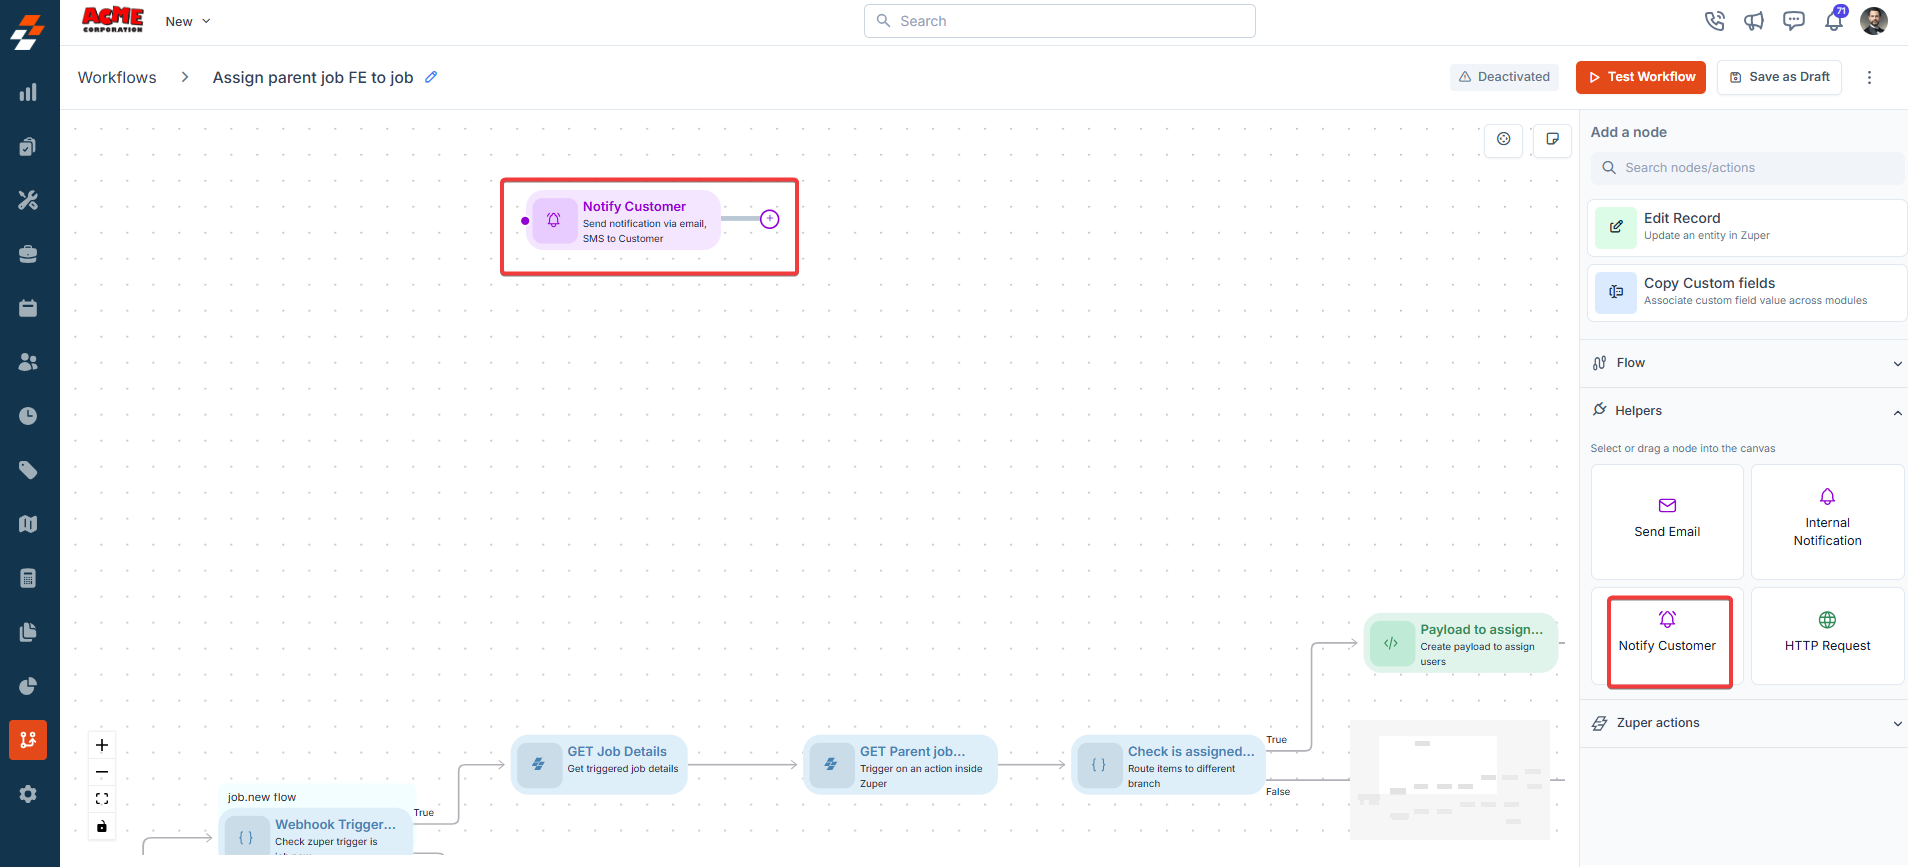

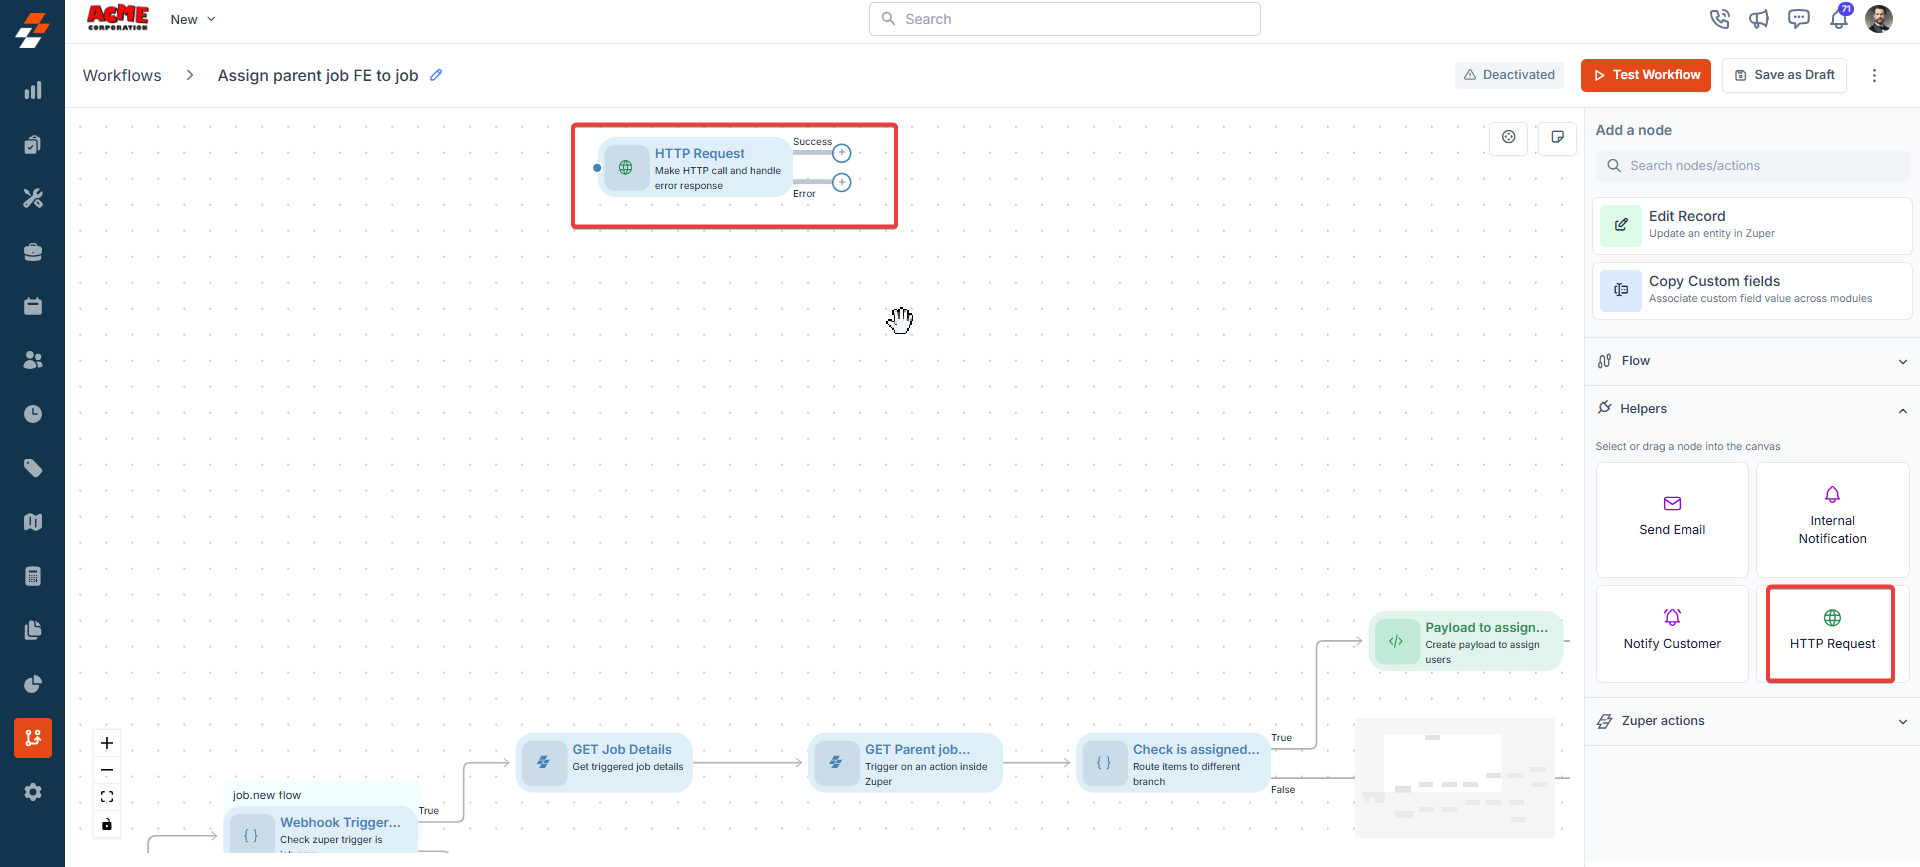
4. HTTP Request
Description:The HTTP Request node makes external API calls, supporting GET, POST, PUT, and DELETE methods. Input/Output Details:
- Input:
- Endpoint URL (fixed or expression-based).
- HTTP method (GET, POST, PUT, DELETE).
- Authentication (Basic, Header, or None).
- Query parameters, headers, body (JSON, RAW, or Form data), SSL verification, and timeout.
- Output: API response data, accessible to subsequent nodes.
- Retrieve external data (e.g., weather data for job scheduling).
- Update an external CRM with job details.
- Fails if the endpoint is unreachable, authentication fails, or the response times out.
- Logs errors like “Connection timeout” or “Invalid credentials.”
- Customer
- Job
- Organization
- Products
- Assets
- Service Contracts
- Estimates
- Invoice
- User
- Team
- Request
- Project