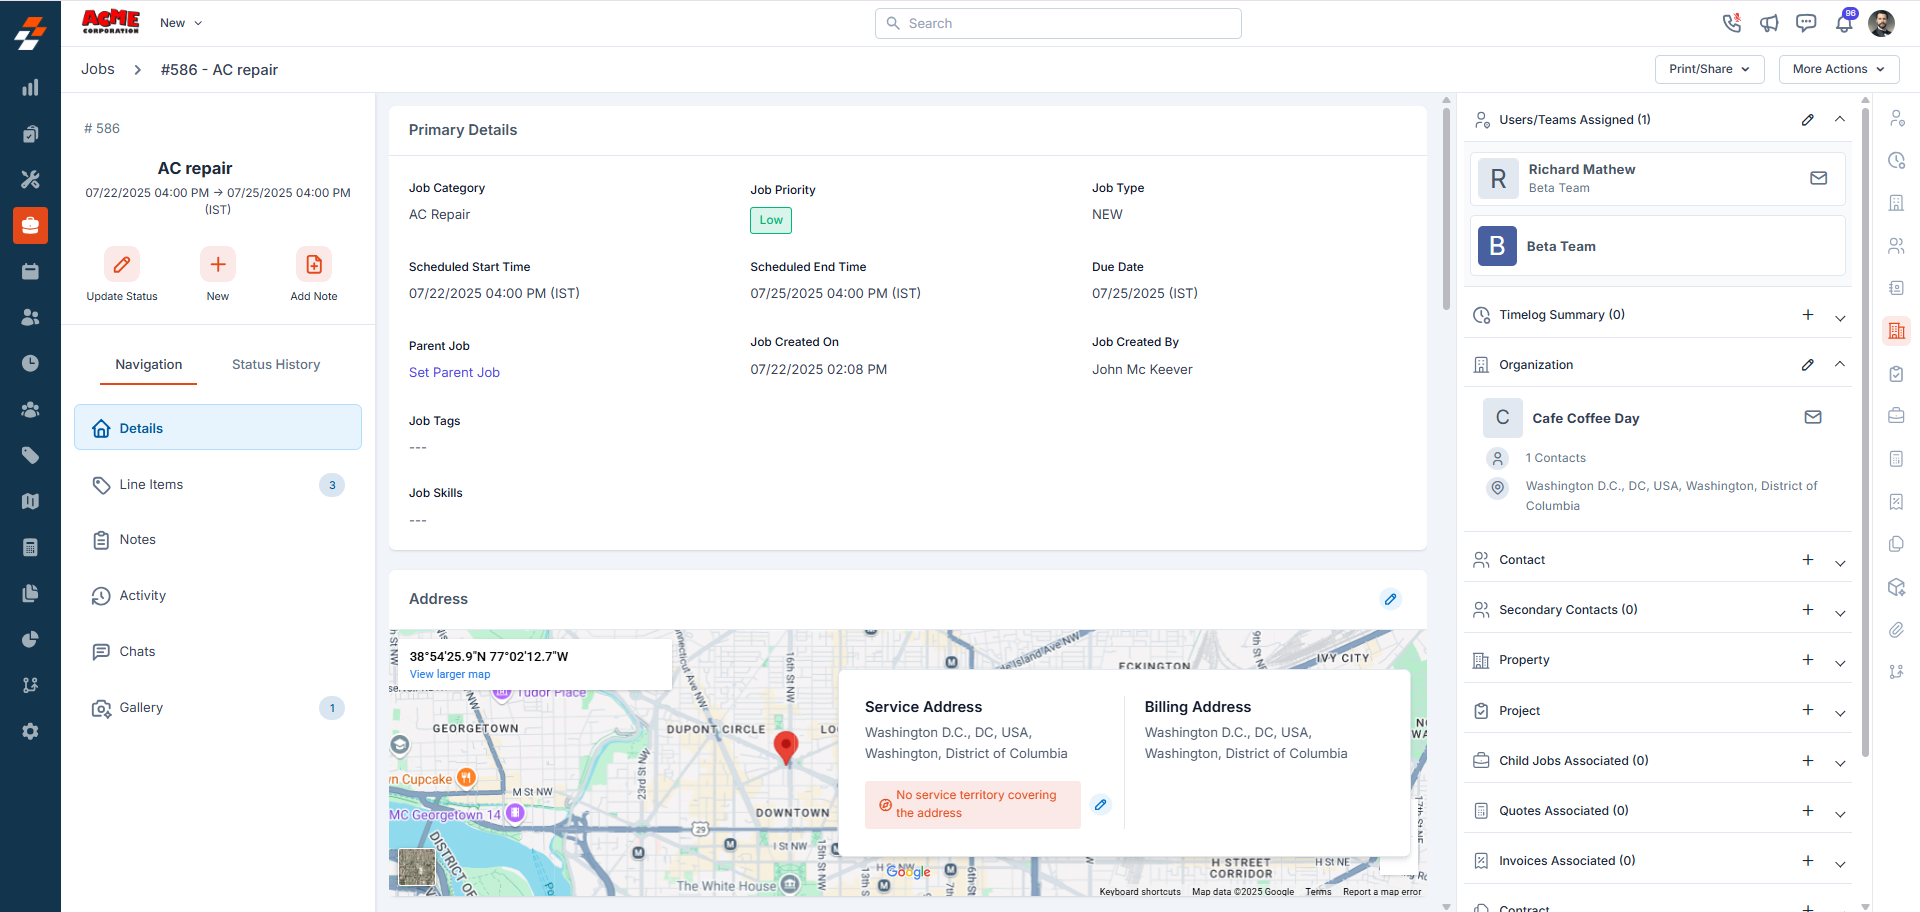
- Navigate to the Job Details page of the relevant job.
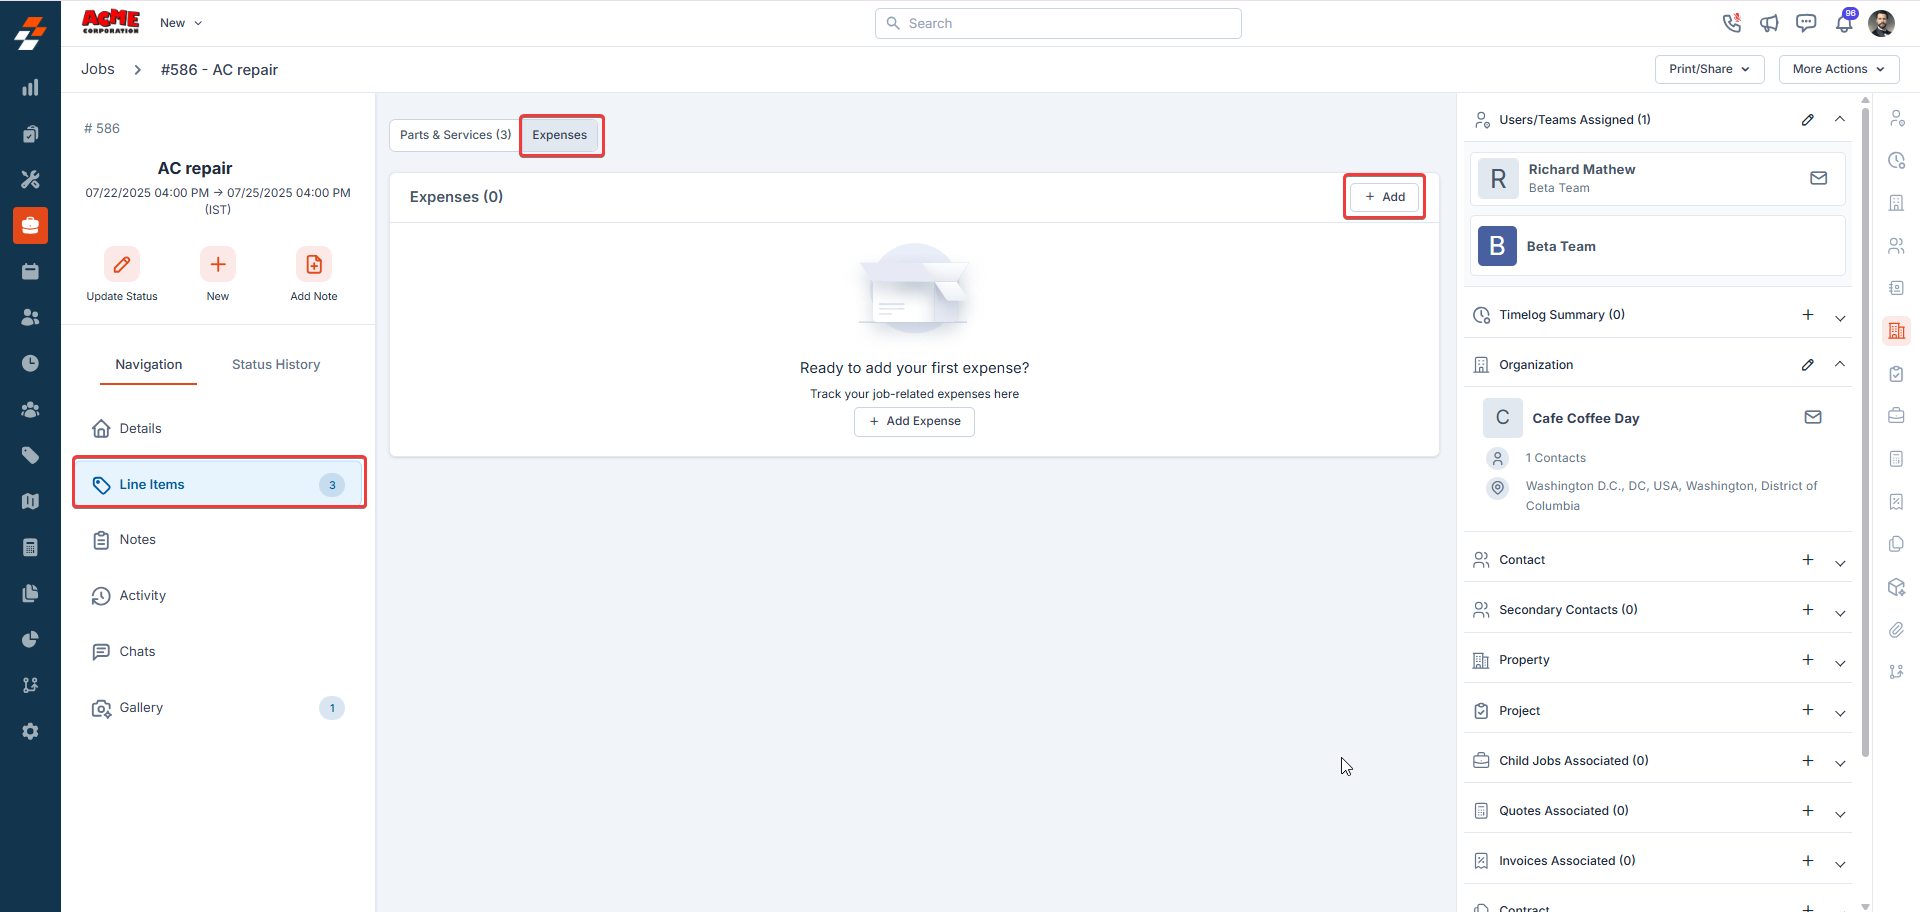
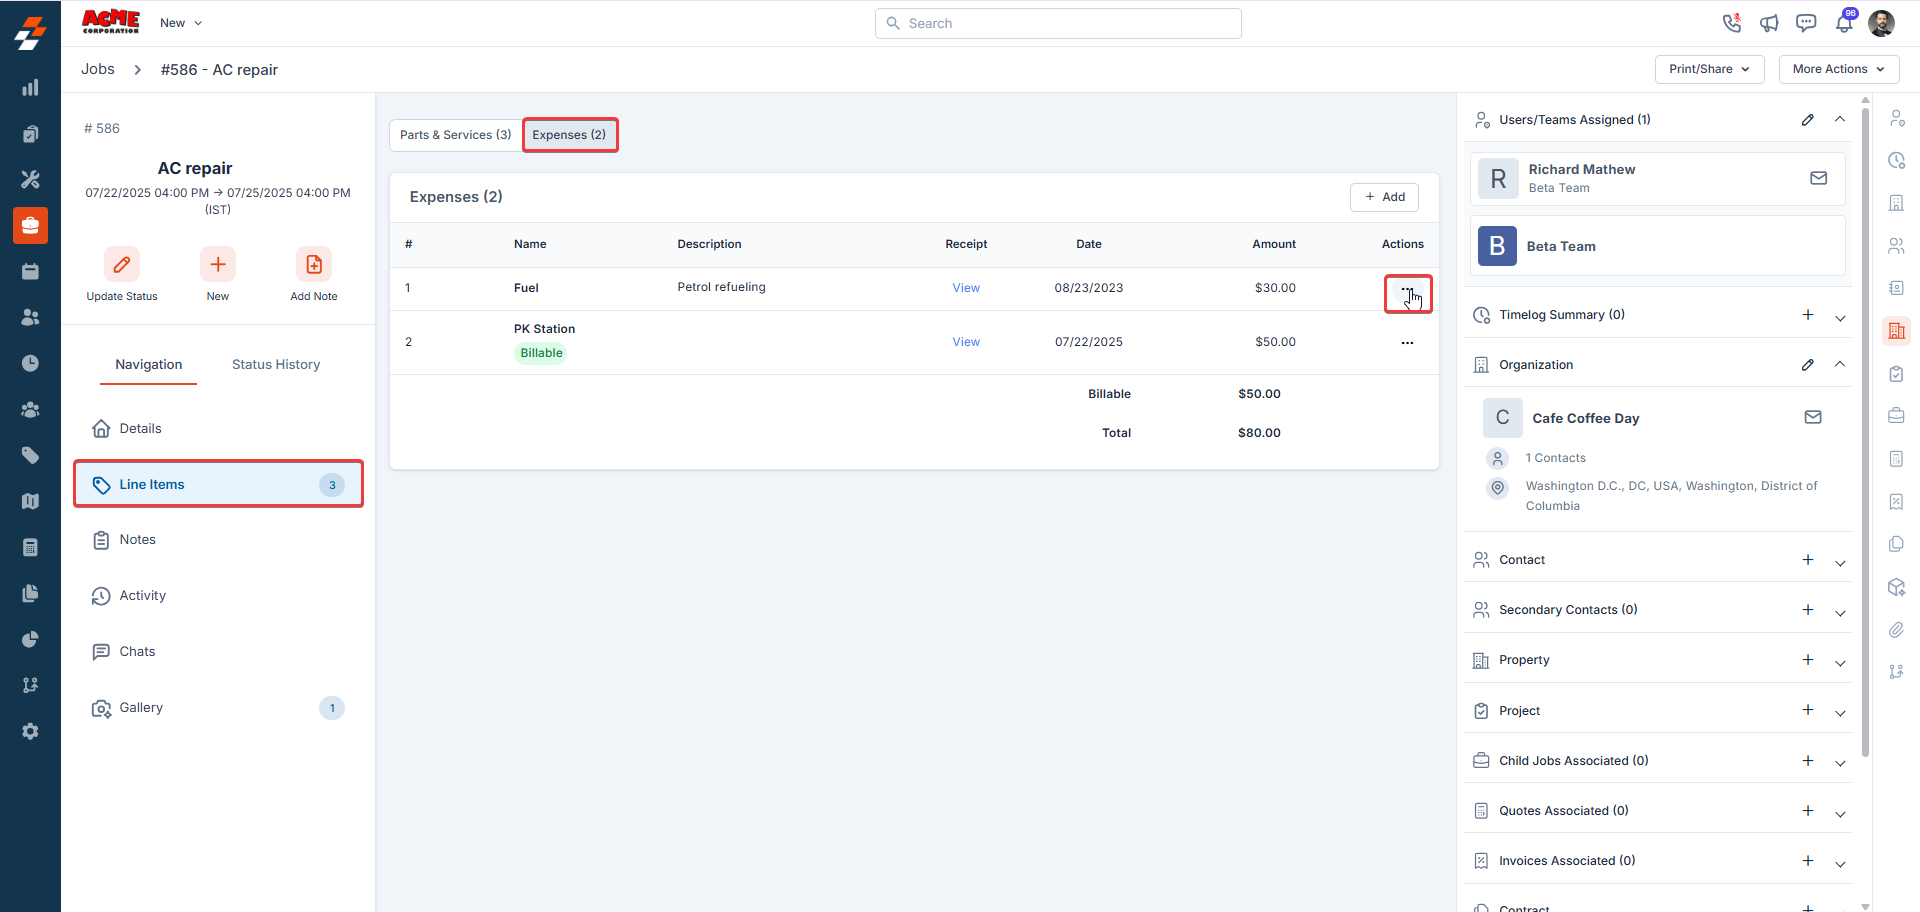
- Click on the Line Items section, where the Expenses tab is now located, and click + Add Expense.
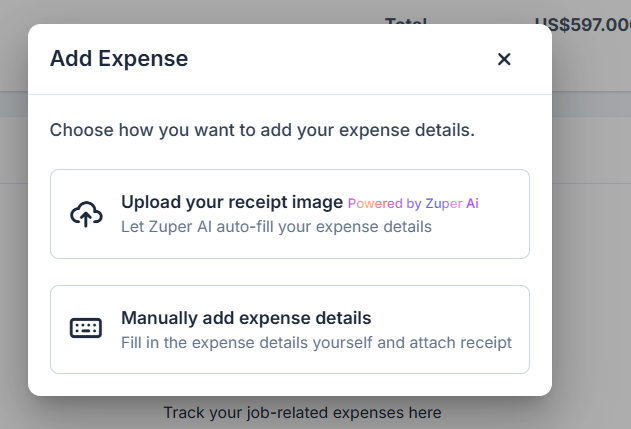
- You can choose one of the following methods to upload your expense receipt:
- Upload your receipt & Pre-fill: Upload your receipt, and the Zuper AI tool will automatically extract and fill in the details such as Name, Category, Date, and Amount. This option is ideal for saving time and reducing manual errors.
- Manually add Expense Details: Upload your receipt and enter the details yourself. This option gives you full control over the entered information, especially when the receipt format is incompatible with AI extraction.
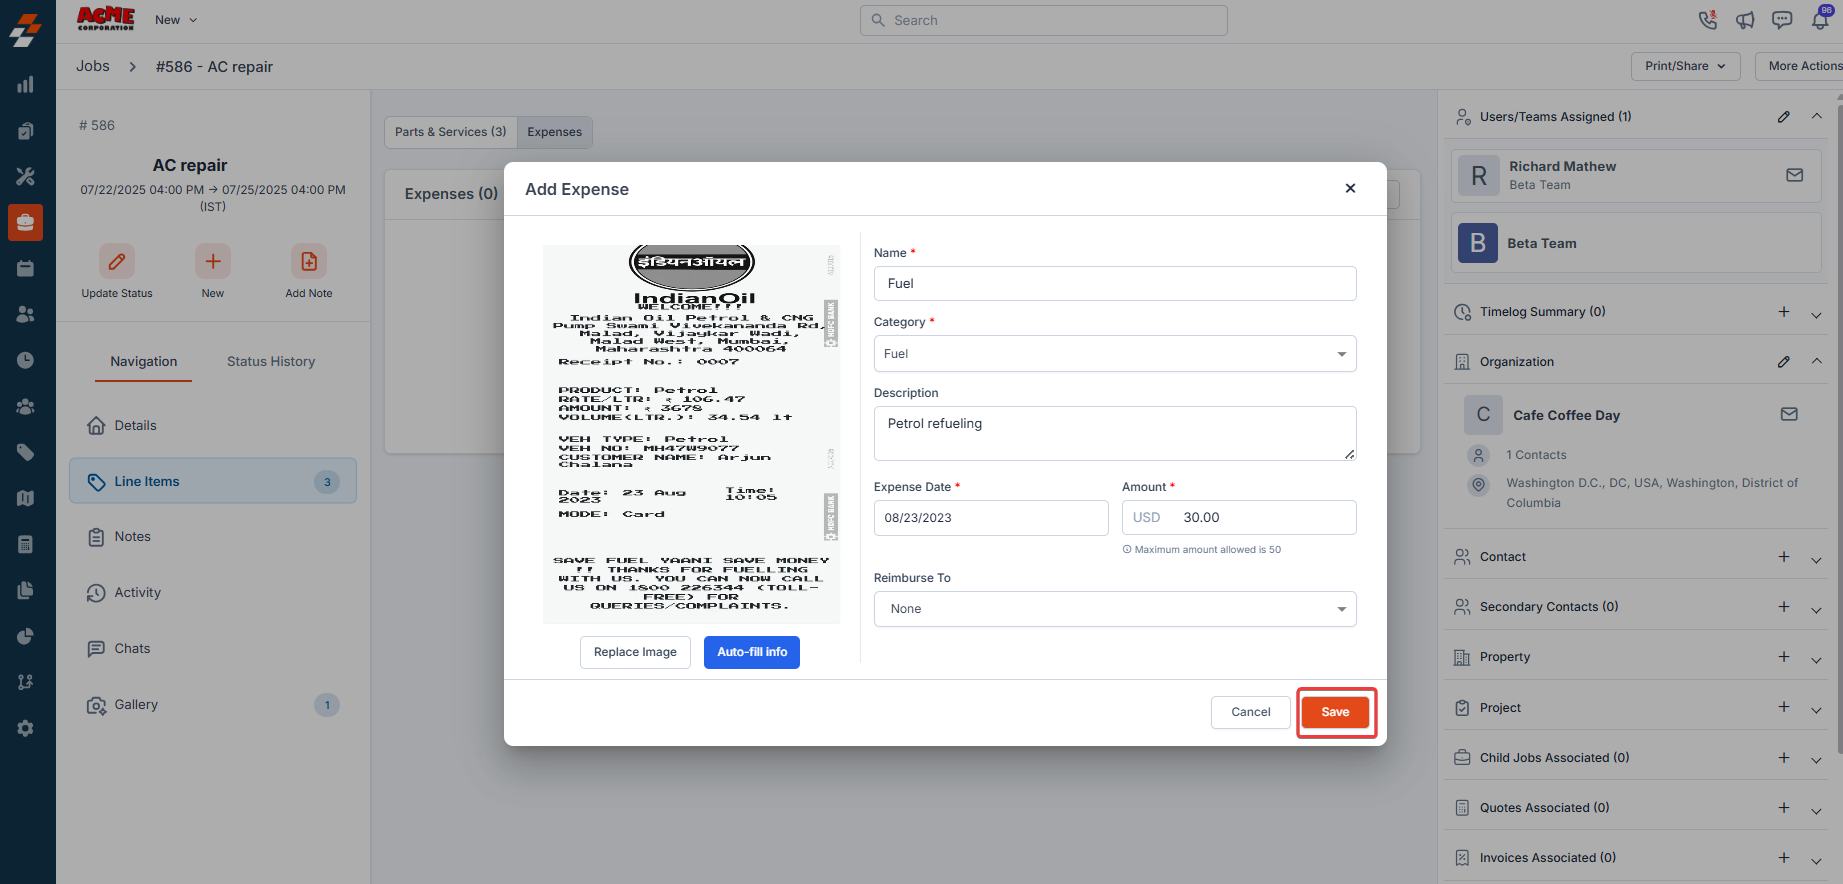
- Once the receipt is uploaded, every expense item in Zuper will contain the following information.
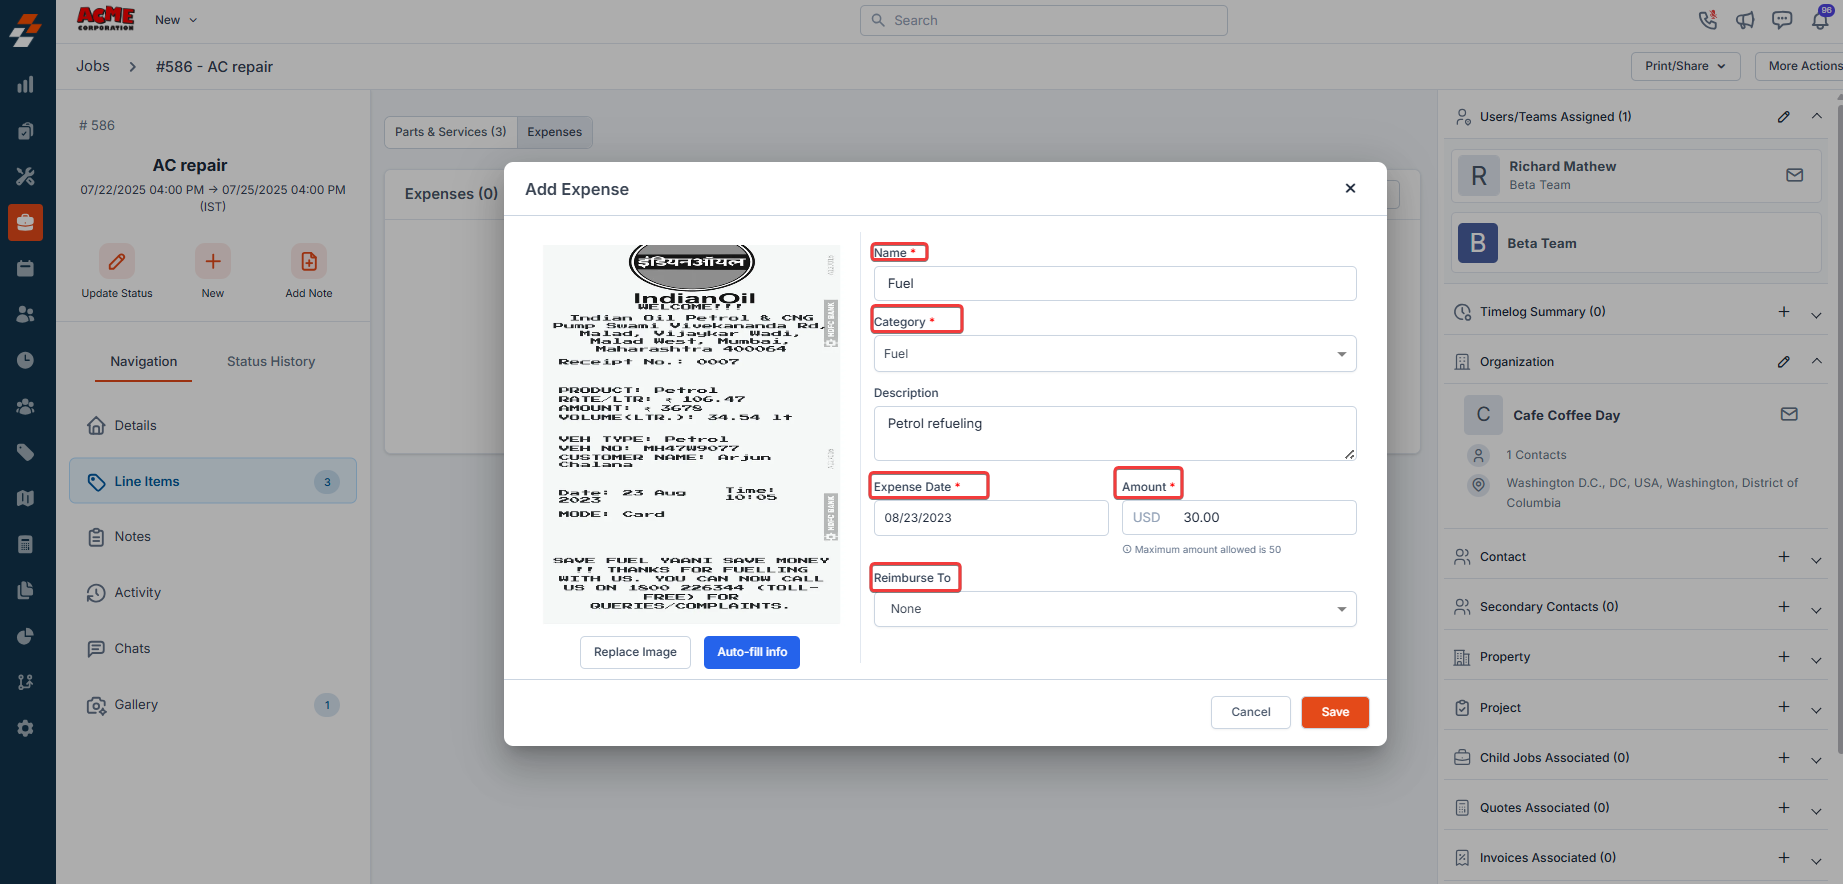
- Name: The name of the expense.
- Category: Select the expense category from a dropdown menu during manual entry, or if using the AI tool, the category will auto-fill based on the uploaded receipt. To know more, see Expense category.
- Description: Provide additional context for the expense.
- Expense Date: The date when the expense occurred.
- Amount: The amount of the expense. Note: The system will not allow the expense amount above the capping limits to be entered.
- Reimburse To: Specify if the expense needs to be reimbursed to a user. Note that the availability of the Reimburse To field is based on the settings defined in the selected expense category. If the chosen category is marked as non-reimbursable, this field will not appear.
- Click Save to add the expense.
Functions on the Add Expense page
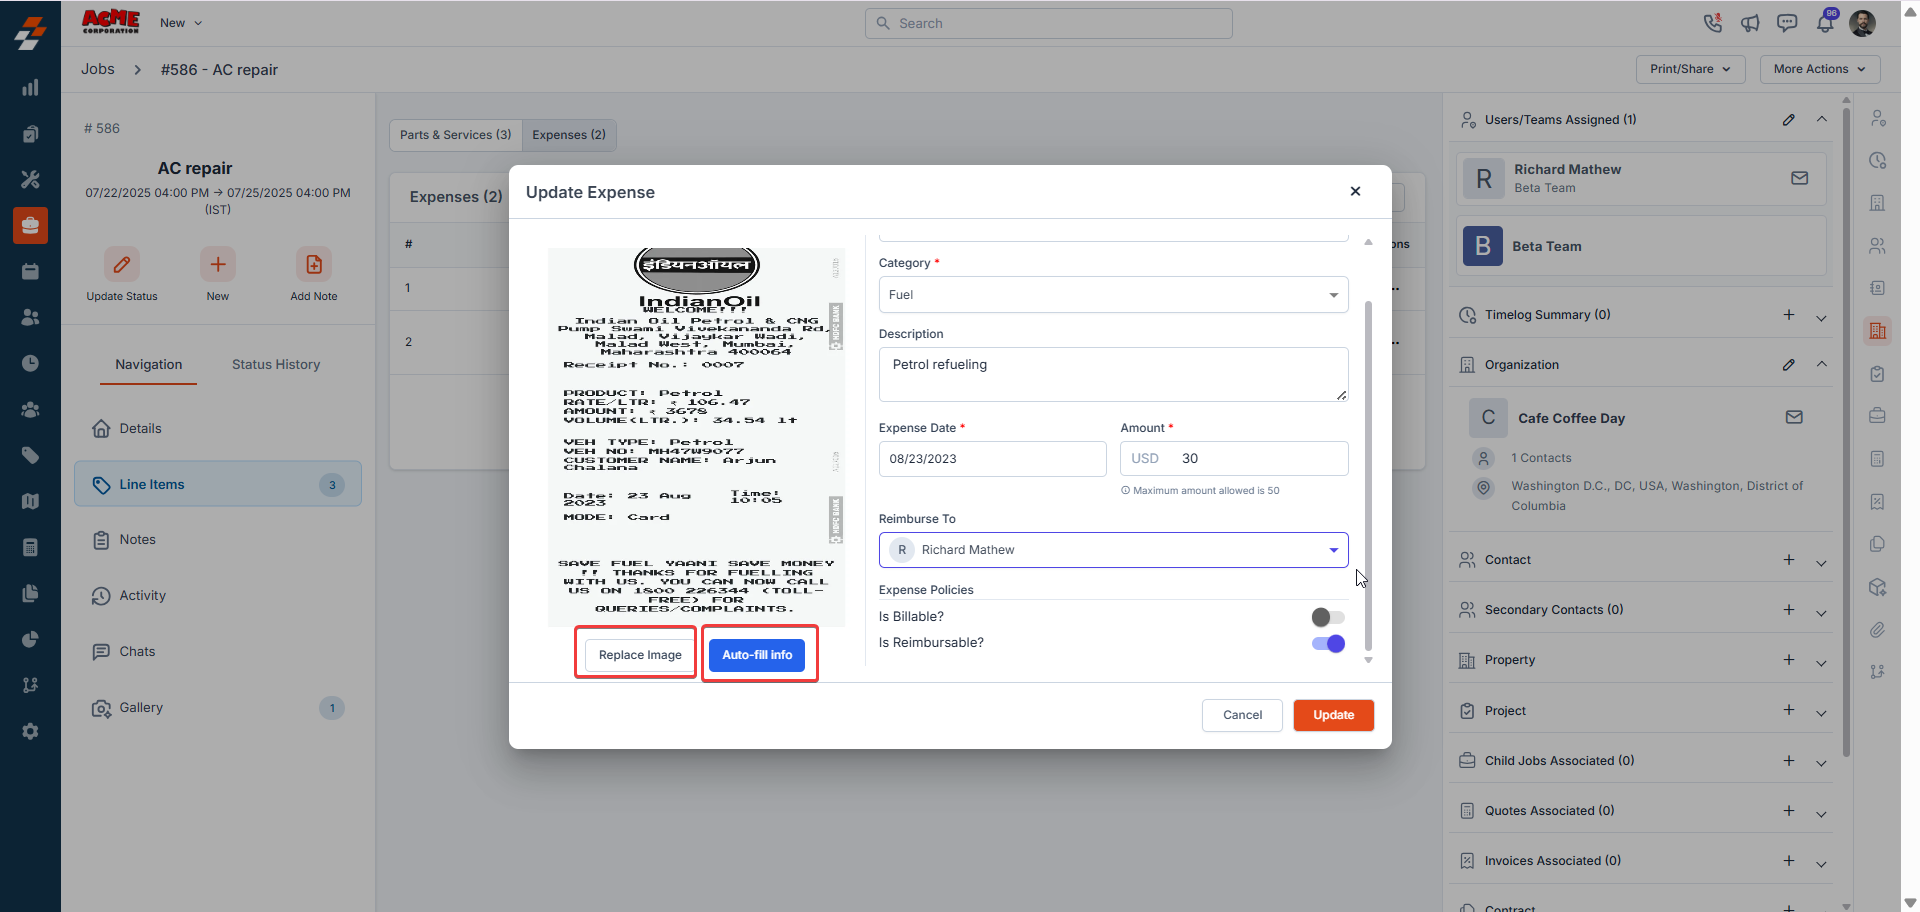
- Replace Image: Use this option to update the uploaded receipt image.
- Auto-fill Info: Use this option to extract details from the receipt to populate the expense fields.
Editing an Expense
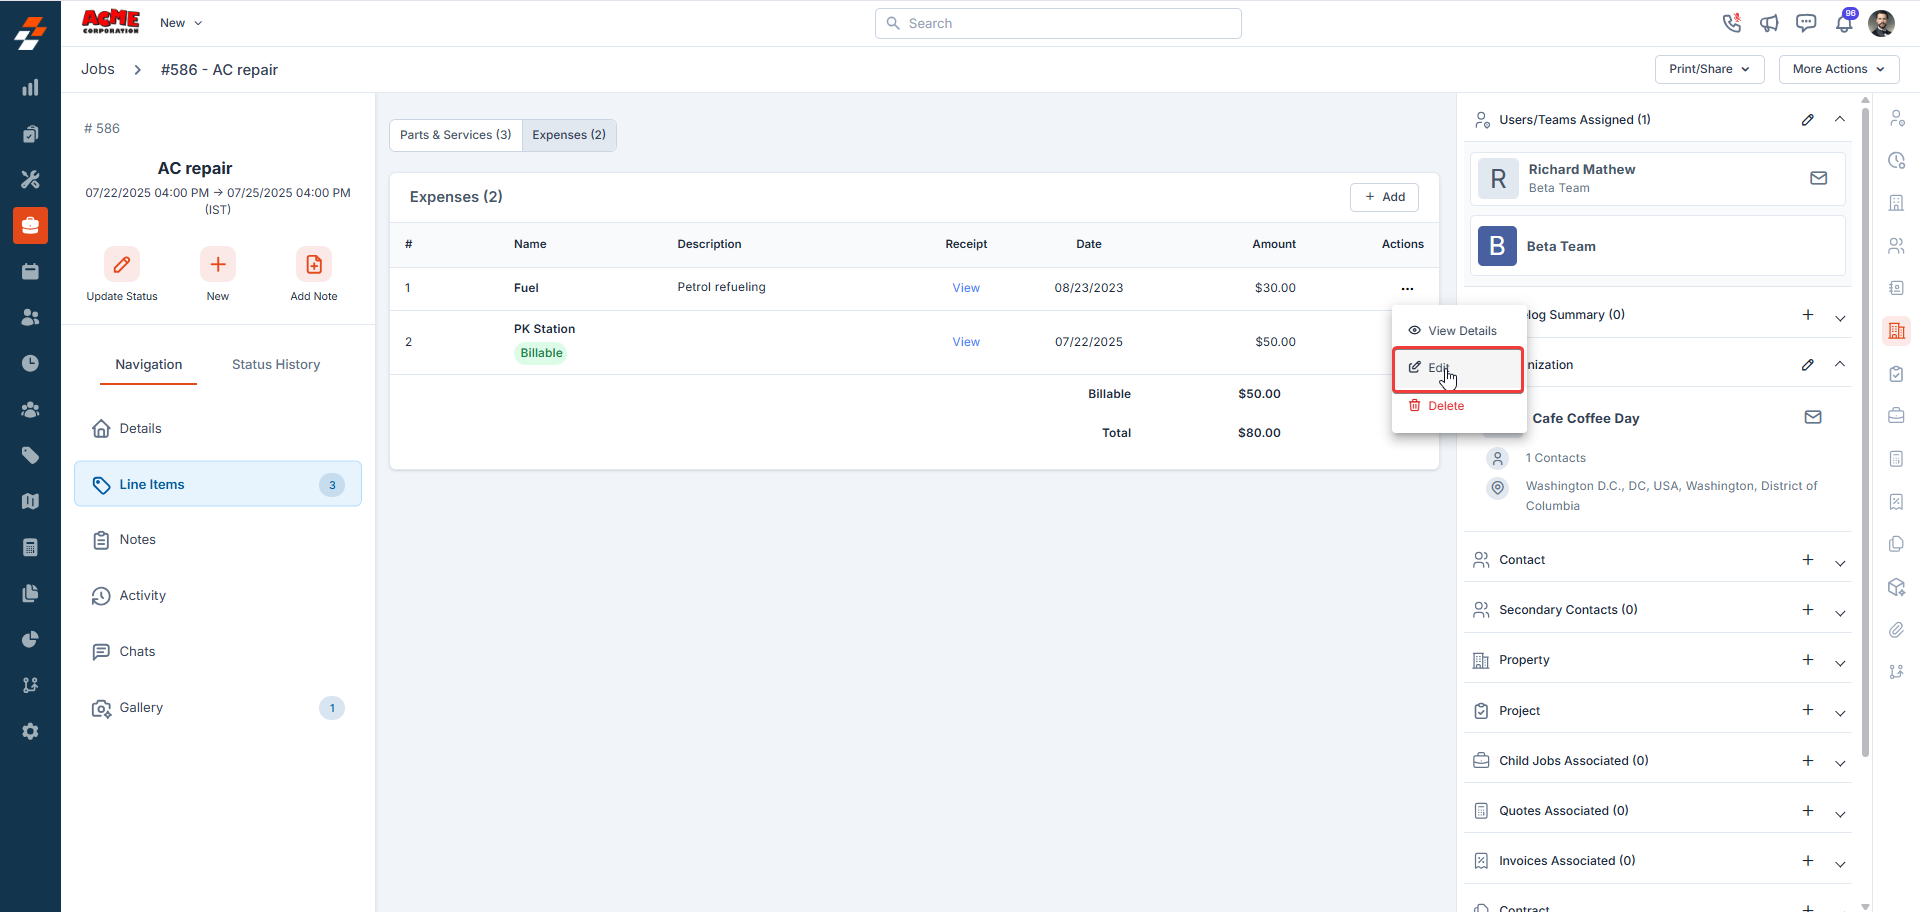
- On the Job Details page, click the Line Items section, locate the relevant expense, and click the Context menu (three dots).
- Select Edit.
- Make the necessary changes to any of the fields or receipts.
Note: If you’re logged in with Admin access or your role permits, you can also update expense policies, such as Billable and Reimbursable, directly on the Update Expense page. If you are experiencing issues updating the expense policies, please reach out to us at support@zuper.co.
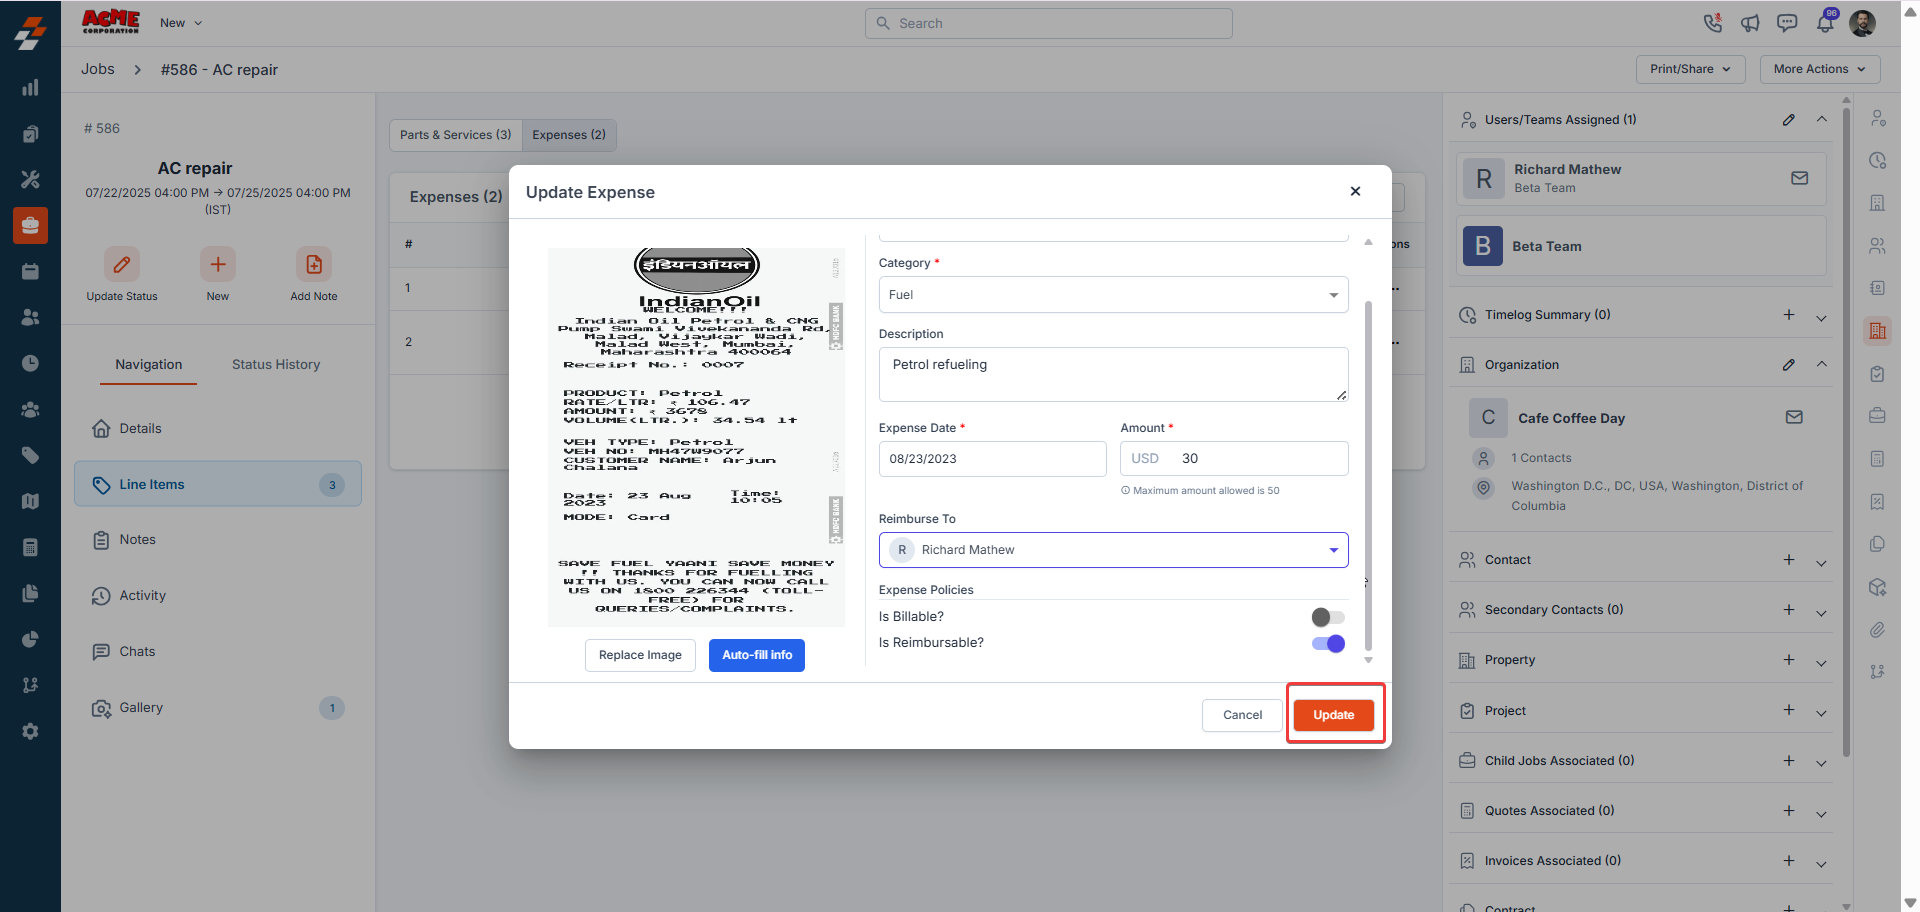
- Click Update to save the changes.
Important: Changes made to the Billable or Reimbursable fields will only apply to the specific job and will not affect the settings in the master expense category.