Navigation: Settings -> Customer Portal
a. Customization
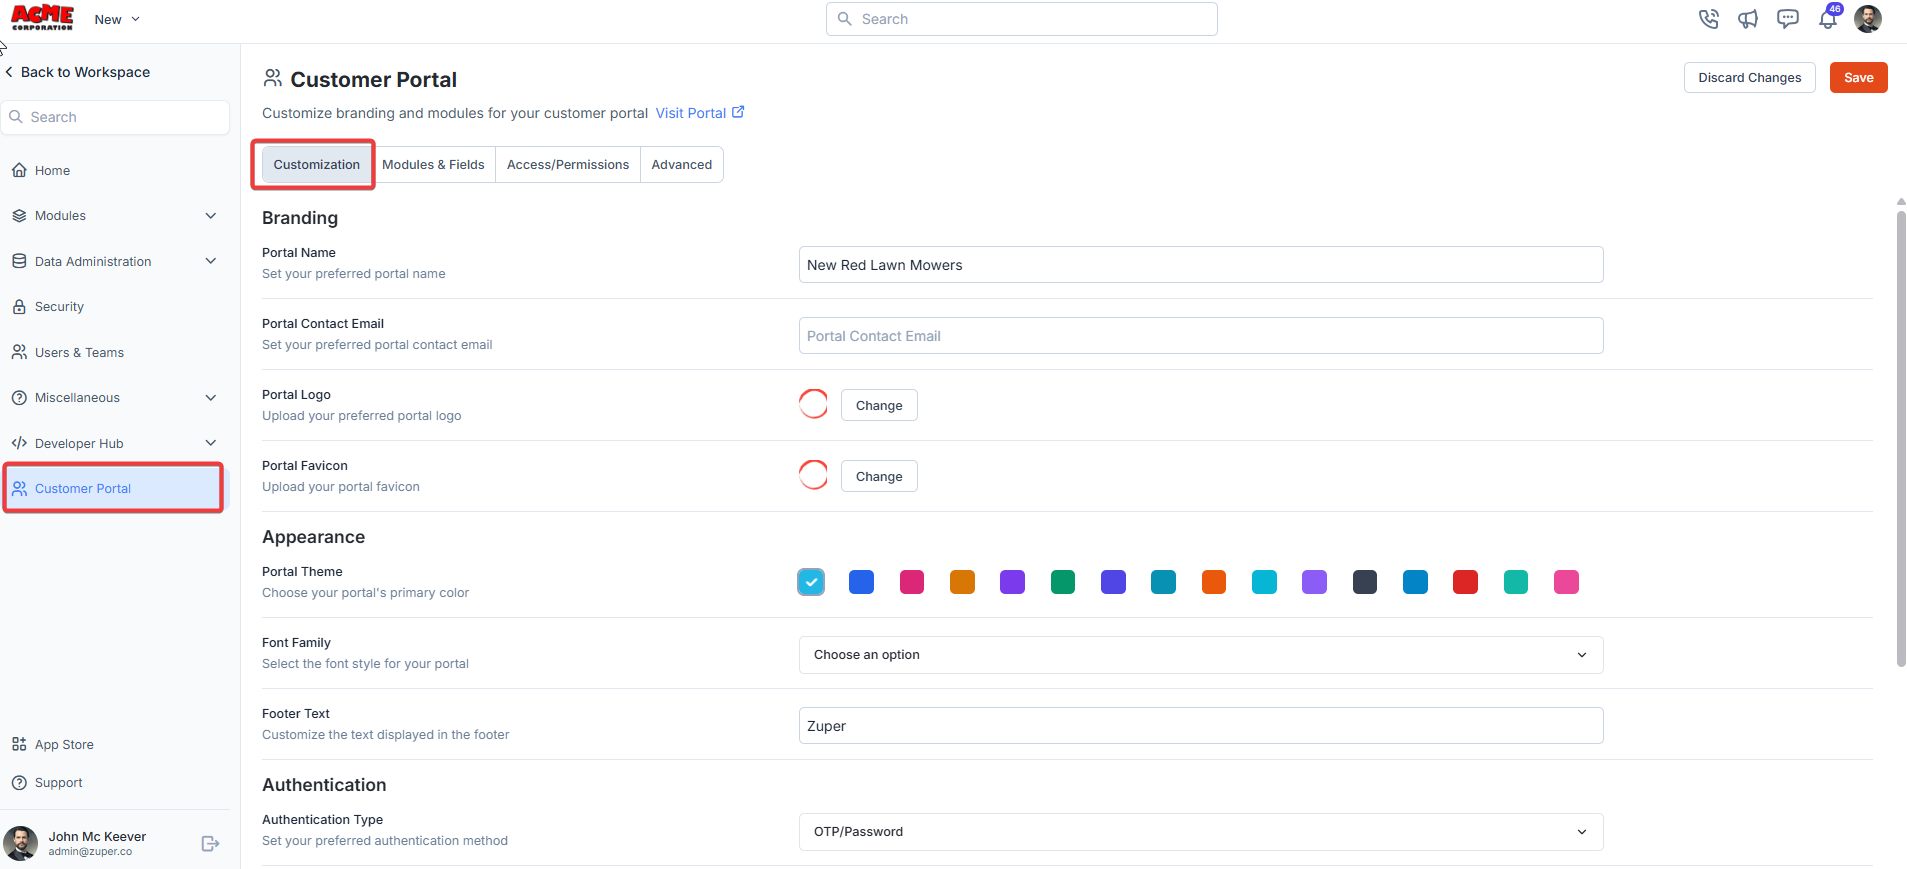
1. Select the “Settings” module from the left panel. Under the “Customer Portal,” choose the “Customization” tab. Branding From the “Branding” section, fill in the following details.| Fields | Description |
|---|---|
| Portal Name | Enter the name that is to be displayed in the customer portal’s title bar. |
| Portal Contact Email | The contact email ID of the portal. |
| Portal Logo | The logo of the customer portal. |
| Portal Favicon | The icon that is displayed in the title bar of the customer portal. |
| Fields | Description |
|---|---|
| Portal Theme | From the list, choose the preferred primary color from the color picker list. |
| Font Family | From the drop-down, choose the font. |
| Footer Text | Enter the footer text to be displayed in the customer portal. |
| Fields | Description |
|---|---|
| Authentication Type | Authentication is identifying the right user to log in to the system securely. Here, you can choose one of two methods: |
| - Password - Only the user’s email and password can be used to log in. | |
| - Password / OTP - Password and OTP can be used to log in. |
Note: External page links help you add your brand-related social media pages.
b. Modules & Fields:
The Modules & Fields help add a side panel menu that needs to be displayed in the customer portal:- From the “Modules & Fields” section, click “+Add Menu” to add the modules.
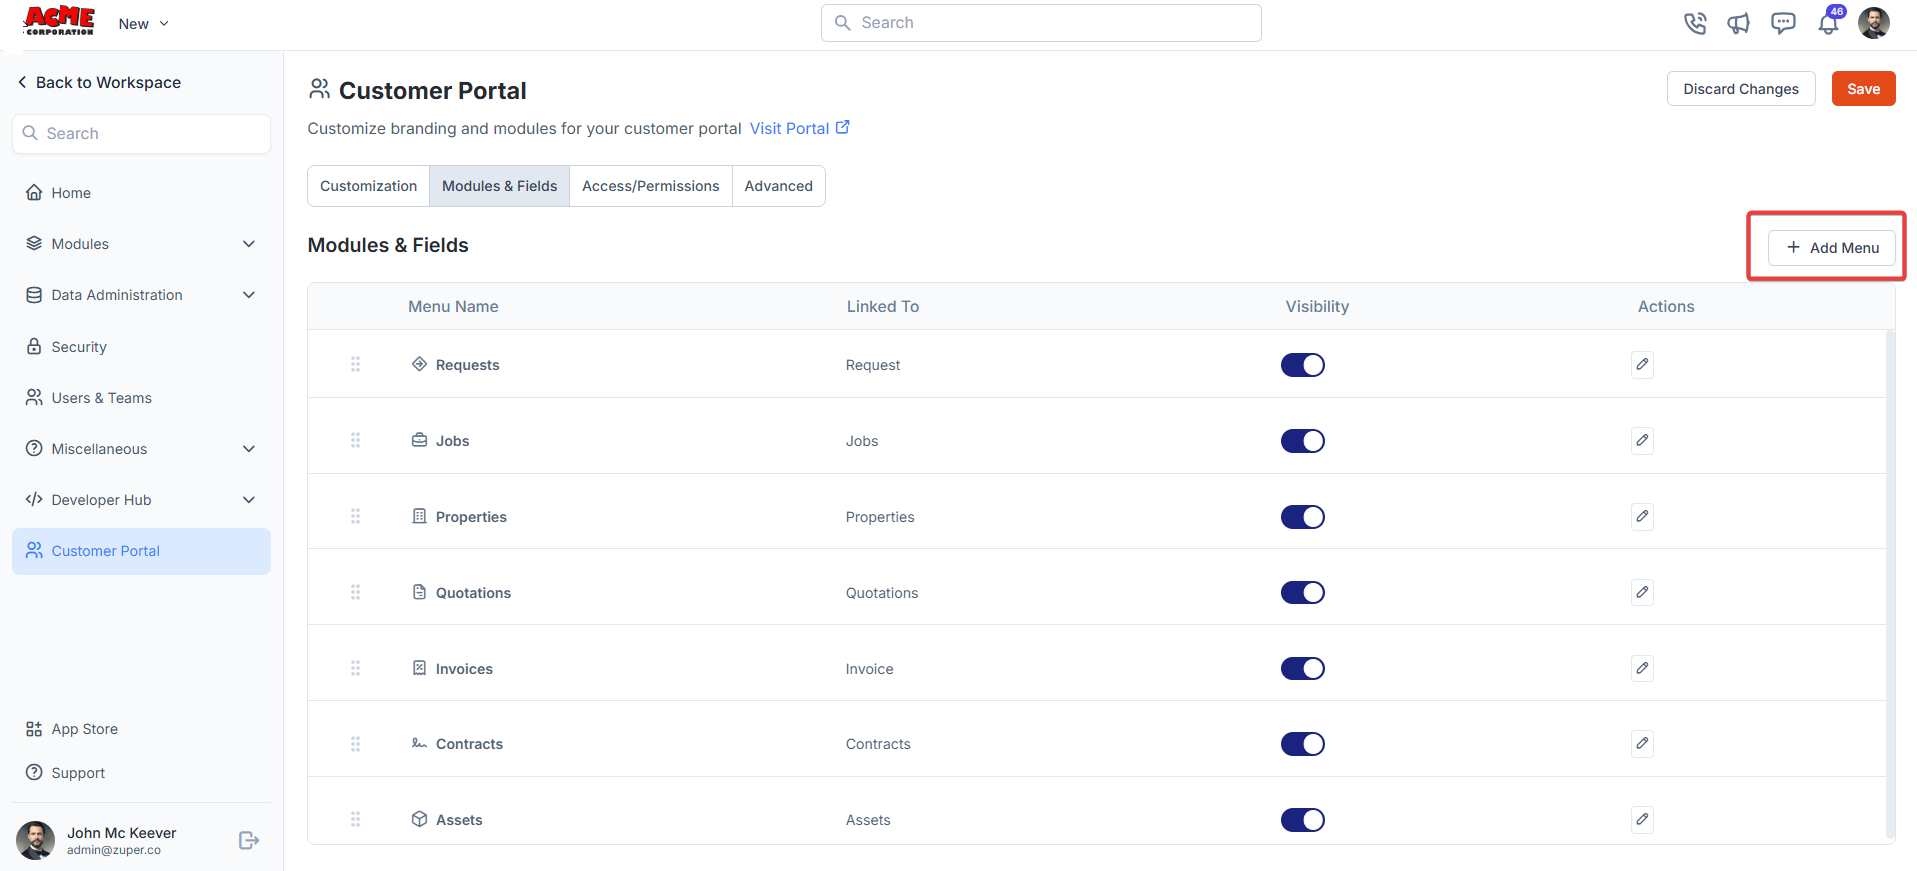
- To add the menu, add the following details for the page:
| Fields | Description |
|---|---|
| Menu Name (Mandatory) | The menu name is to be displayed. |
| Linked to | Represent the module that is linked to the menu. |
| Visibility | Toggle portal visibility on or off. Add the icon that needs to be displayed in the navigation menu. |
| Actions | Click the “Edit” icon to add/modify the icon and menu name. The required field that needs to be visible under the listing and details page can be toggled on or off. |
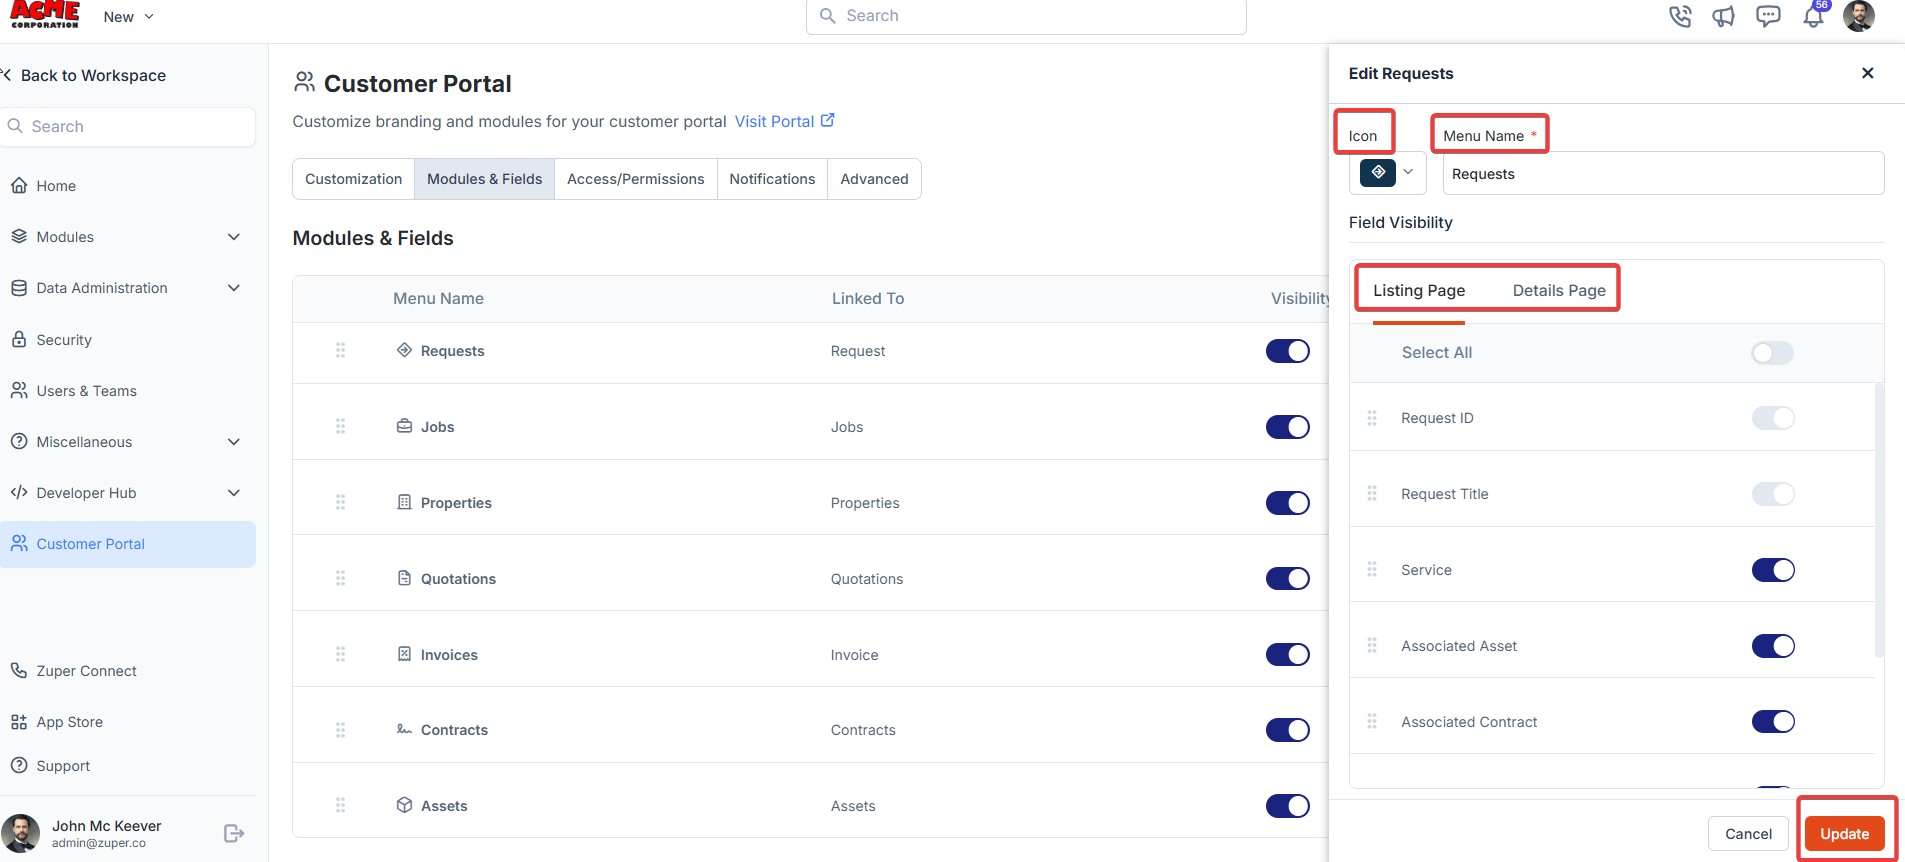
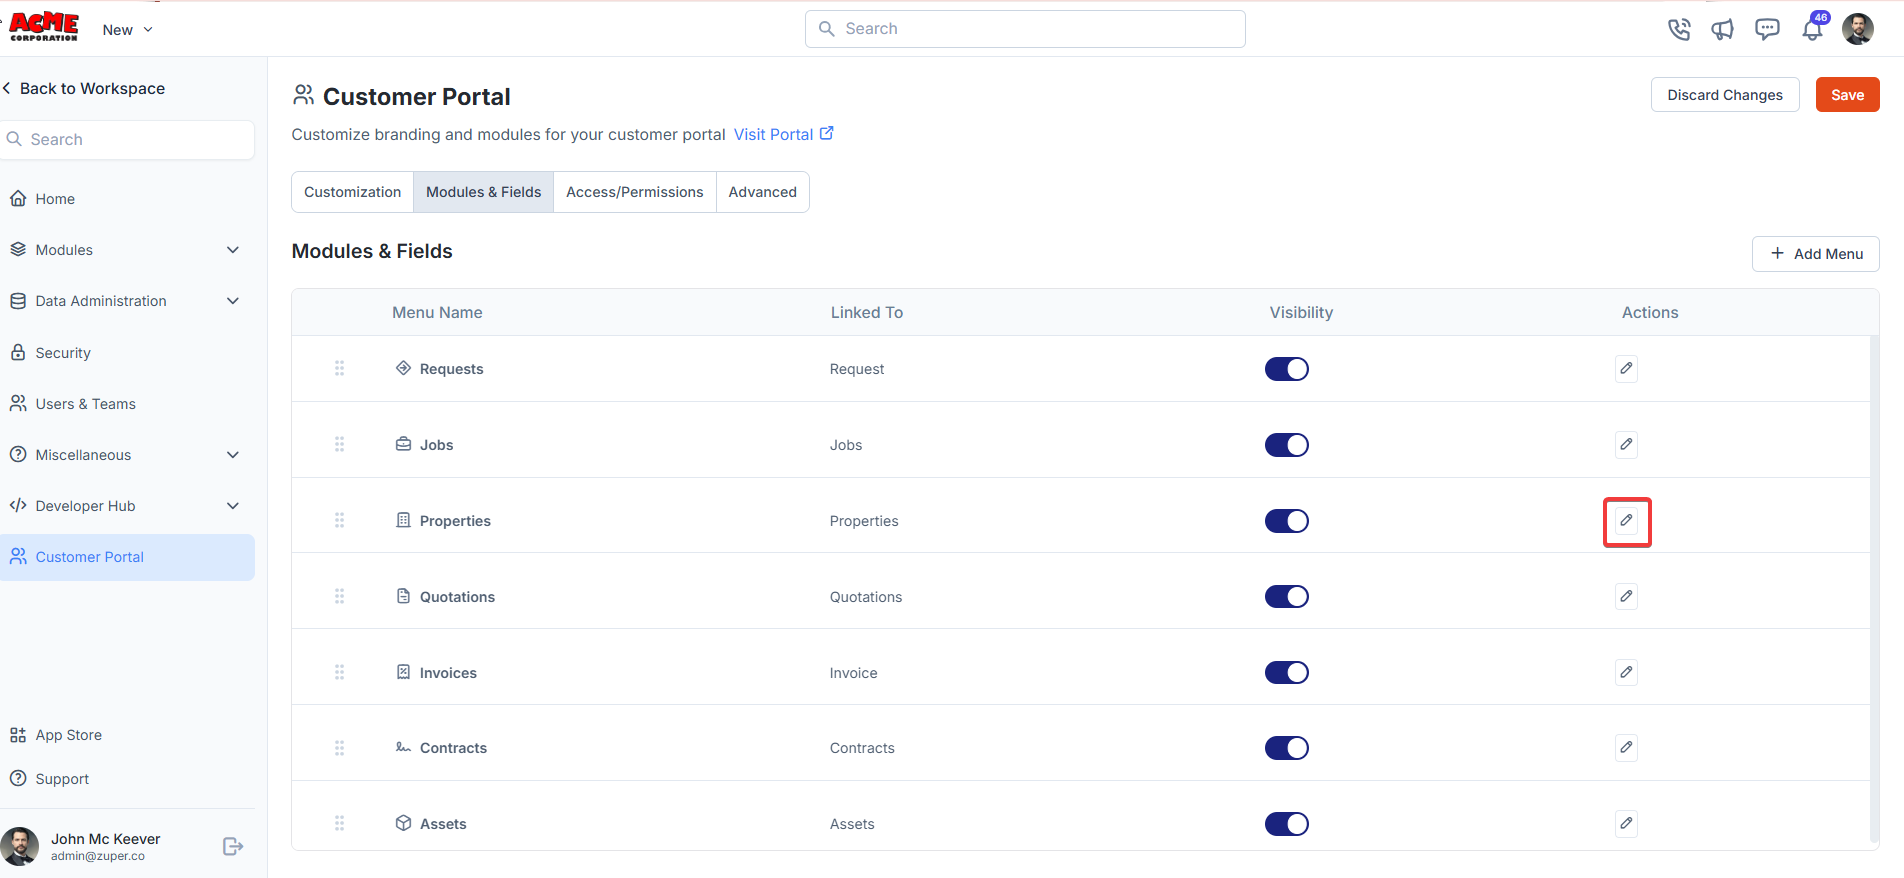
- You can toggle the list of modules on or off as needed. Use the “Edit” icon to modify the navigation menu. Click the icon to re-order the menu items.
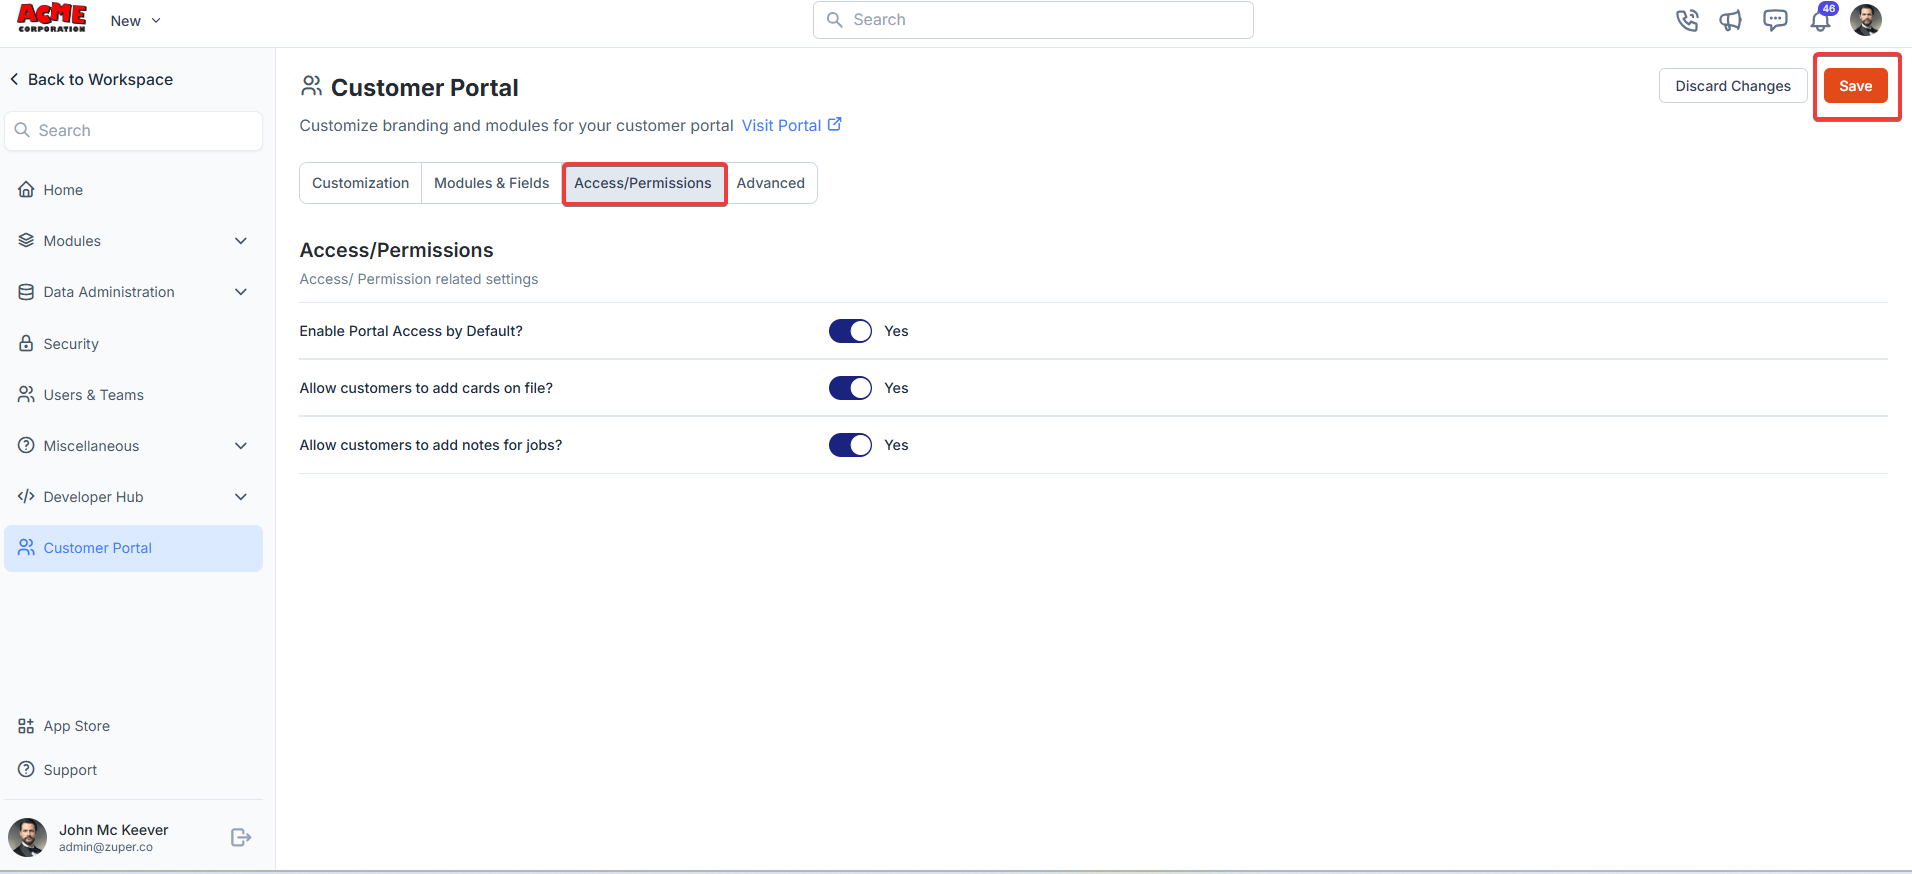
c. Access / Permissions
Enable Portal Access by DefaultToggle the switch to Yes if you want all customers to have access to the portal by default.
- Yes: Grants automatic access to all customers.
- No: Requires manual access approval.
Toggle the switch to ‘Yes’ to permit customers to add job notes, or ‘No’ to restrict this action.
d. Notifications
Who should be notified when a customer updates card(s) on file? From the dropdown box, select the user to be notified.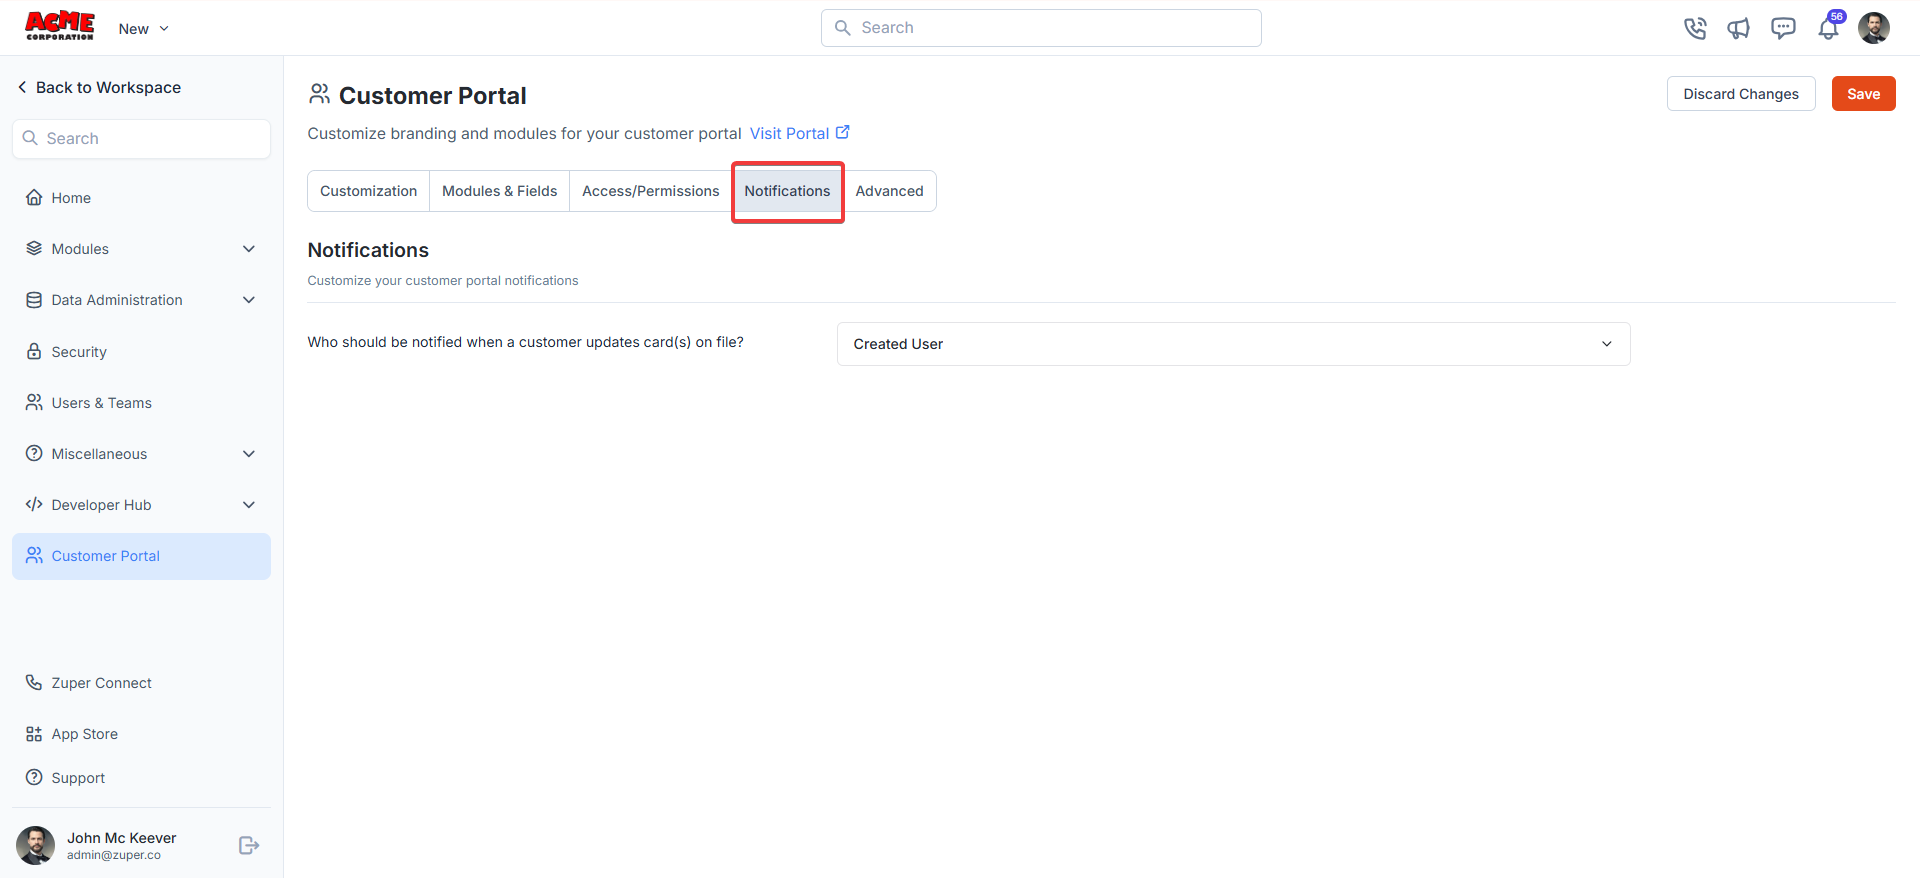
e. Advanced
- The advanced section helps customers add custom CSS.
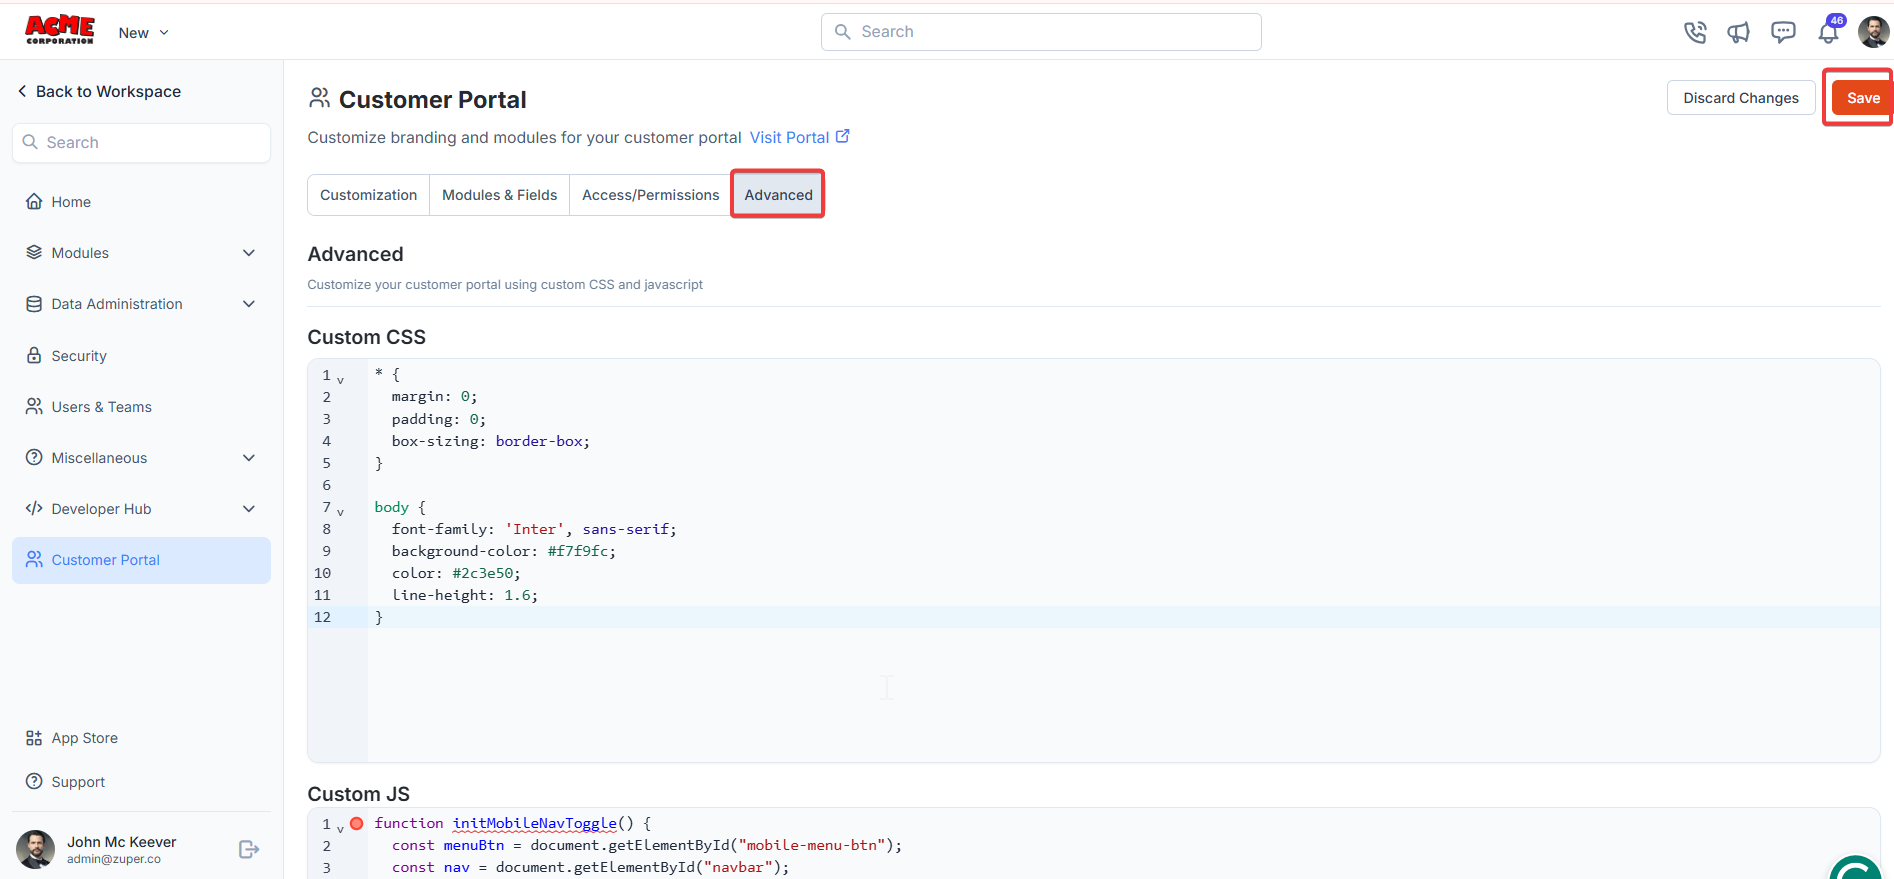
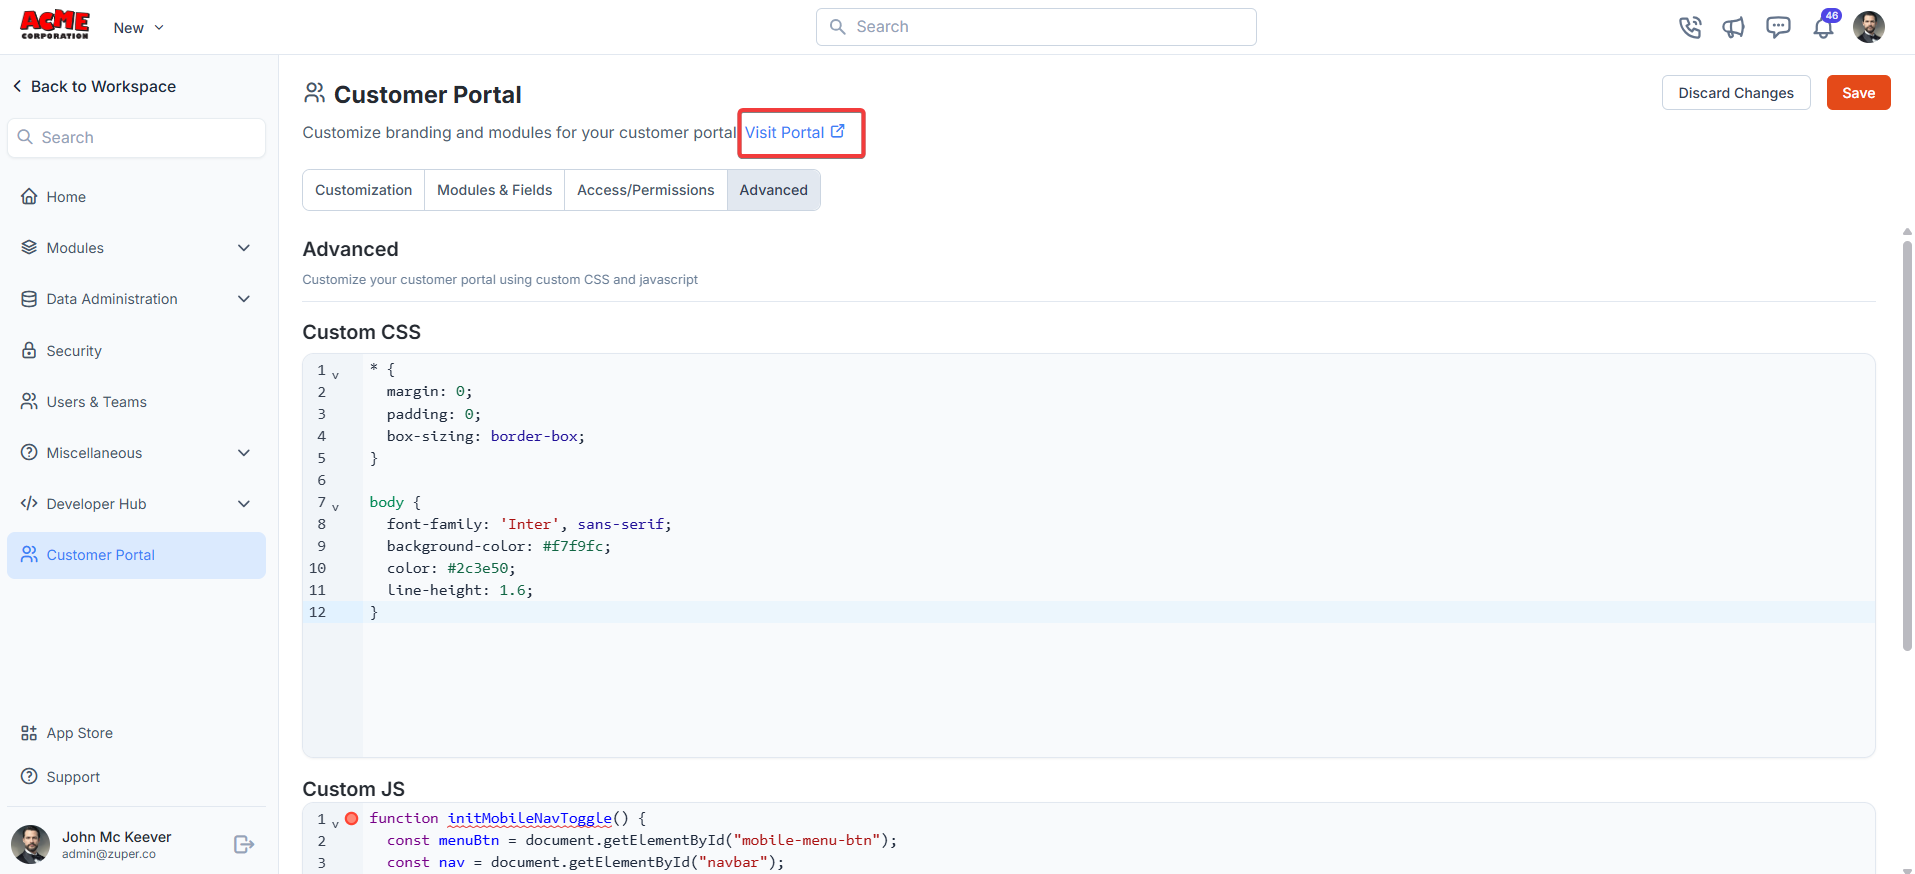
- Select the “Open Portal” option to launch the customer portal.
Troubleshooting:
OTP Email Not Received
If the portal shows “OTP sent” but the email never arrives:- Portal Access — Open the customer’s contact record and confirm Portal Access is set to Yes.
- Duplicate emails — Make sure the email address isn’t used by more than one contact in your Zuper account.
- Spam folder — Ask the customer to check their spam or junk folder.
- Wrong email — Confirm the customer is using the exact email linked to their portal account.