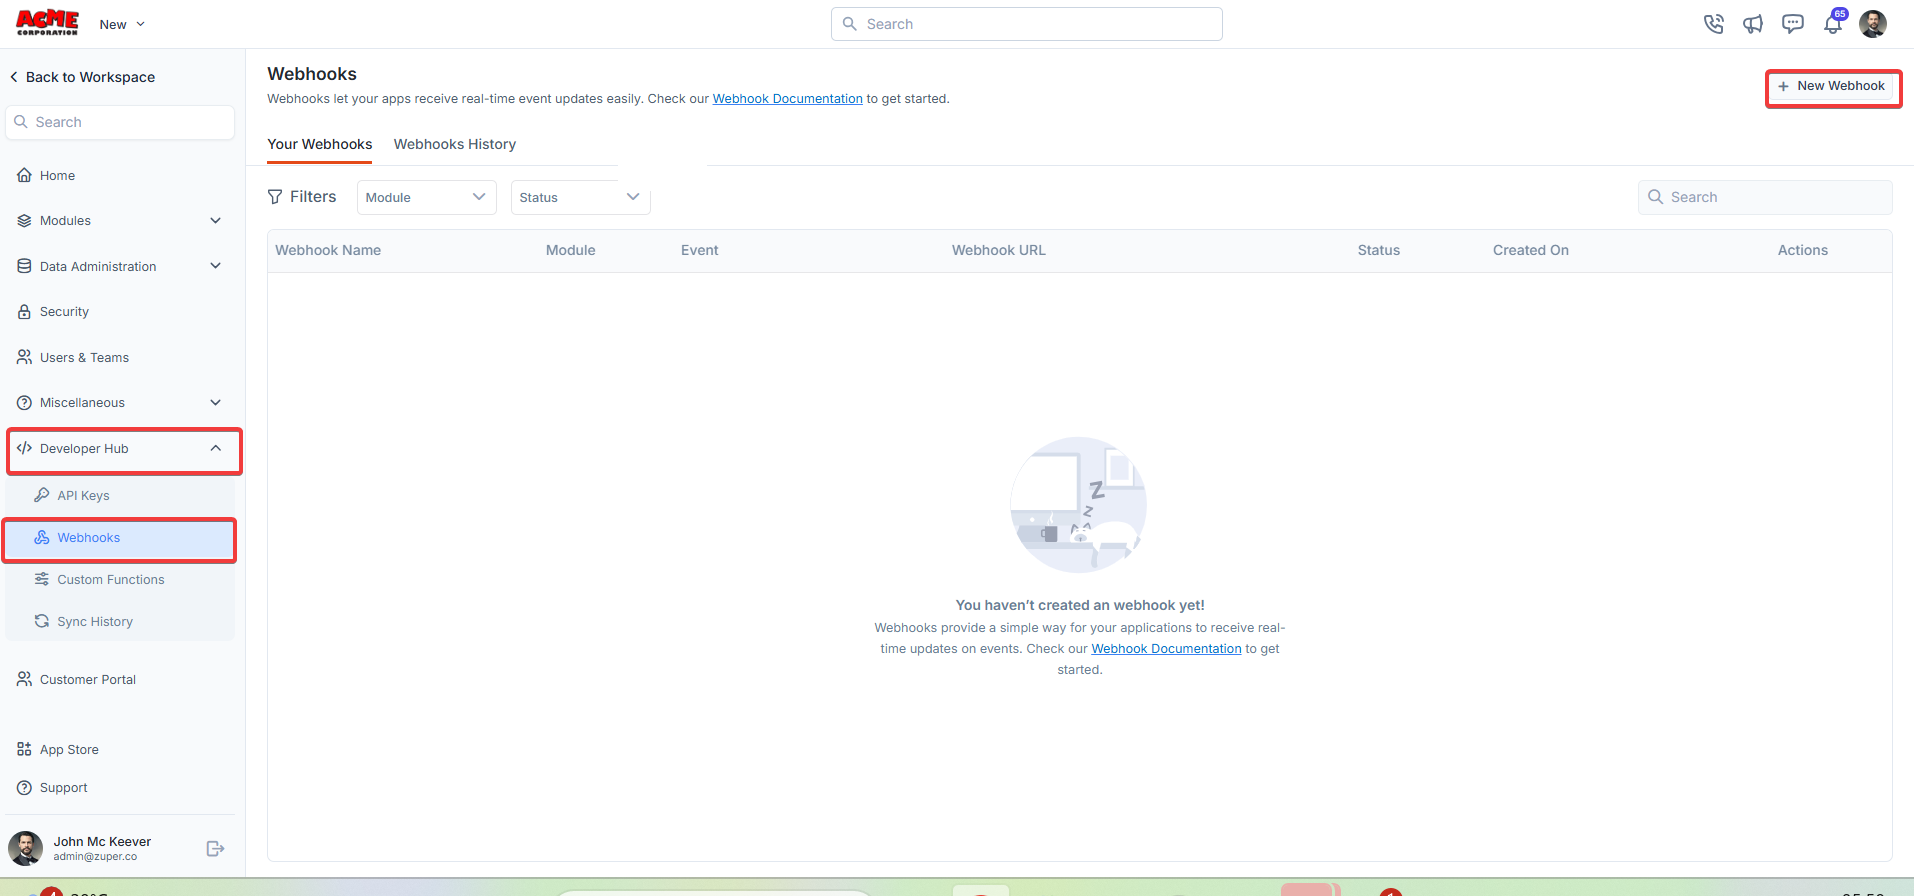
Navigation: Settings -> Developer Hub -> Webhooks
- From the settings, select “Developer Hub,” choose “Webhooks,” and click “+New Webhook.”
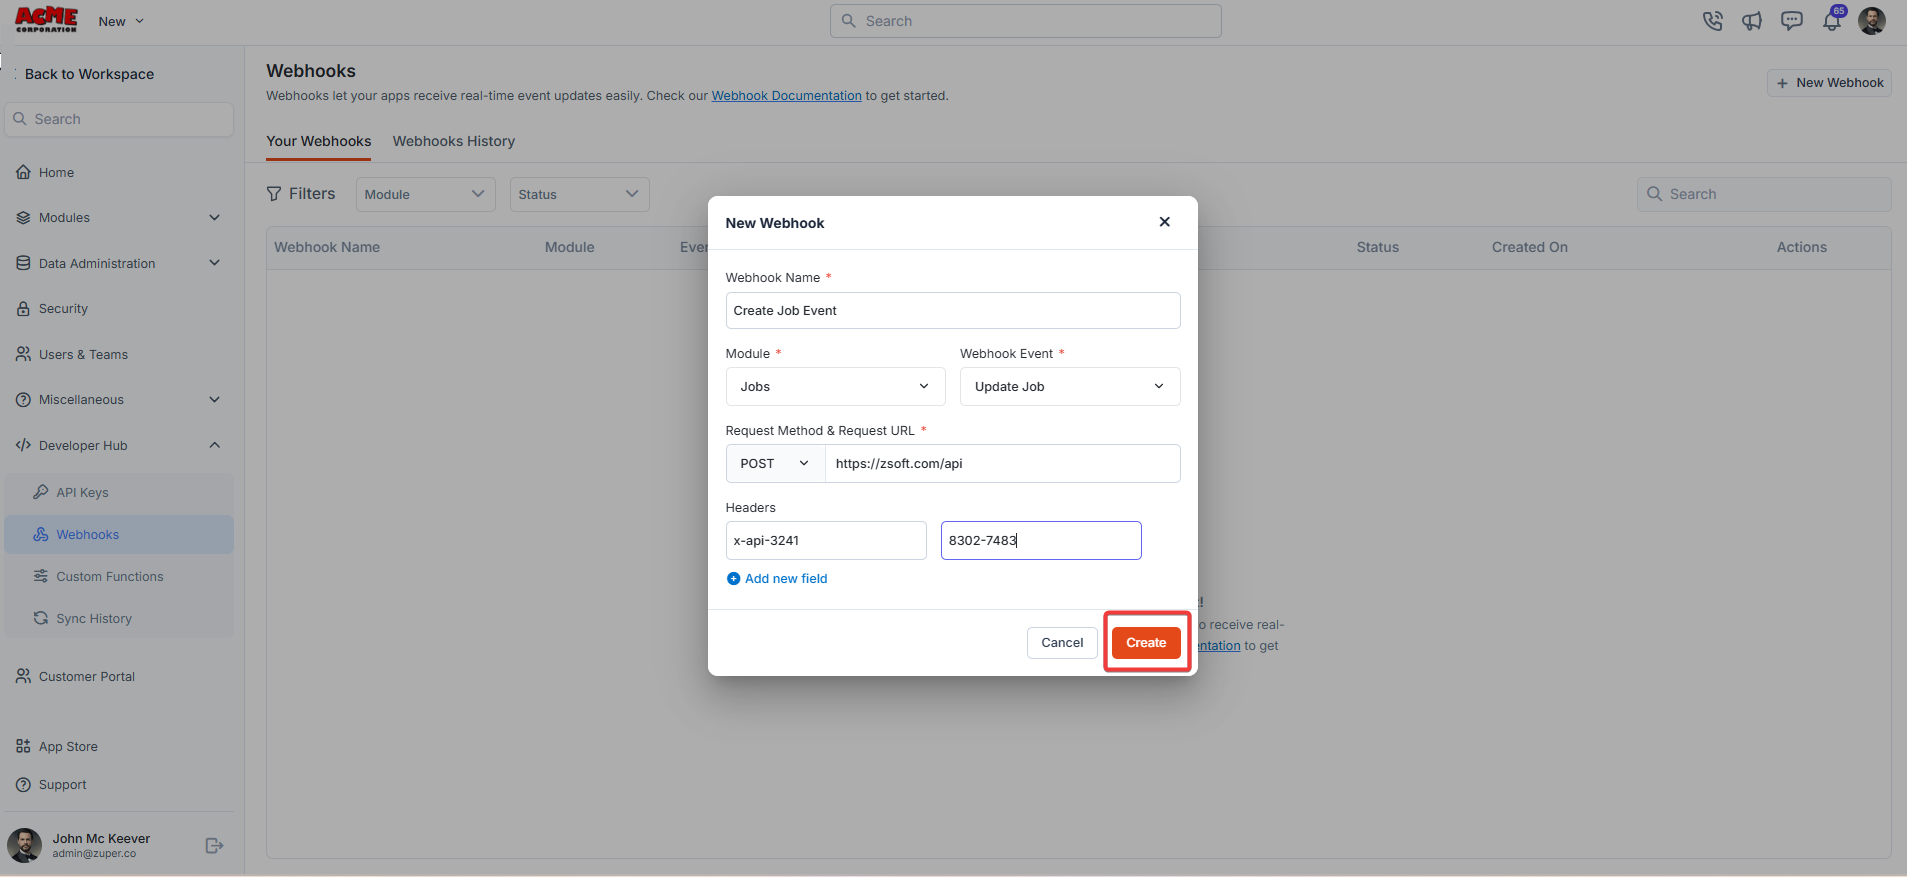
- Create a new webhook by filling in the following details:
- Webhook Name (Mandatory) - Enter the unique name for the webhook.
- Module (Mandatory) - Choose the applicable module.
- Webhook Event (Mandatory) - Choose the applicable webhook’s event.
- Request Method and Request URL - Choose the applicable method: POST, GET, PUT, and DELETE. A webhook request URL is the unique URL provided by a service or application that allows another application to send data directly to it.
- Headers - Add the key and the respective values.
| HTTP Method | General Purpose (in REST APIs) | Webhook Context | Common Use Case in Webhooks | Best Practices |
|---|---|---|---|---|
| GET | Retrieve data without modifying it (idempotent, safe). | Rarely used for delivery (no body for payloads); supported in some tools for simple queries or polling-like triggers. | Fetching webhook configuration or metadata. | Avoid sensitive data; use query params sparingly. Limit to read-only ops. |
| POST | Create new resources or submit data (non-idempotent). | The default and most common for webhook payloads. Sends JSON/XML bodies with event details. | Delivering event data. | Always include a signature/header for verification. Expect retries on failure. |
| PUT | Update/replace an entire resource (idempotent). | Used in scenarios needing complete resource replacement; less common but supported for updates. | Updating webhook subscriptions. | Ensure idempotency—repeated calls shouldn’t create duplicates. Use for complete overwrites, not partial updates. |
| DELETE | Remove a resource (idempotent). | Primarily for management, not delivery. | Unsubscribing or deleting a webhook endpoint. | Confirm deletion with a 204 No Content response. Use auth tokens to prevent unauthorized removals. |
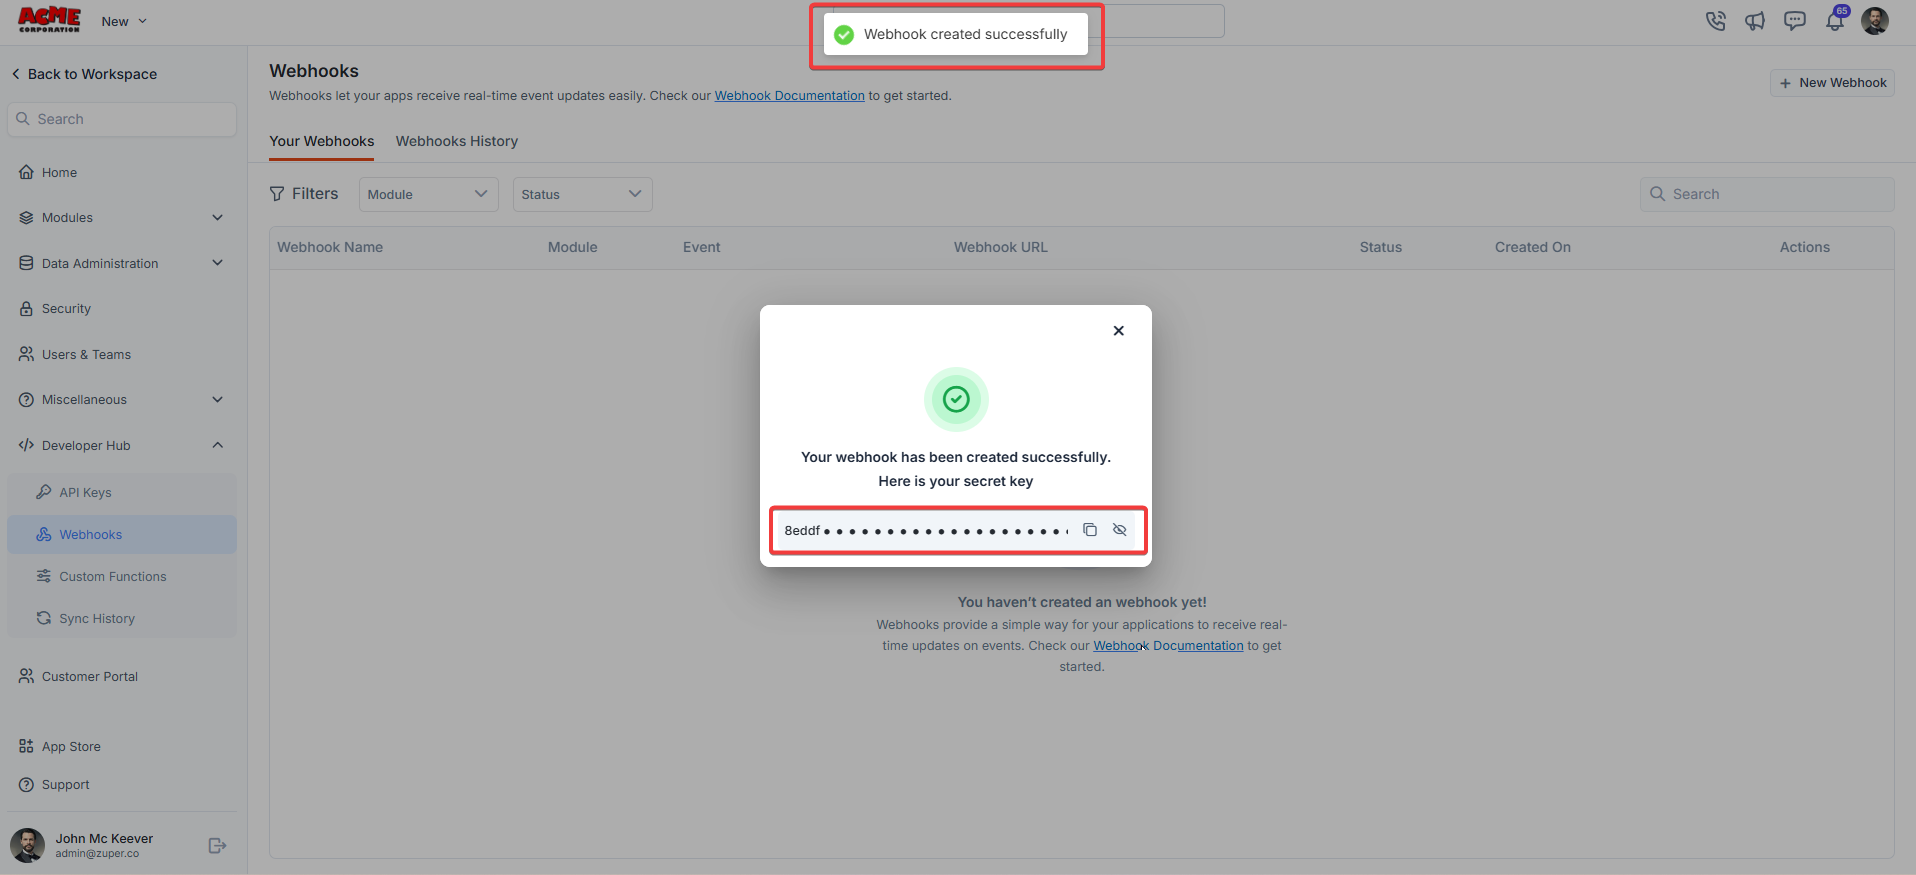
- The new webhook secret key is generated successfully.
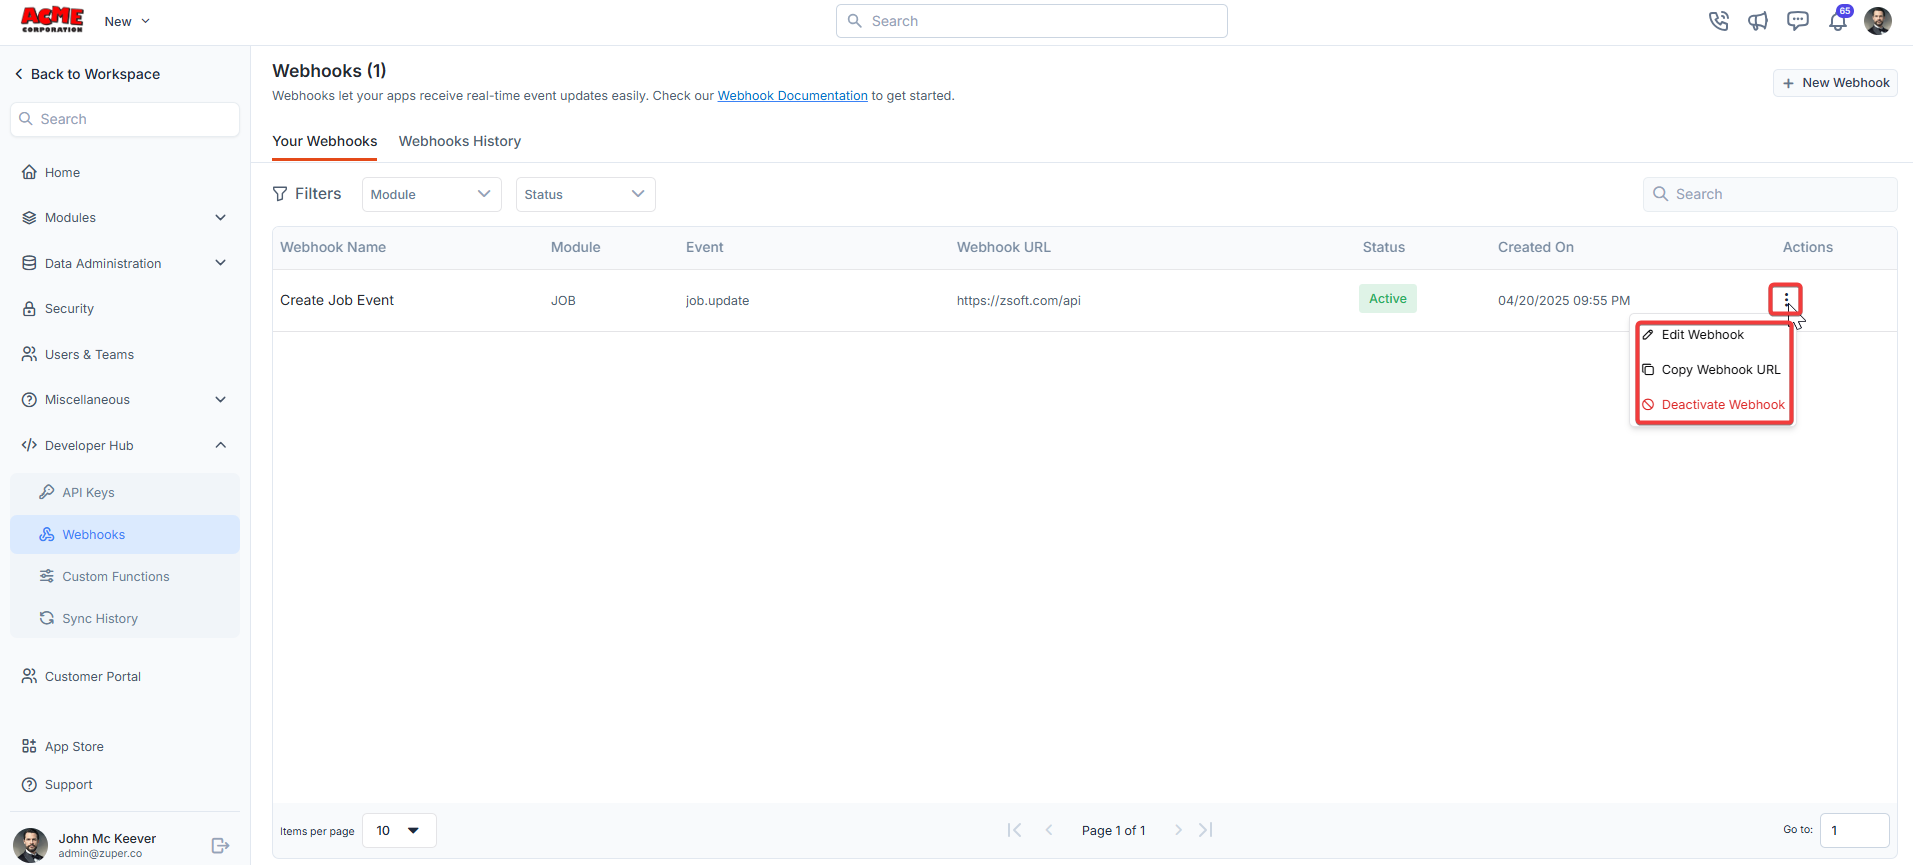
- Click icon to Edit Webhook, Copy Webhook URL, and Activate/Deactivate Webhook.
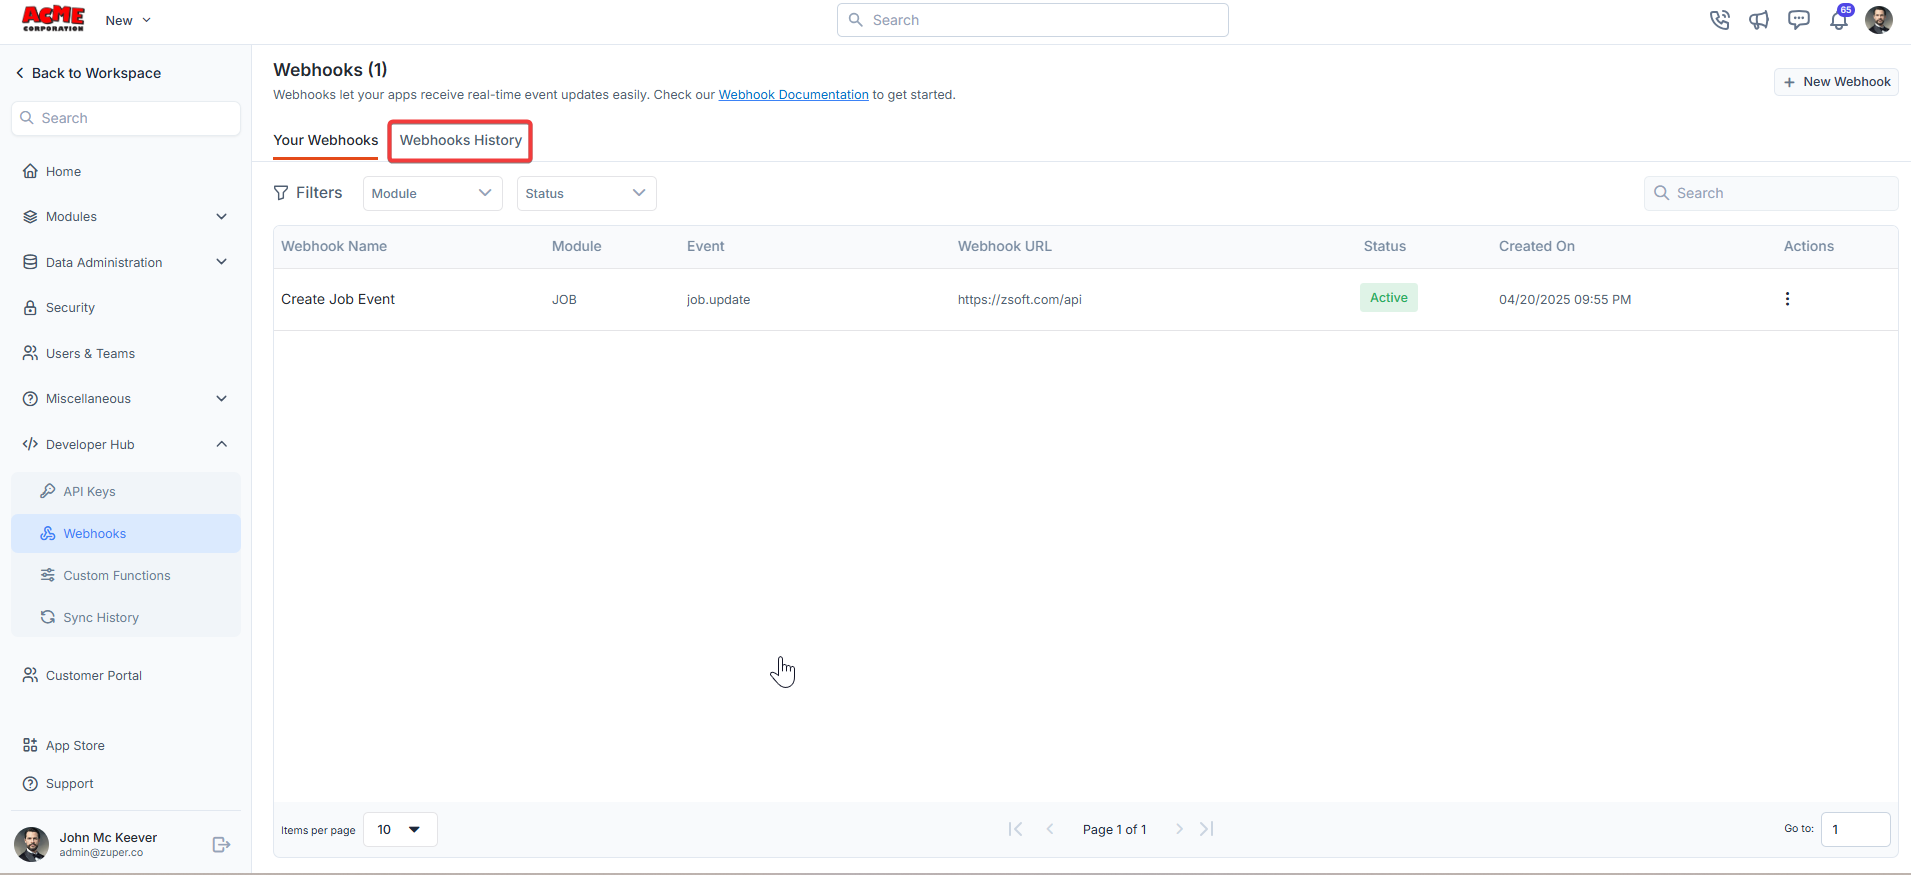
- Click “Webhook History” to view the list of webhook executions.
- Ensure your Request URL is publicly accessible and can handle the specified HTTP method.
- Use headers to include authentication tokens or other metadata as needed.
- Test your webhook configuration to confirm it receives events correctly.