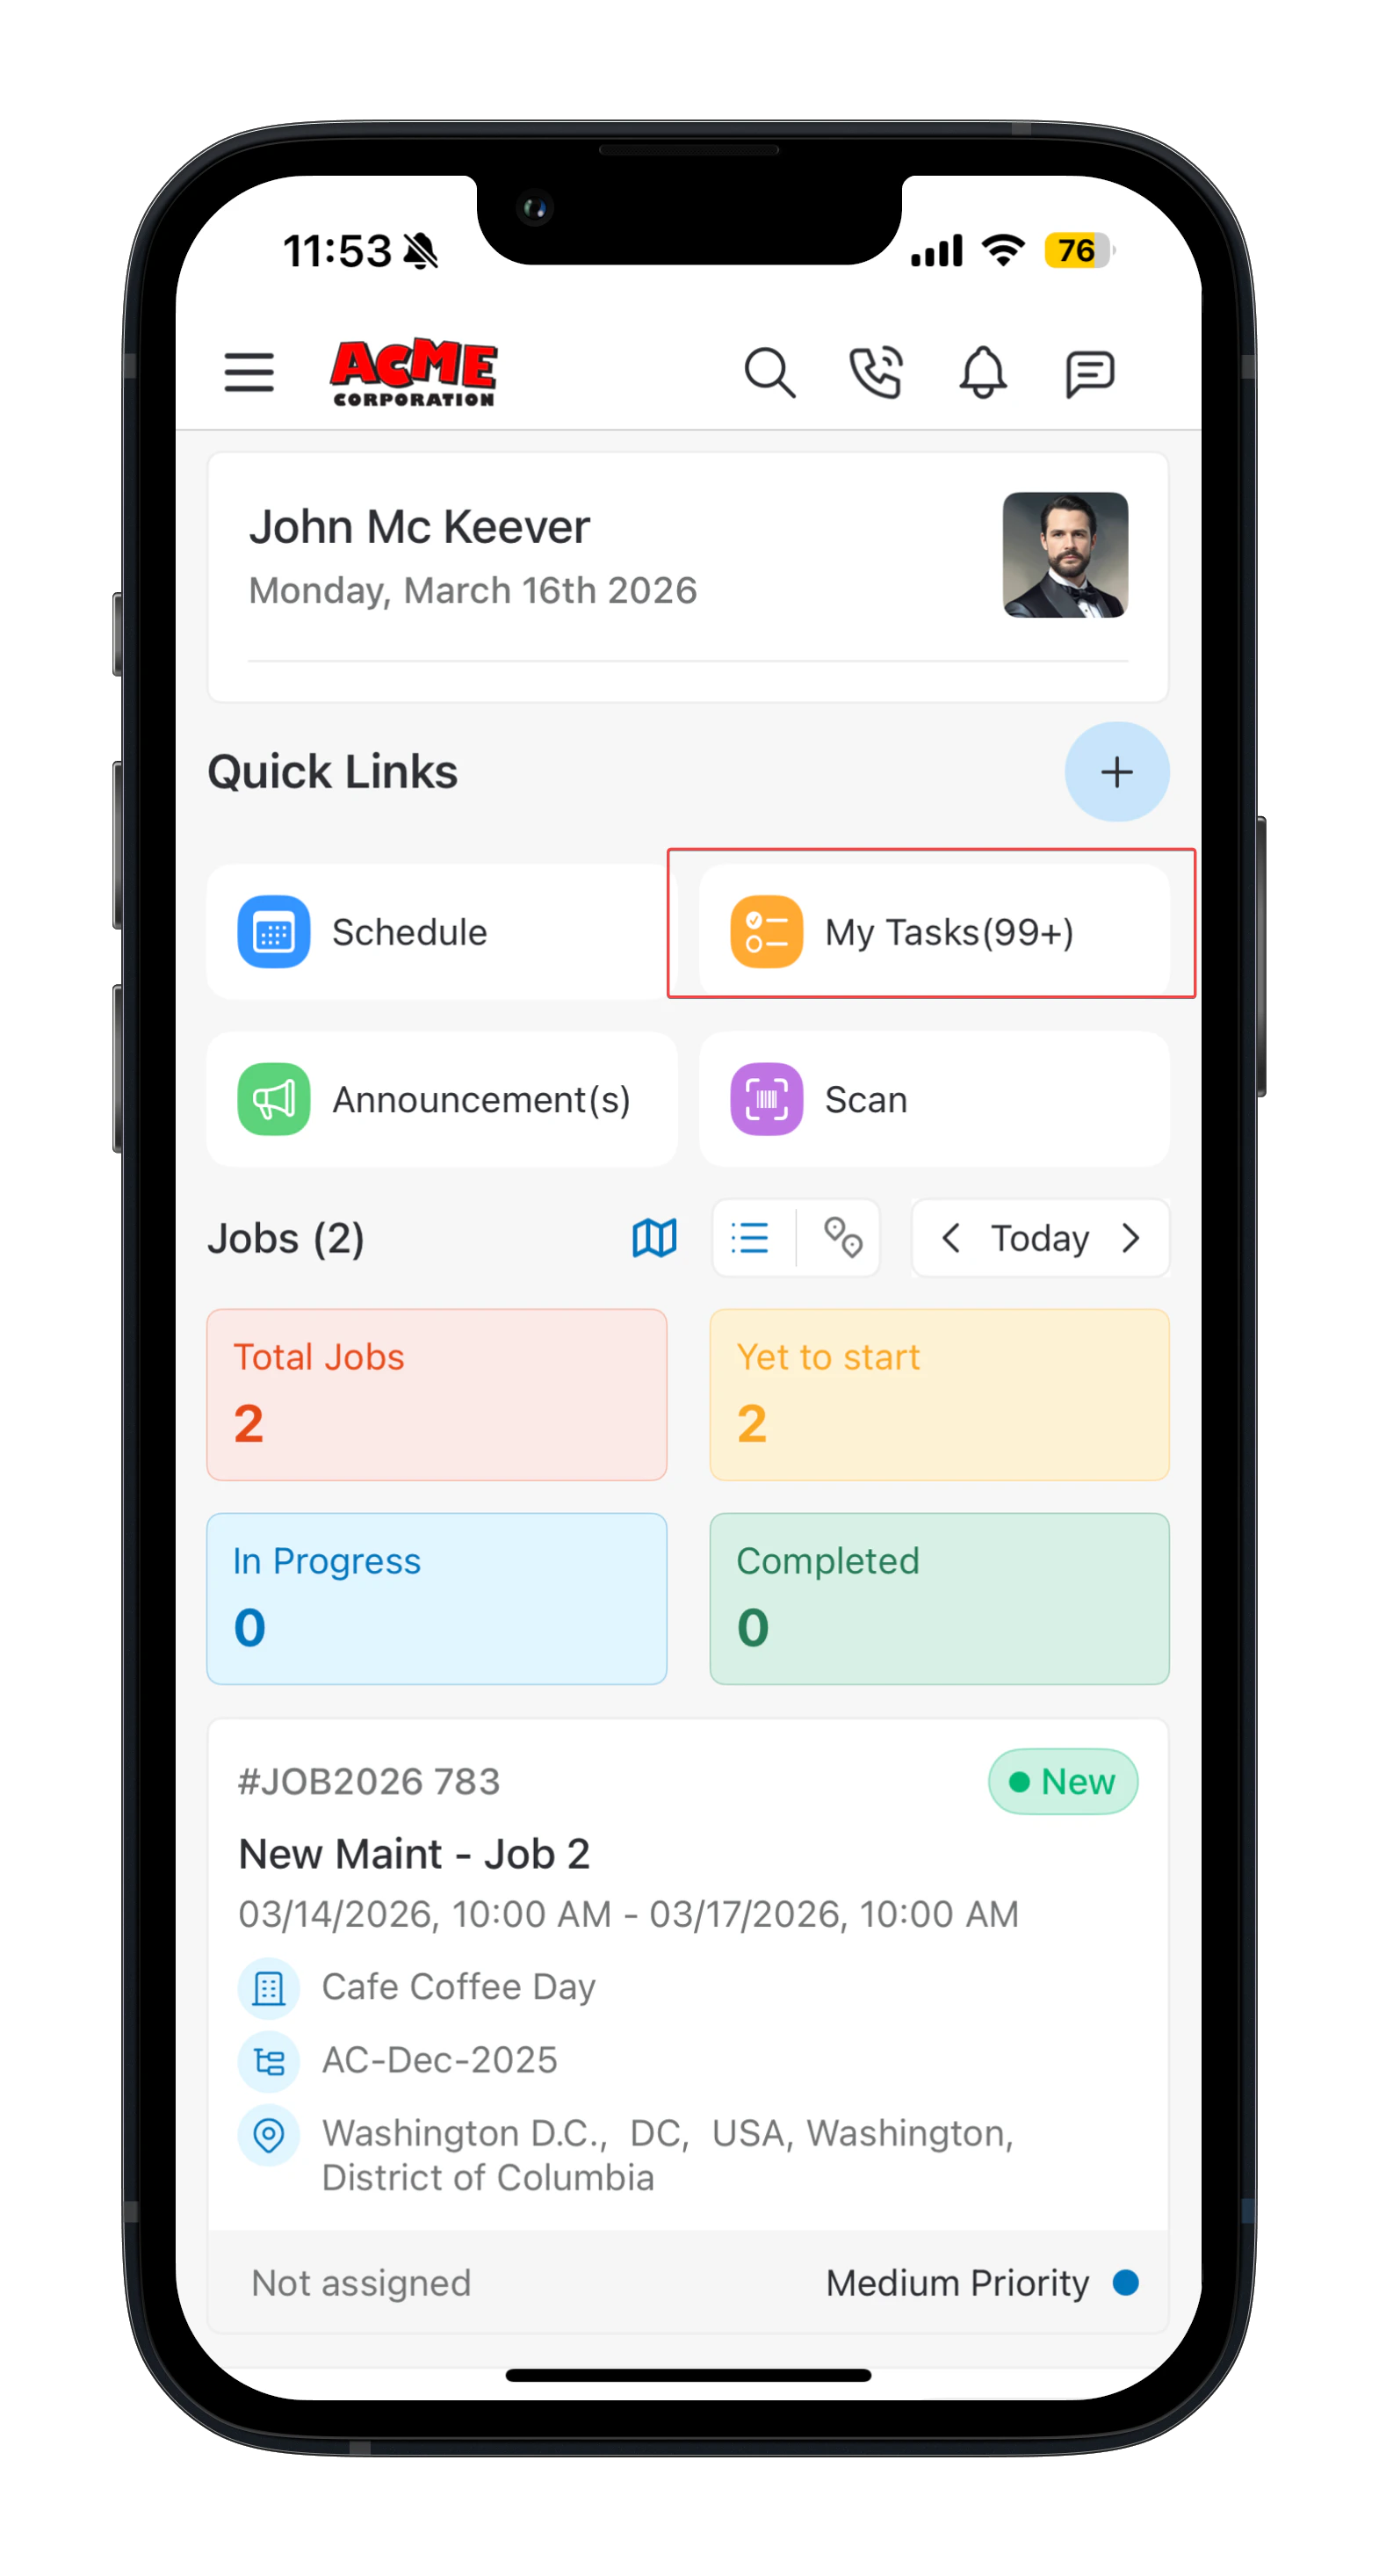
- From the Dashboard, tap My Tasks in Quick Links → tap the + icon (bottom right).
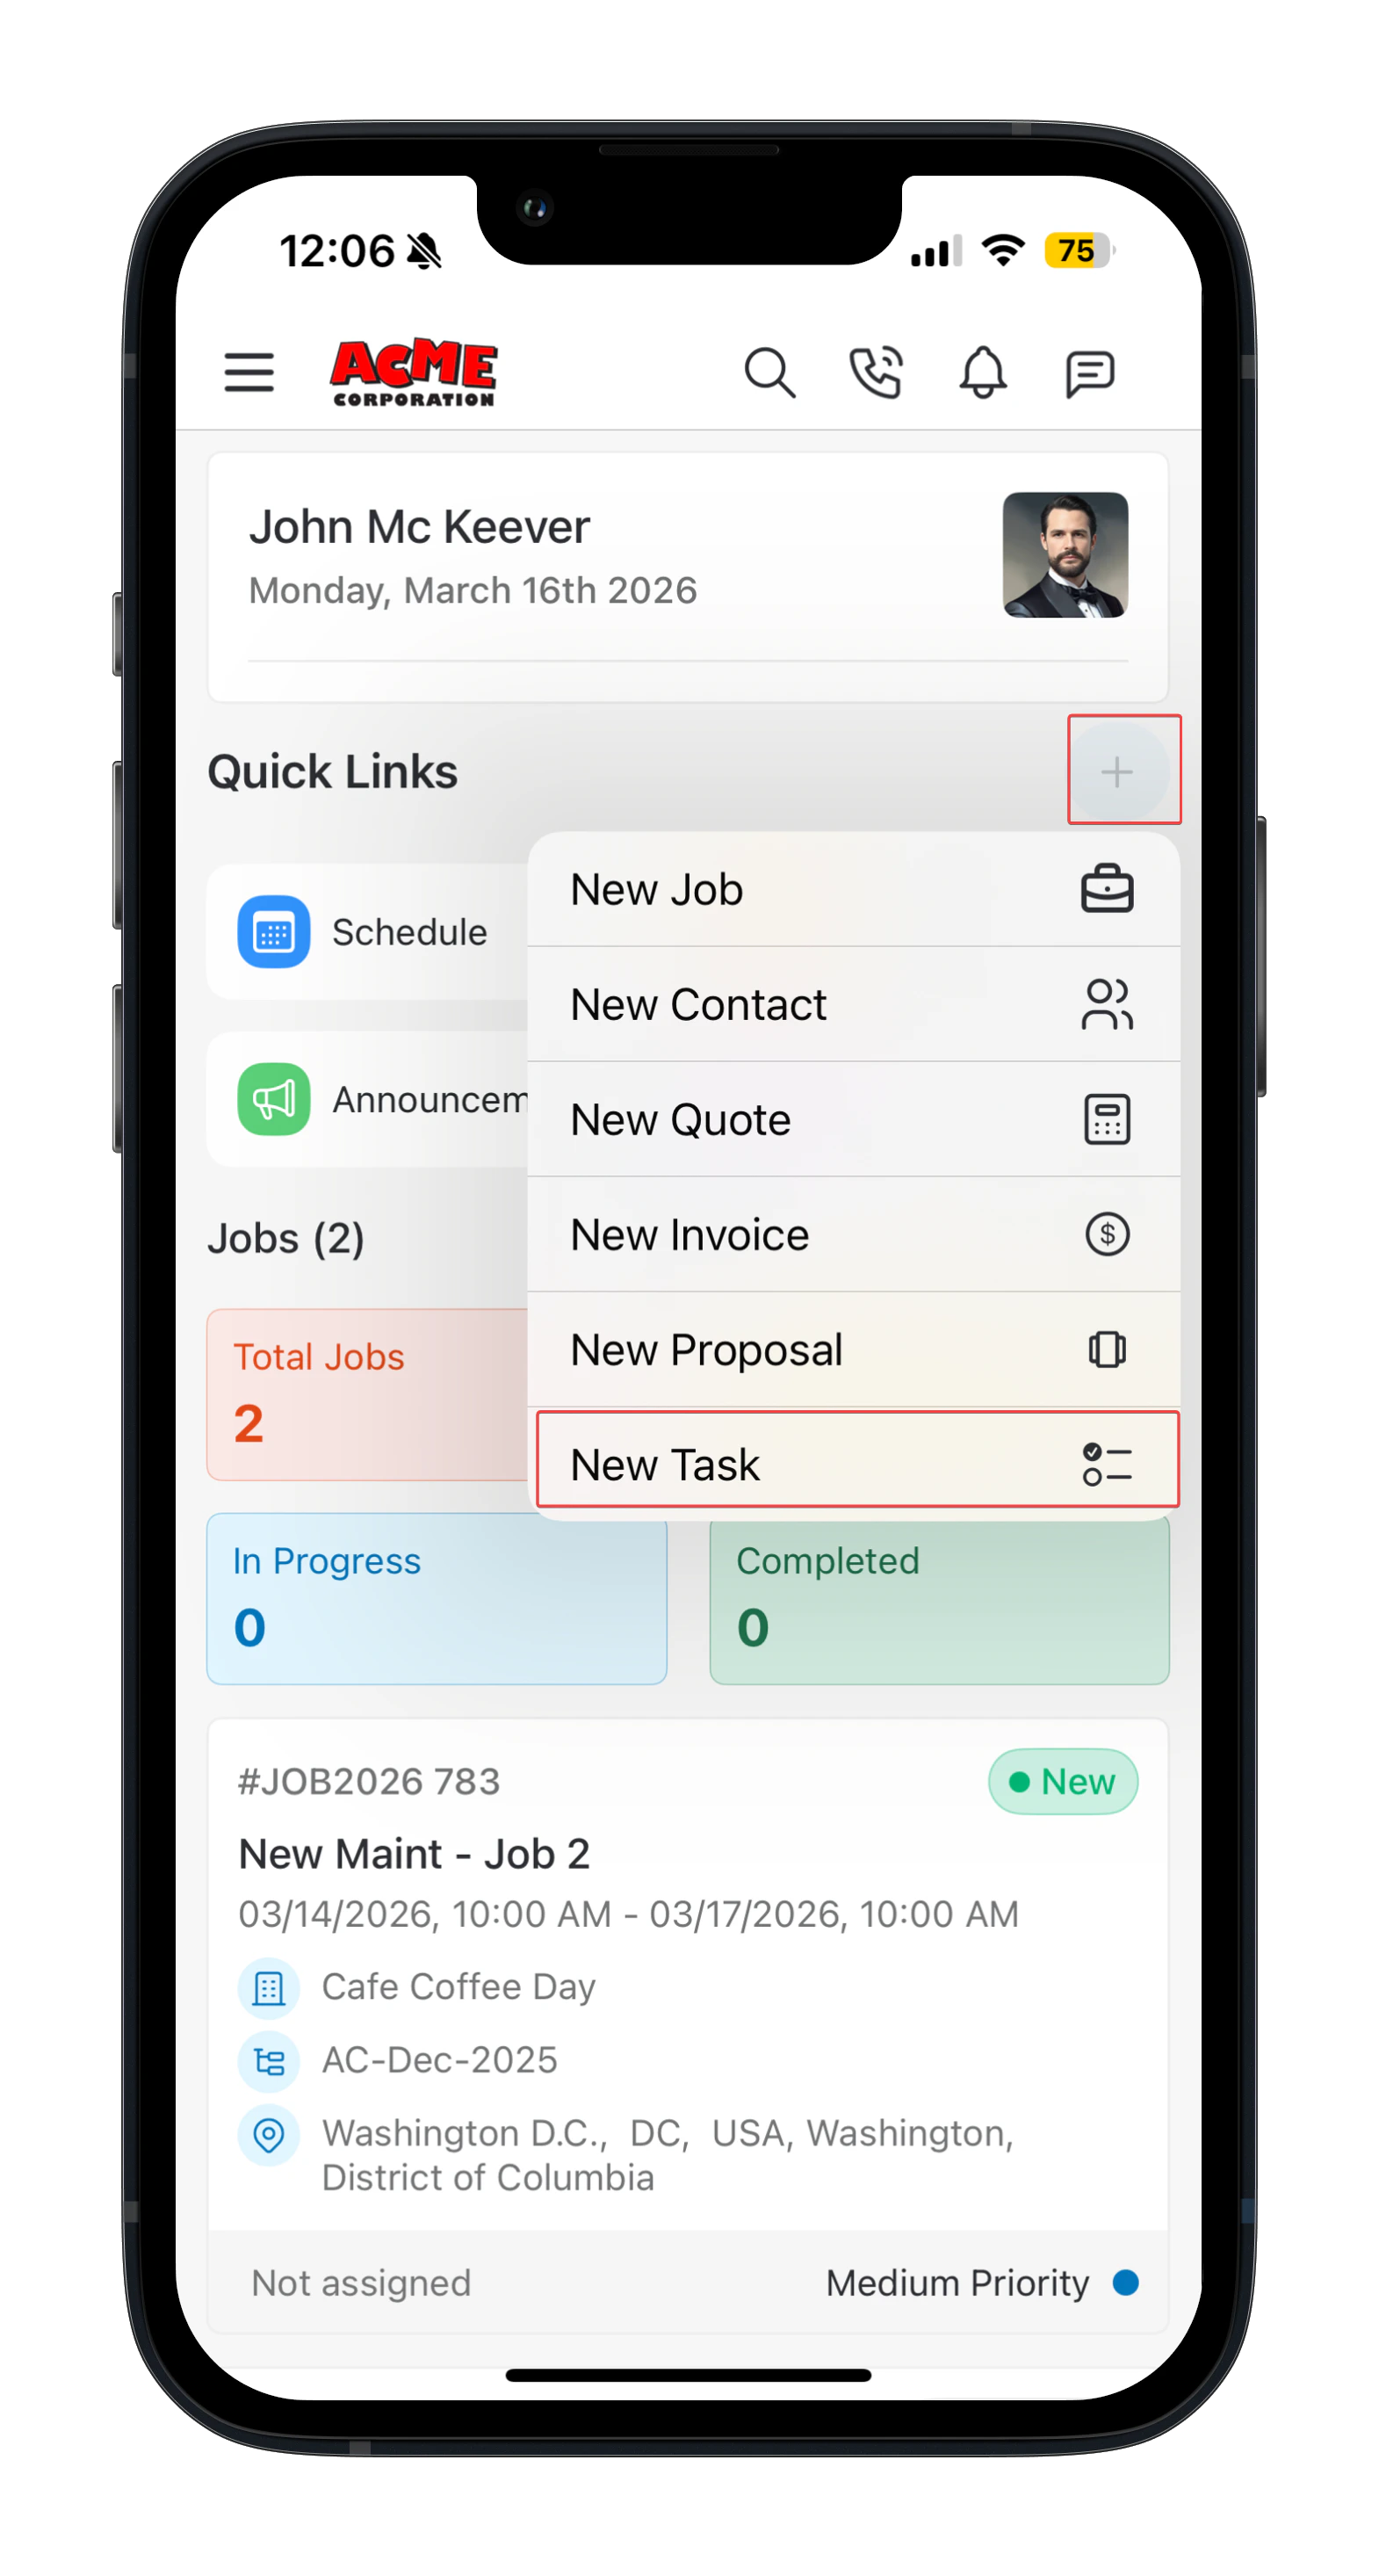
- From the Dashboard, tap the quick create + icon → select New Task.
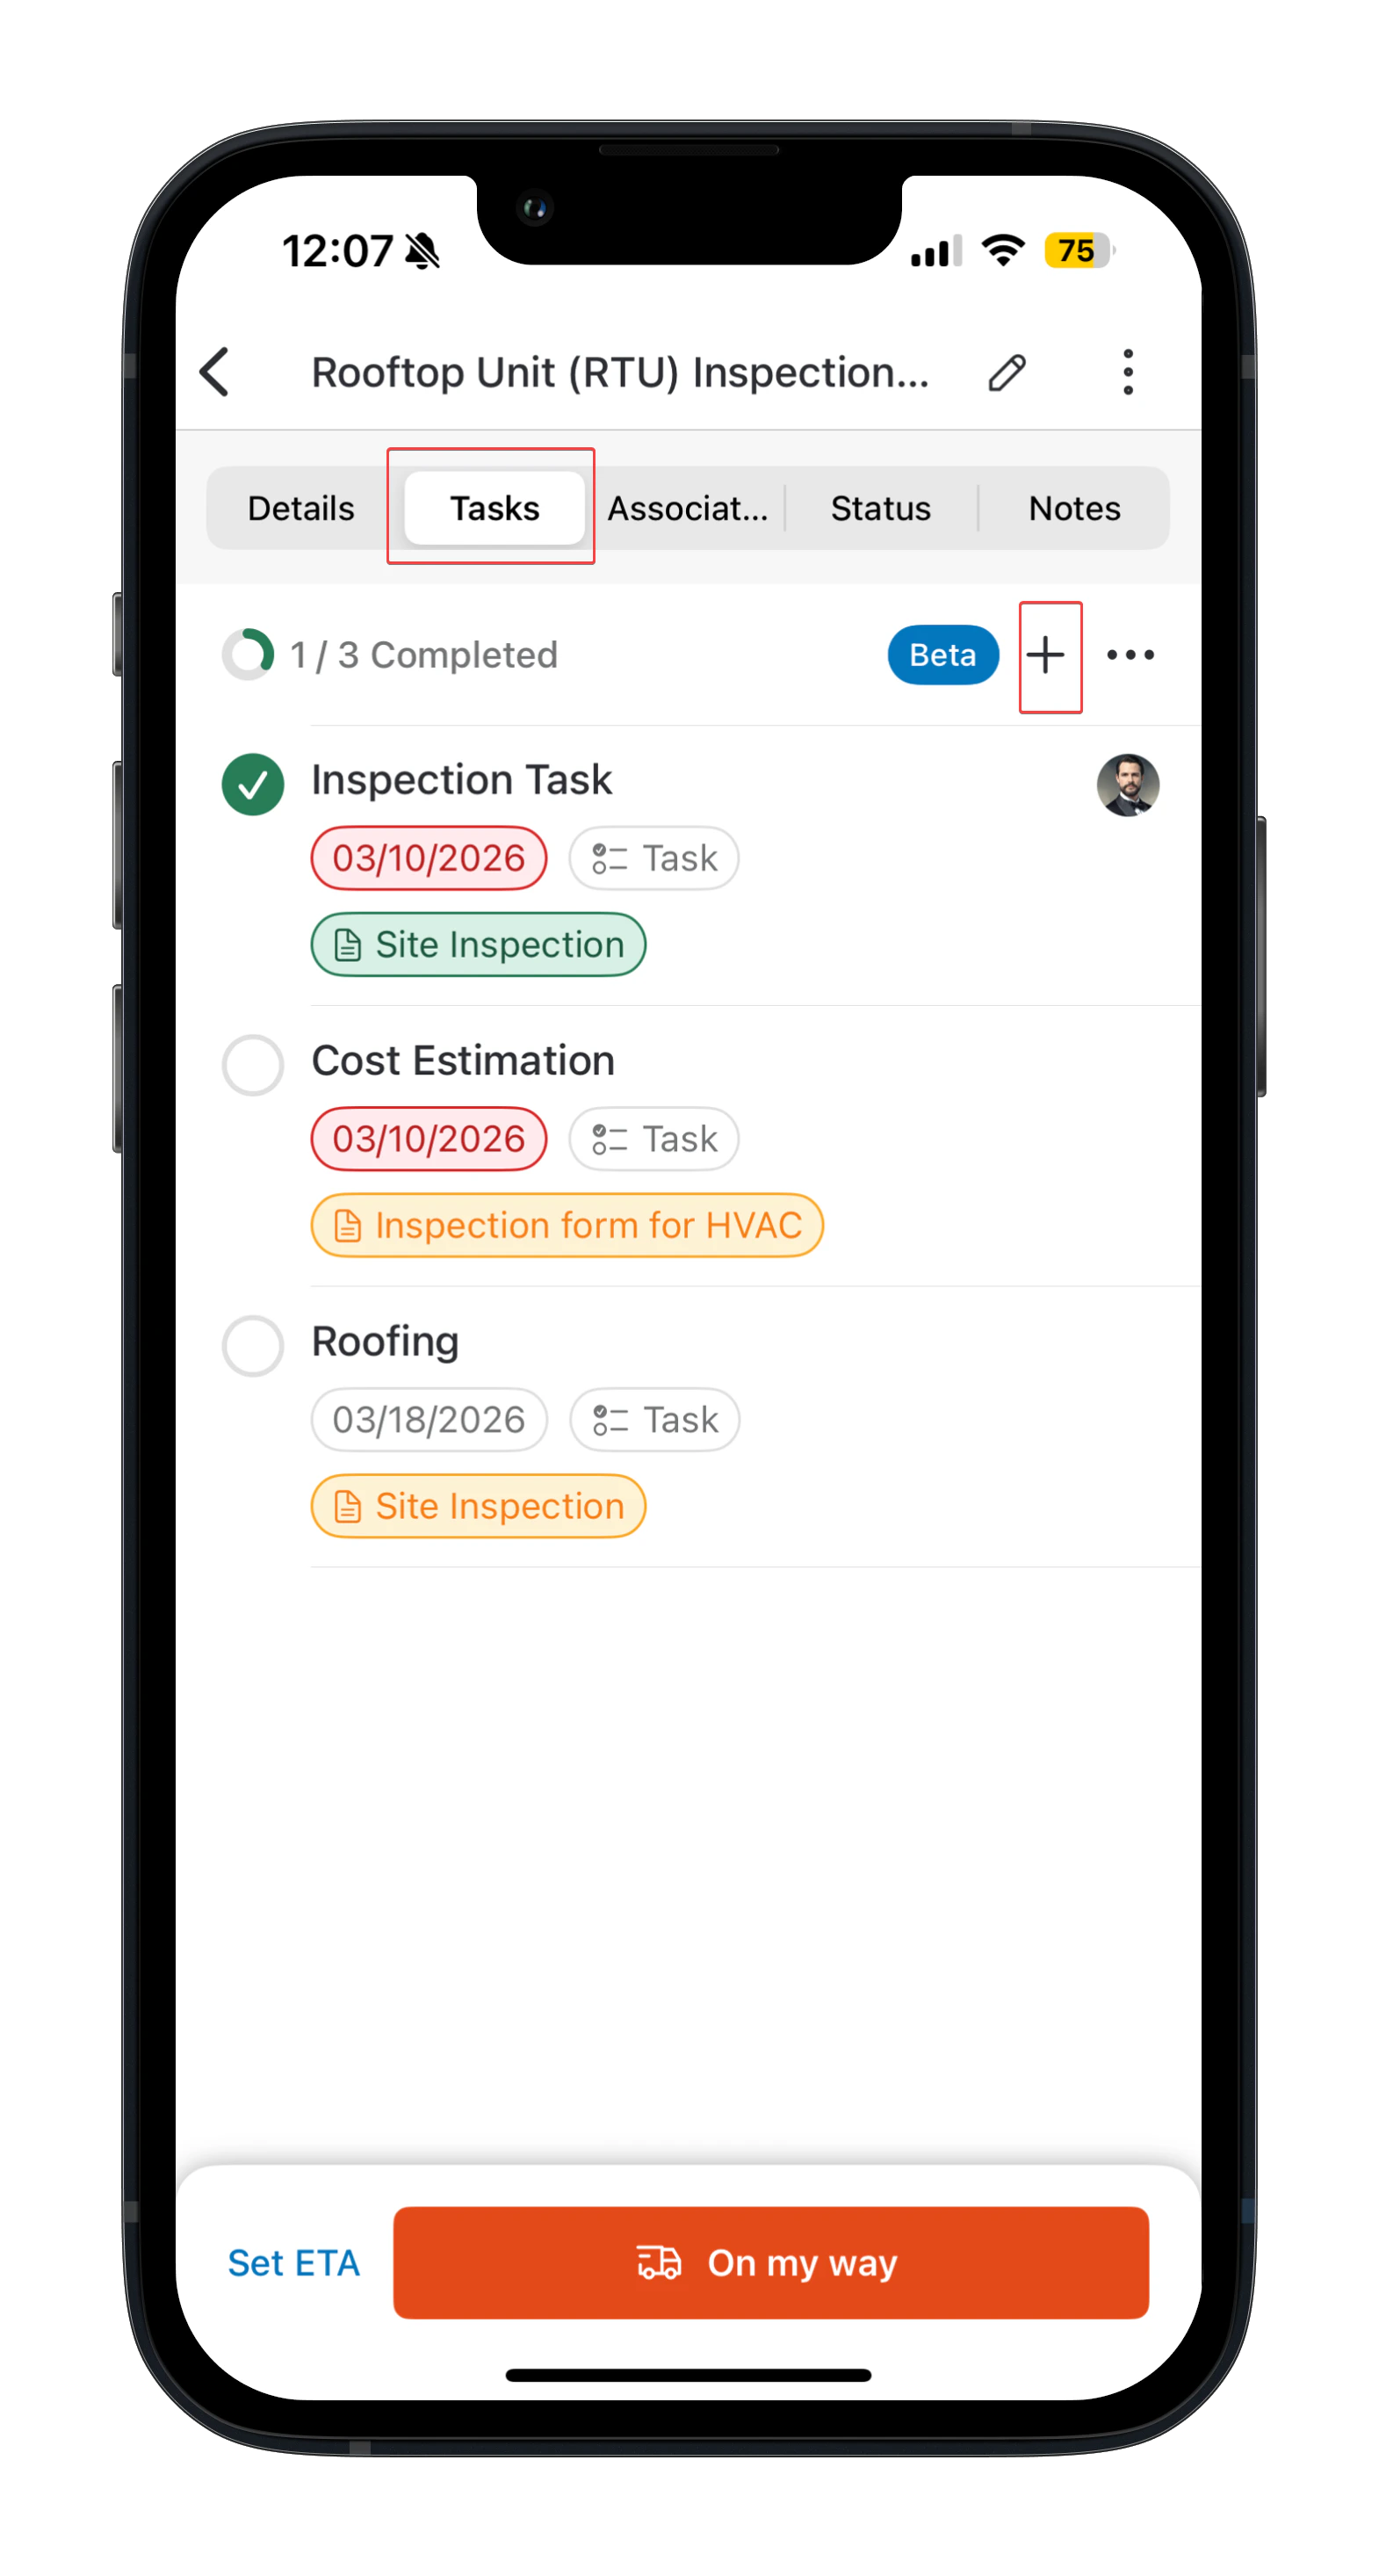
- From a Job/Project detail screen → go to the Tasks tab → tap + icon.
Creating a task
From the new task screen, you will be prompted to enter:- Enter your task with a clear, descriptive title.
- Give your Task a description.
- Set the task due date.
- Choose a task type from the list. By default, the “Task” as a type will be filled in. You can choose to modify if required.
- Select a priority level.
- Assign the task to yourself or to a team member.
Note: If you’re logged in as a Field Executive, the task is automatically assigned to you.
- Tap the + icon for additional options:
- Set Reminder: Schedule reminders to help the assignee act on time. This option appears only after a Due Date is set in the task. The assignee will receive the push notification on their device.
- Associated Module: Link to a Job or Project (auto-linked if created from a Job/Project). Linked tasks also appear in the Job/Project’s Tasks tab.
- Inspection form: Attach a form that must be completed before closing the task.
- Attachments: Upload relevant files or documents to support the task with additional context or details.
Tips: To save time, create tasks using templates. Tap on the icon to search and choose the relevant task from the master list. The selected master task will automatically pre-fill the details on the creation page.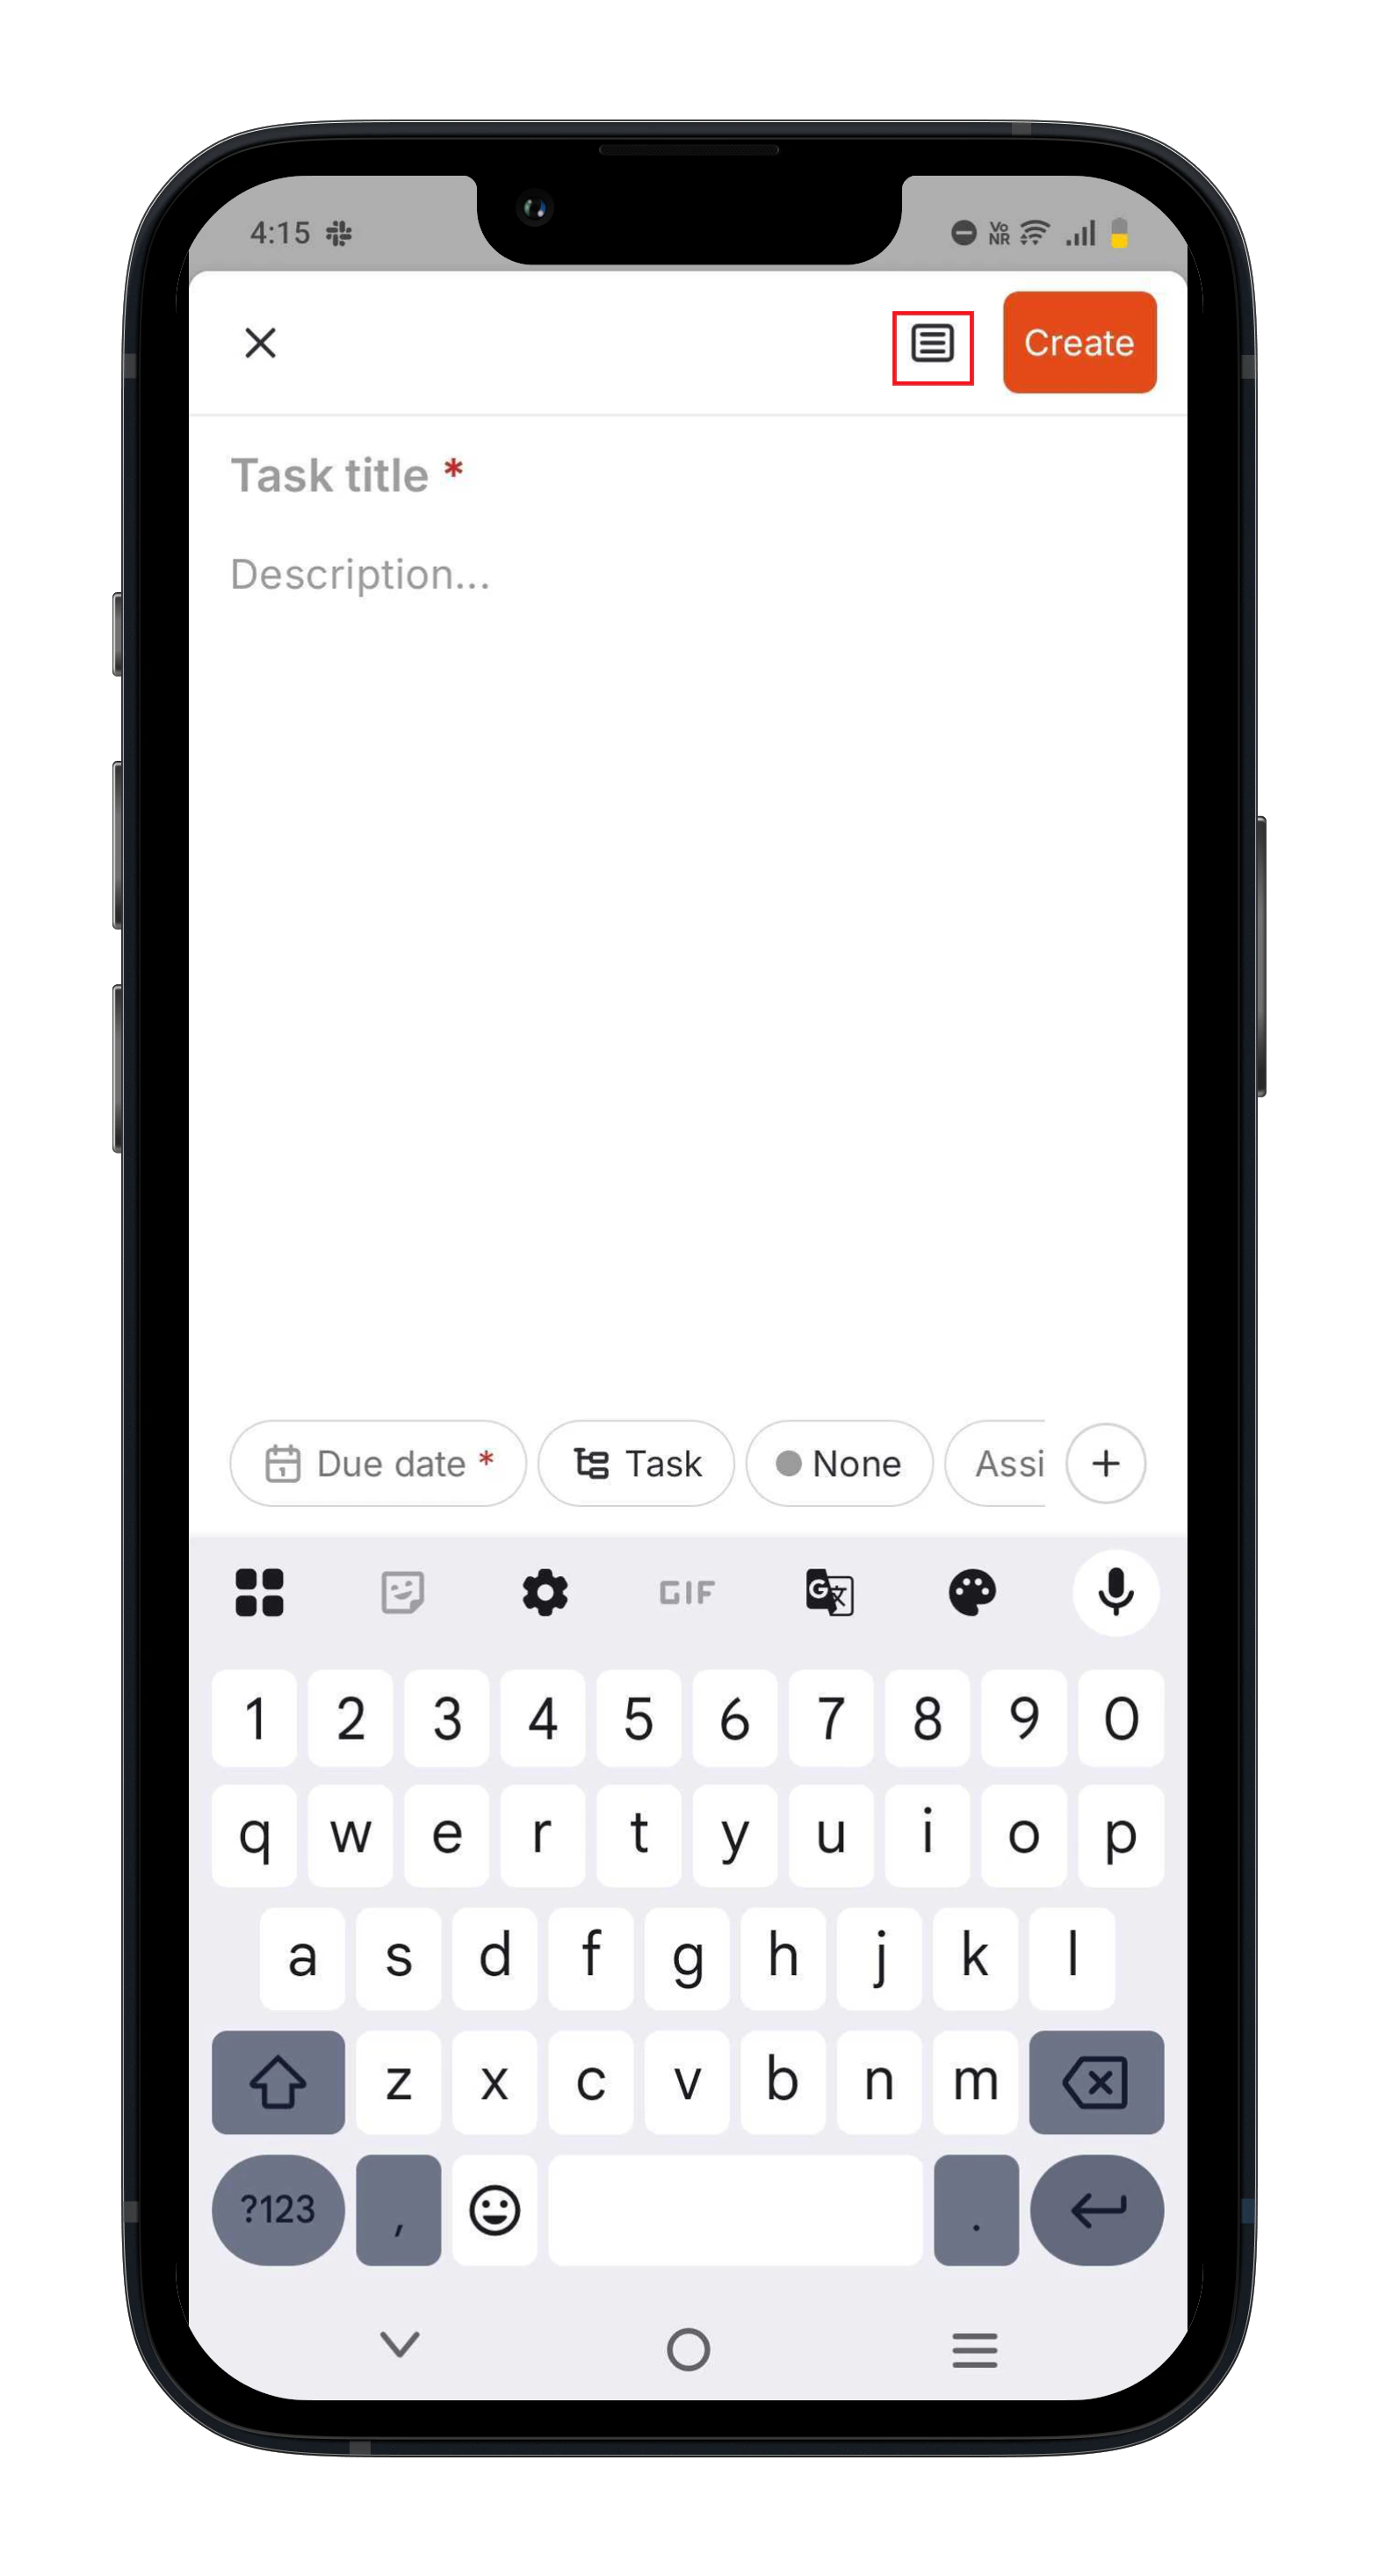
Associating a task with a Job/Project
When you are viewing a Job or Project in Zuper, you can easily add a Task by tapping on the + icon located in the **Tasks **tab. This automatically links the task to that Job/Project, making it an “associated task”. Follow the step-by-step instructions provided here to fill in all necessary details for your new task. Job: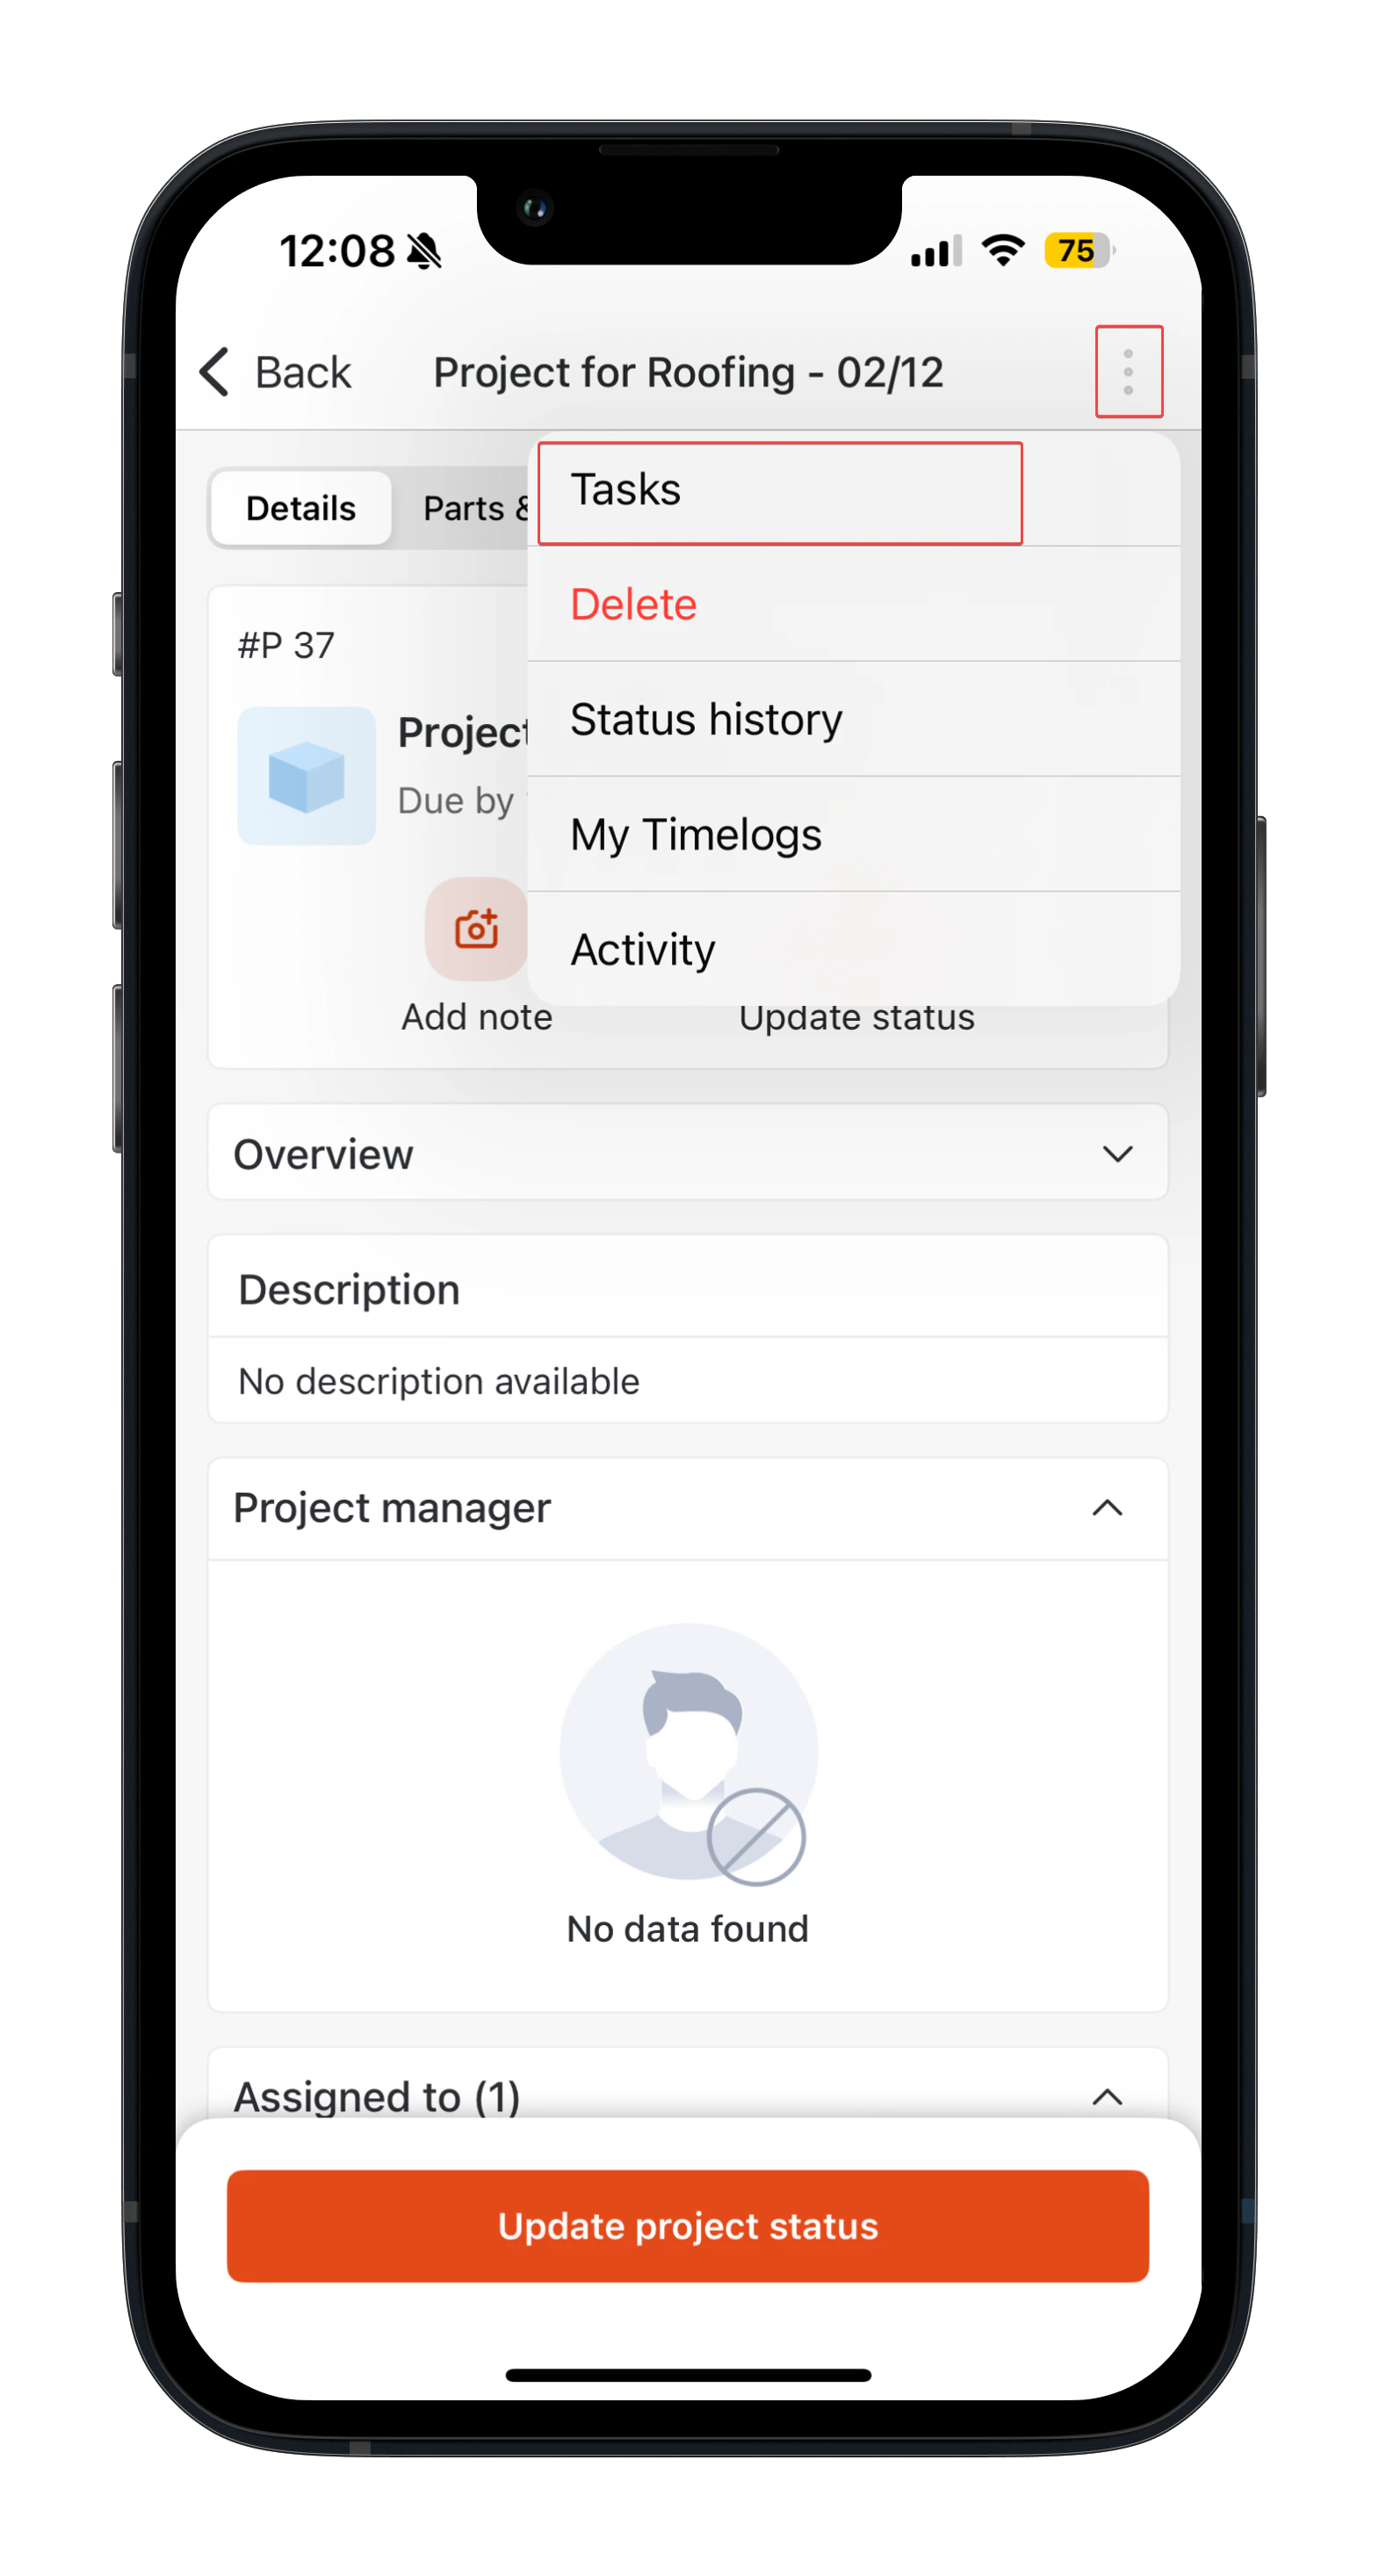
Available action in the Tasks tab
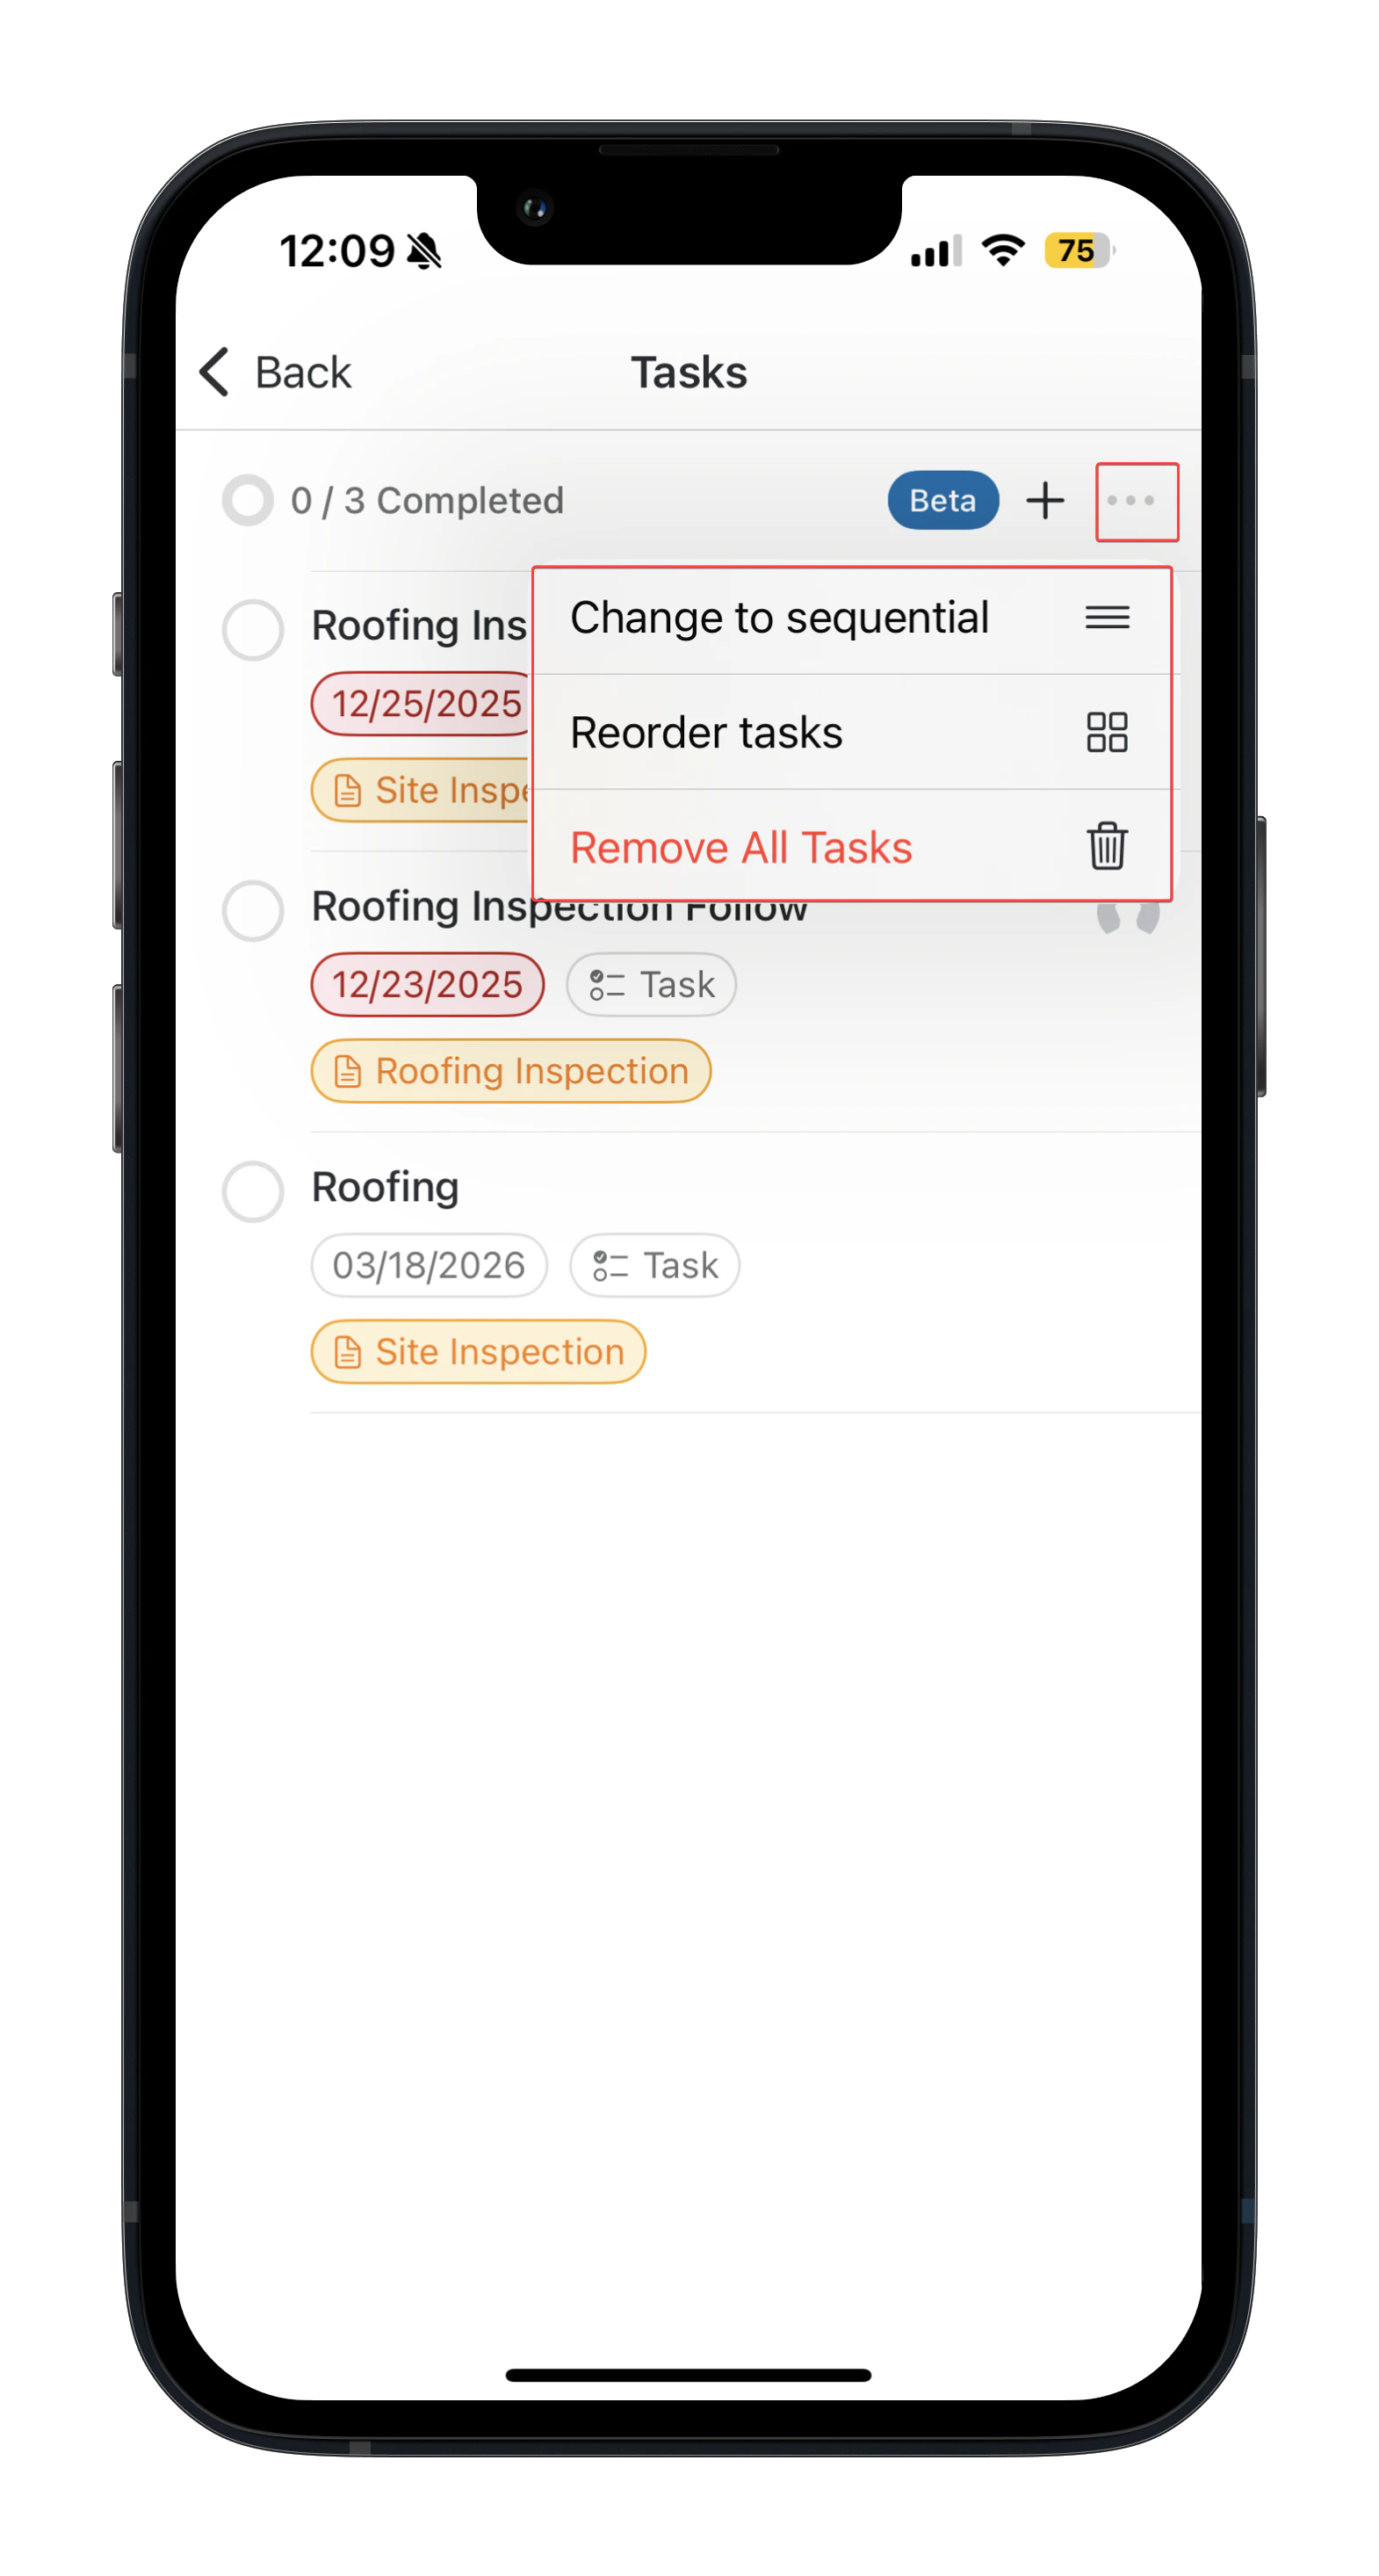
Tap the Context menu(⋮), you can:- Change execution type – Define how tasks should be completed (Parallel or Serial execution).
- Reorder tasks – Change the order of tasks.
- Remove all tasks – Delete everything if needed.
Managing your tasks
Once tasks are assigned to you, you can manage them directly from the Tasks screen in the Zuper mobile app. This section explains the actions you can perform on a task and how each action helps you stay on top of your work.View and organize tasks
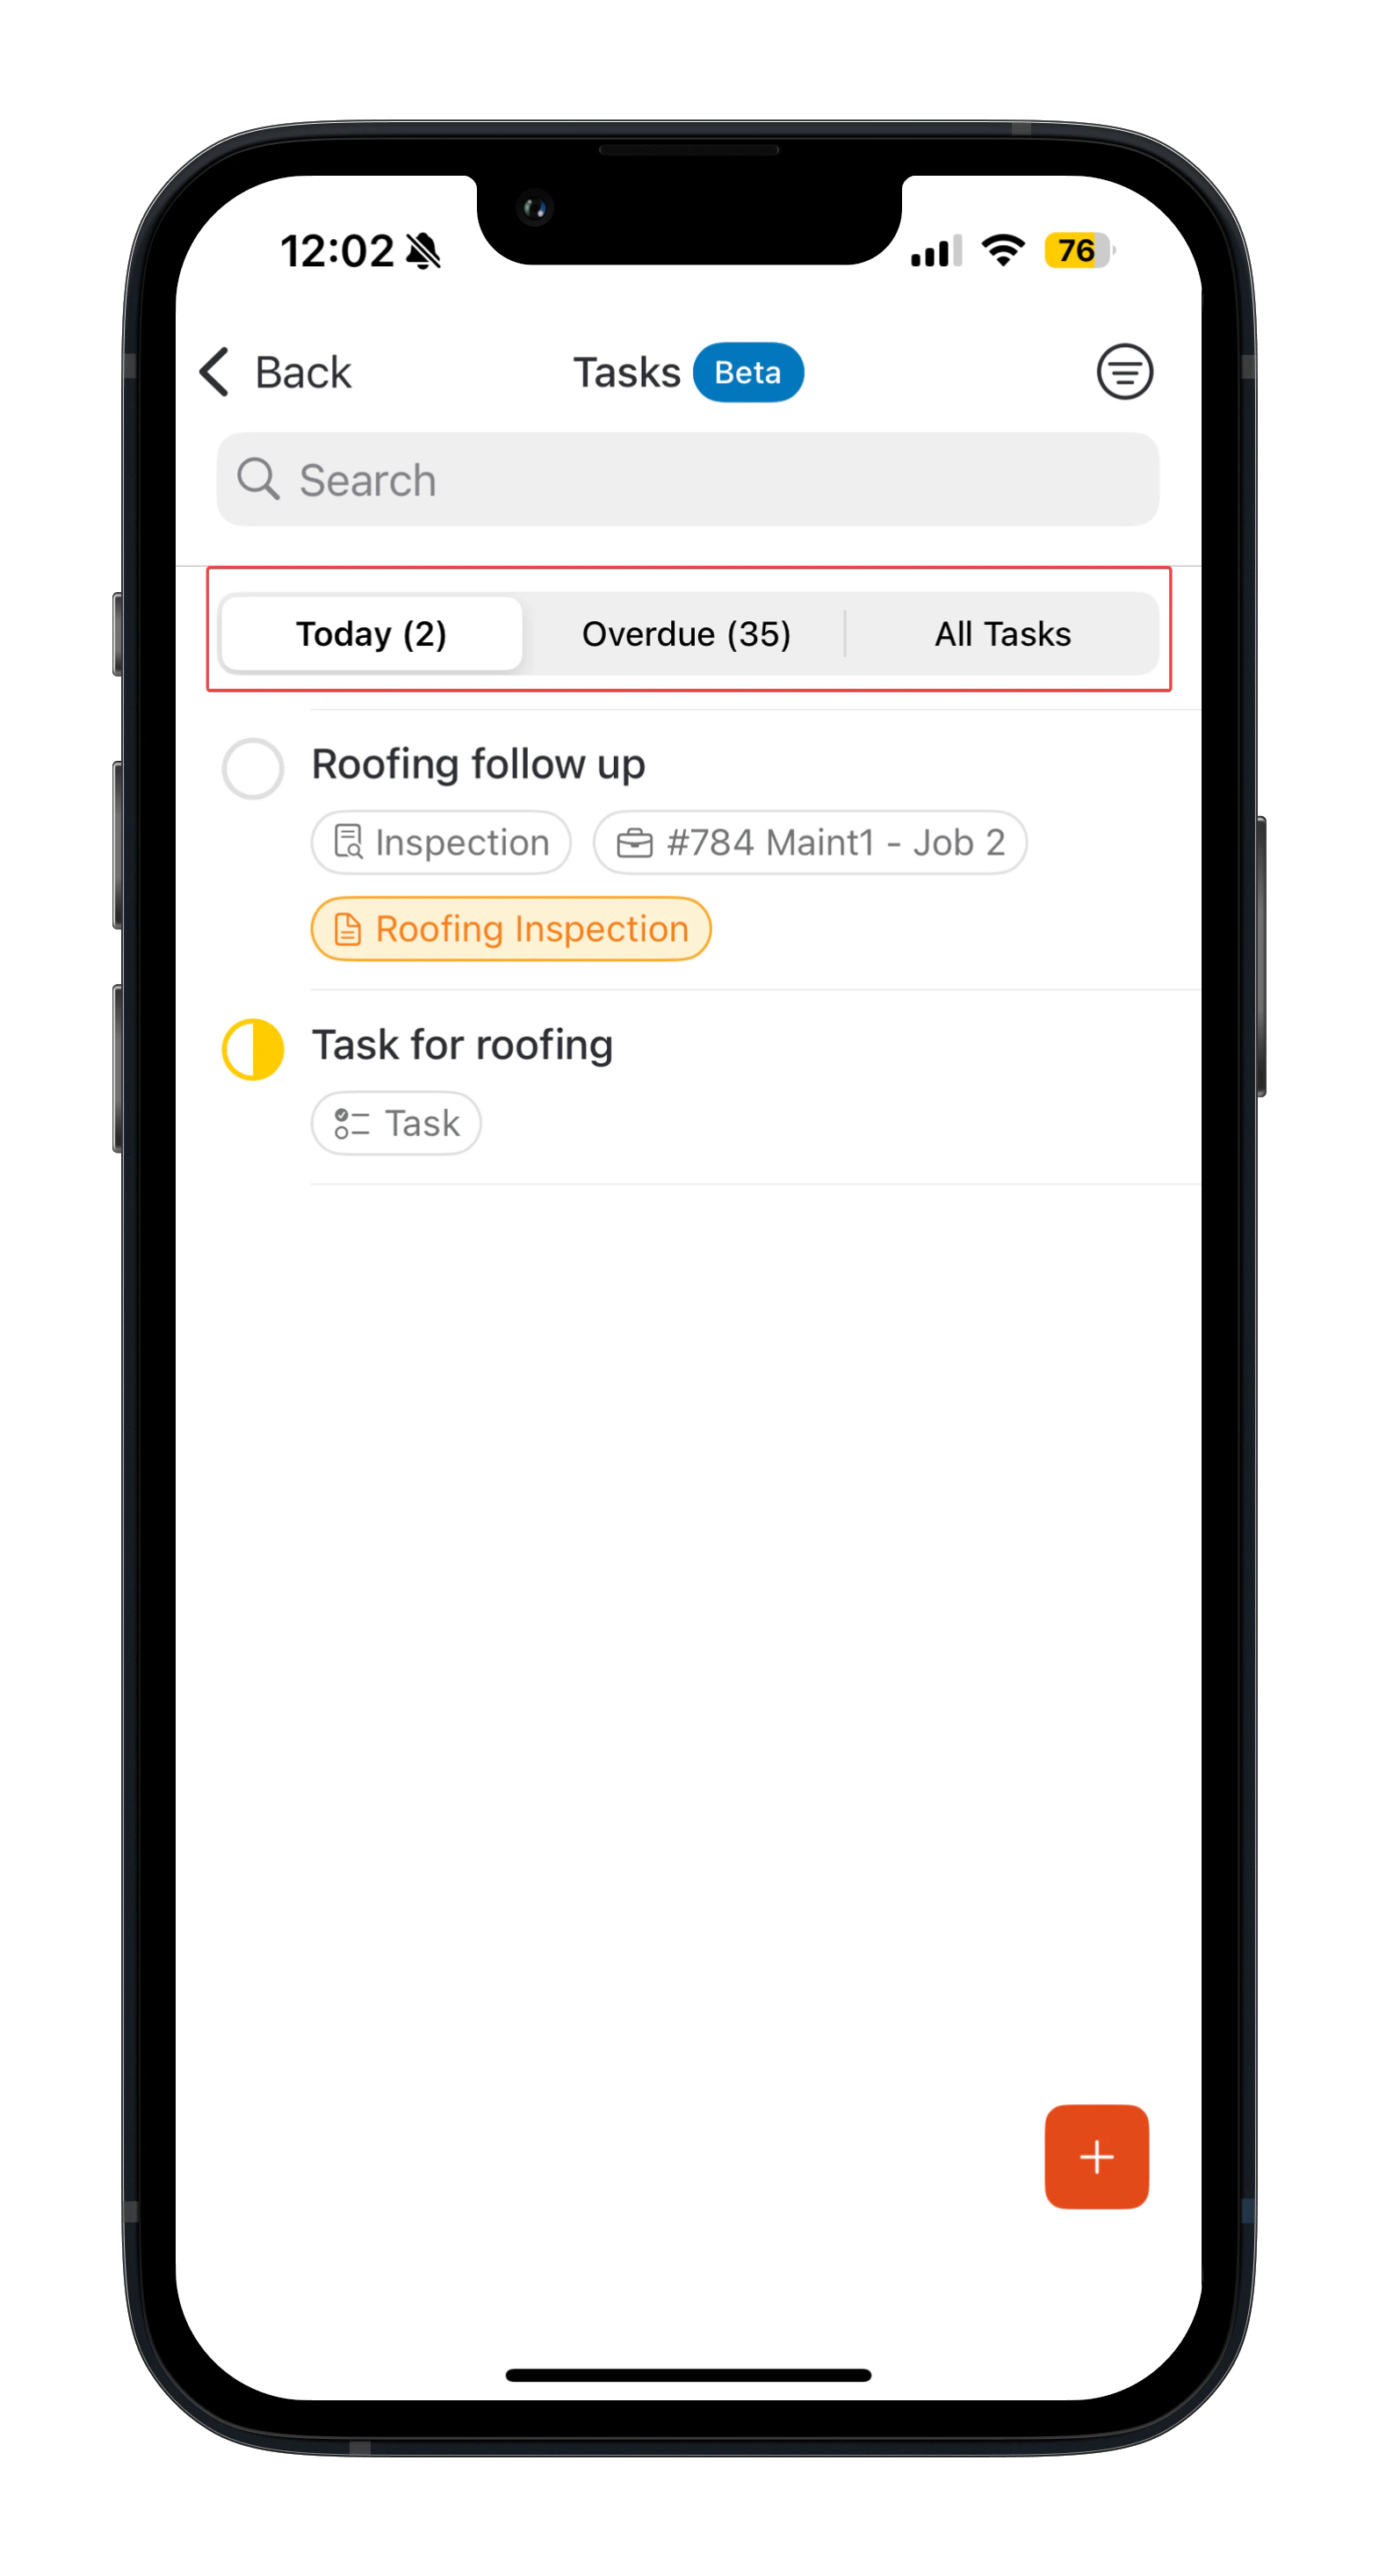
From the Tasks screen, tasks are grouped to help you quickly prioritize your work. You can tab to switch Task views between:- Today – Displays tasks scheduled for the current day. Tasks are sorted by created date.
- Overdue – Displays tasks that have passed their due date. Tasks are sorted by due date.
- All Tasks – Displays all tasks assigned to you. Tasks are sorted by created date.
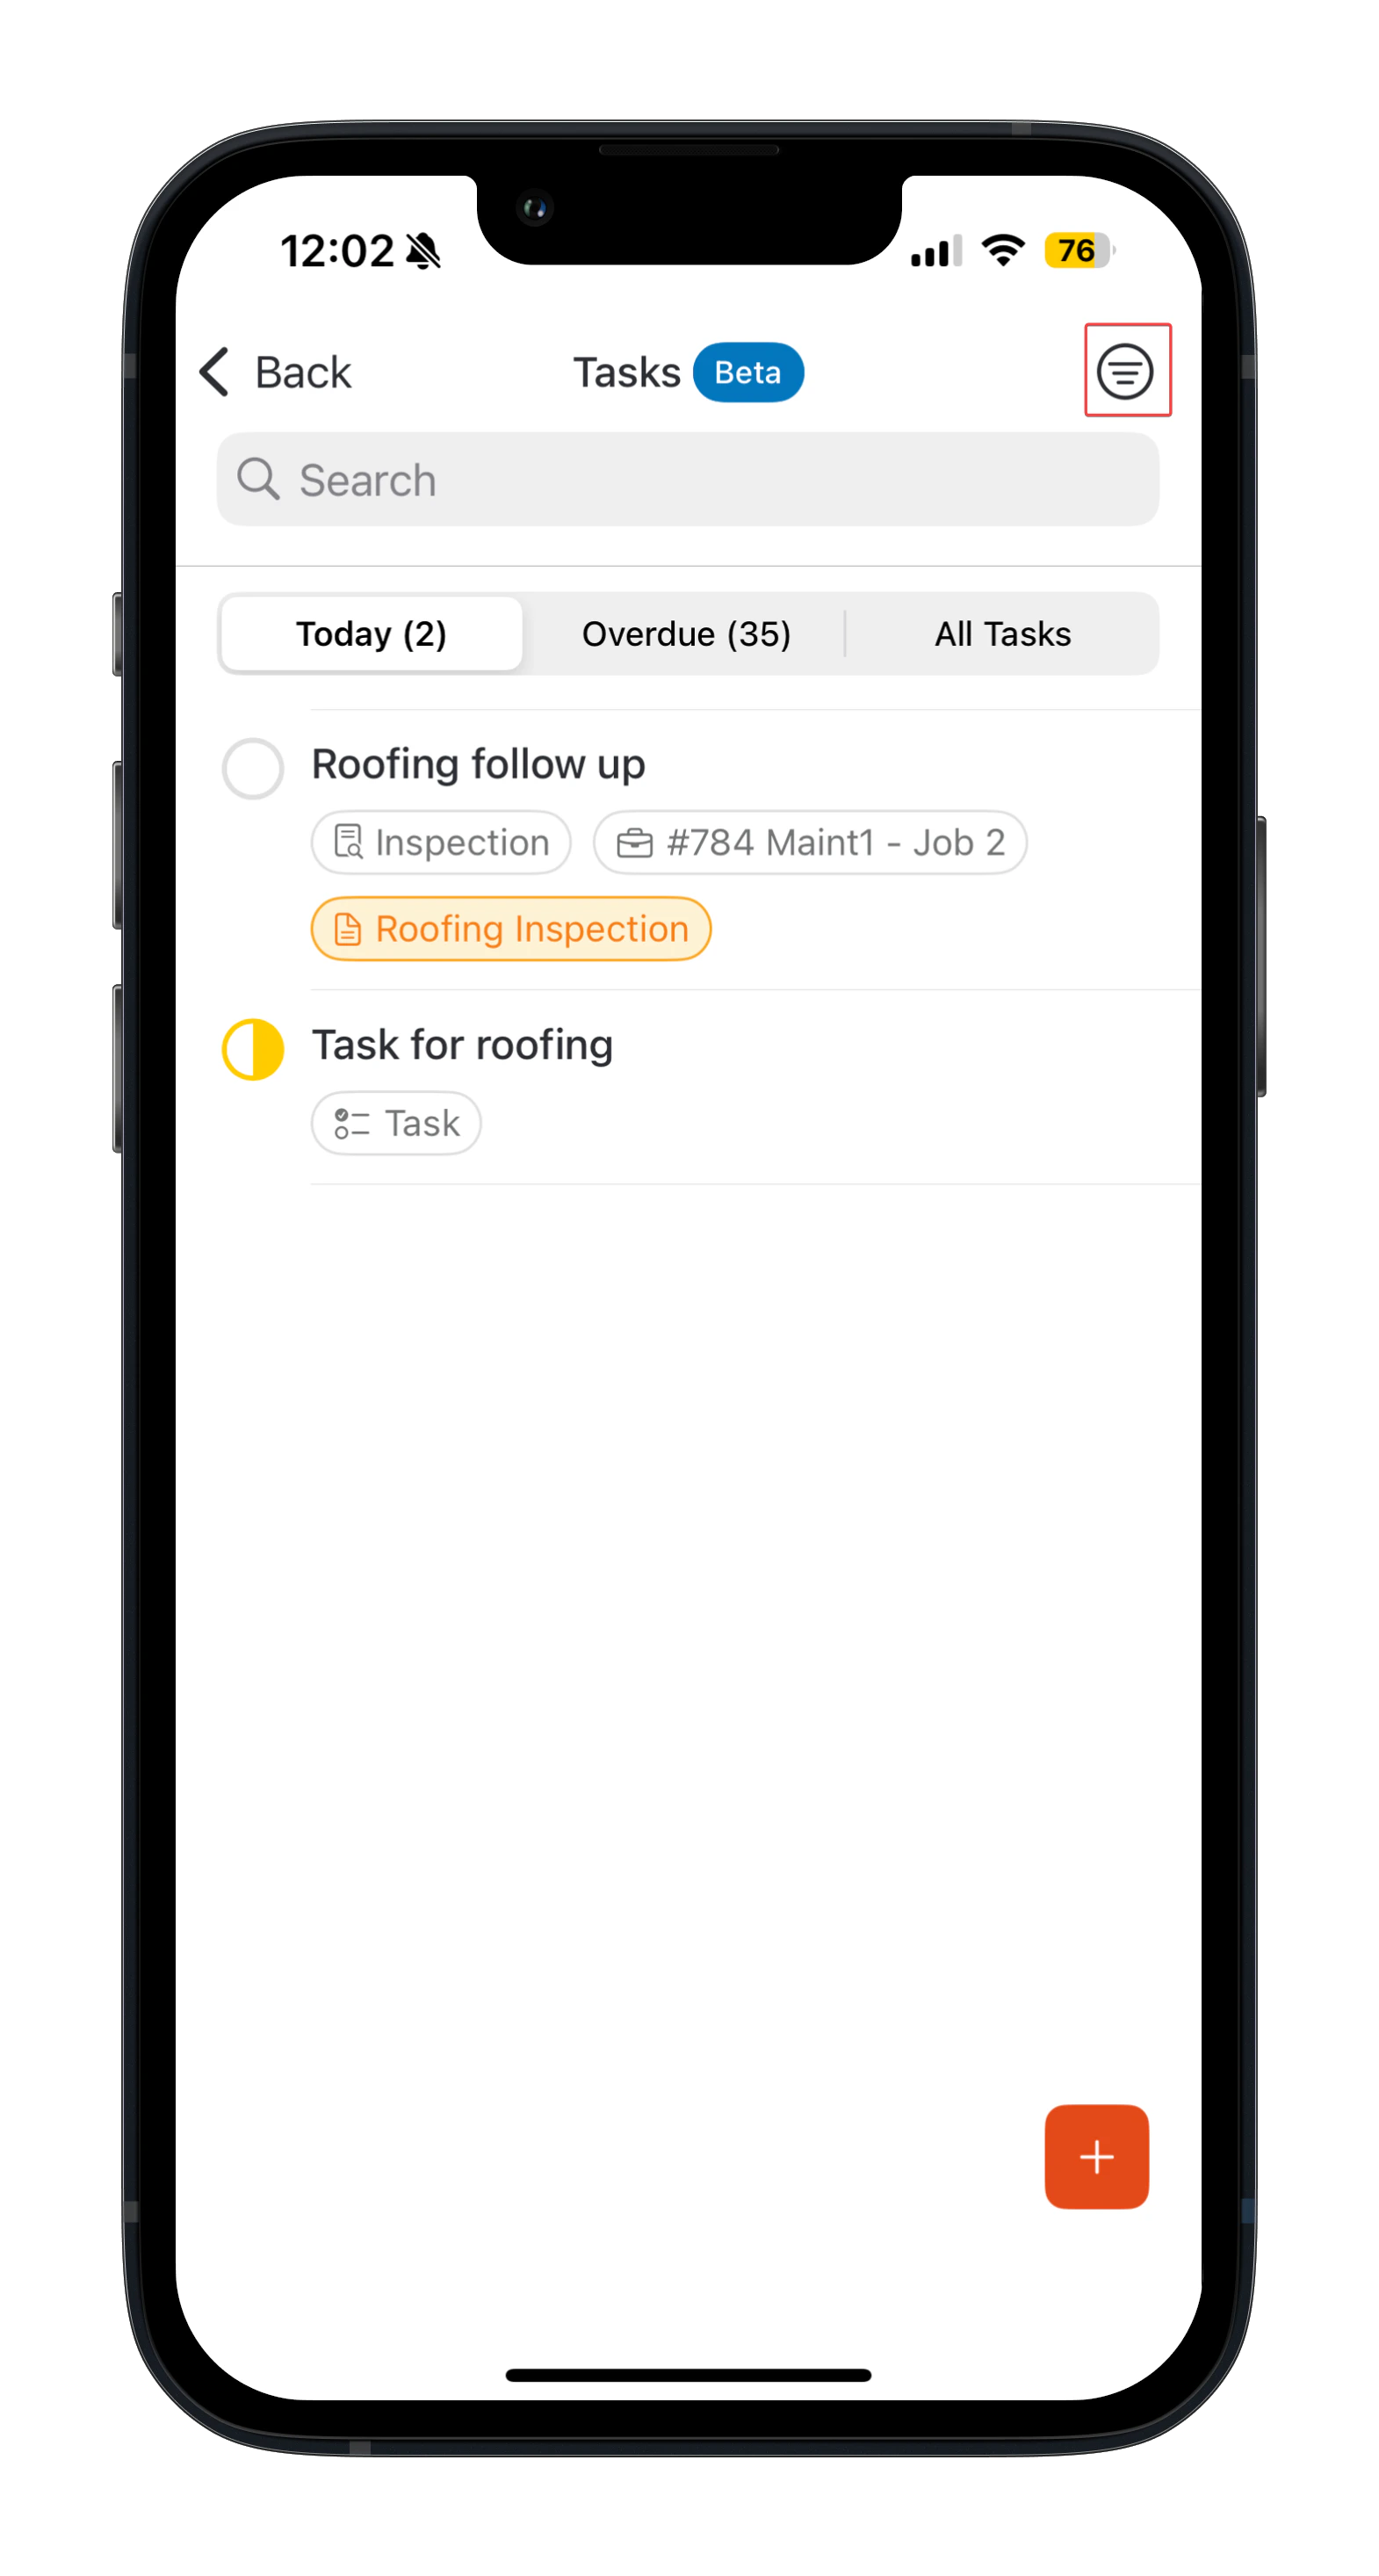
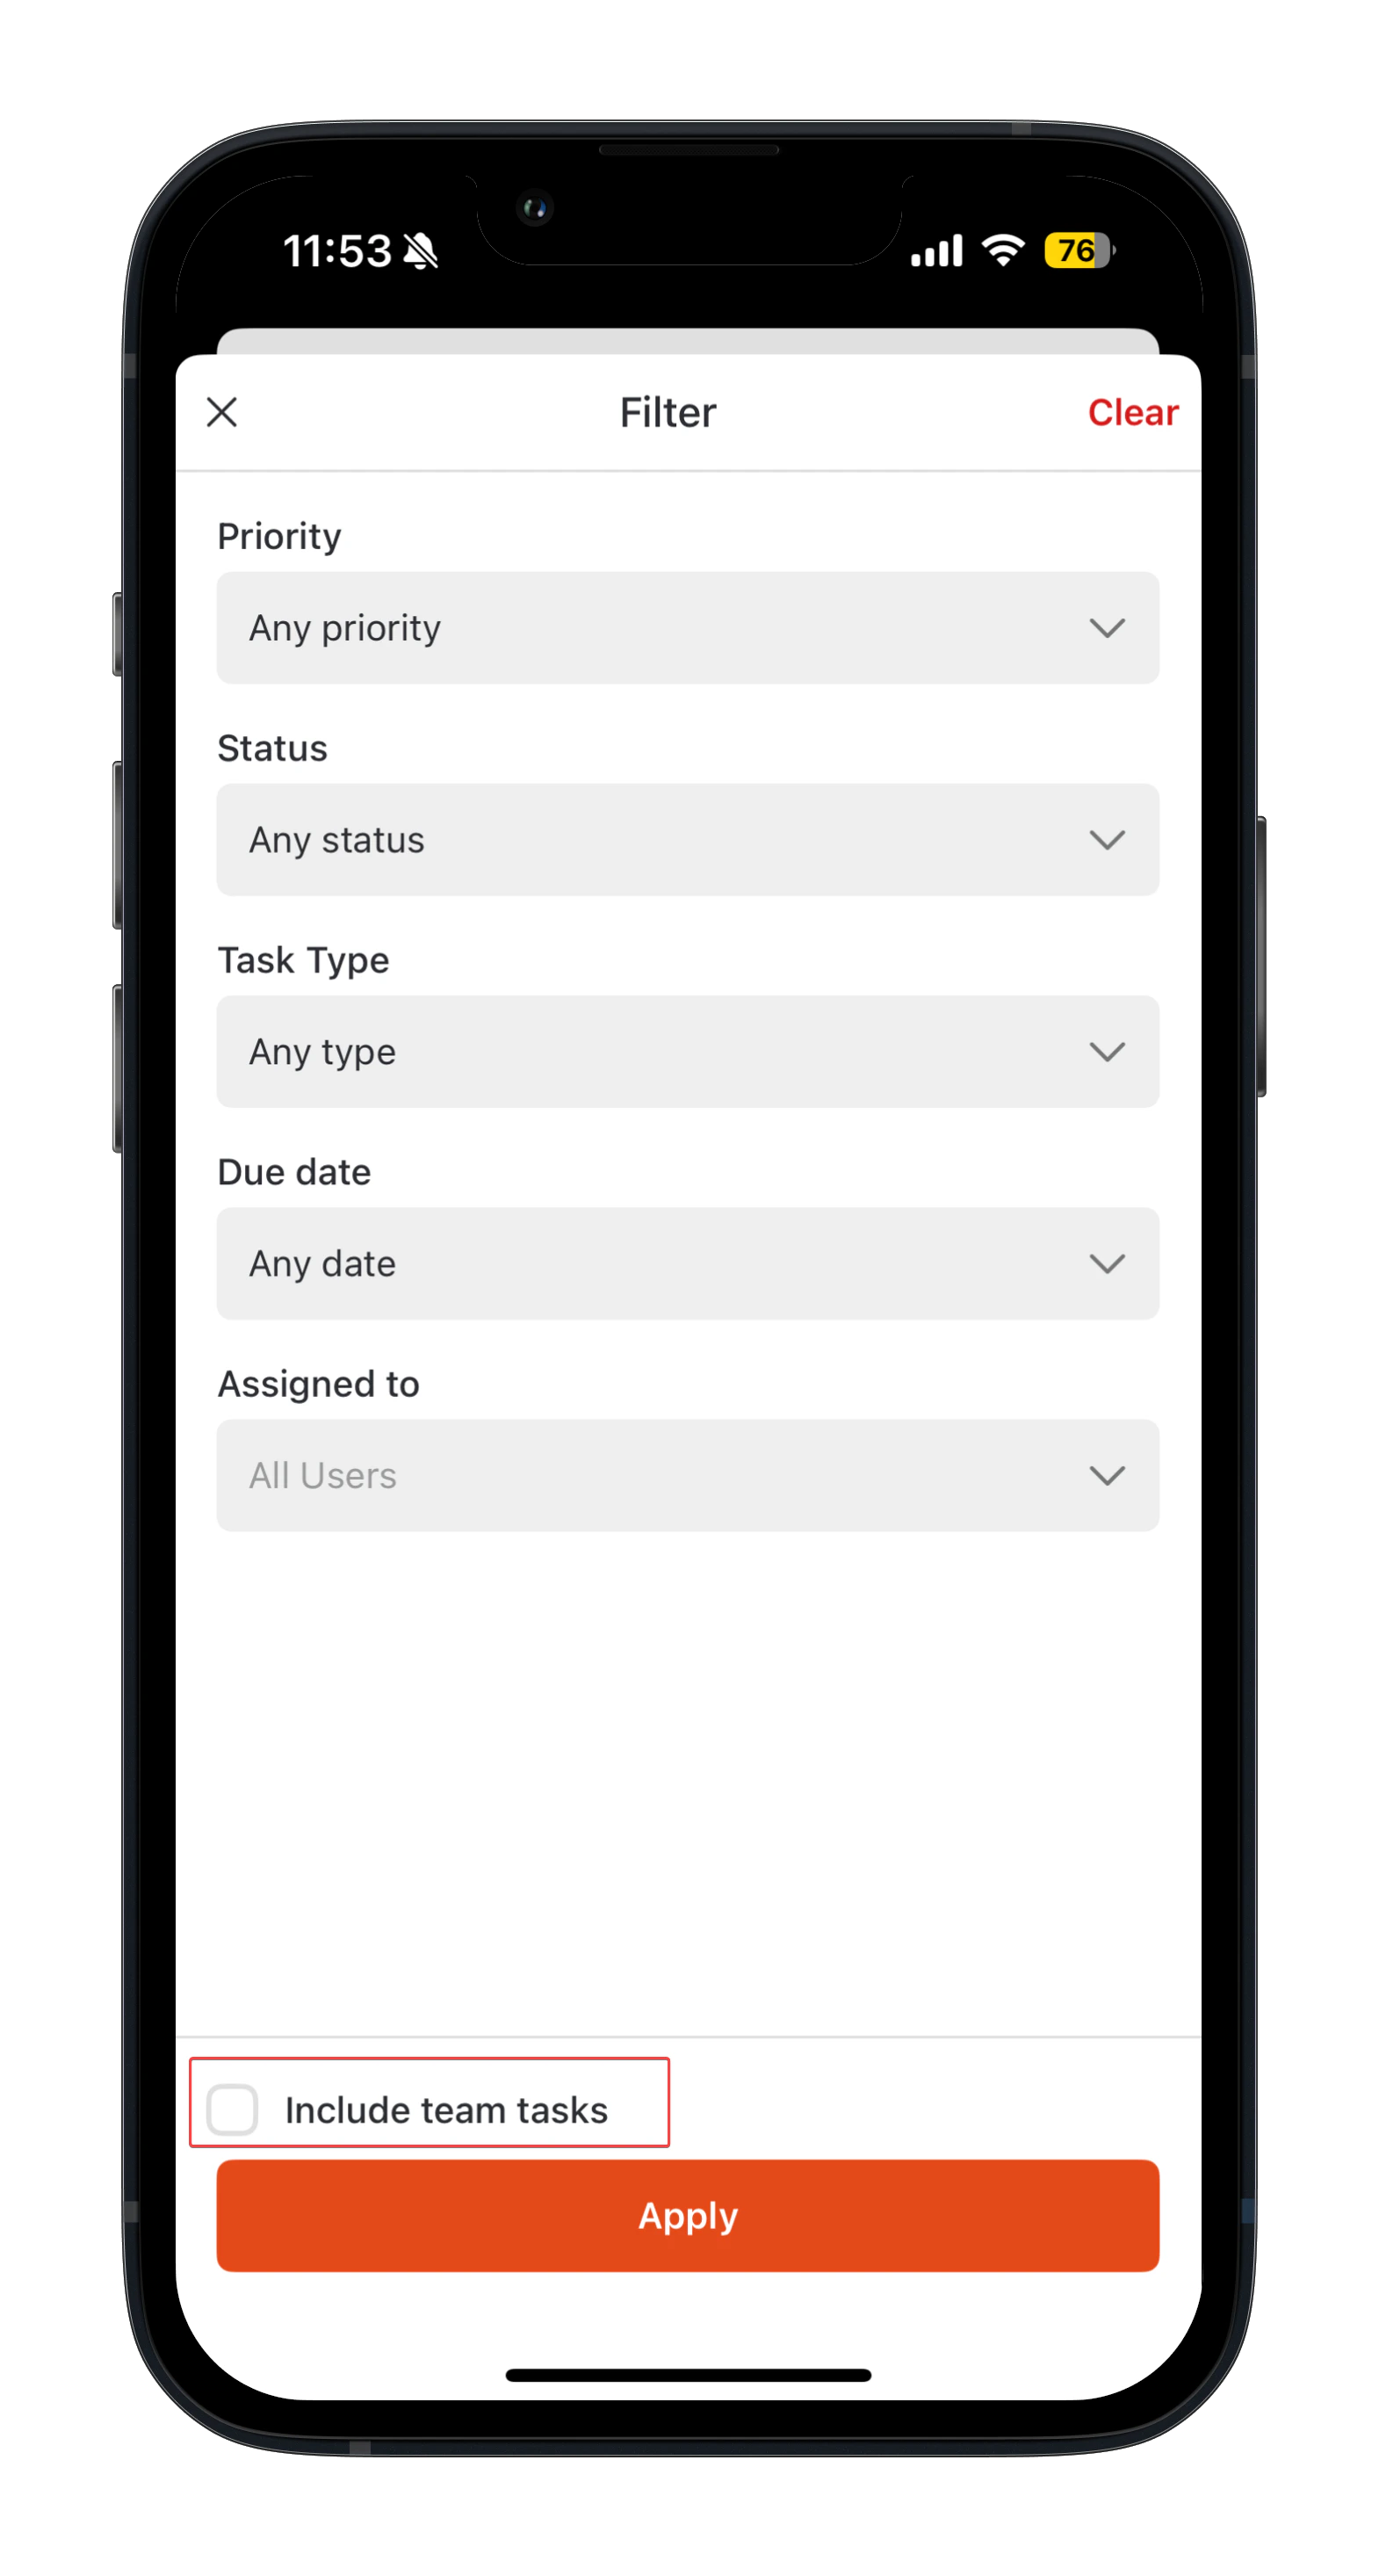
Note: User who do not have Admin-level permissions for their account will only be able to see their own tasks. If you have Admin-level permission, you can select the “Include team tasks” checkbox in the Filter menu to view all team member tasks.
Open a task
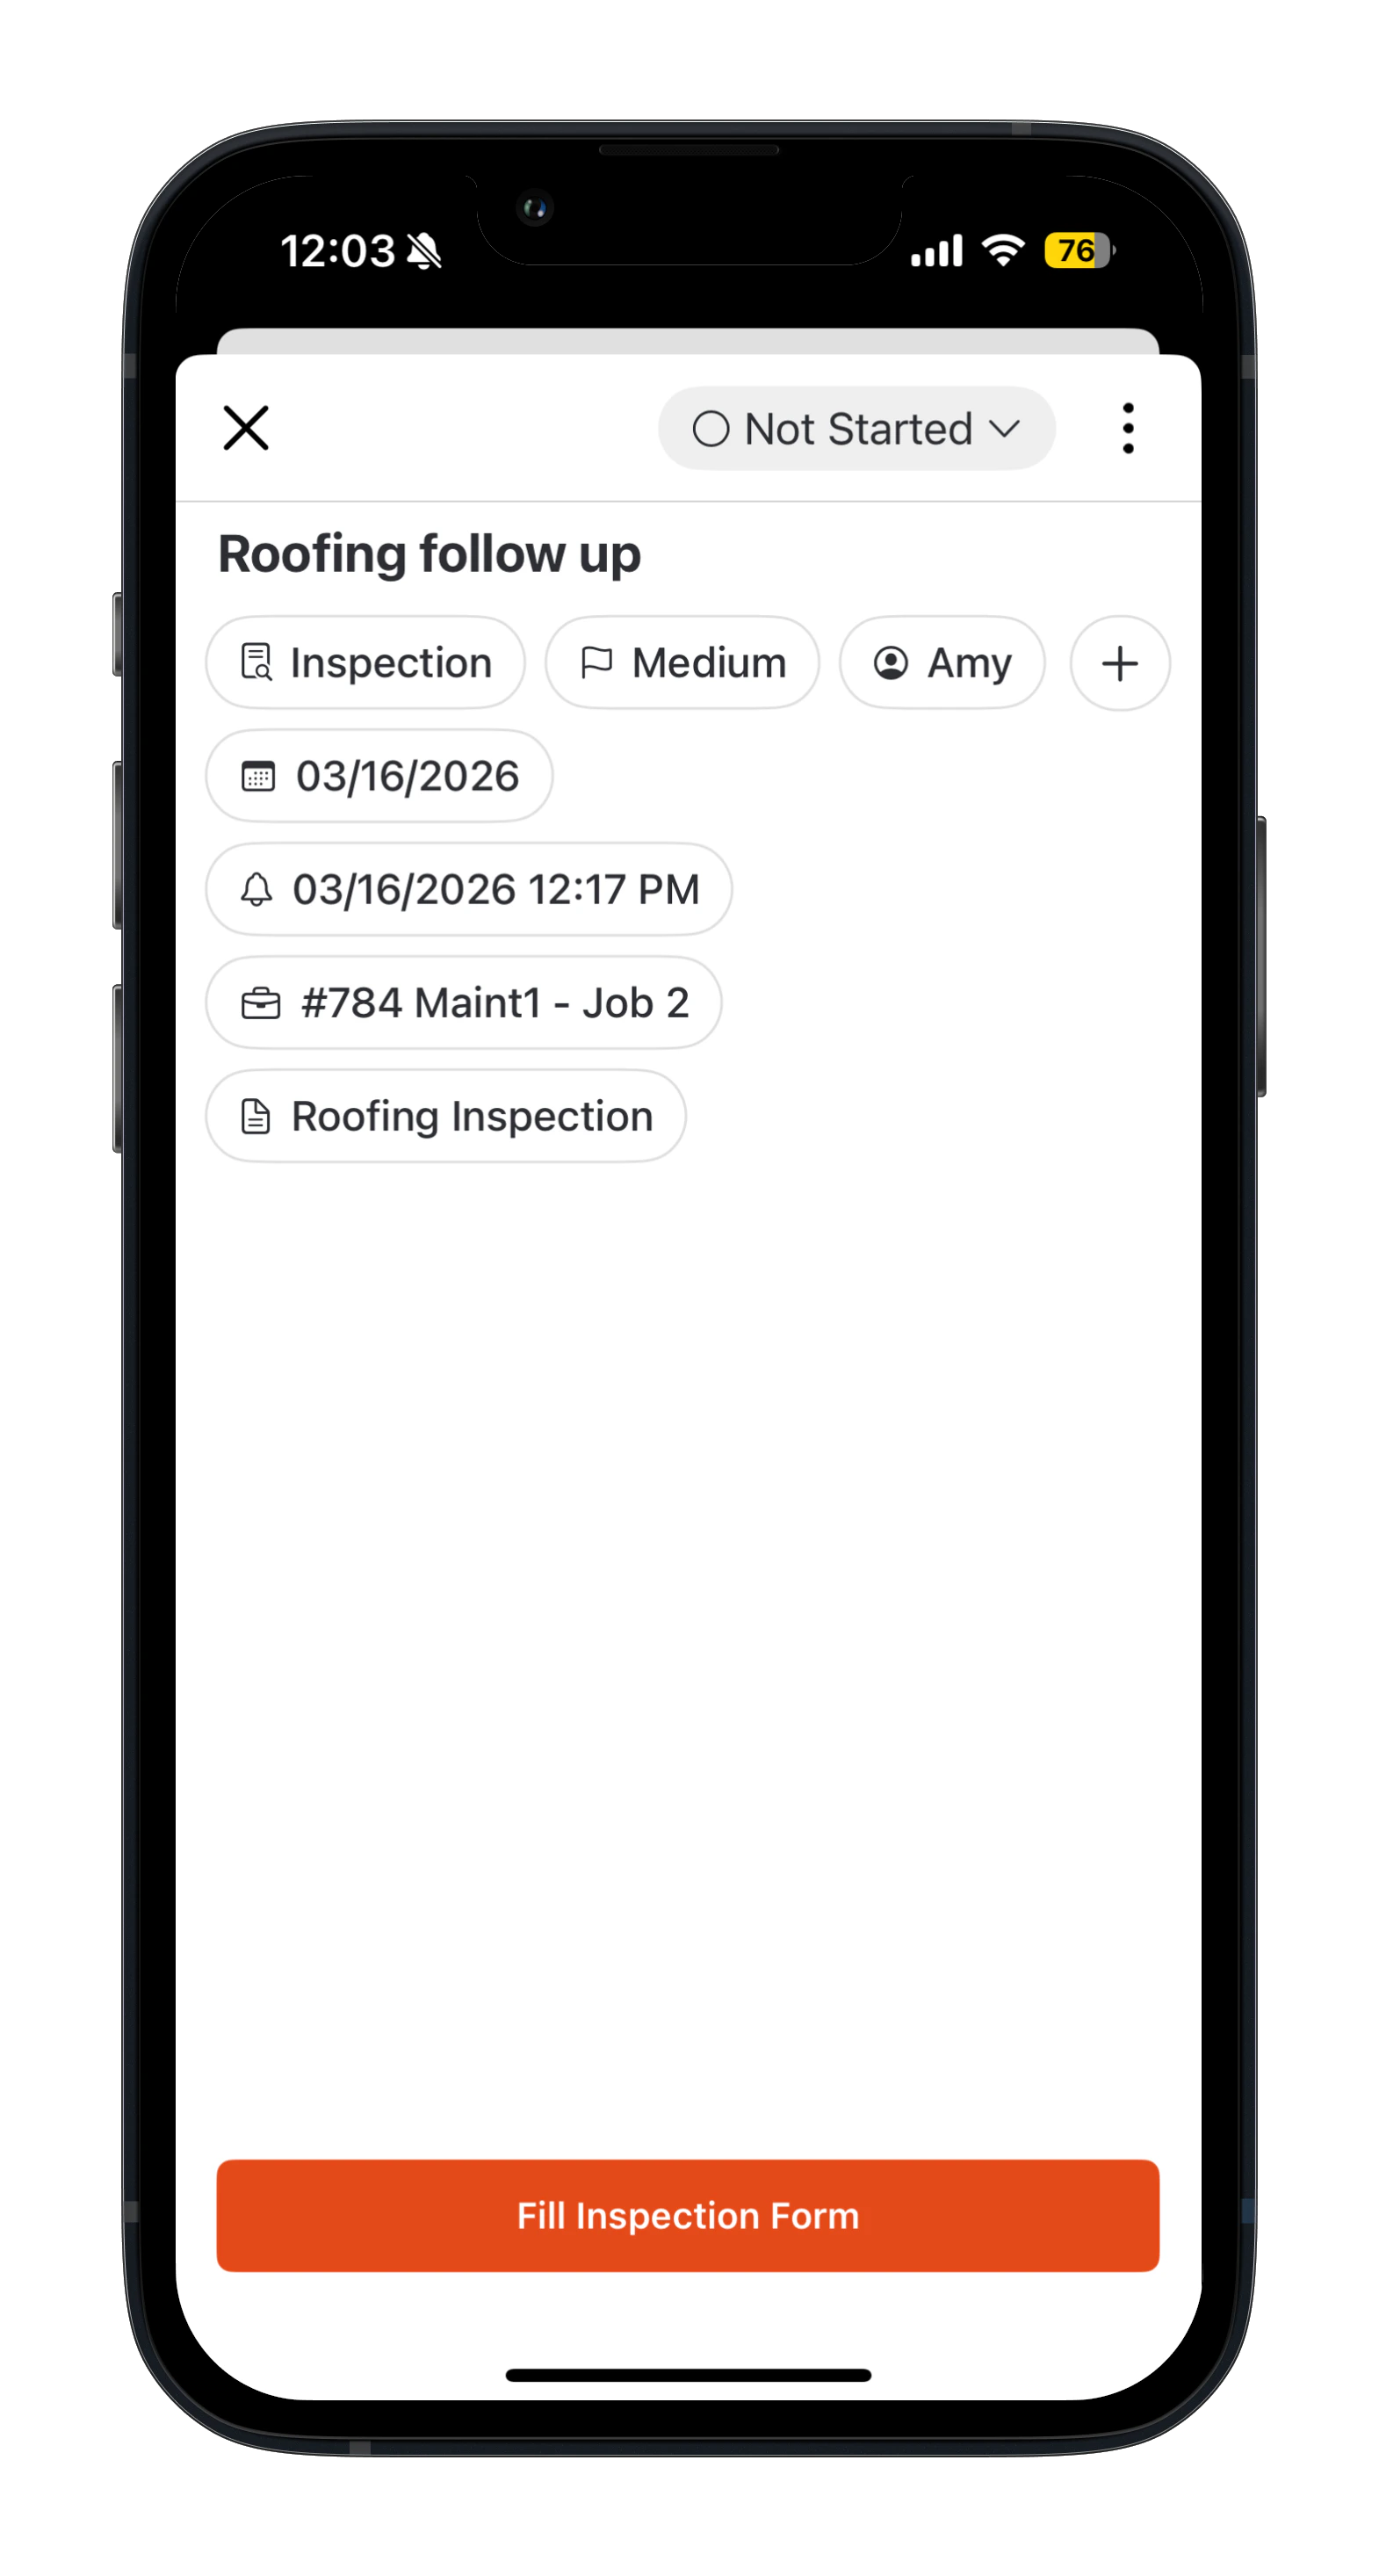
Tap on a task to view the Task details. From here, you can:- Review task information
- View the associated Job or Project
- Track and update the task status
- Update the due date, task type, priority, or reminder
- Complete the inspection form (if an Inspection Form is associated to the task)
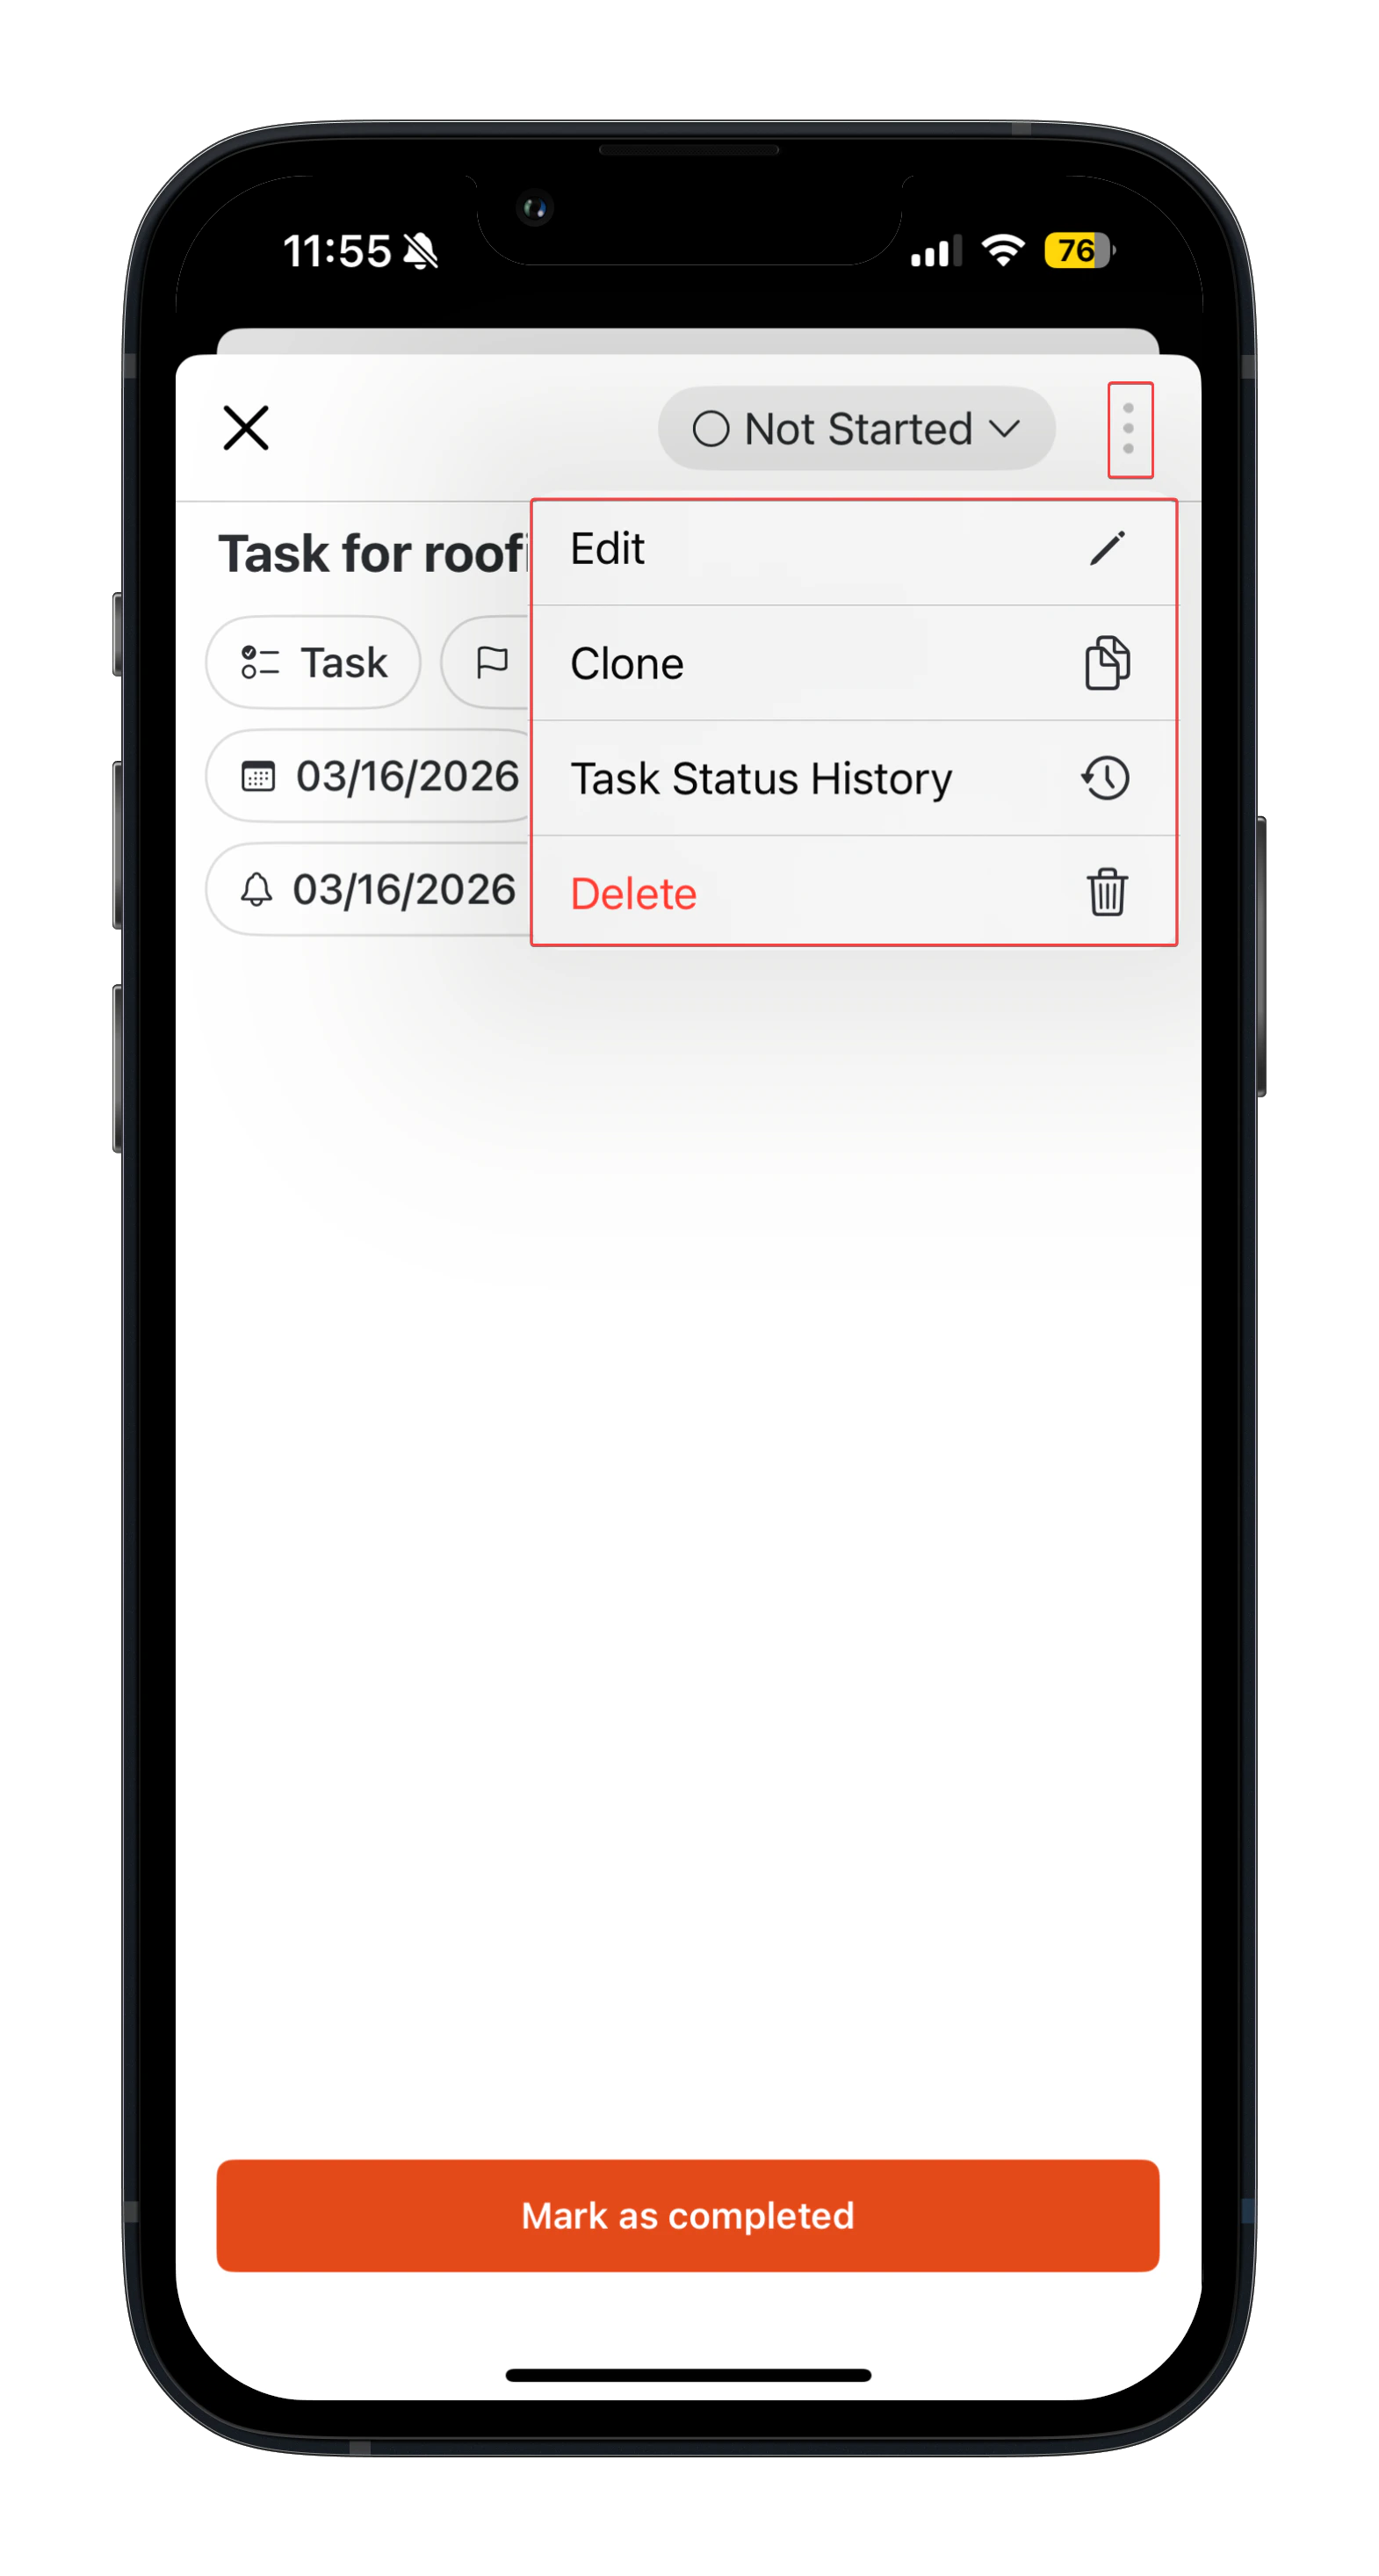
- Edit
- Clone
- Task Status History
- Delete
Updating a task’s status
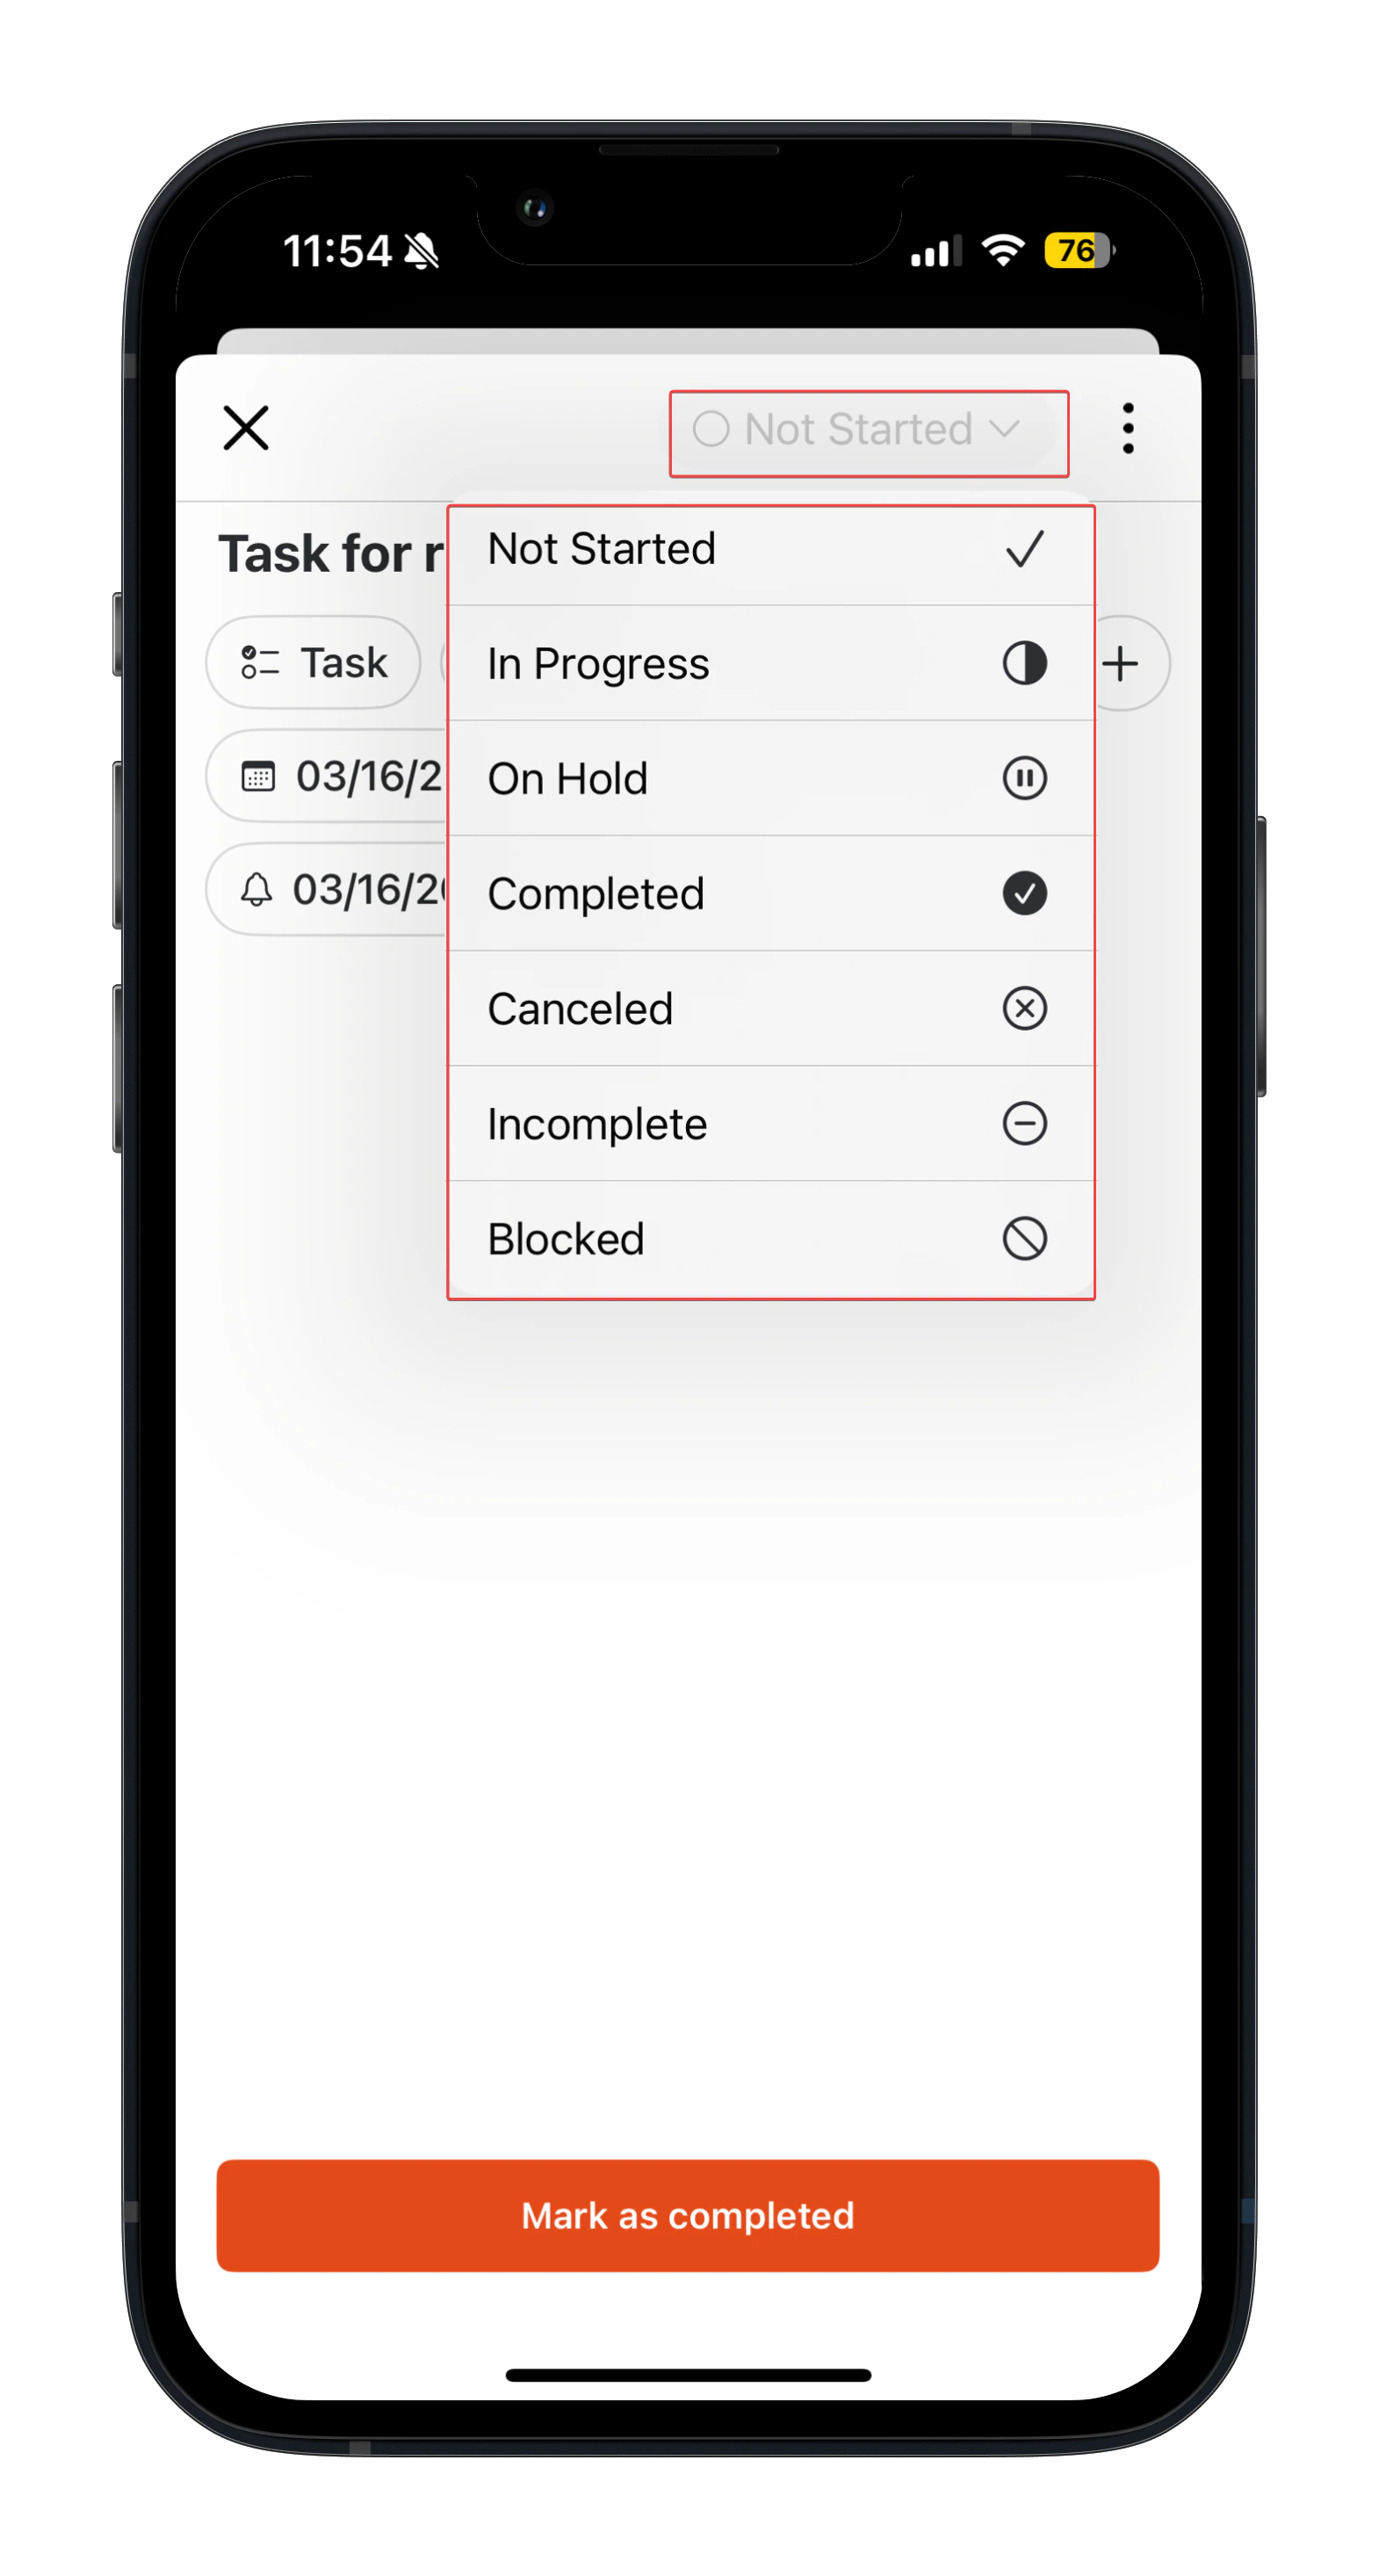
Task status indicators (such as In Progress, On-Hold, or Completed) help you quickly understand the current state of each task. This ensures better visibility and smoother coordination when tasks are linked to jobs or projects. To update a task’s status:- Tap on the task for which you want to update the status.
- On the details page, select the relevant status and provide the remarks if required.
- If an inspection form is attached to the task: Tapping the radio button on the task listing will open the inspection form for you to complete it. Once the form is submitted, you can then mark the task as completed.
- If no inspection form is attached: Tapping the radio circle will directly mark the task as Completed.