Getting started
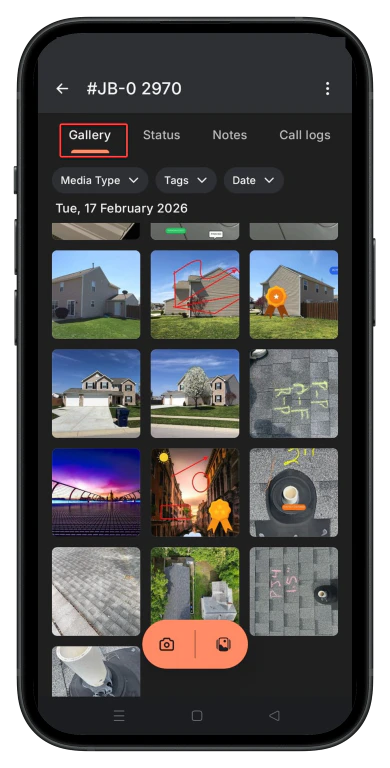
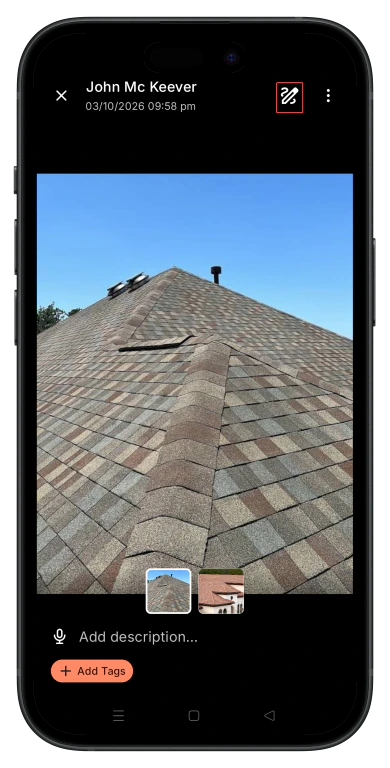
- Access Annotations: Open a job in Zuper. Go to the Gallery tab to view or upload images. Select an image, then tap the “Annotation” icon to enter annotation mode.
- Interface Overview: You’ll see the image on a canvas with a toolbar at the bottom. Tools include drawing, shapes, text, stickers, and more. At the top, there’s a navigation bar with options like Undo, Redo, Save, and Close (X).
- Editing Basics: Use your finger to draw or place elements. Selected tools include color pickers, opacity/stroke sliders, and input fields.
Annotation toolbar tools
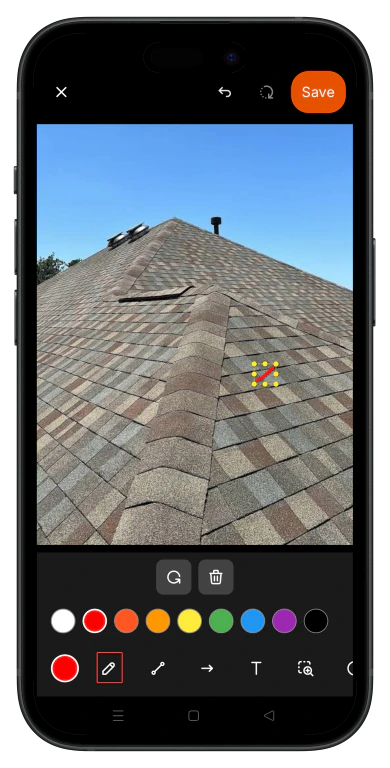
The toolbar provides intuitive markup tools. Icons are simple and discoverable. Here’s a breakdown of each, with tips based on common uses:1. Freehand drawing tool
- Icon: Pencil or squiggly line.
- What it does: Draw freehand lines in a range of available colors.
- Options: Color palettes include a variety of colors.
- Tips: Use for quick highlights, like circling damage on a roof.
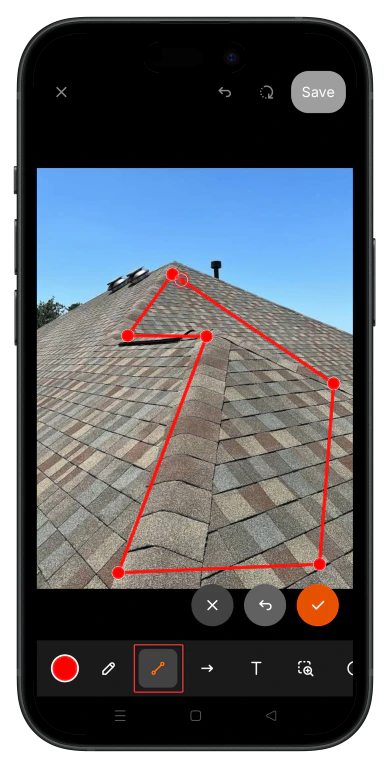
2. Polyline tool
- Icon: Connected line segments.
- What it does: Draw a series of connected straight line segments to form custom paths or outlines.
- Options: Choose a color.
- Tips: Ideal for tracing irregular boundaries, like outlining a building perimeter or creating a custom fence line.
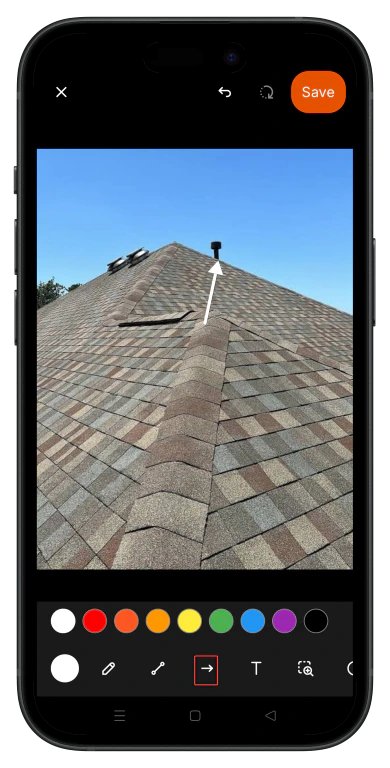
3. Arrow/Line tool
- Icon: Diagonal arrow, line, or double arrow line.
- What it does: Draw straight to point out specifics.
- Tips: Ideal for directing attention, like arrowing to a roof section.
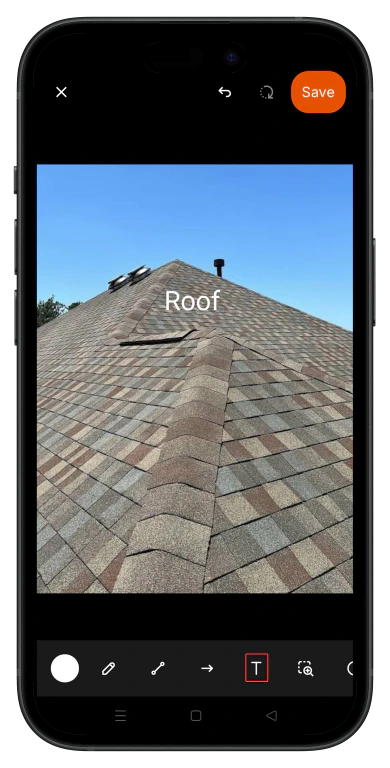
4. Text tool
- Icon: “T”.
- What it does: Add editable text boxes.
- Options: Type in the pop-up, and it can be resized using freehand.
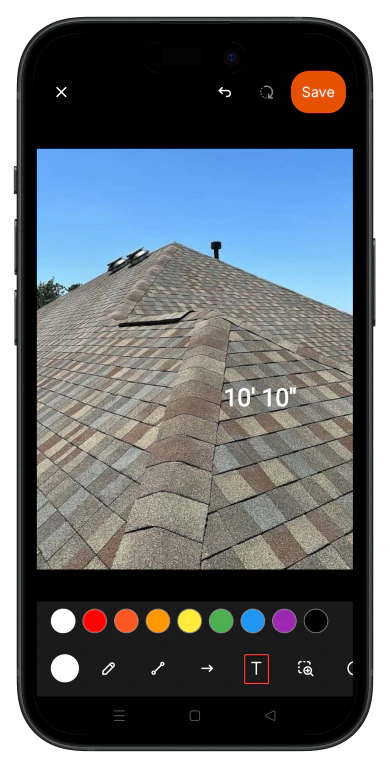
- Switch between Text and Measurement modes for labels or dimensions.
- Tips: Place text like “Roof” above a house image. Tap “Okay” to apply; edit later by selecting. Useful for status notes or timestamps.
- Switch to the input dimensions tab. Supports units like:
- ft.in (feet and inches), m.cm (meters and centimeters).
- sq.ft (square feet).
5. Magnifier Tool
- Icon: Magnifying glass.
- What it does: Zooms in on a specific area of the image to highlight small details.
- Options: Adjust magnification level and reposition the zoom area.
- Tips: Use the magnifier to clearly show small damage points, nail pops, or roof surface details.
Note: The Magnifier is currently available for Android.

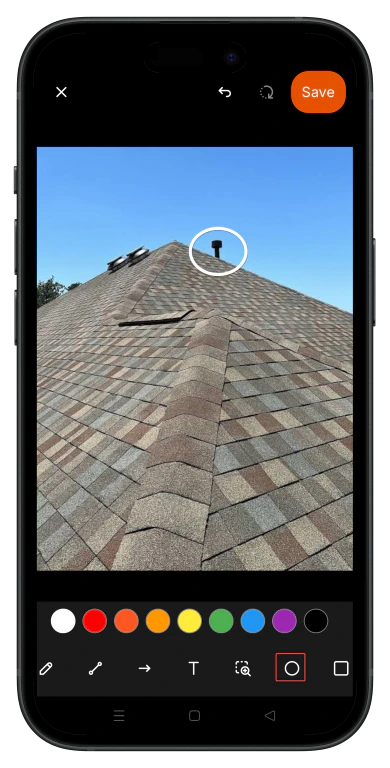
6. Shape Tools
- Circle/Ellipse Tool
- Icon: Circle outline.
- What it does: Draw circles or ovals to enclose areas.
- Options: Modify colors.
- Tips: Circle roof vents or damage spots.
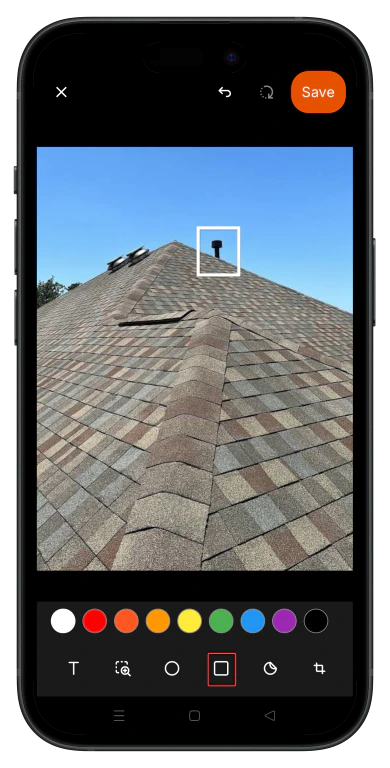
- Icon: Square outline.
- What it does: Create boxes for highlighting sections.
- Options: You can modify the color.
- Tips: Box in areas like siding or windows to focus on.
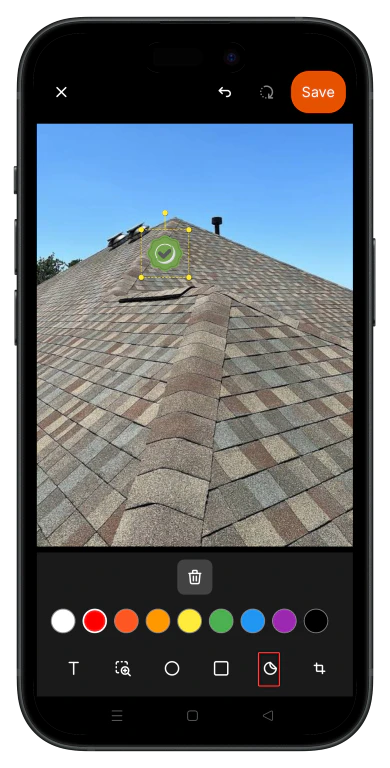
7. Sticker Tool
- Icon: Arc or emoji-like shape.
- What it does: Adds stickers from the list for quick status or labels.
- Tips: Tap to place. Resize or rotate. Perfect for standardized updates, like marking job progress on a house photo.
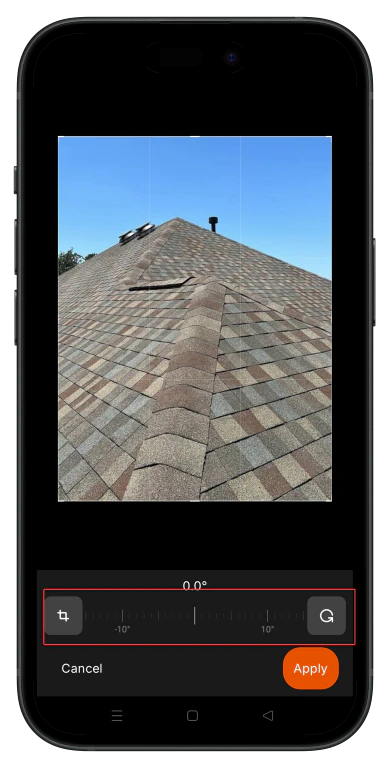
8. Rotate Tool
- Icon: Circular arrow (for rotation) – This will be available after choosing the crop button.
- What it does: Rotate the entire image or selected annotations.
- Options: Slider from -10° to +10° (centered at 0.0°). Tap Apply or Cancel.
- Tips: Fine-tune angles for better alignment. Useful if the photo was taken sideways.
9. Crop Tool
- Icon: Crop frame.
- What it does: Trim the image boundaries. The image’s angle of orientation can be modified.
- Options: Drag handles to adjust; confirm or cancel.
- Tips: Focus on key areas, like zooming in on the roof.
Best Practices
- Standardize Annotations: Use stickers for consistency.
- Collaboration: Share annotated images directly for team reviews.