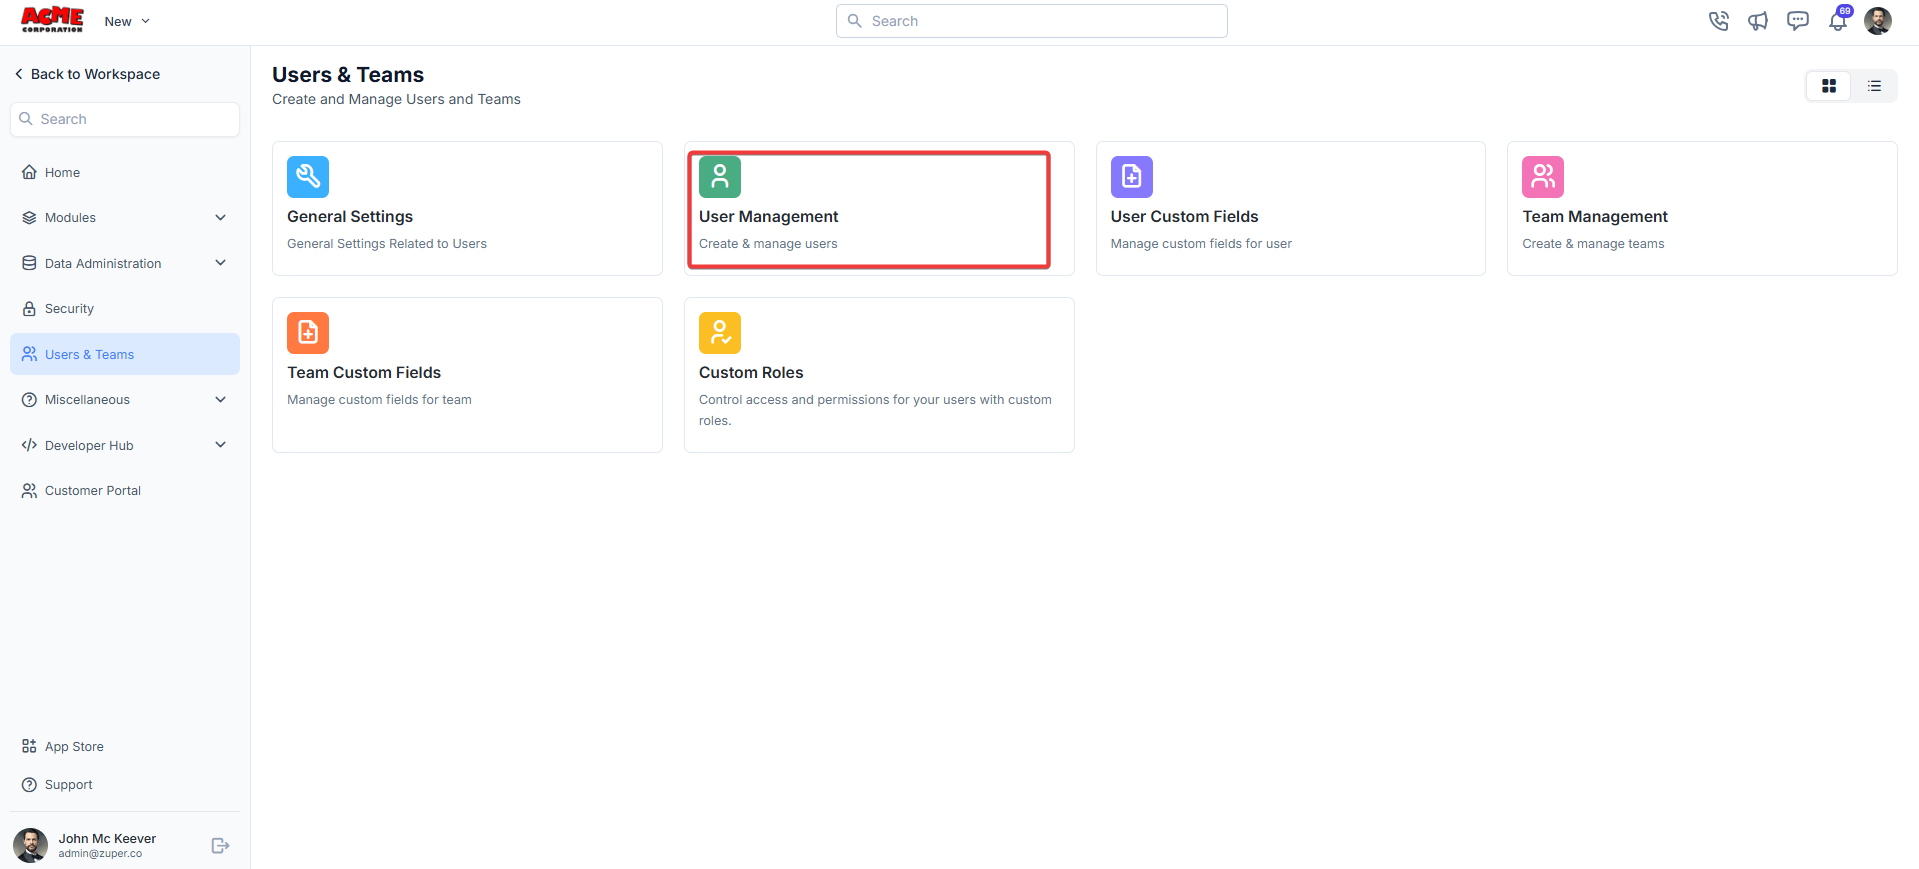
Navigation: Settings -> Users and Teams -> User Management -> + New User
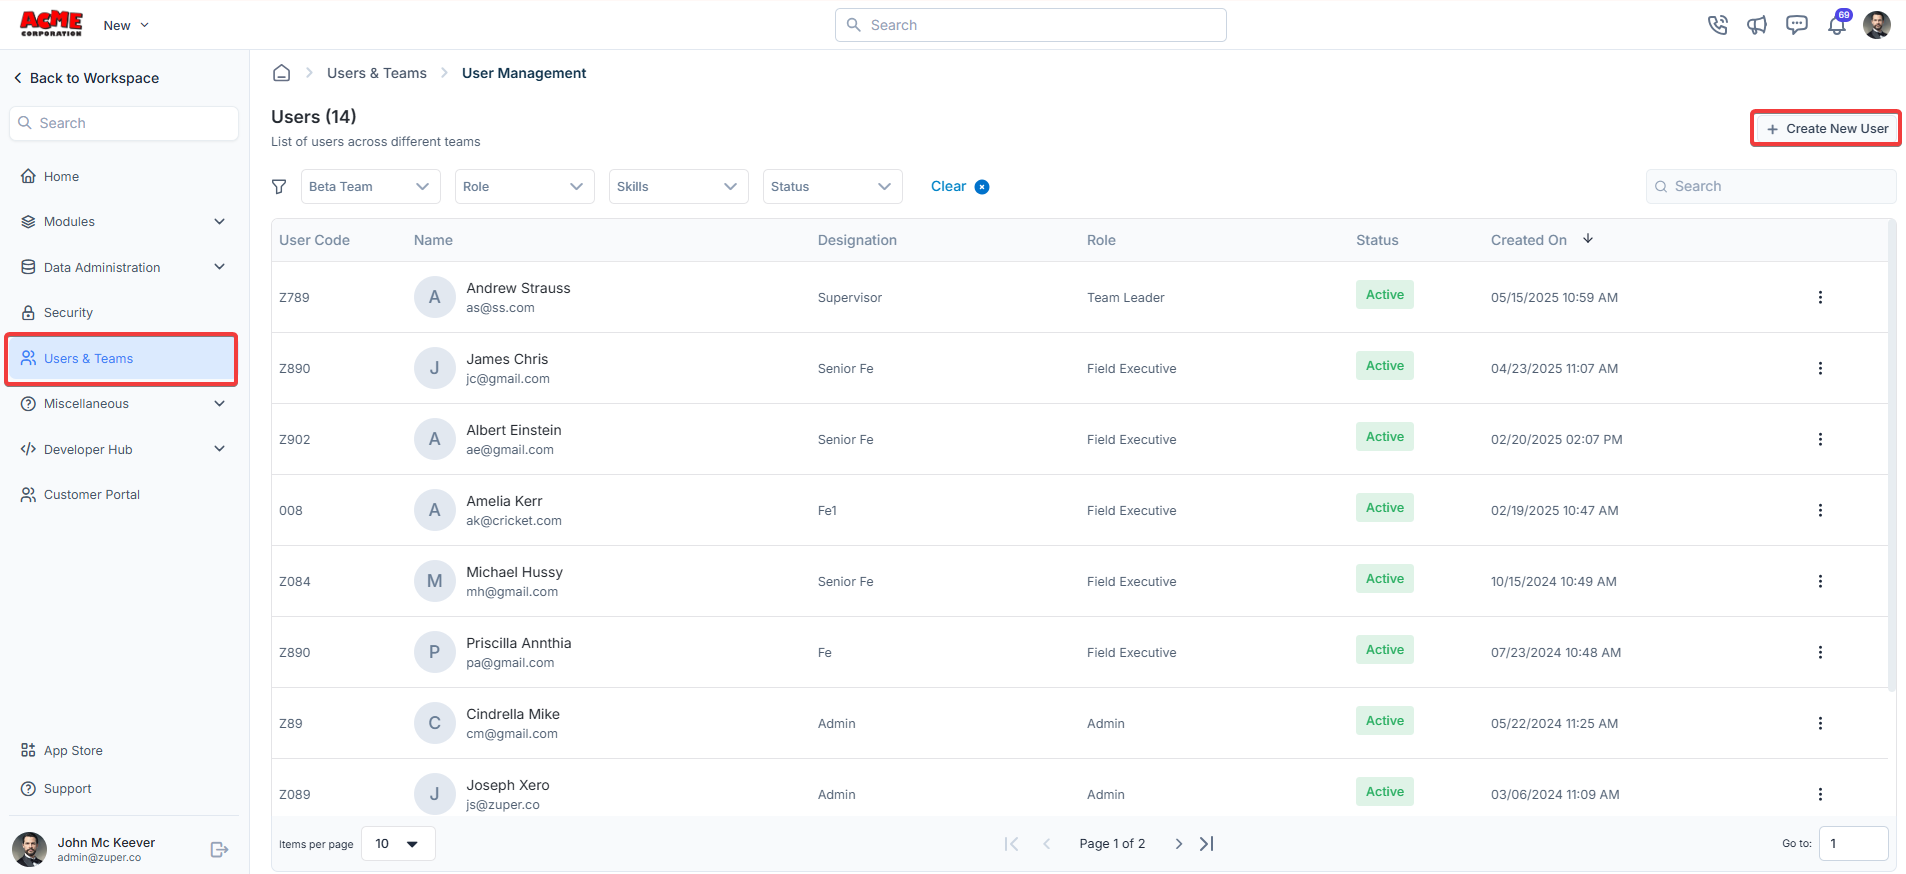
- Select the “Settings” icon from the left navigation menu. Under “User Management,” click the ”+ Create New User” button at the top right corner of the page.
- Upload Image: Upload the user image in a size of 2 MB.
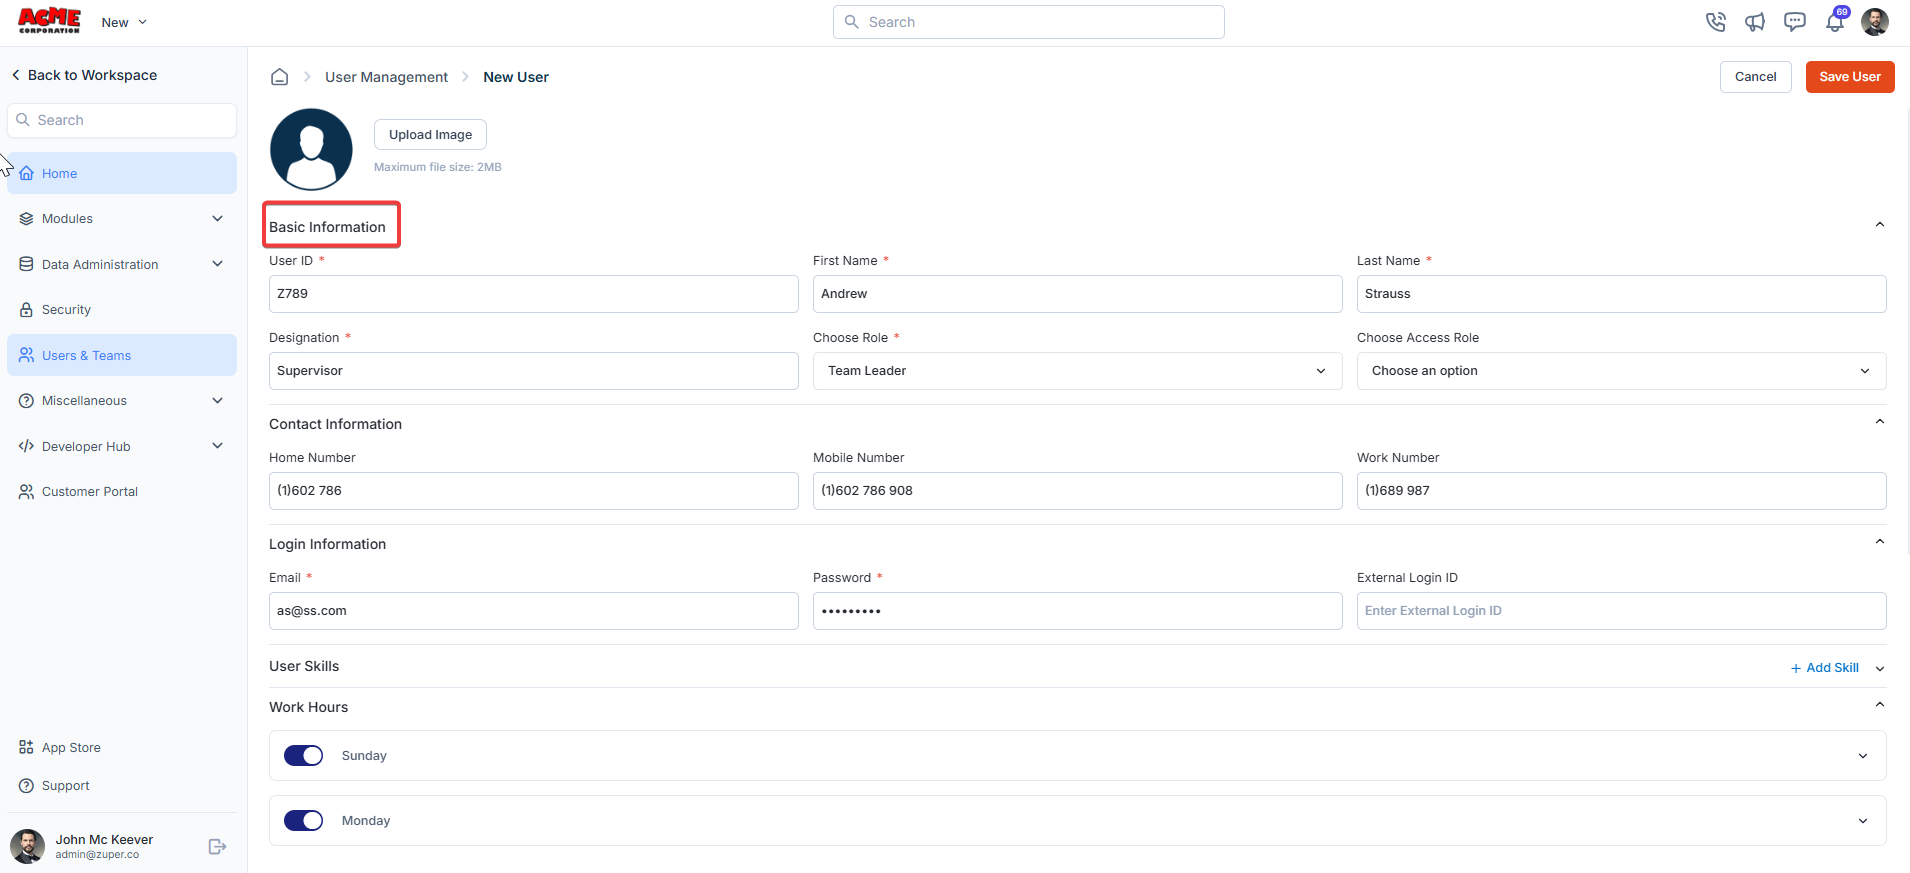
Basic information
- User ID (Mandatory): A unique code that can include both letters and numbers to identify the User.
- First Name (Mandatory): The user’s First Name.
- Last Name (Mandatory): The user’s Last Name.
- Designation (Mandatory): The user’s designation as per the policy.
Roles and permissions
- Choose Role (Mandatory): The user’s role as per the policy (Admin, Team Leader, Field Executive).
Note: Custom roles can also be created per your requirements.
Module Admin TL (Team Lead) FE (Field Executive) Projects Access all records. View records created by them or their team members. Use Custom Roles to set the permissions. View only records created by them. Use Custom Roles to set the permissions. Jobs Access all records. View records created by them or their team members. Learn how to set standard permissions for Jobs here. View only records created by them. Learn how to set standard permissions for Jobs here. Requests Access all records. View records created by them or their team members. Use Custom Roles to set the permissions. View only records created by them. Use Custom Roles to set the permissions. Property Access all records. View records created by them or their team members. Learn how to set standard permissions for Properties here. View only records created by them. Learn how to set standard permissions for Properties here. Quotes / Invoices Access all records. View records created by them or their team members. Additionally, if you have access to a job, you can view associated quotes/invoices. Learn how to set standard permissions for Quotes here. Learn how to set standard permissions for Invoices here. View only records created by them. Additionally, if_you have access to the job, you can view associated quotes/invoices. Learn how to set standard permissions for Quotes here. Learn how to set standard permissions for Invoices here. Contracts Access all records. View contracts created by them or team members, or awaiting approval by them or team members. Learn how to set standard permissions from here. View only contracts created by them. Learn how to set standard permissions from here. Assets Access all records. View records created by them or their team members. Learn how to set standard permissions from here. View only records created by them. Learn how to set standard permissions from here. Customers Access all records. View customers created by them or team members, or where they/team members are set as account managers. Learn how to set standard permissions from here. View customers created by them, or where they are set as account managers. Learn how to set standard permissions from here. Organizations Access all records View customers created by them or their team members. Learn how to set standard permissions from here. View only customers created by them. Learn how to set standard permissions from here. - Choose Access Role (Custom Role) (Optional): The User’s access role signifies the level of access in the “Zuper” console.
To know more about Custom Roles, click hereNote: Custom Roles can also be created as per your requirements.
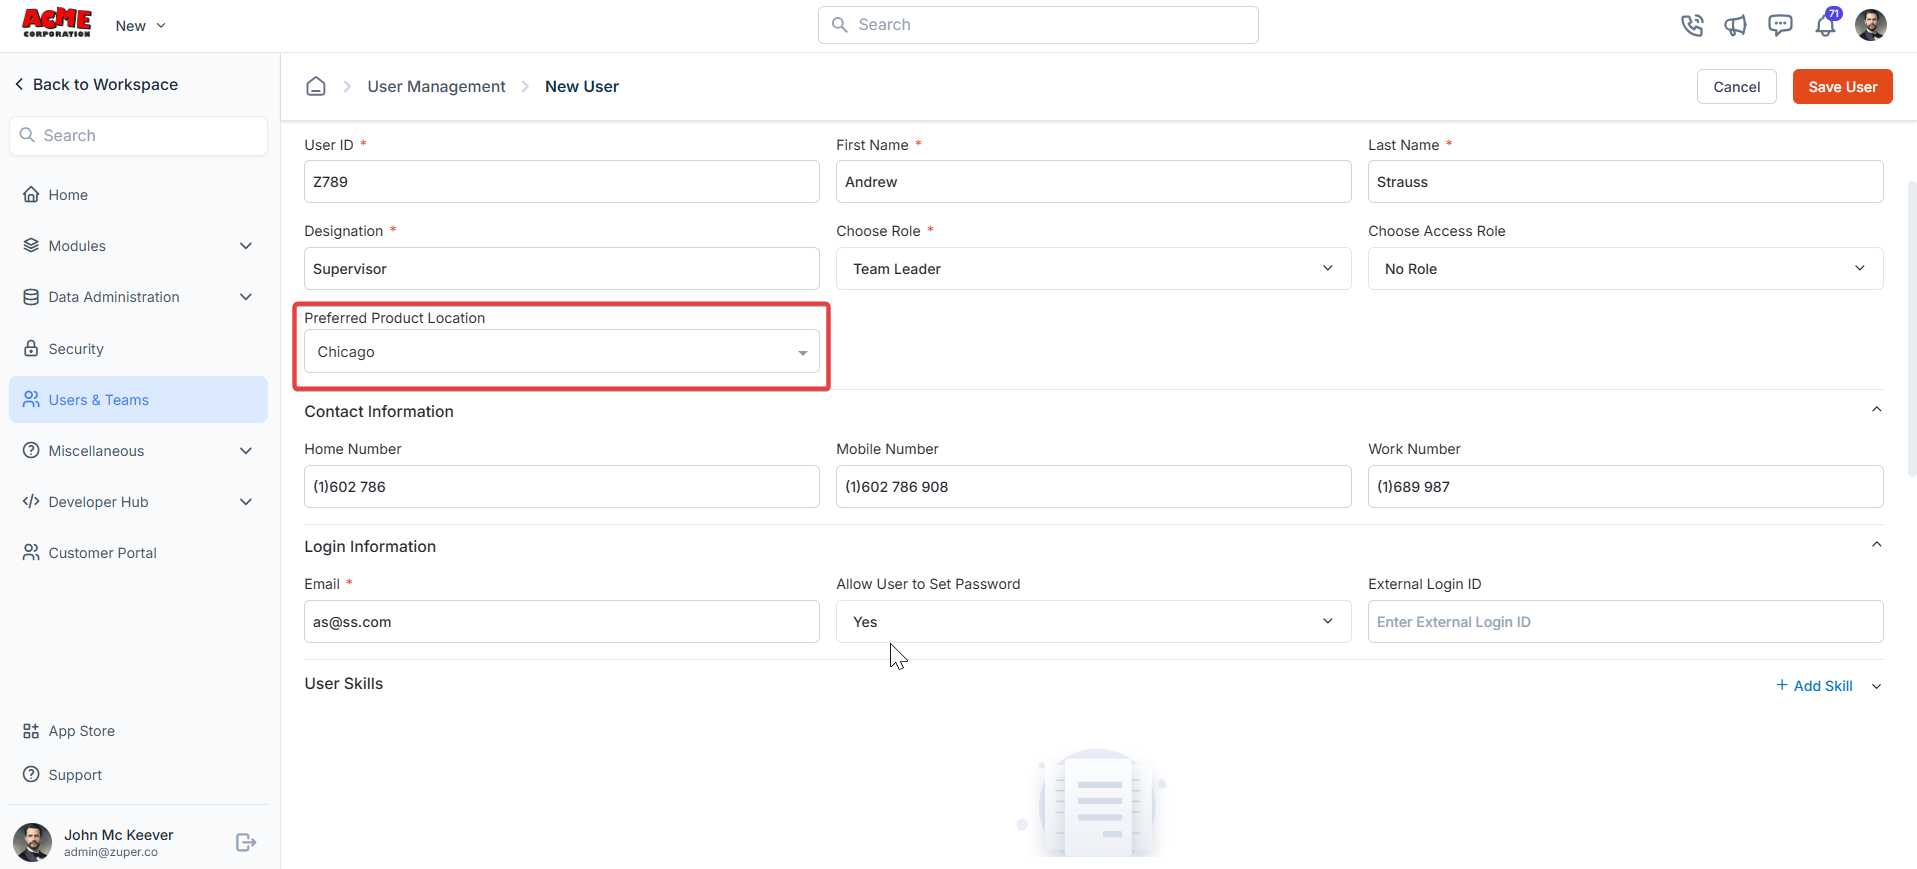
Product location
- Preferred Product Location: This enhancement enables a user to be assigned a default product location, ensuring that it automatically populates as the default location from which parts are consumed. A primary method is to define fixed, high-priority picking locations for fast-moving parts or products to the site.
Contact information
- Home Number: The user’s home number.
- Mobile Number: The user’s mobile number.
- Work Number: The user’s official contact number.
Base Location
Define user’s Base Location. It represents their primary start or end point for the workday, such as a home address, office, or depot.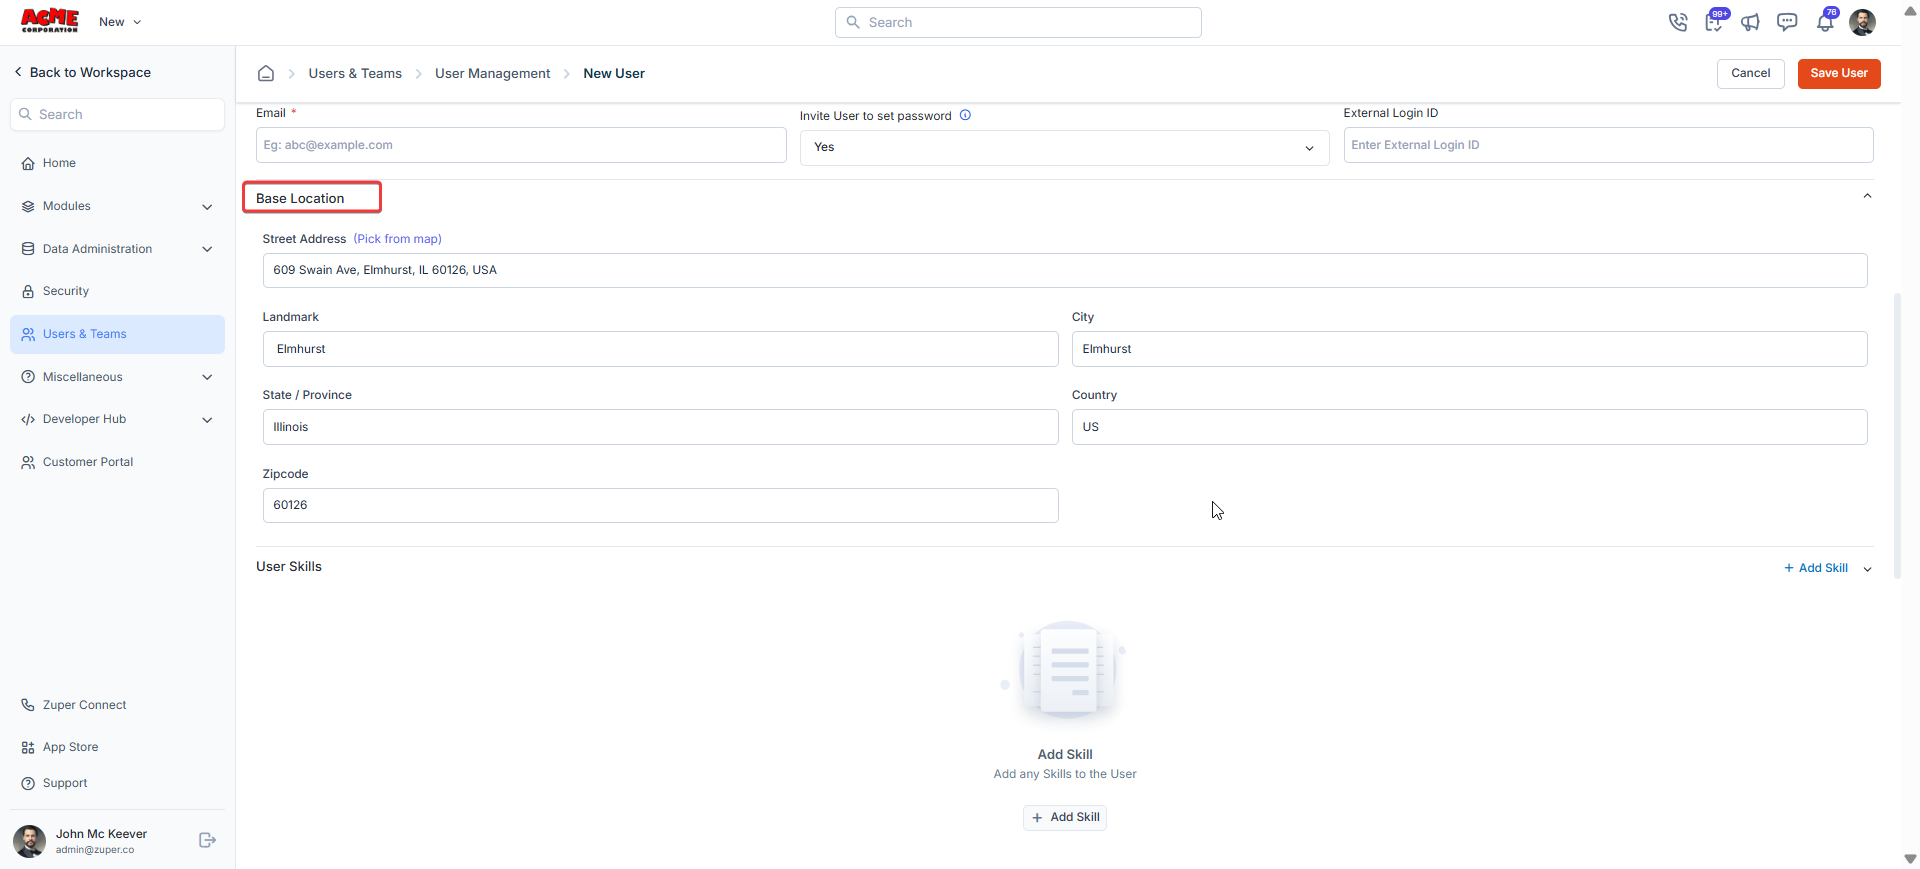
Login information
- Email (Mandatory): The user’s email address.
- Password (Mandatory): The password that would be used to access the Zuper account.
- External Login ID: The external login ID for the user to log in.
- Allow user to set the password: Choose “Yes” to allow the user to set the password as “No”
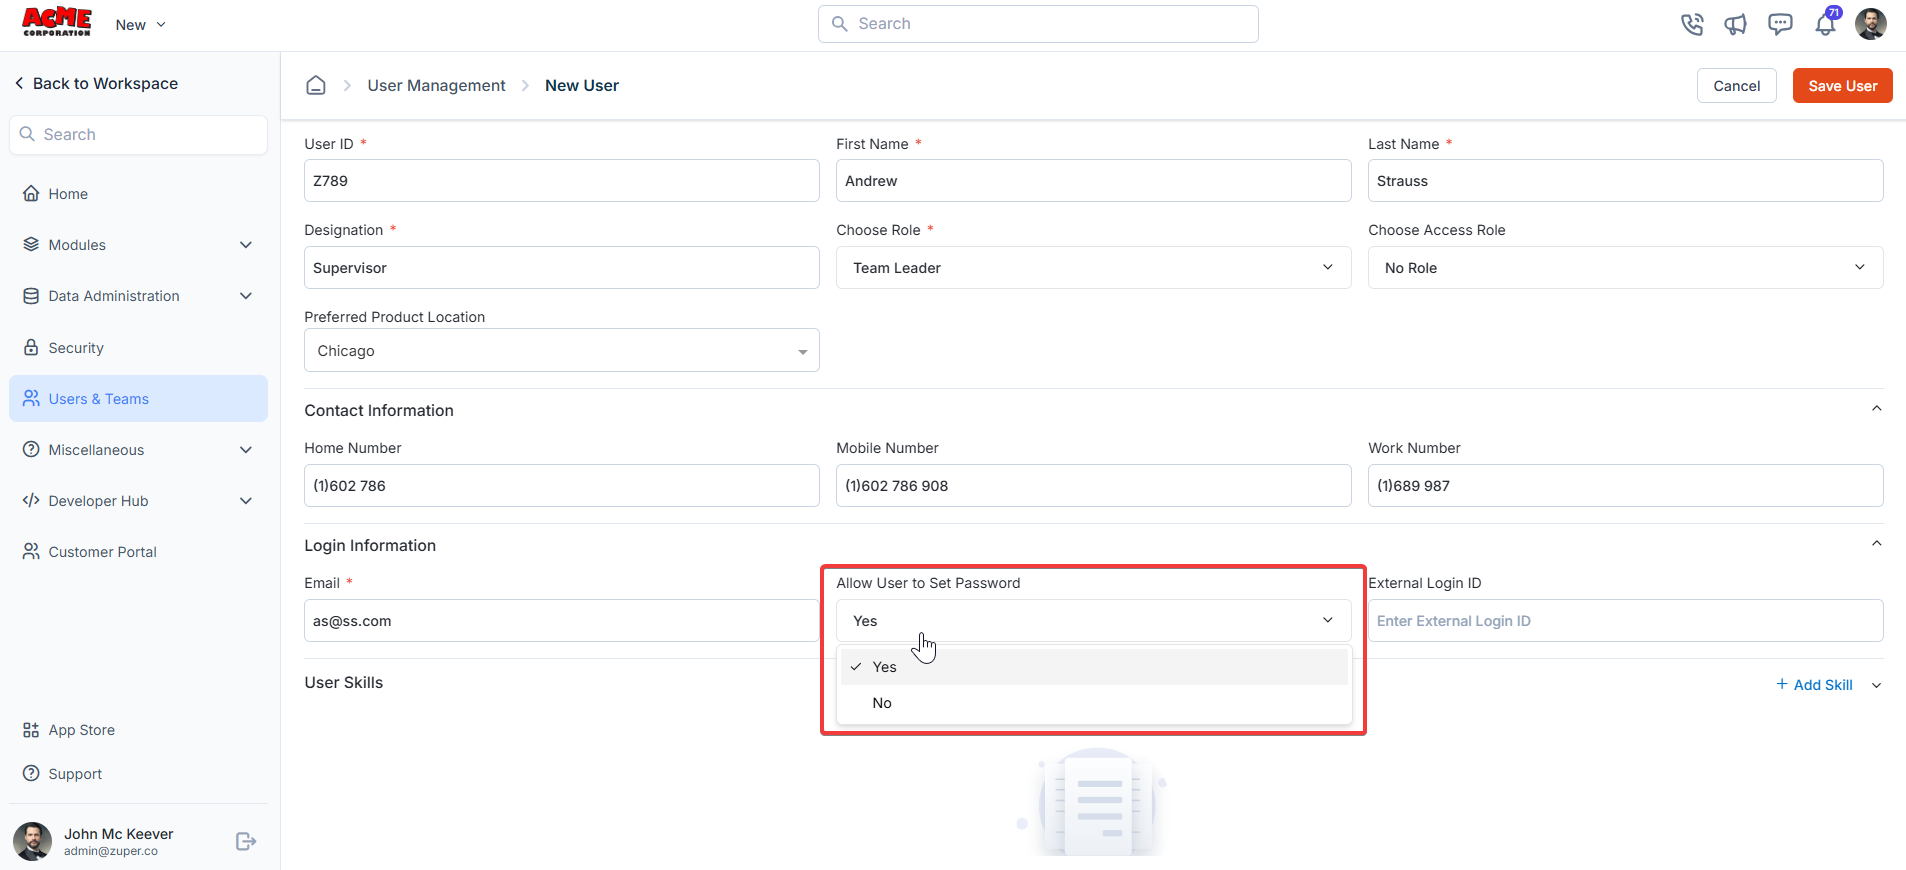
Note: The user’s external login ID should be unique. Other users should not use the same external Login ID. Once you create an external login ID, it will appear on the “Users” details page.
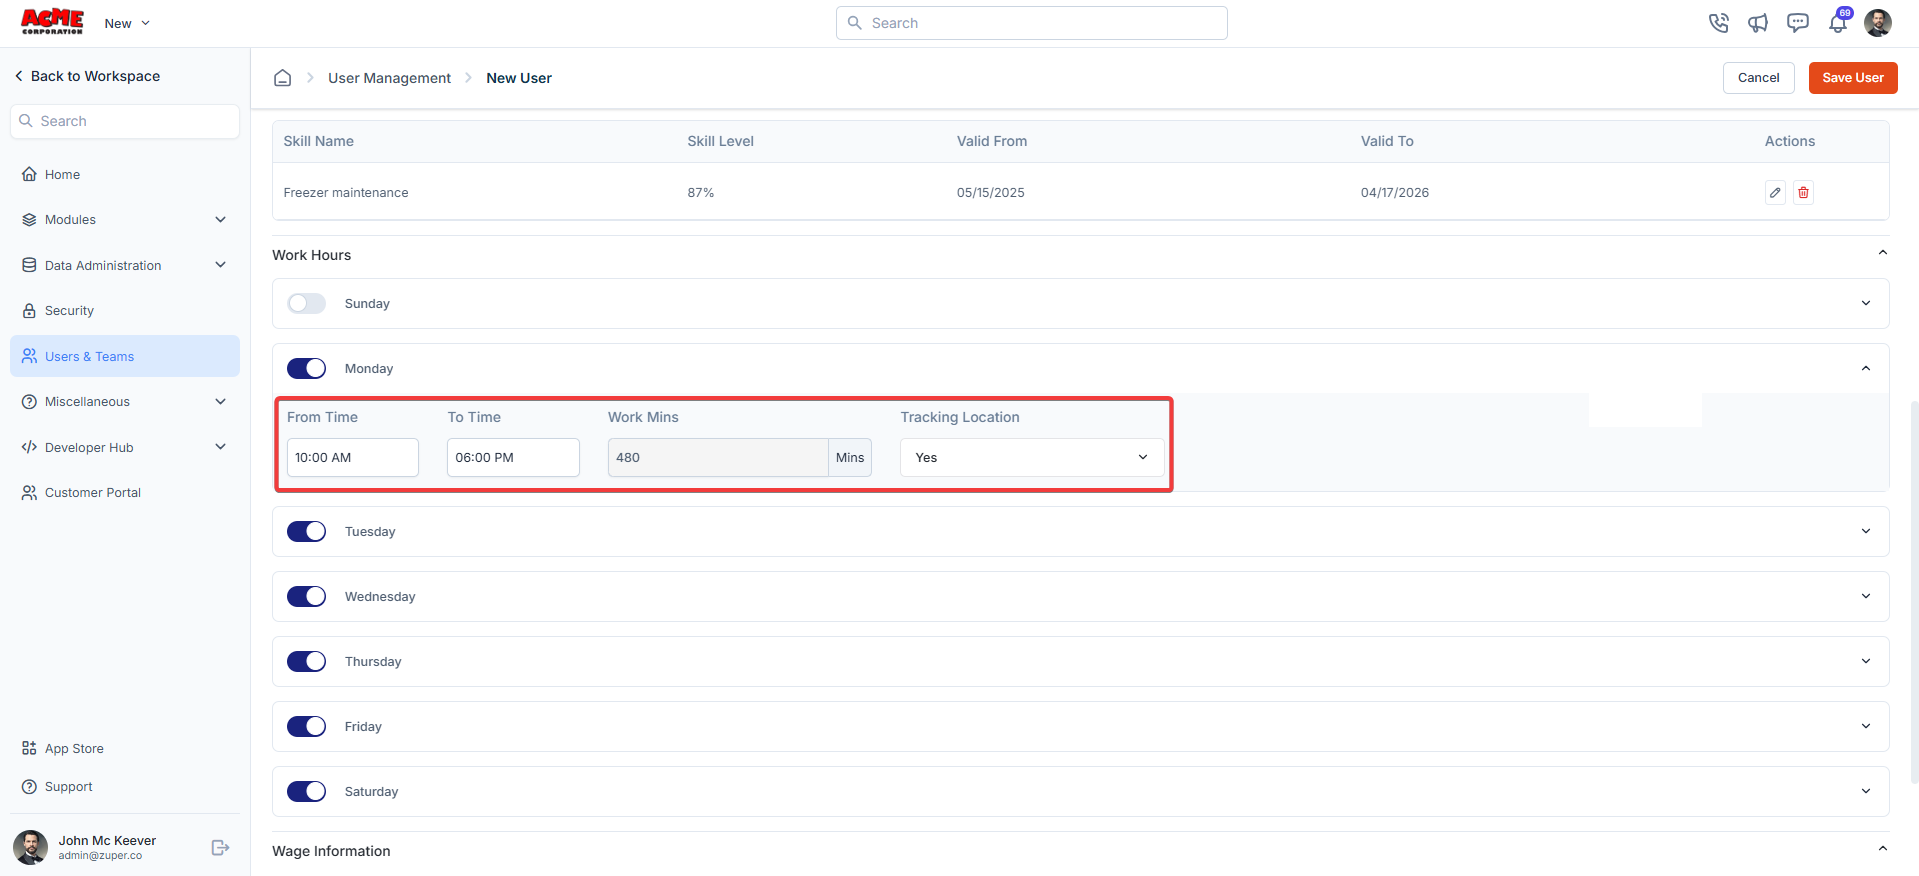
User skills
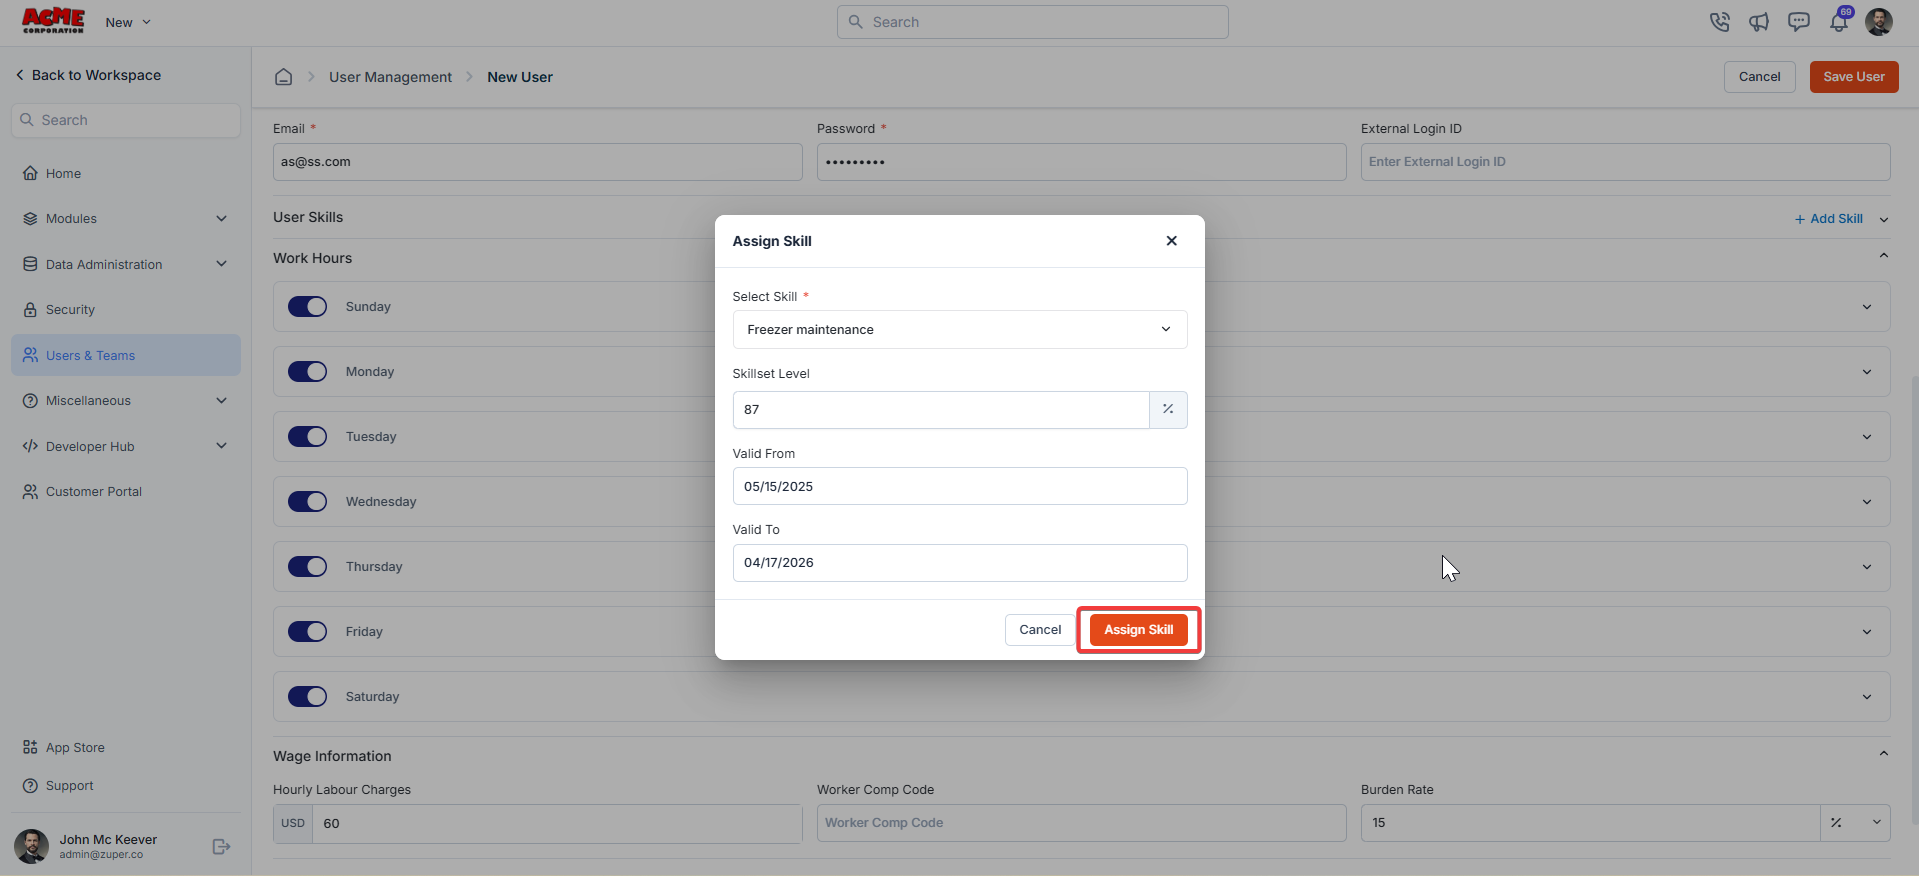
- Click ”+ Add Skill” to add new skills.
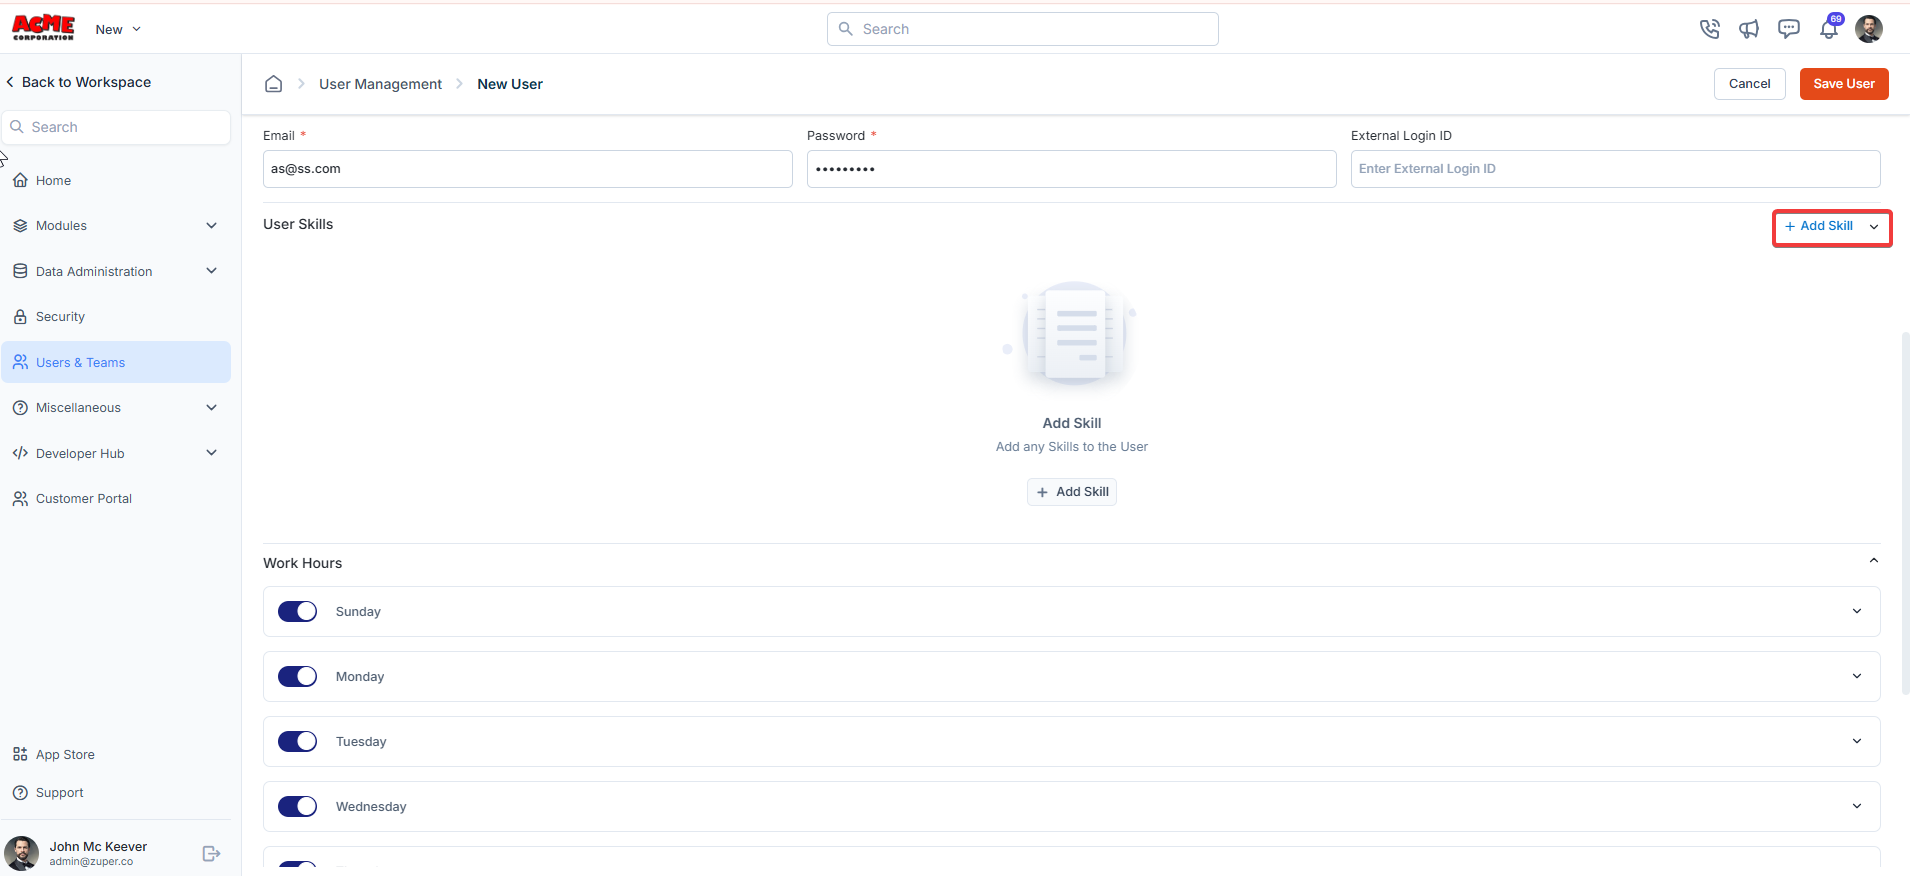
- Select Skill: Choose the skillset from the drop-down list.
- Skillset Level: Enter the user’s skill set.
- Valid From: The start date of the skill validity.
- Valid To: The end date of the skill validity.
Work hours
- Work Hours: The user’s work days of the week.
- From Time: The start of the working day.
- To Time: The end of the working day.
- Work Mins: The total work minutes of the week.
- Tracking Location? Choose “Yes” to track the user’s location and “No” to deny tracking the location.
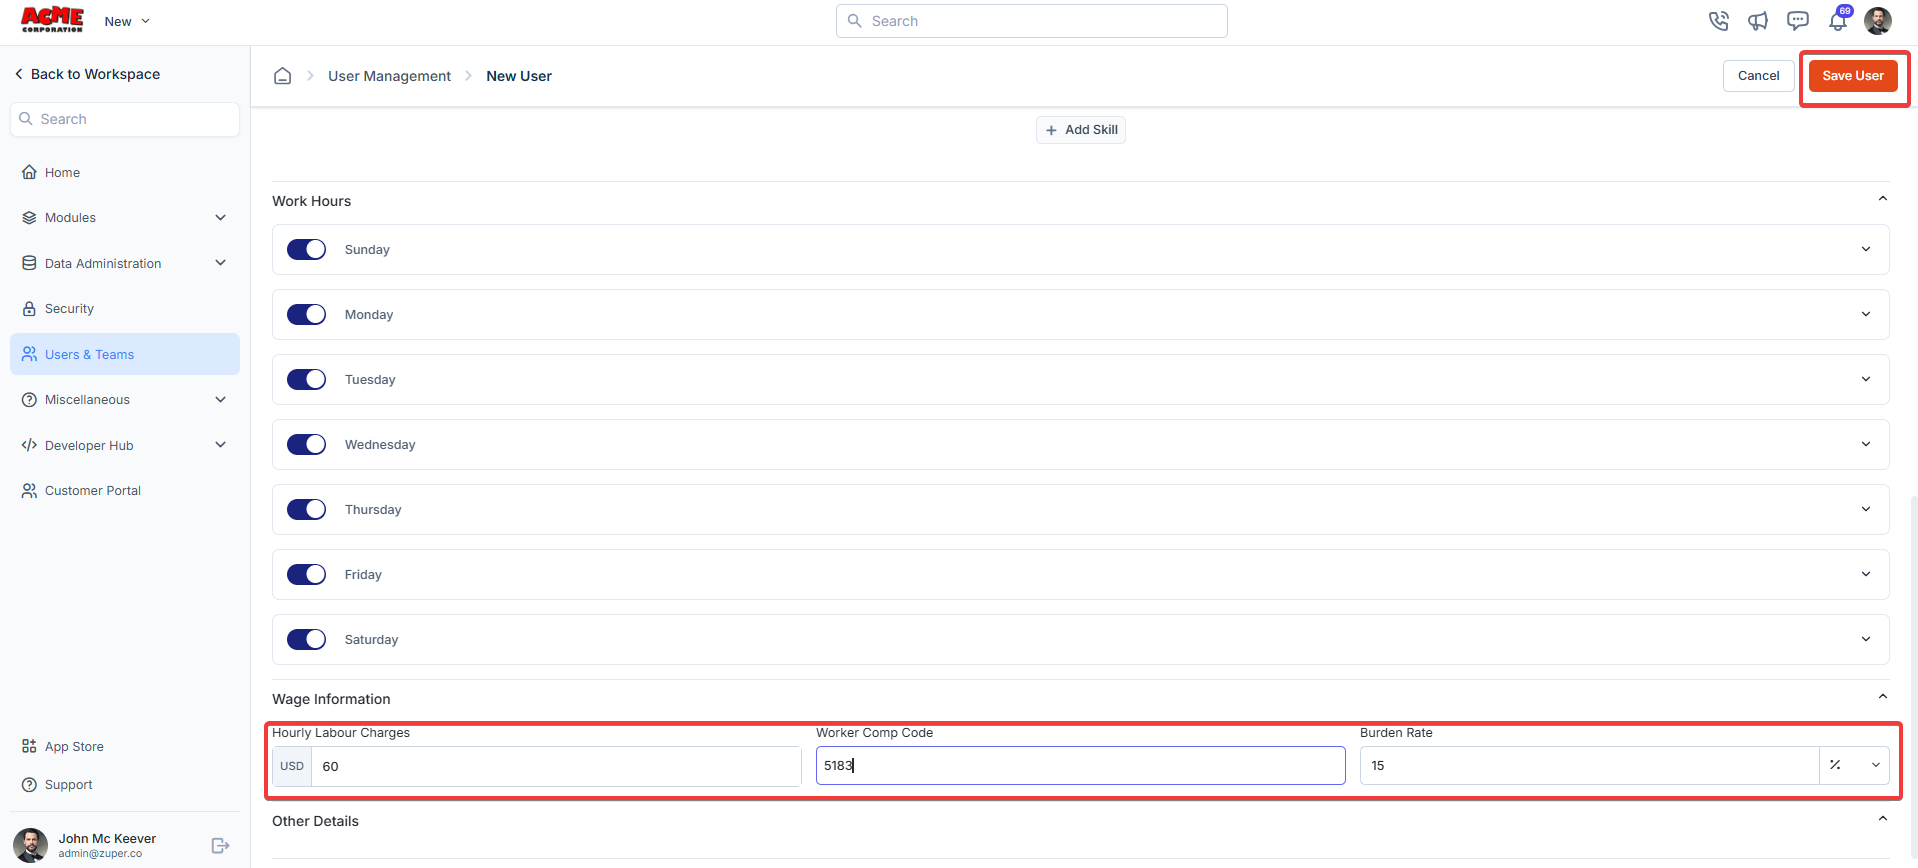
Work information
- Hourly Labour Changes: Enter the user’s working wage rate per hour.
- Worker Comp Code: Enter the appropriate code for each field technician based on their role.
- Burden Rate: Enter the additional costs involved.
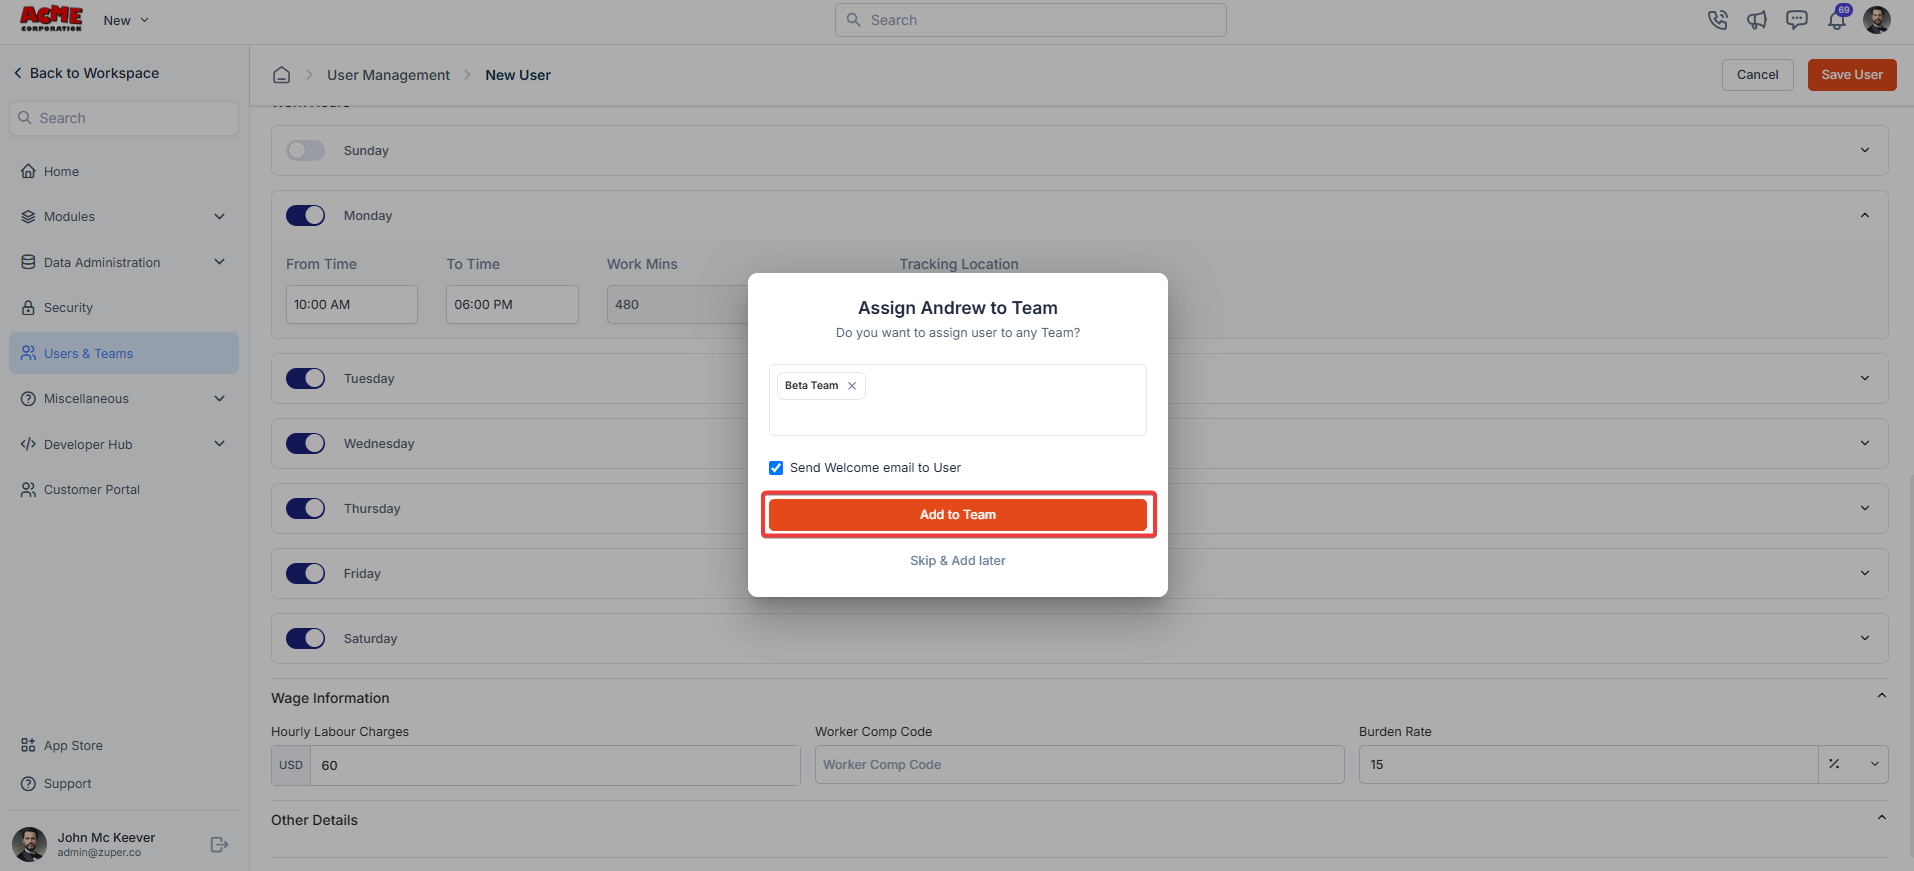
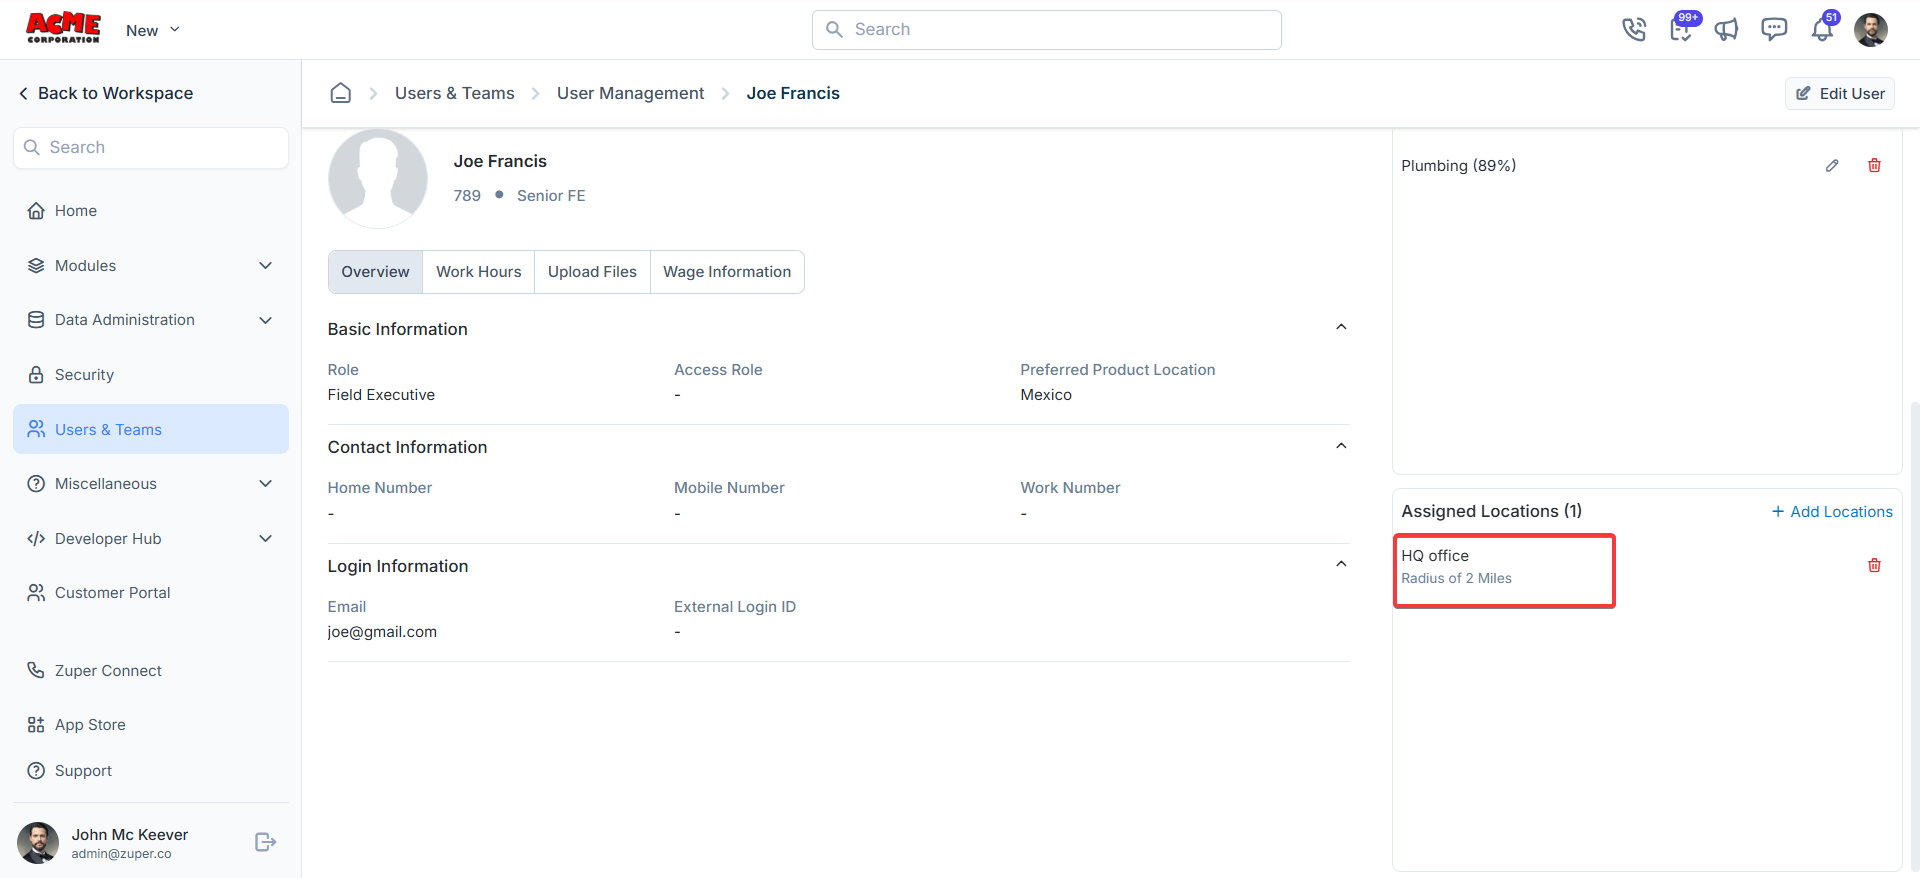
Assigned locations
After saving the user, a right panel will display “Assigned Locations.”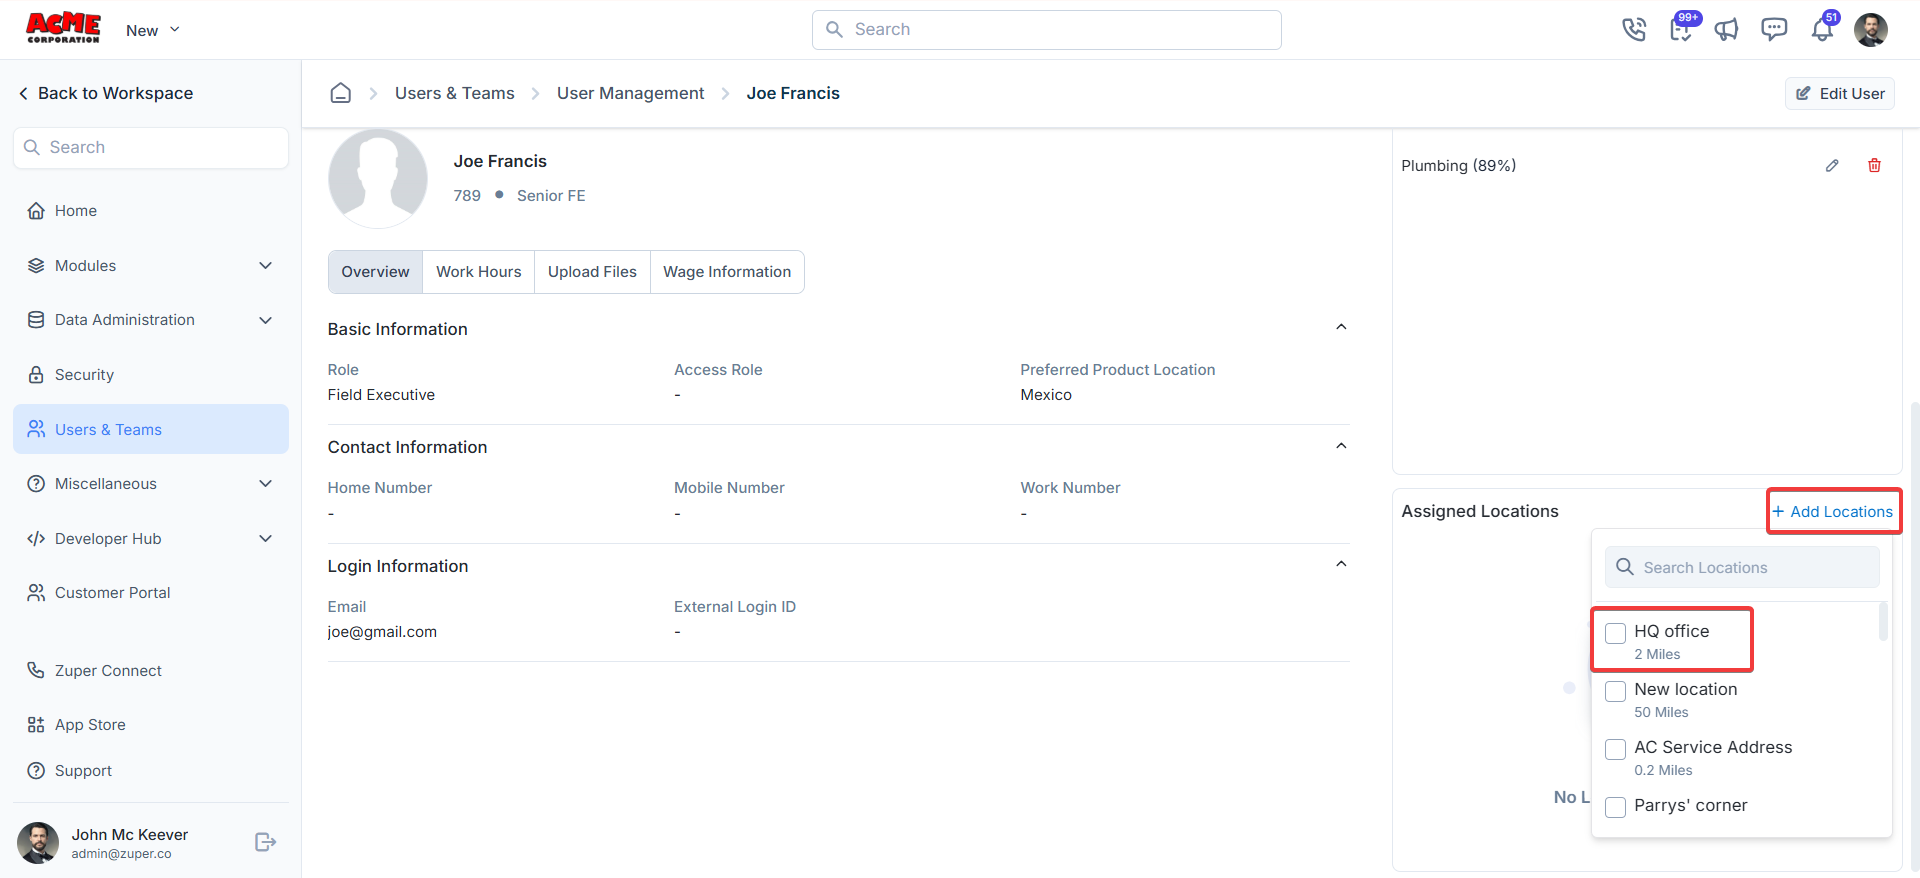
Note: Field Executives have limited visibility into the Organizations module
by default — they see only organizations they have created. To expand
their access, enable Allow Field Executive to View All Organizations in Settings.See Managing Organizations for full details on how FE organization access works.
by default — they see only organizations they have created. To expand
their access, enable Allow Field Executive to View All Organizations in Settings.See Managing Organizations for full details on how FE organization access works.