Overview
Zuper’s integration with QuickBooks Online enables seamless import of customer and product data from QuickBooks into Zuper. The import feature supports Products and Customers Modules, with configurable options to tailor the sync to your needs. This guide covers the setup and execution of bulk data imports. Note that imports are one-way (from QuickBooks to Zuper) and can be based on criteria such as creation date or update date.Prerequisites
- An active Zuper account with administrative access.
- A connected QuickBooks Online account via the Zuper app (go to Settings > Apps > QuickBooks Online to connect if not already done).
- Ensure your QuickBooks data is up to date, as the import pulls live data.
- For large datasets, imports may take time; monitor progress in the interface.
Accessing the Import Feature
- Log in to your Zuper account and navigate to Apps -> QuickBooks Online.
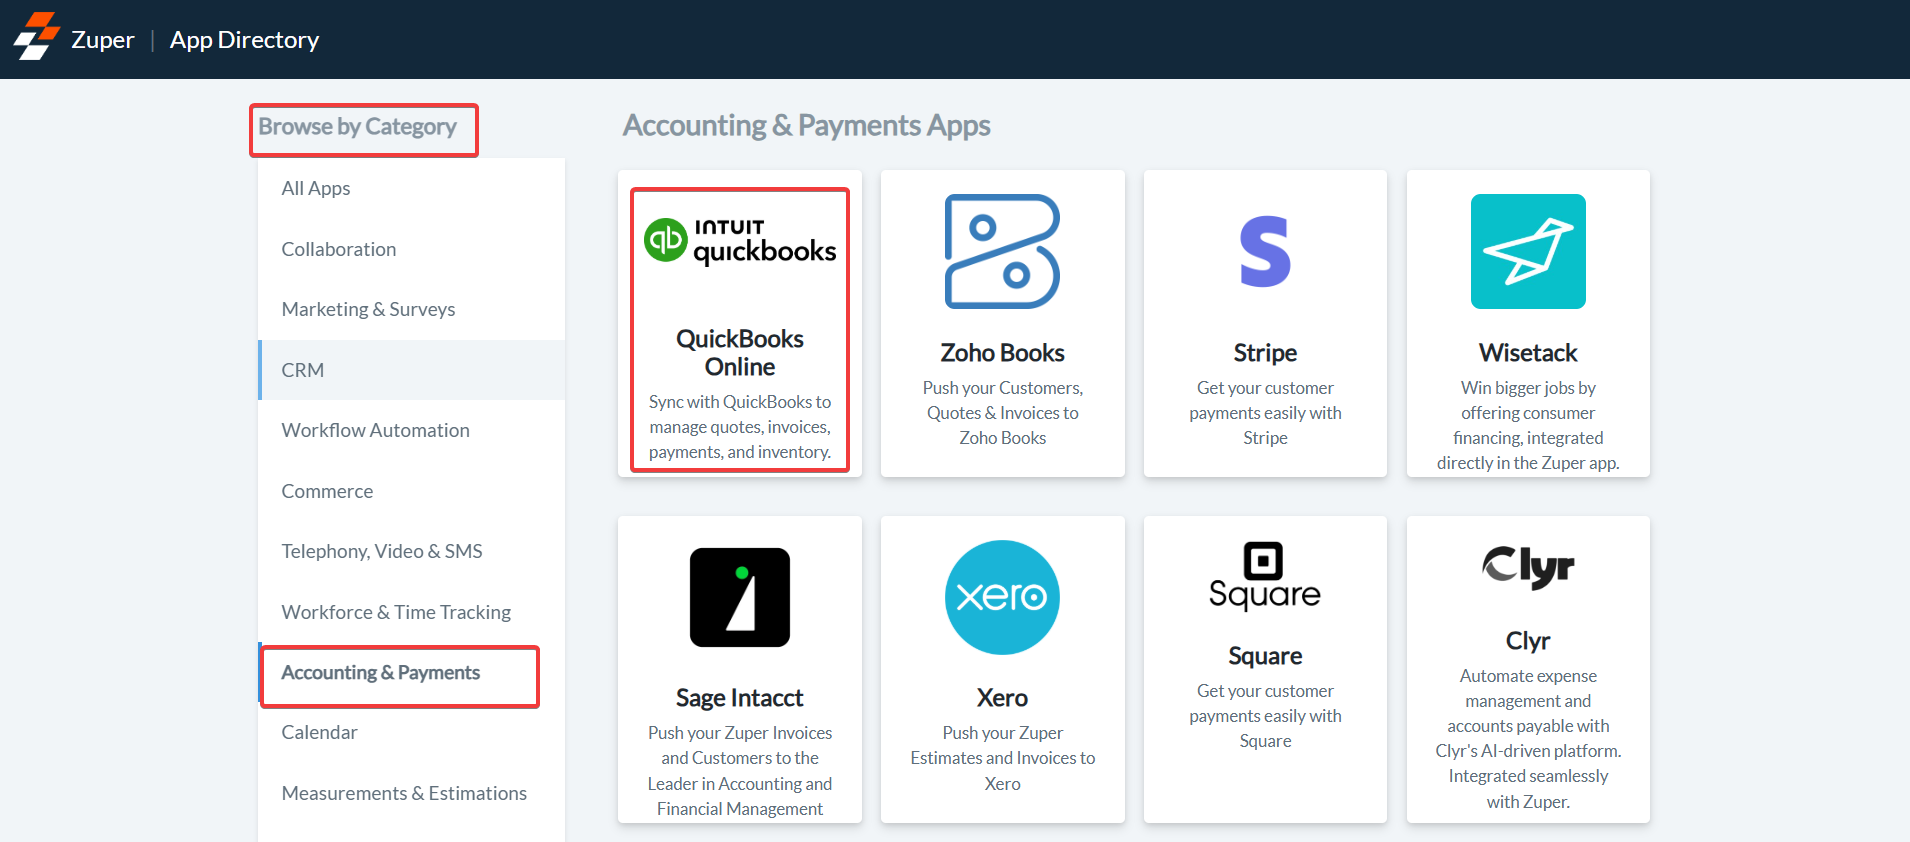
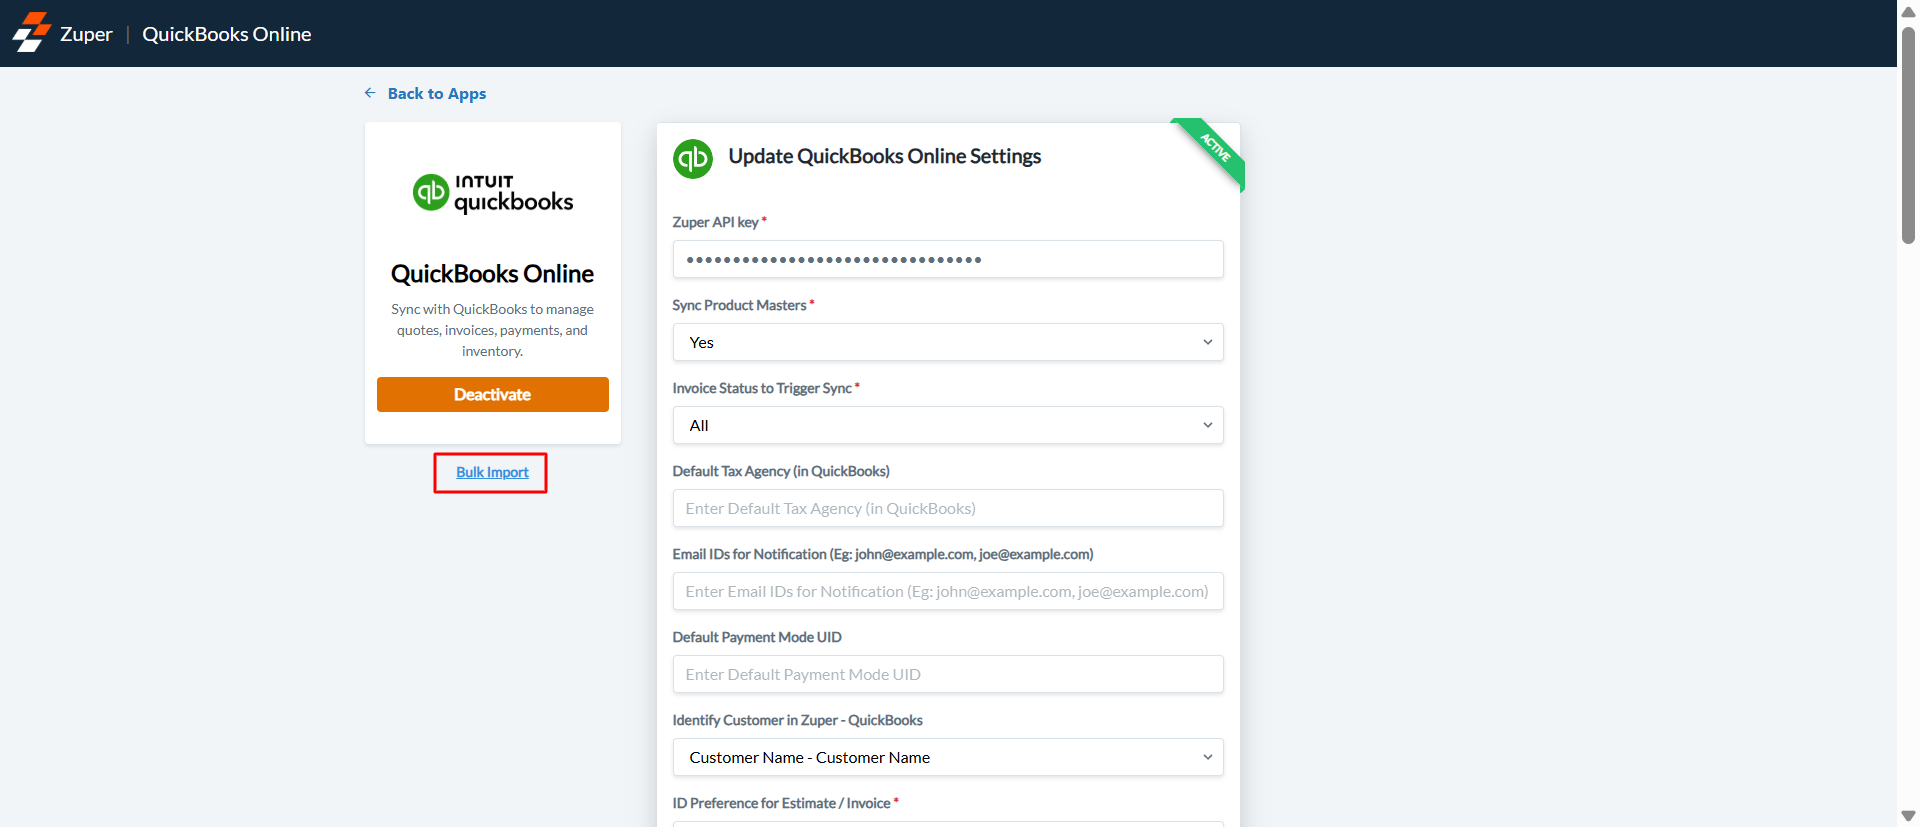
- In the QuickBooks Online settings page, click Bulk Import to start the import wizard.
Step 1: Choose Modules to Import
On the initial setup screen (Step 1 of 4: Choose Modules to Import), select the modules you want to sync:- Products: Import your product master’s from QuickBooks to Zuper.
- Customers: Import customer records from QuickBooks to Zuper.
.png?fit=max&auto=format&n=JrmueORkXcAaN9vK&q=85&s=ecc13599cdc7a554dc6d507dcb5dd69c)
Note: You can select one module at a time, or you can select Products and Customers together; however, the import process occurs one module at a time.
Step 2.1: Configure and Import Products
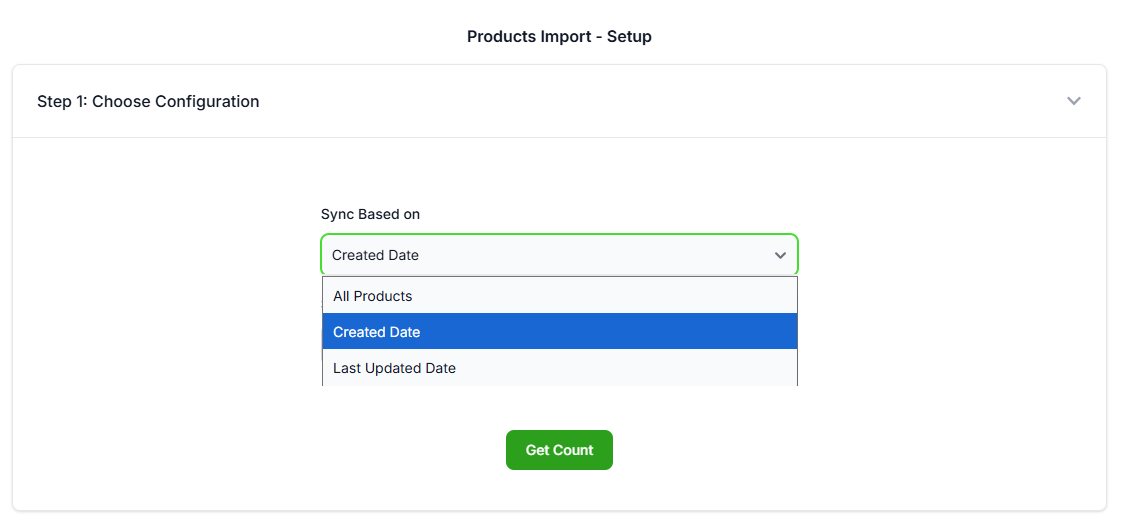
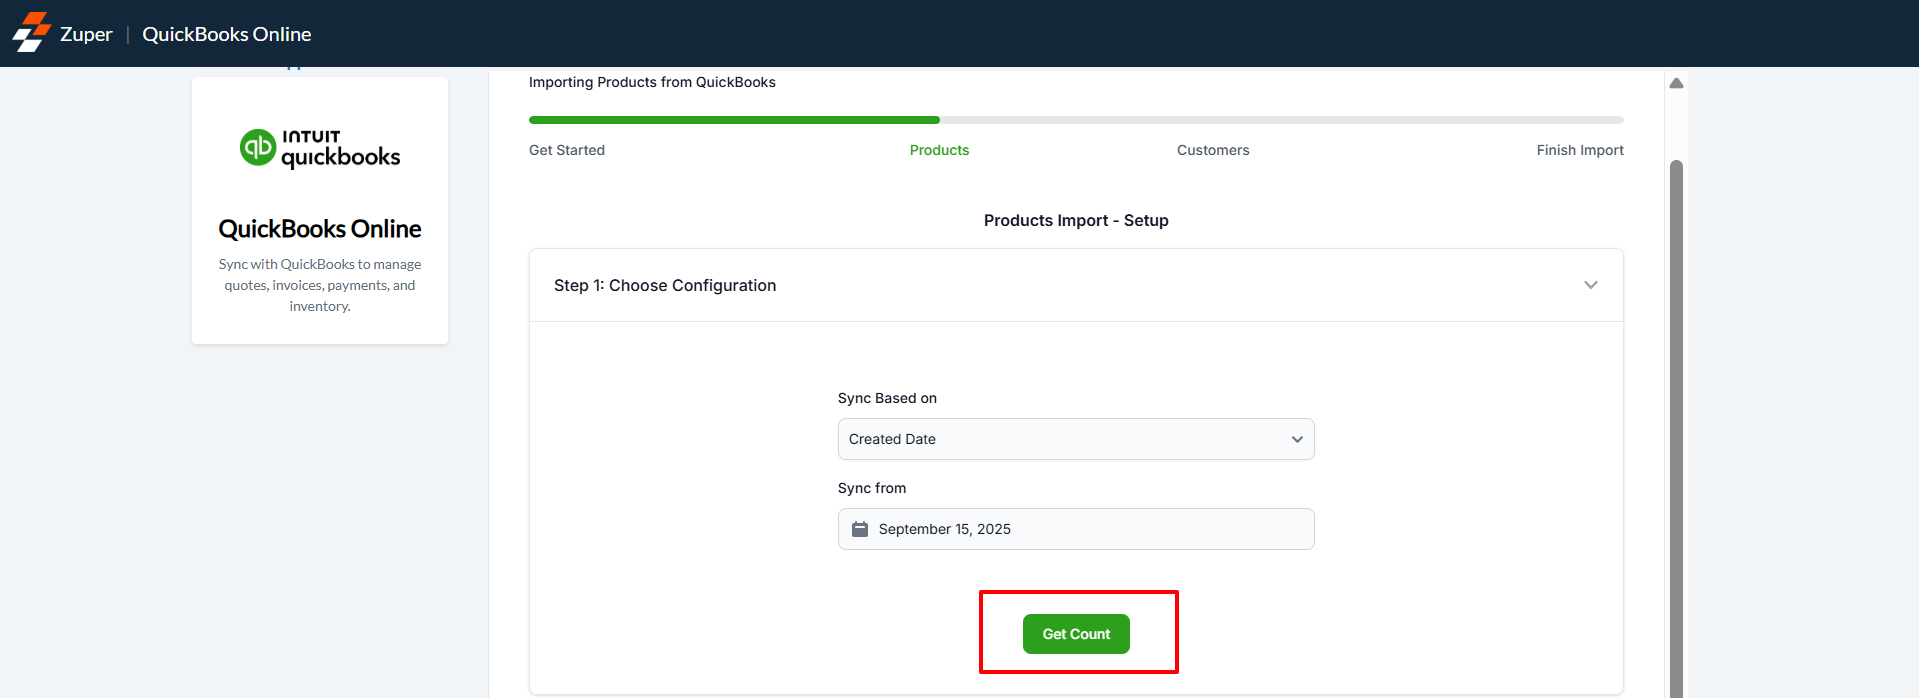
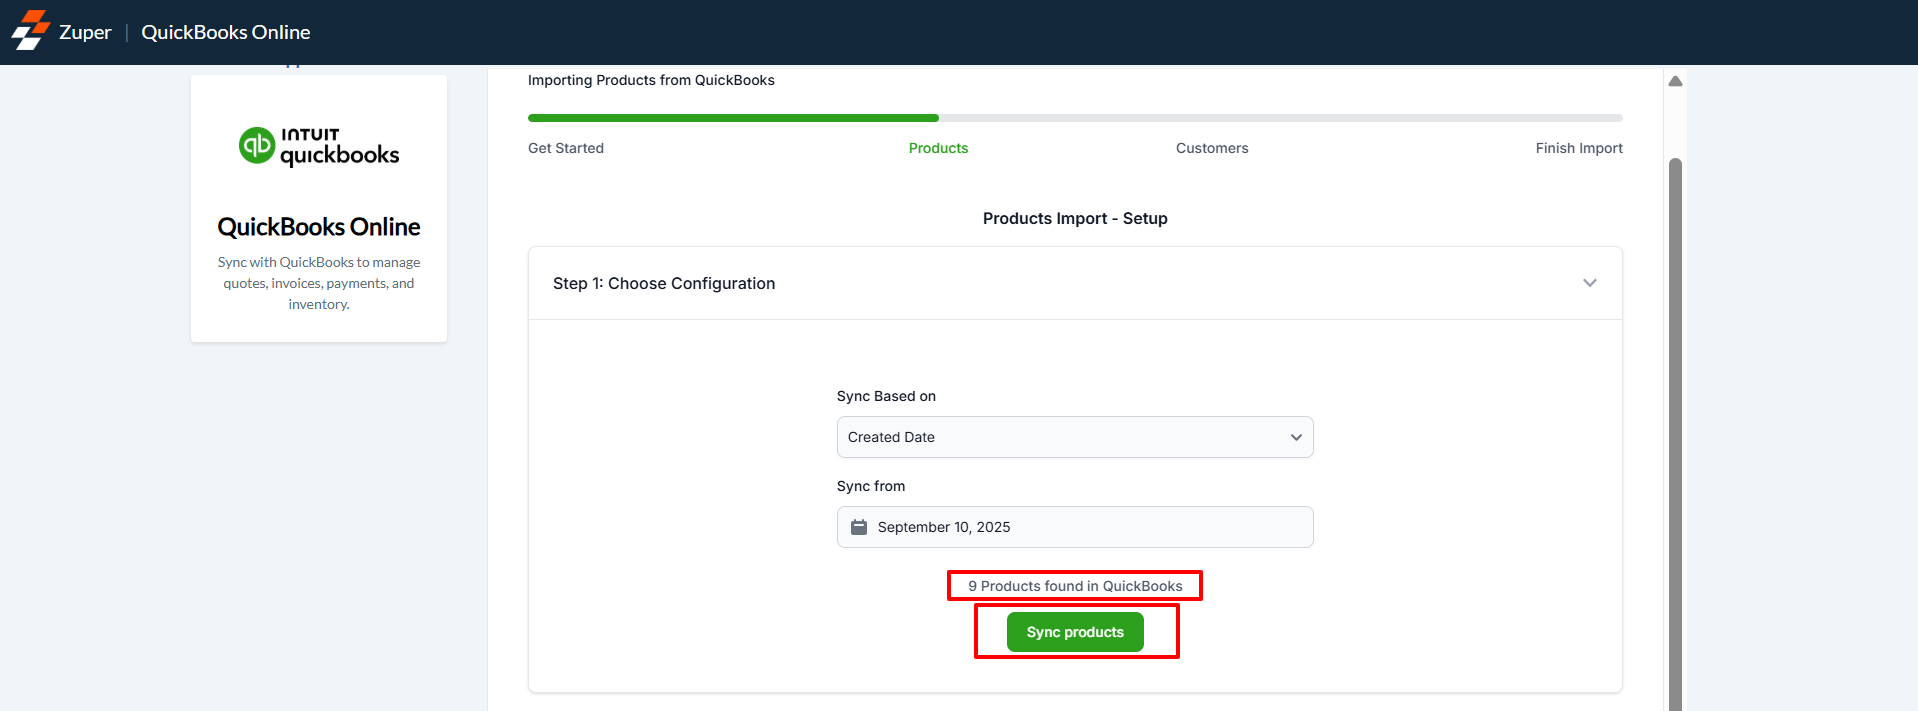
If you selected Products, you’ll be directed to the Products Import - Setup screen. Under Sync Based on, choose a filter based on which to import products:- All Products: Imports every active product in the connected QuickBooks company.
- Created Date: Imports products created after a specified date.
- Last Updated Date: Imports products updated after a specified date.
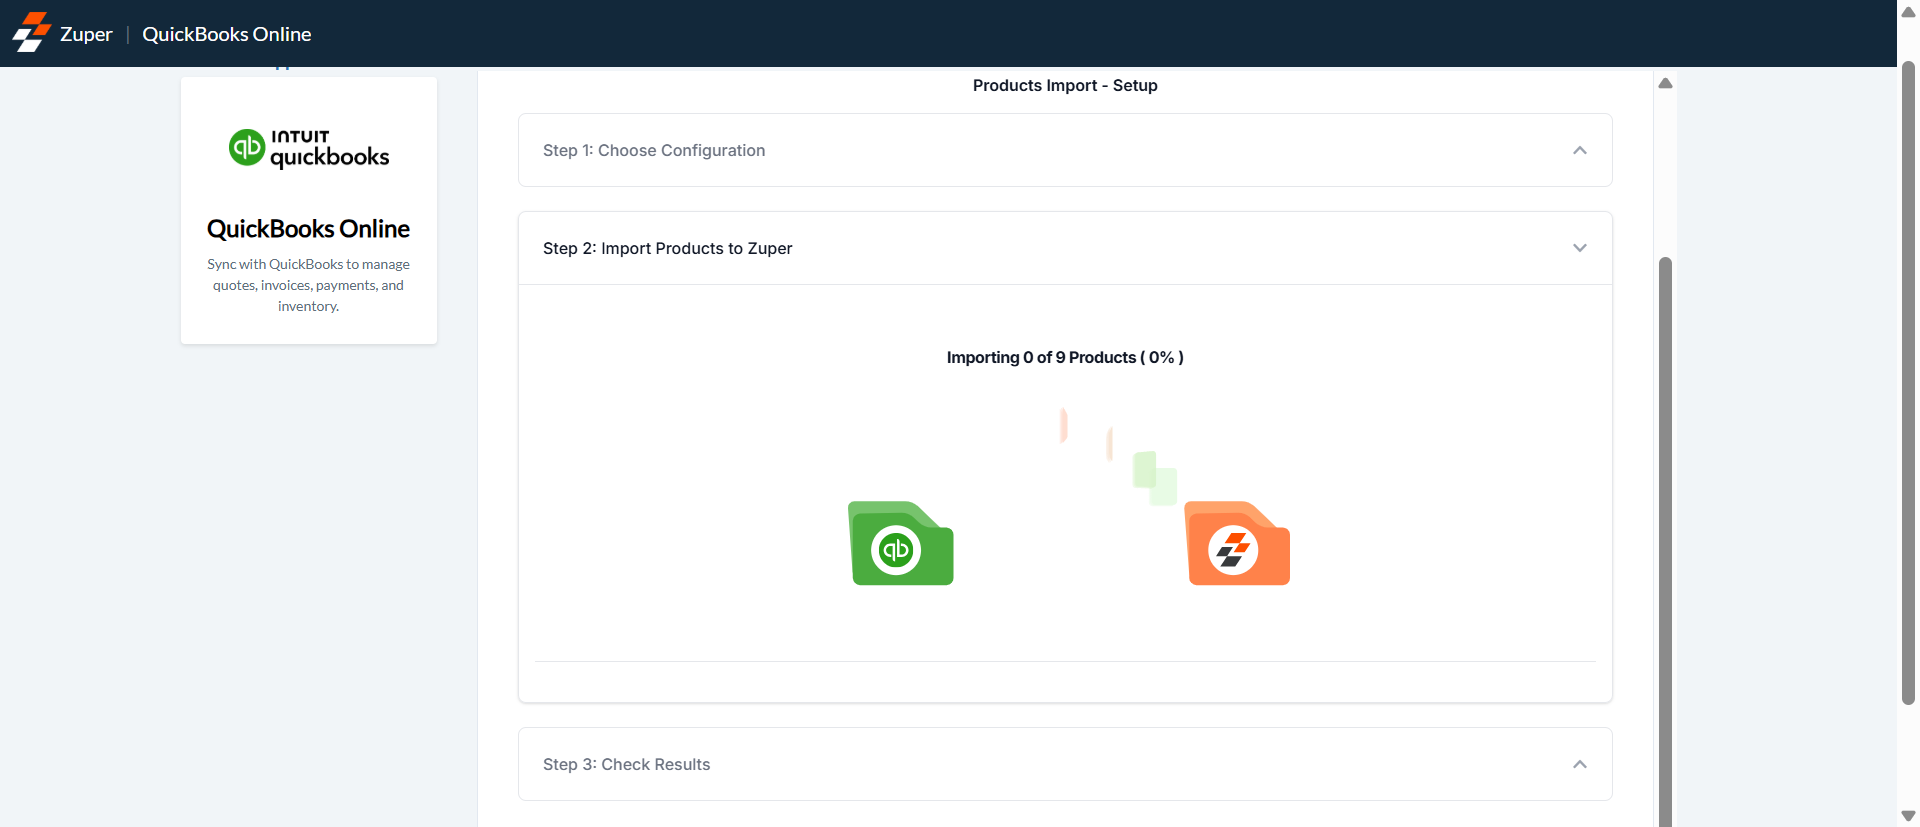
- Monitor the progress bar on the next screen (Step 2: Import Products to Zuper), which shows real-time status (e.g., “Importing 0 of 9 Products (0%)”).
Step 3: Check Results for Products
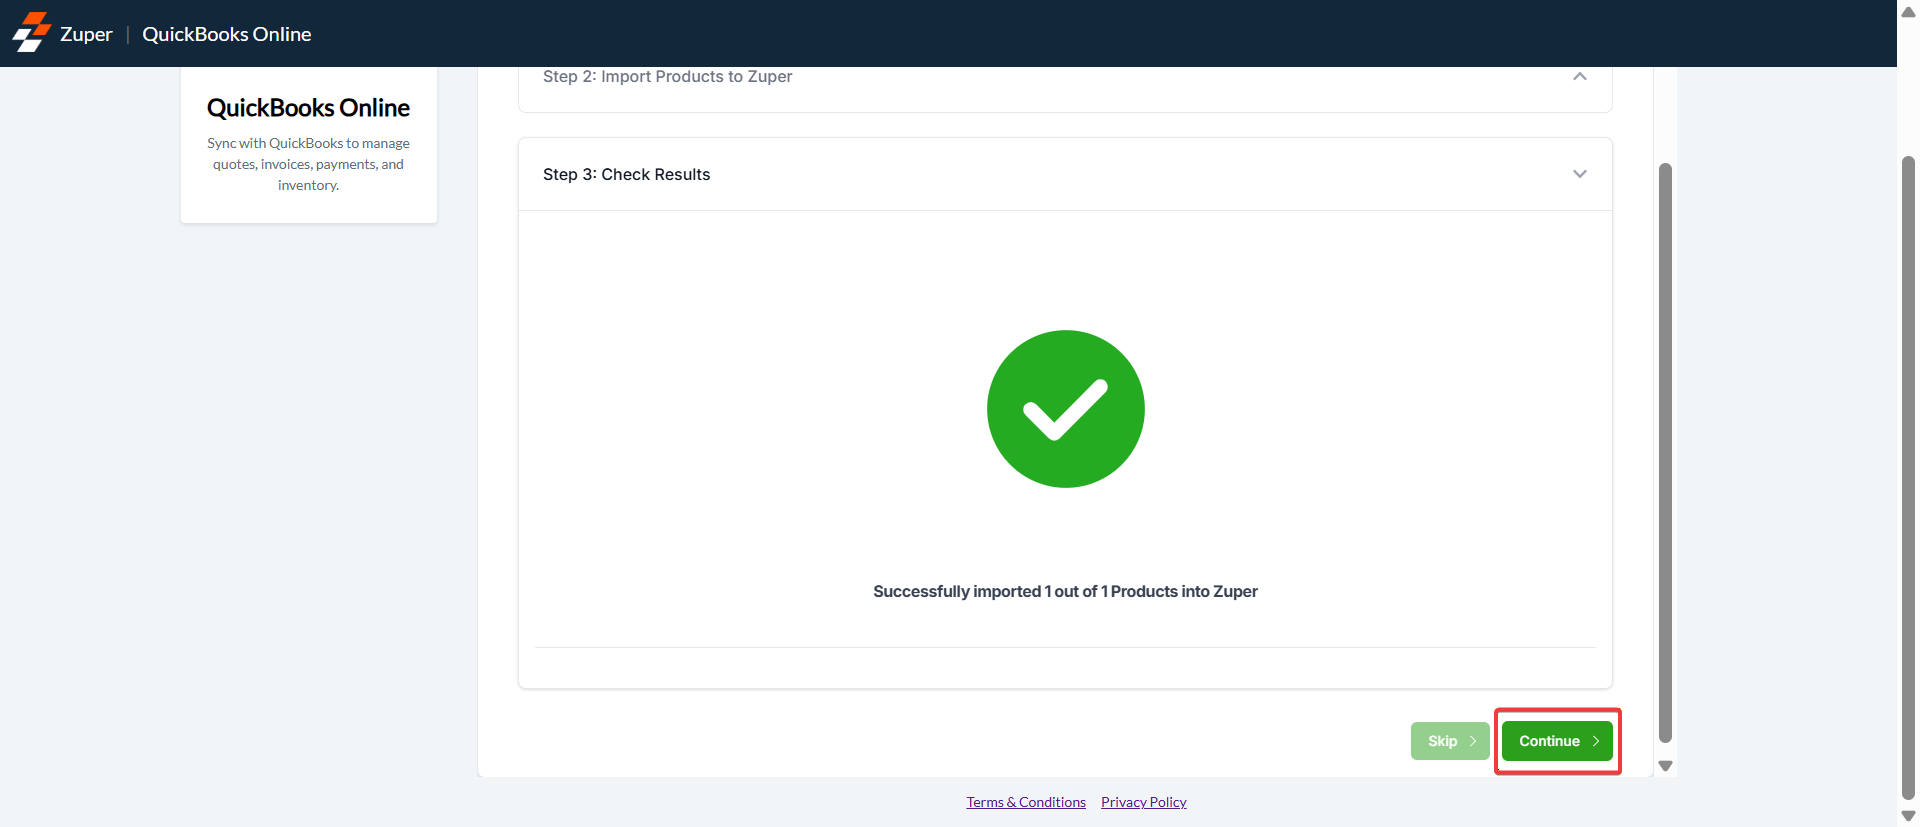
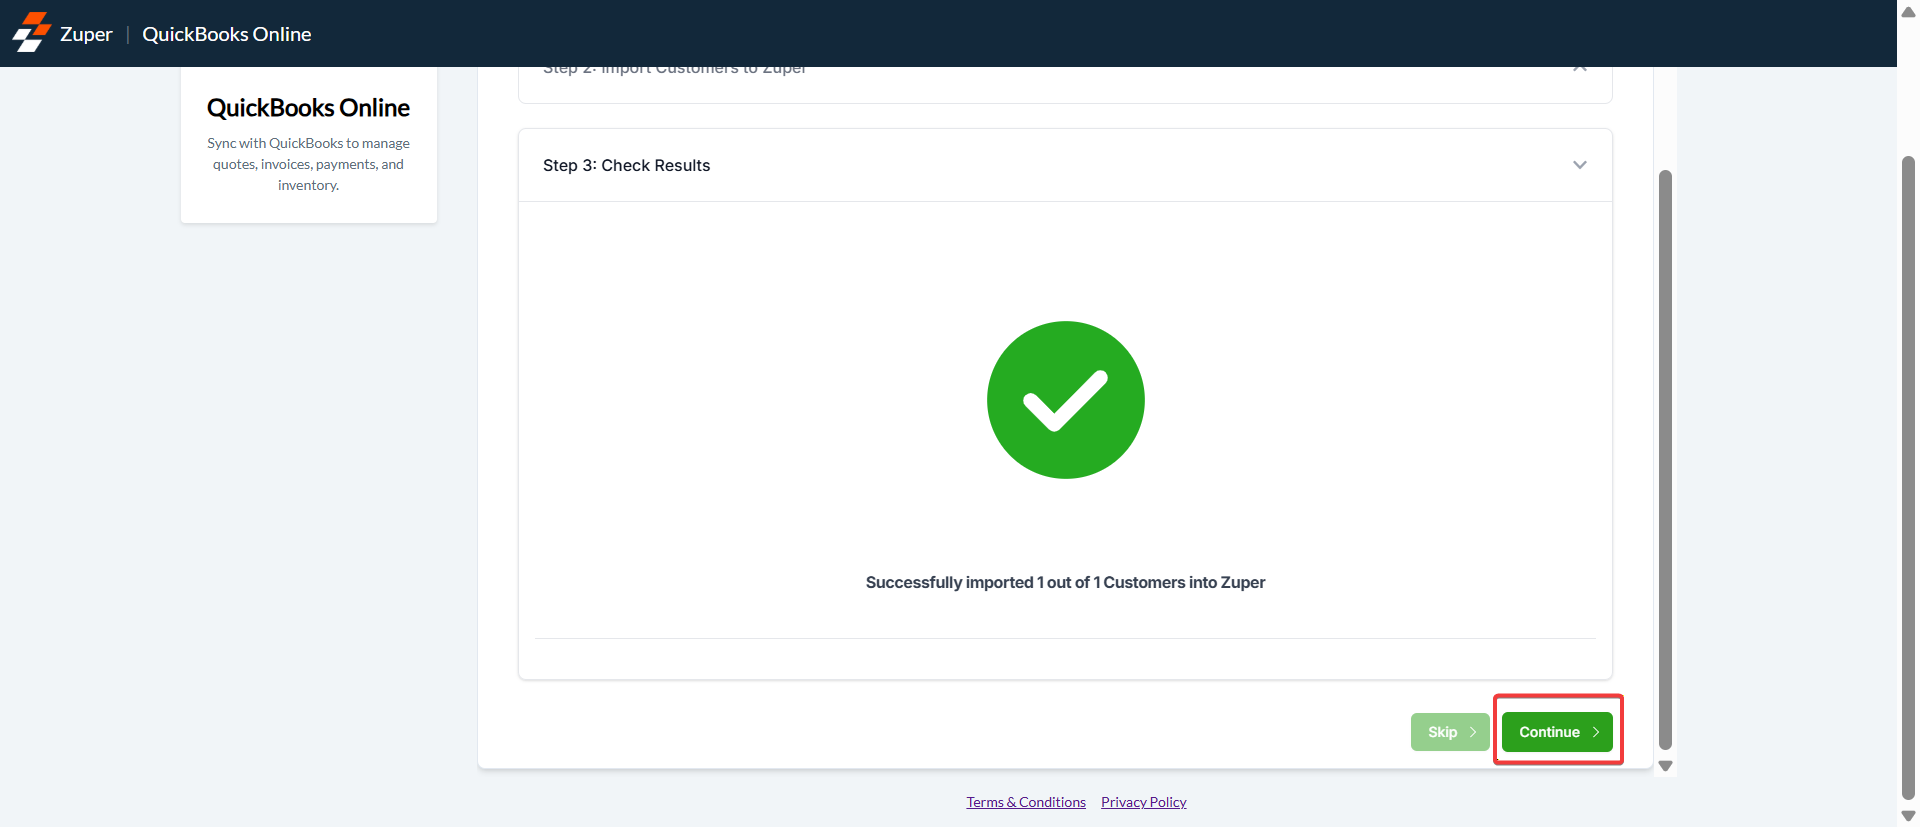
After the import process completes, you’ll see the Check Results screen (Step 3: Check Results).- If successful, a green checkmark appears with a message like “Successfully imported 1 out of 1 Products into Zuper.”
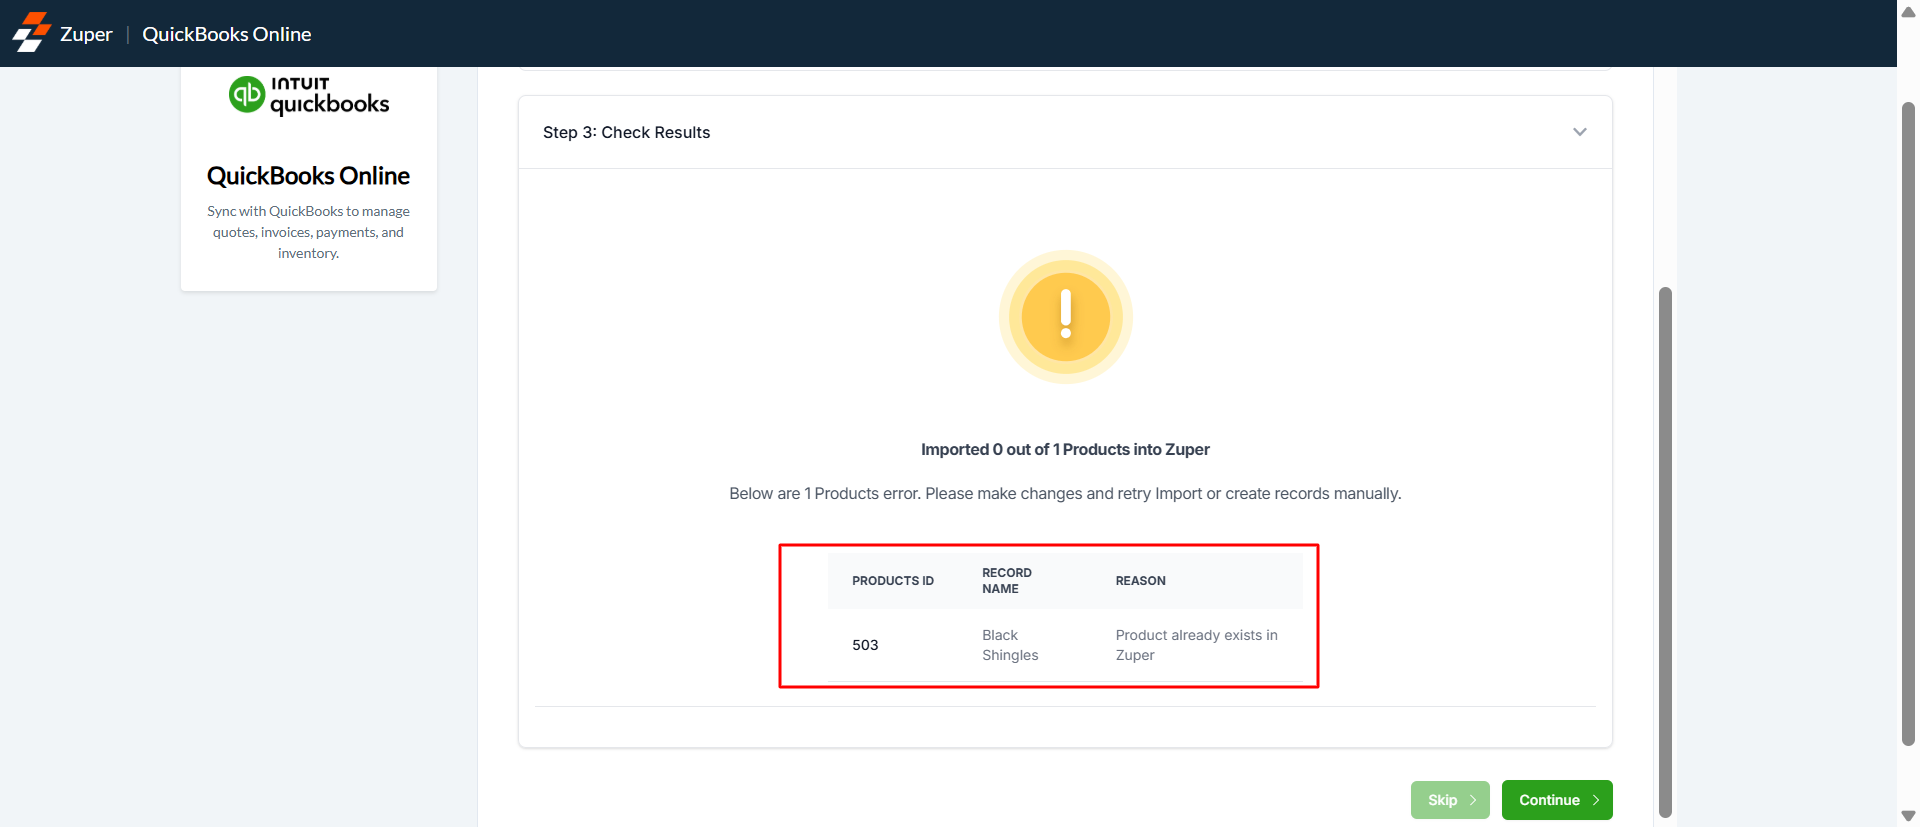
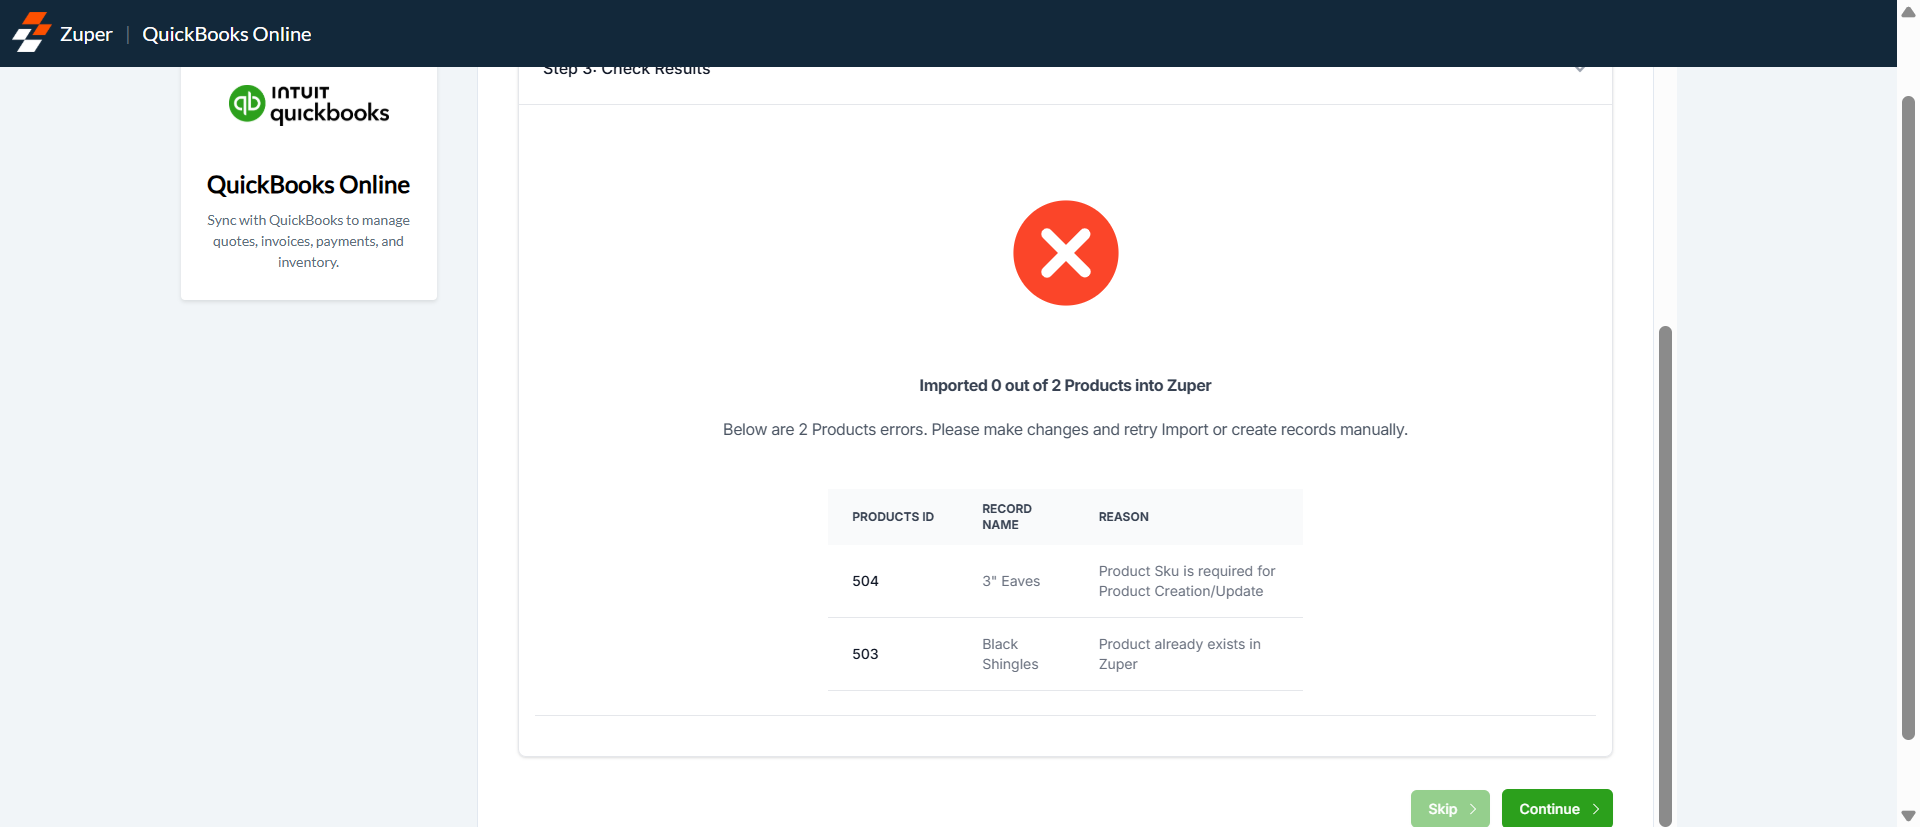
- If there are errors, a yellow exclamation or red X icon appears, indicating the number of failed imports (e.g., “Imported 0 out of 1 Products into Zuper” or “Imported 0 out of 2 Products into Zuper”).
- “Product already exists in Zuper” (e.g., for PRODUCT ID 503, RECORD NAME “Black Shingles”).
- “Product Sku is required for Product Creation/Update” (e.g., for PRODUCT ID 504, RECORD NAME “3’ Eaves”).
Step 2.2: Configure and Import Customers
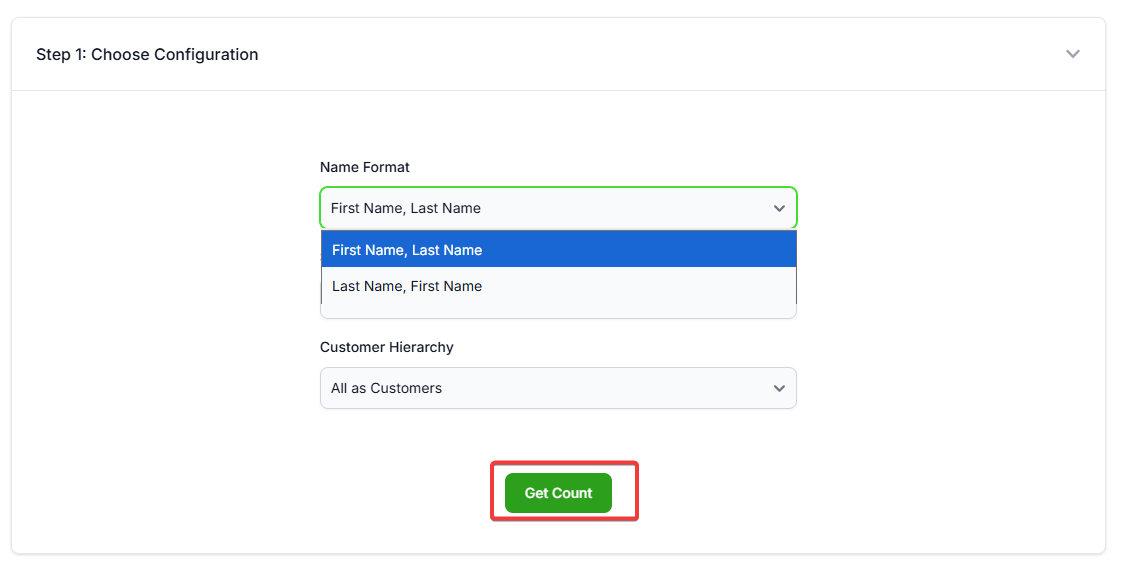
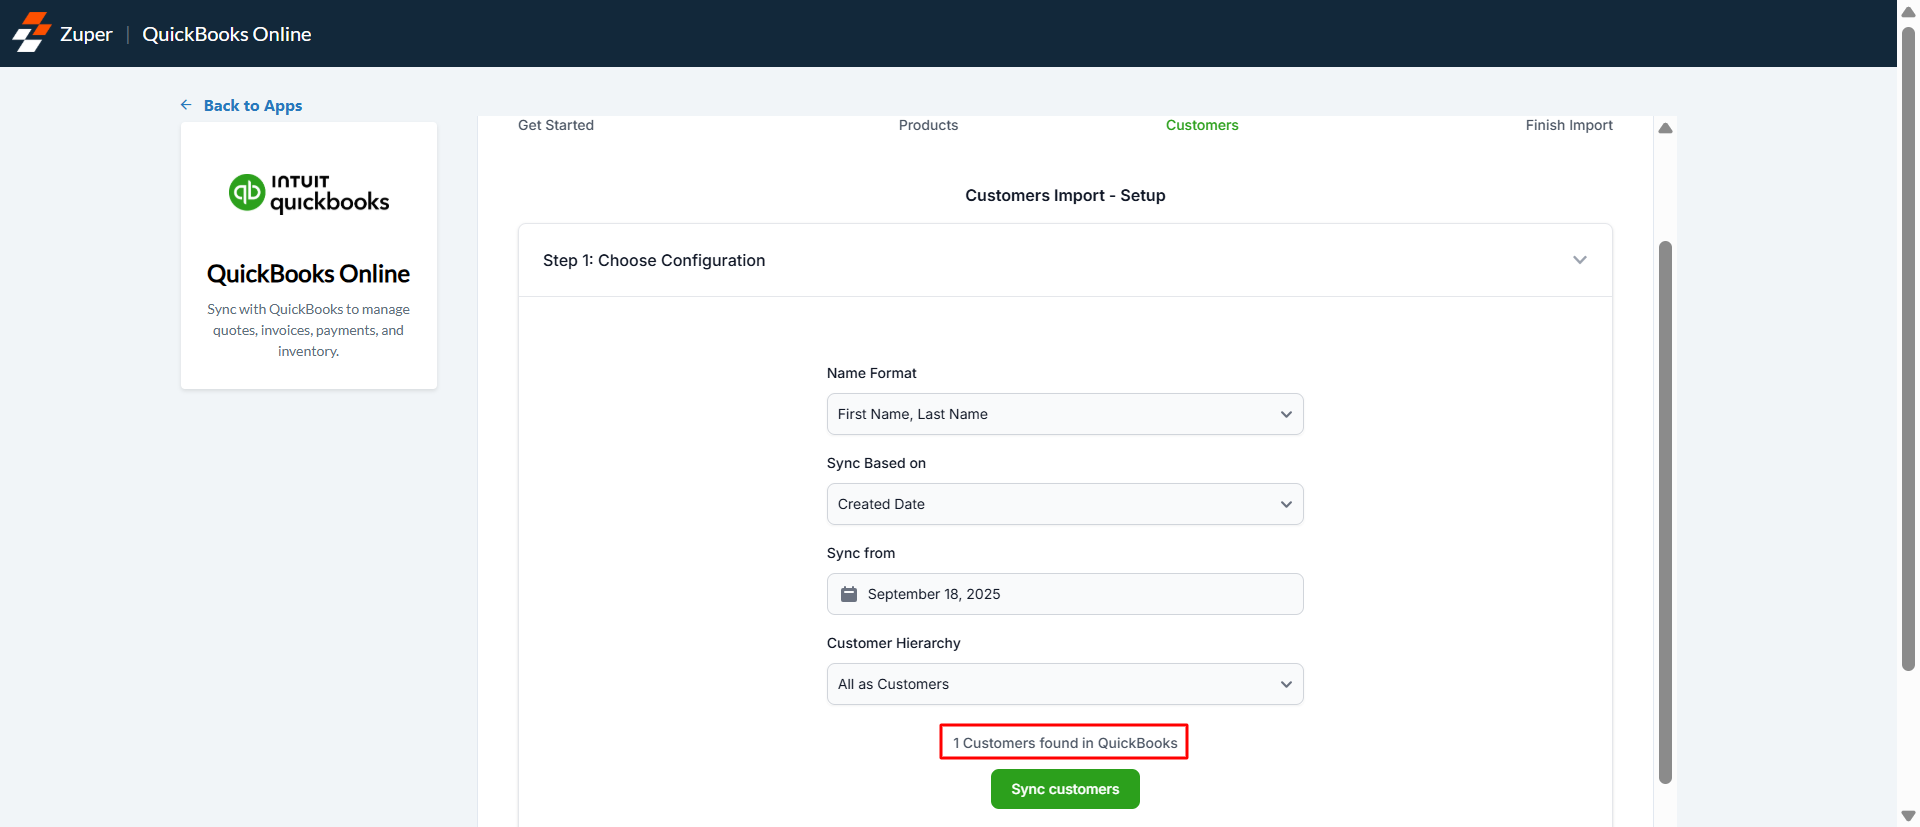
If you selected Customers, you’ll be directed to the Customers Import - Setup screen (this follows a similar structure to Products). Under Name Format, select how customer names should be formatted in Zuper:- First Name, Last Name (default).
- Last Name, First Name.
- All Customers: Imports every active customer in the connected QuickBooks company.
- Created Date: Imports customers created after a specified date.
- Last Updated Date: Imports customers updated after a specified date.
- All as Customers (default: Treats both parent and sub-customers as flat customers).
- All Sub-Customers as Customers. (Creates only the sub-customers as customers in Zuper. Parent customers are skipped.
- Parents as Orgs, Sub-Customers as Customers. (Creates parents as orgs in Zuper and Sub-customers as associated Customers)

Step 3.2: Check Results for Customers
- Successful imports display a green checkmark with a message such as “Successfully imported 1 out of 1 Customers into Zuper.”
- Errors, if any, are detailed in a table (although less common in customer examples).
- Click Skip or Continue as needed.
Step 4: Finish the Import
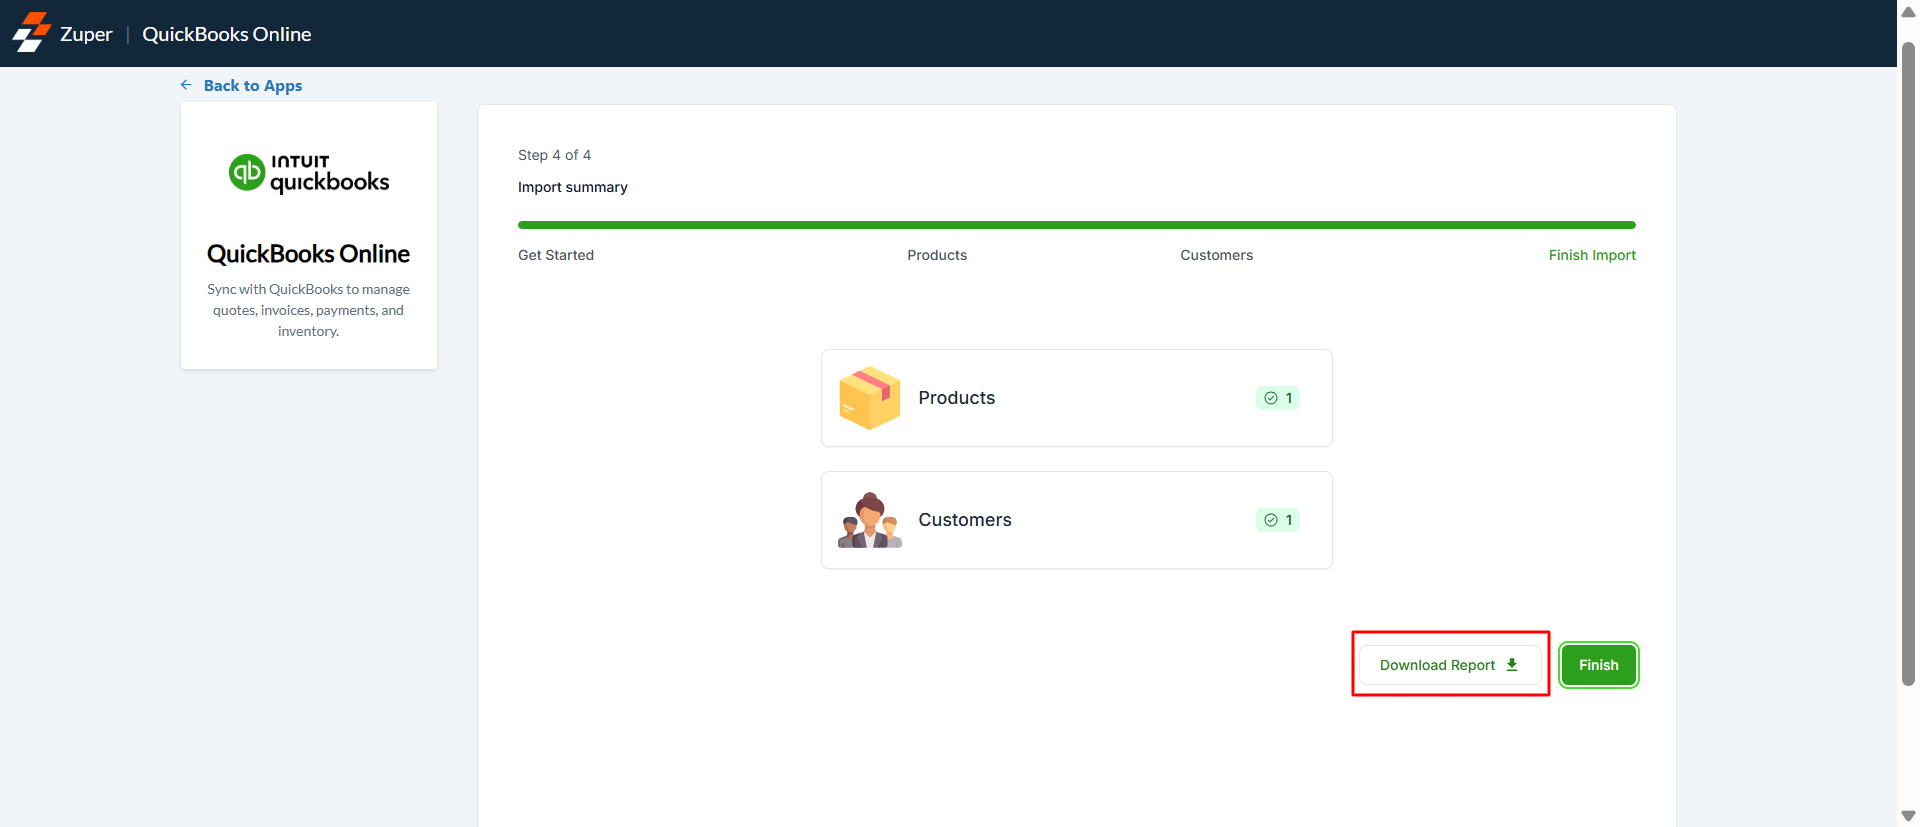
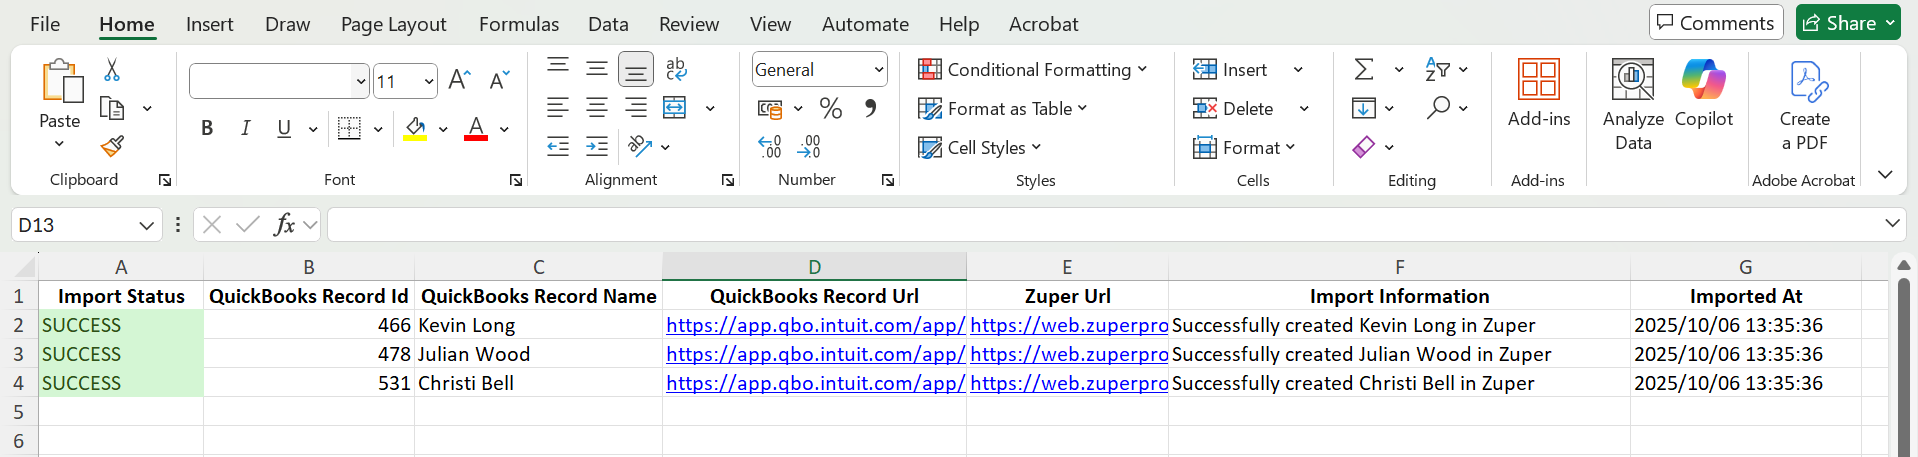
After importing selected modules, review the Import Summary tab (Step 4 of 4: Import Summary) for an overview:- Products: Shows the count imported (e.g., 1).
- Customers: Shows the count imported (e.g., 1).
- Import Status (e.g., Success).
- QuickBooks Record Id (e.g., 503).
- QuickBooks Record Name (e.g., Black Shingles).
- Zuper Url.
- Import Information (e.g., “Successfully created Black Shingles in Zuper”).
Important Notes
- The records imported via this import functionality will be automatically connected with the respective records in QuickBooks Online.
- This feature is intended to be used for the initial setup of your Zuper account with your exisitng QuickBooks data. Therefore, record updates are not supported. If a record that already exists in Zuper is imported via this feature, it will be skipped in the import process.
- Only active records are imported into Zuper from QuickBooks for both Products and Customers.
- Only the first 2 levels in the hierarchy, i.e Parent_customers -> Sub-customers_level_1, are supported in the import. QuickBooks supports further levels of Sub-customers (up to level 3), but these are not considered for the import.
- Fallbacks are used for particular fields, such as Category and Product Location (for Products Import), that are mandatory for creation in Zuper.
Limitations
QuickBooks Online has character limitations on specific fields. Please ensure that each field you are about to upload follows this limit to prevent any data import errors. Learn more about this character’s limitations here.Best Practices
- Ensure that the API key is entered properly and the configurations are saved before attempting the Import.
- Review the report for the Import to understand the reasons for failure. Ensure all the mandatory fields for record creation in Zuper are present in the QuickBooks Online records being imported.
- Ensure that the Name format setting in the Import matches the Display Name Format setting in the Zuper QuickBooks Online app Configuration.

- Enable Sync Product Masters to automatically keep products in sync post-import.
Troubleshooting
- No Data Found: Ensure the Sync from date is set correctly and that data exists in QuickBooks matching your filters. Double-check your QuickBooks connection.
- Import Stuck at 0%: Refresh the page or check your internet connection. For large imports, it may take several minutes to start.
- Hierarchy Issues: If customer relationships aren’t importing as expected, try different Customer Hierarchy options and re-import.
- Product Already Exists in Zuper: This error occurs when a product (e.g., “Black Shingles”) is detected as a duplicate. Skip the import for that item or remove/update the existing record in Zuper before retrying.
- Product Sku is Required: Ensure all products in QuickBooks have a valid SKU. Update the product in QuickBooks and retry the import.
- Multiple Errors in Batch: If importing multiple items (e.g., 2 products), errors are listed individually. Address each reason (e.g., SKU missing or duplicate) and re-import selectively.
- Errors During Sync: Note any error messages and contact Zuper support with details (e.g., date filters used). Use the Download Report for a full log of successes and failures.
- Inconsistent Results: If an import shows success in the report but errors in the UI (or vice versa), verify data in both platforms and consider re-running with narrower filters.