- Efficiently make and receive calls from customers or internal team members through the Zuper Phone interface within the app.
- Access the Zuper Connect Inbox/Conversations for a unified view of all communication threads.
- Access Call Logs to review call history, status, recordings, and related interactions.
| Feature | Web | Mobile |
|---|---|---|
| Zuper Phone | Yes | Yes |
| Conversations | Yes | No |
| Call Logs | Yes | Yes |
| Feature | Web | Mobile |
|---|---|---|
| Zuper Phone | No | Yes |
| Conversations | No | No |
| Call Logs | No | Yes |
Access User Permissions
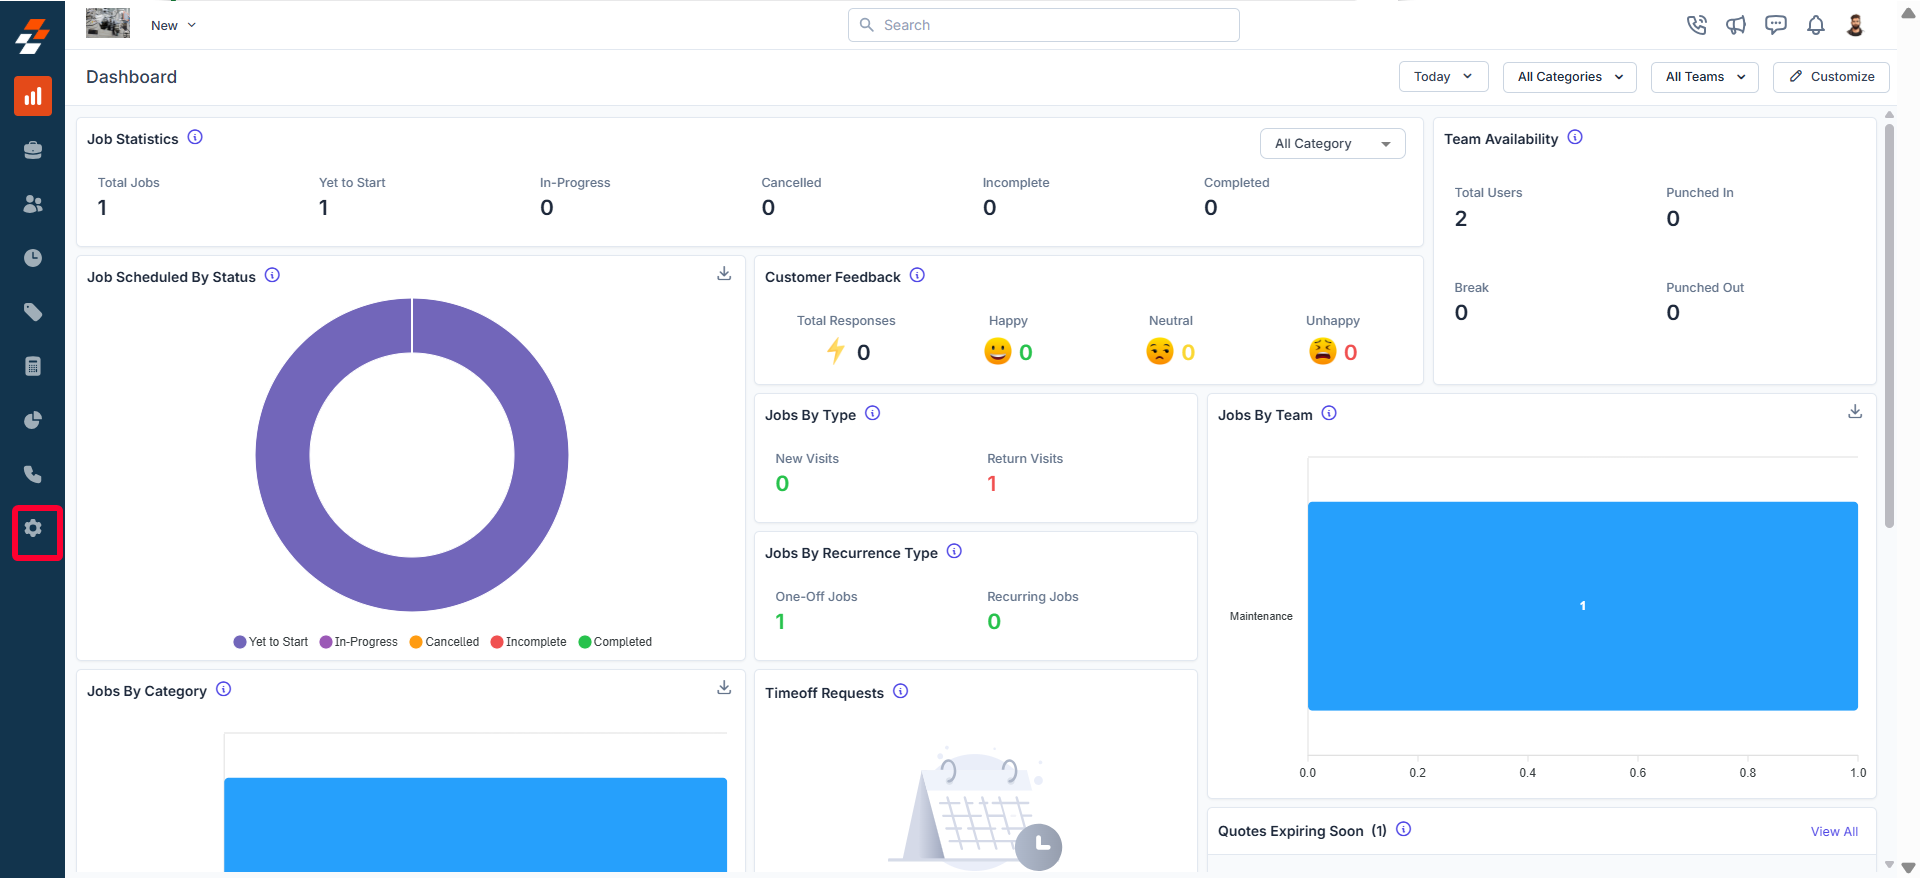
- Select the “Settings” module from the left navigation menu.
- On the settings page, click “Zuper Connect.”
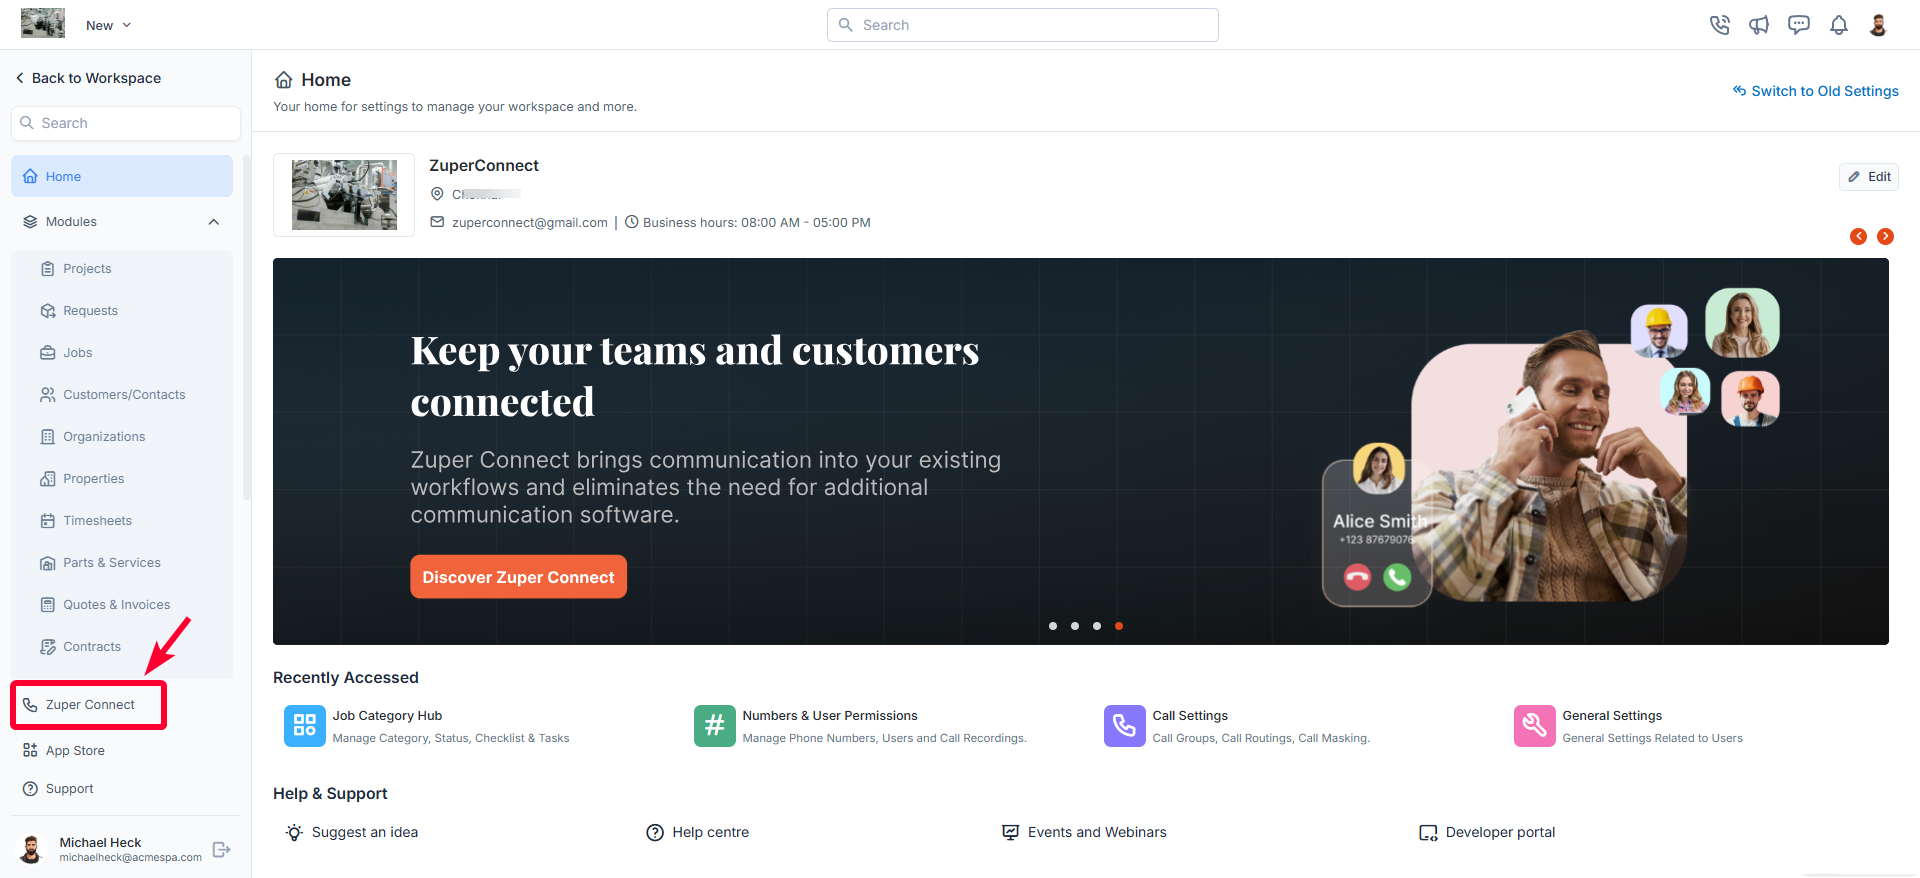
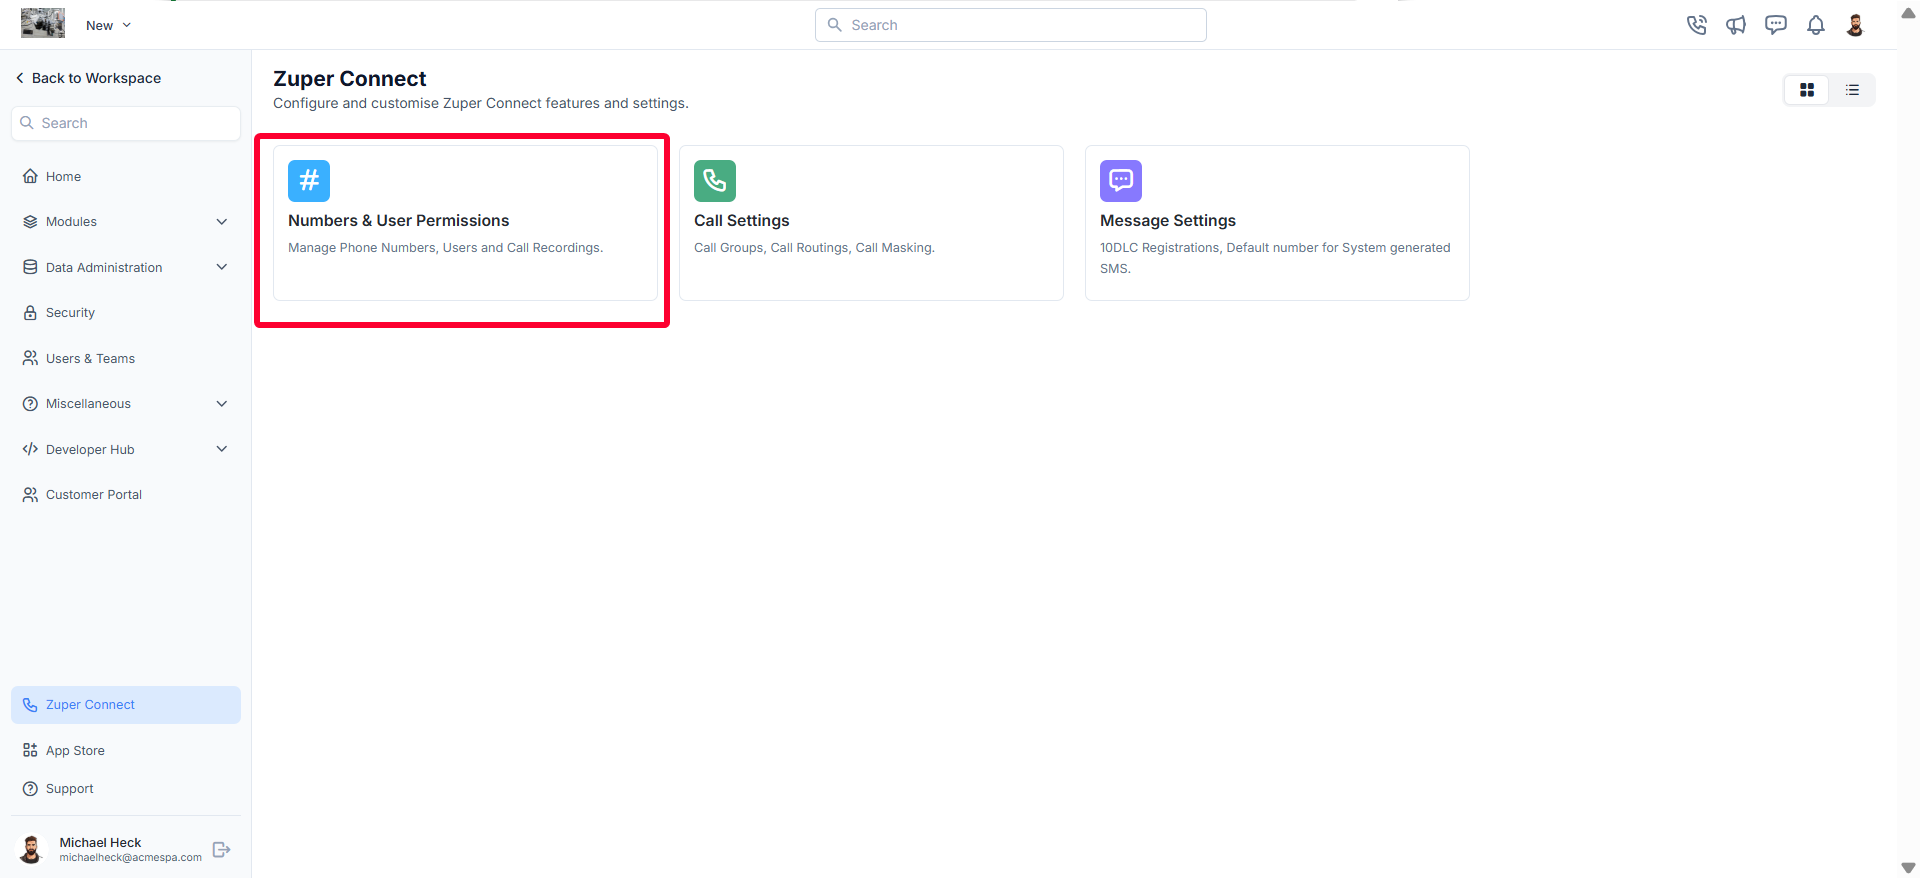
- The Zuper Connect settings page will appear.
- Select “Numbers & User Permissions” to open the page where you can manage Zuper Phone Numbers and User Permissions.
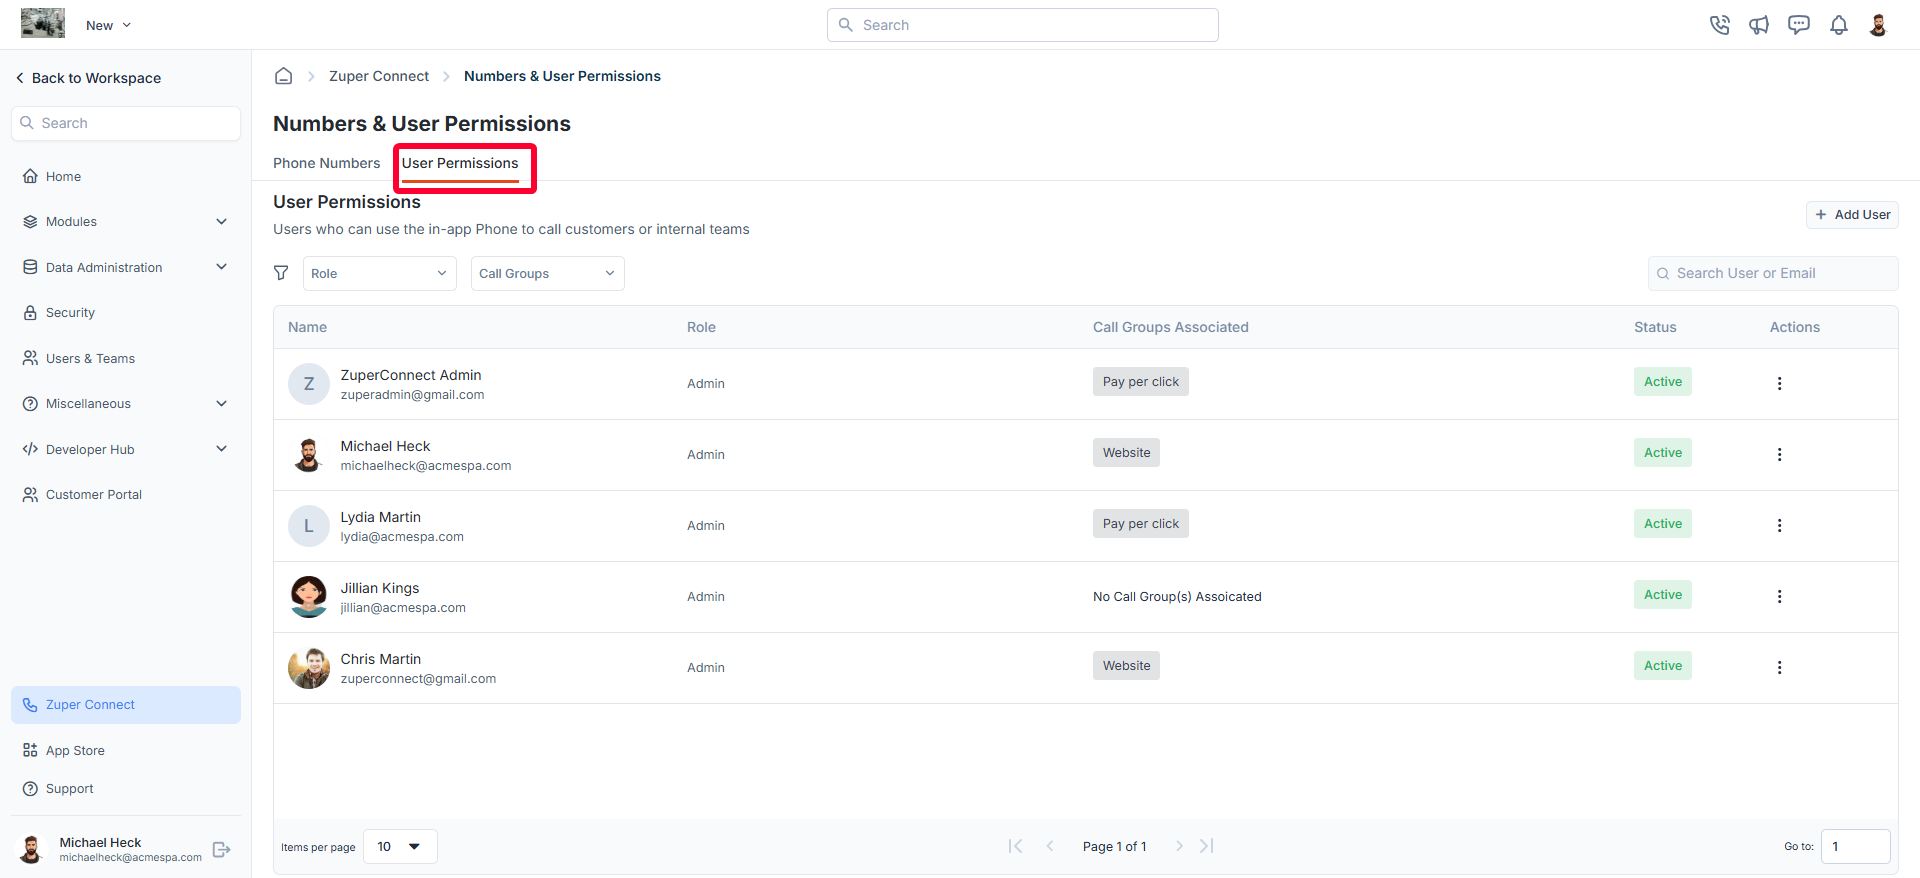
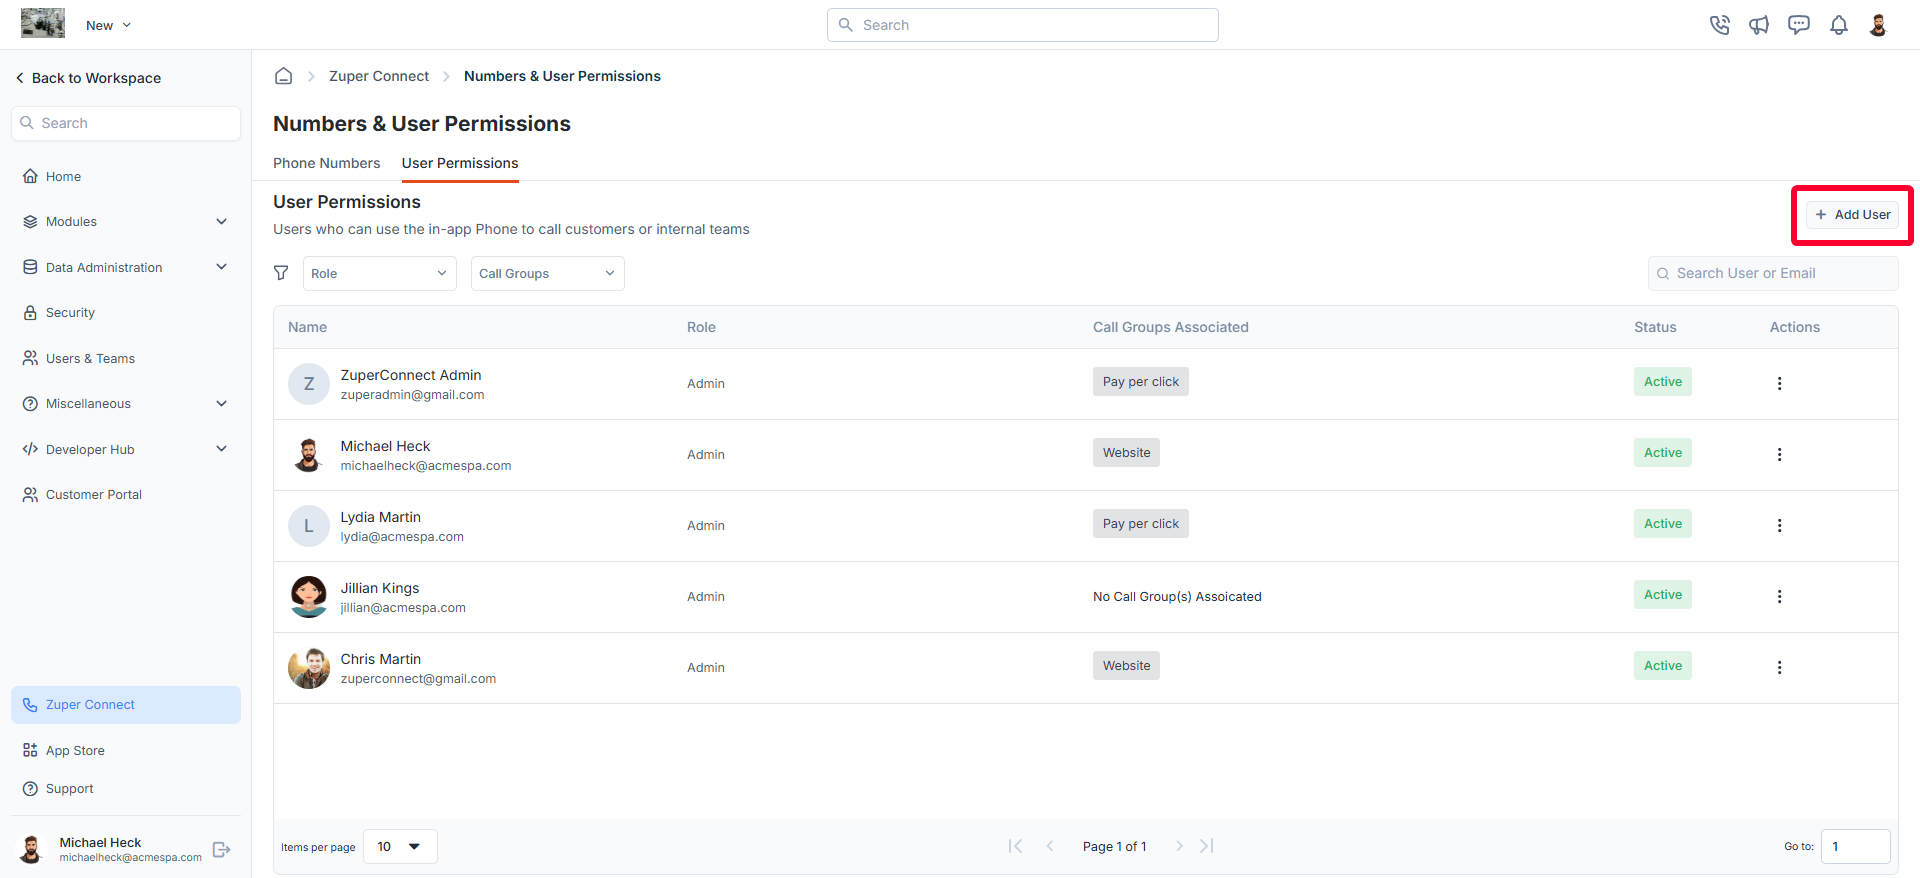
- Navigate to the “User Permissions” tab. The listing page will display all users, including their roles and associated call groups.
Add a new user
To add a new user,- Click the “+ Add User” button on the user’s listing page. A dialog box will appear.
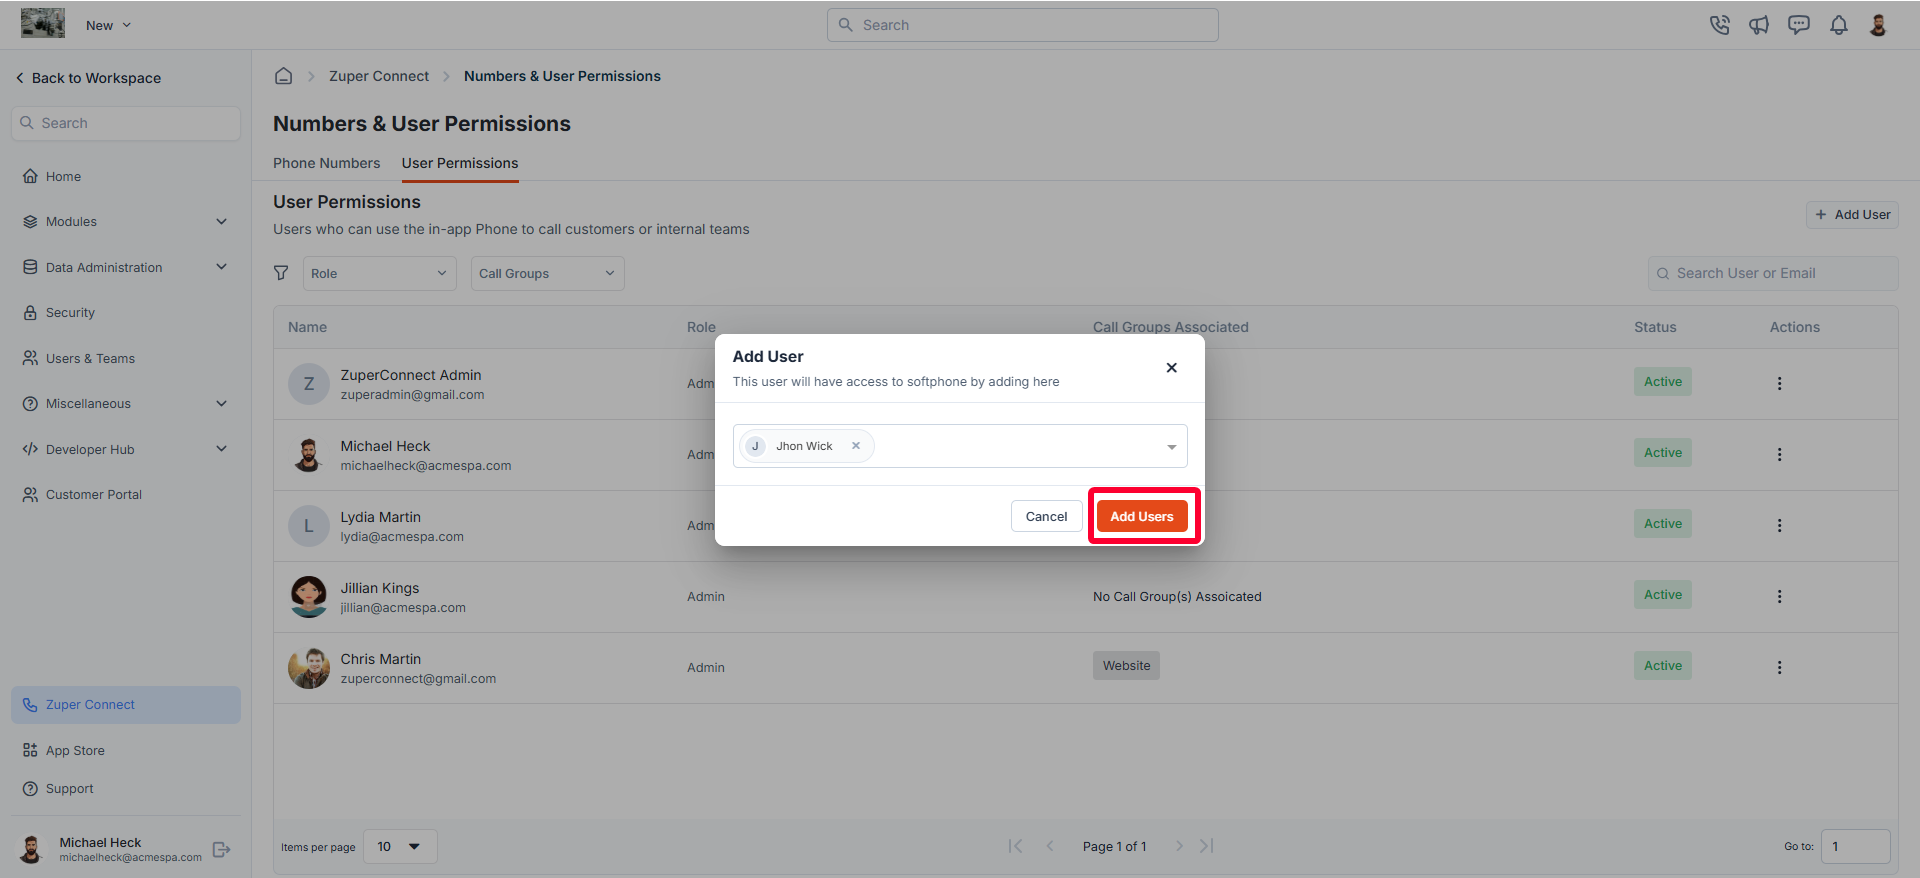
- Add the user(s) you want to grant access to Zuper connect.
- Once added, click the “Add Users” button. A confirmation message will appear indicating that the user(s) have been successfully added.
Add user to a call group (Optional)
Once permissions are granted for the selected users, you can optionally assign them to a call group. This helps streamline communication by grouping team members who handle similar tasks or customer calls, ensuring calls are routed efficiently and reach the right people at the right time. To do this, follow these steps:- Click the “Add to Group” button next to the user.
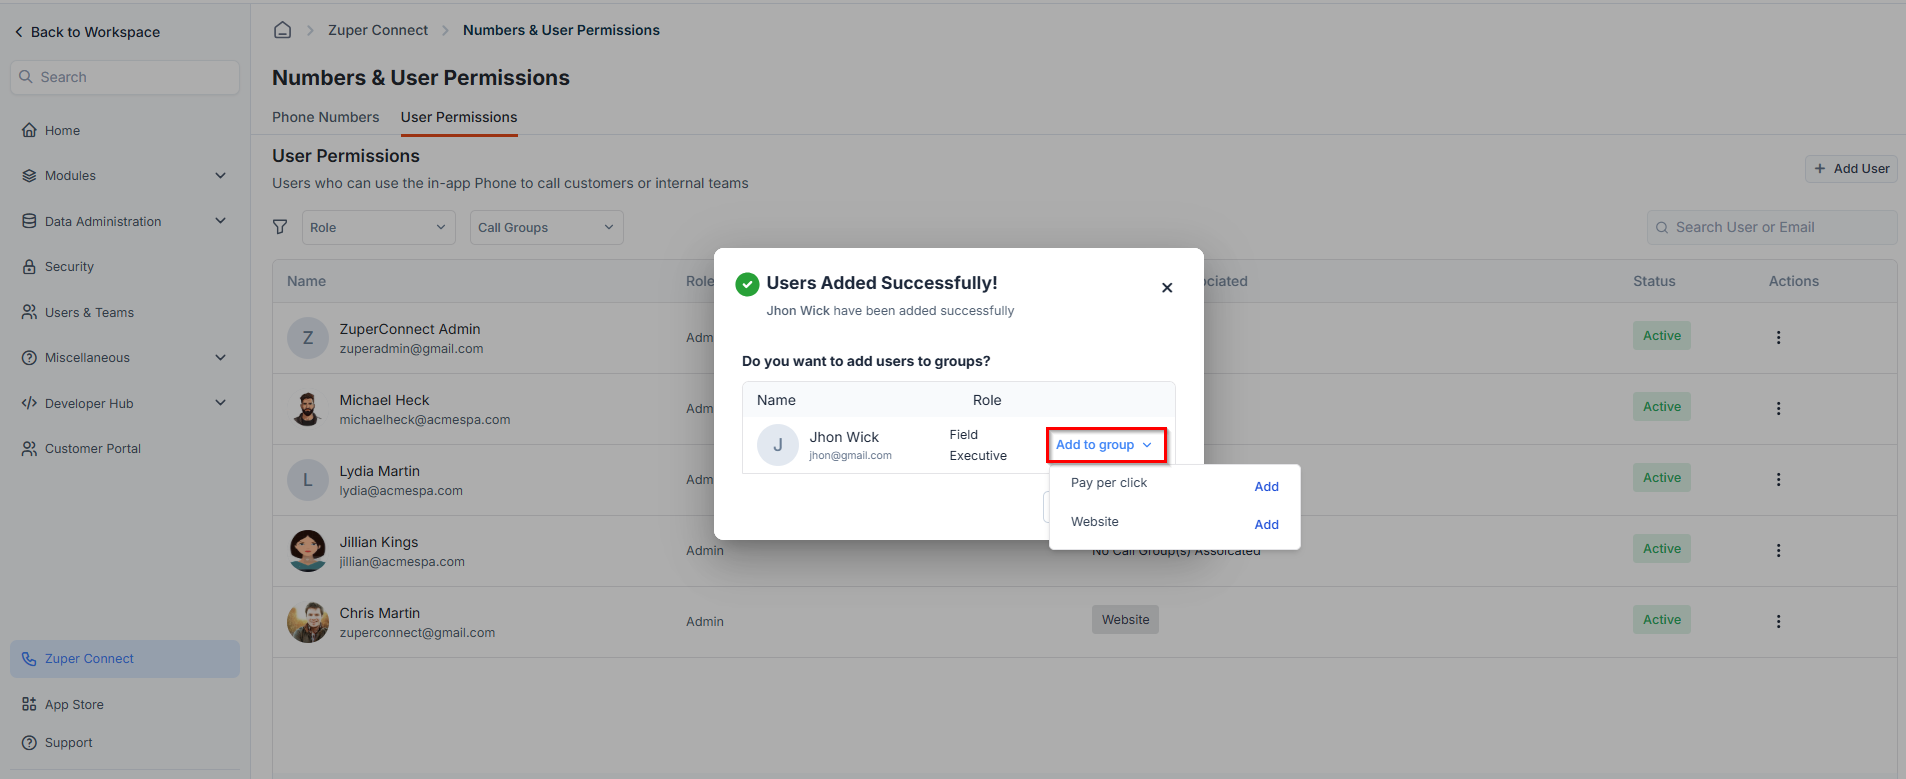
- A list of existing call groups will appear. (For details on creating call groups, refer to the “How to Create a Call Group” guide.)
- Select the desired group by clicking “Add” next to it.
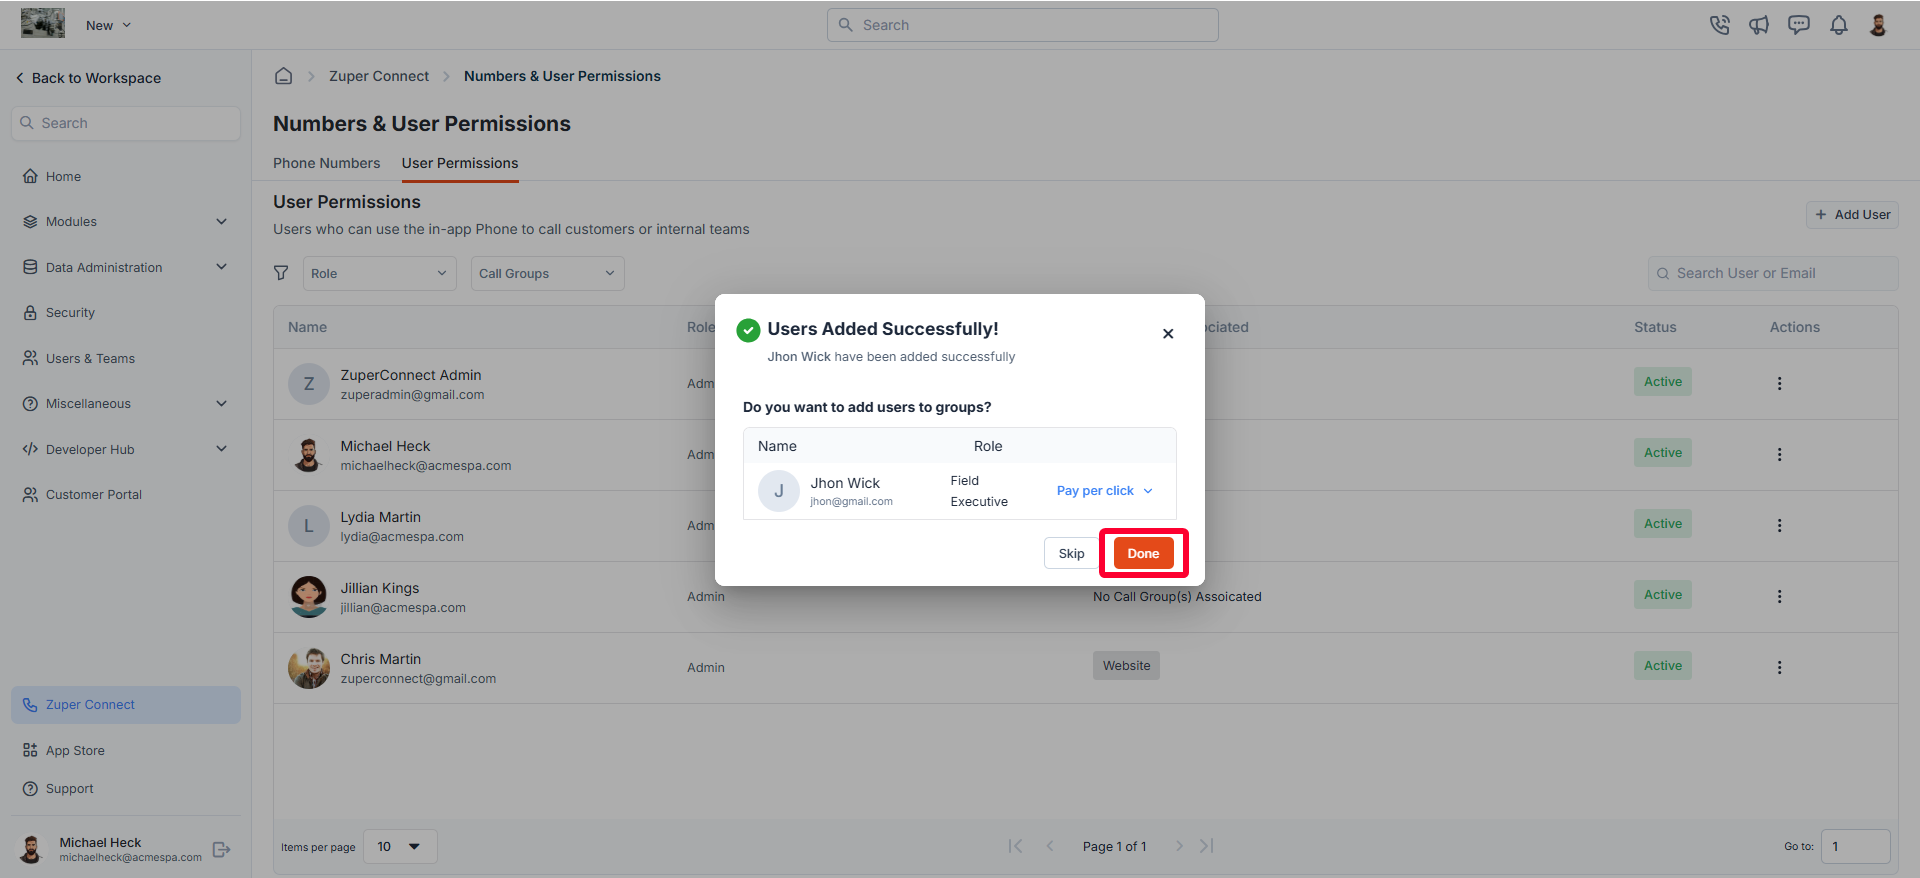
- Click “Done” to save the changes.
Managing users
After adding users who have access to Zuper Connect, admins can manage these users directly from the User Permissions listing page. You can edit user details or deactivate users as needed.Edit a User
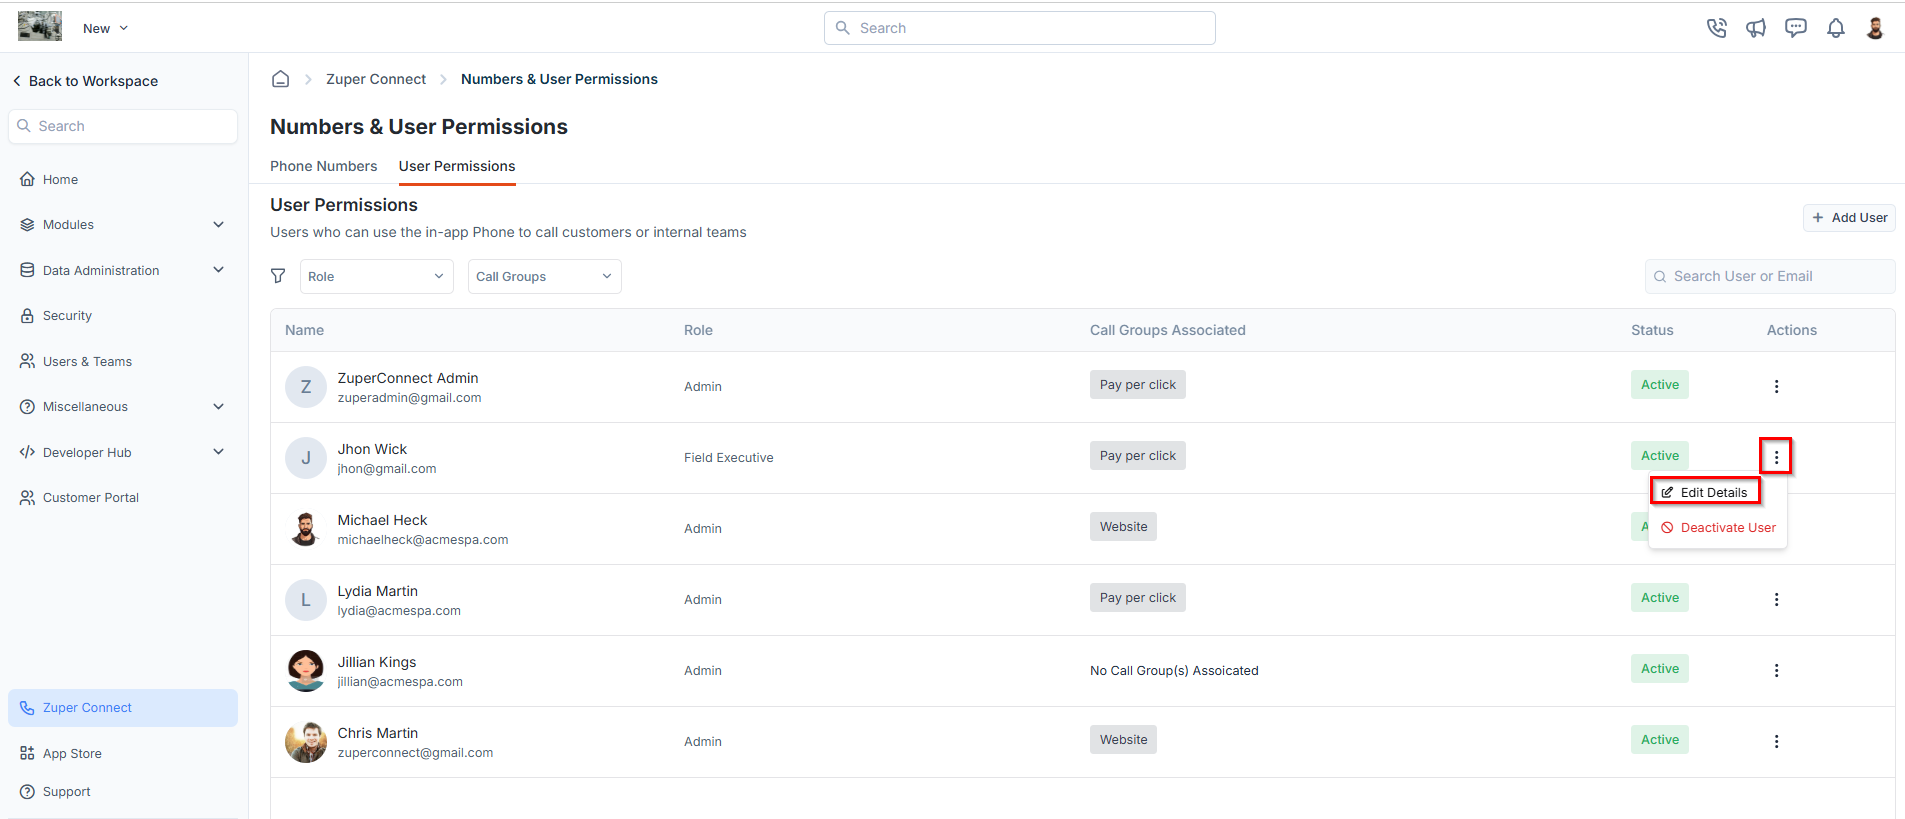
To modify user details:- On the User Permissions listing page, click the icon next to the user you want to modify.
- Select Edit Details from the dropdown menu.
- In the Edit User dialog box, you can:
- Call Groups – Add or remove call groups associated with the user.
- Click Update User to save your changes.
Deactivate a User
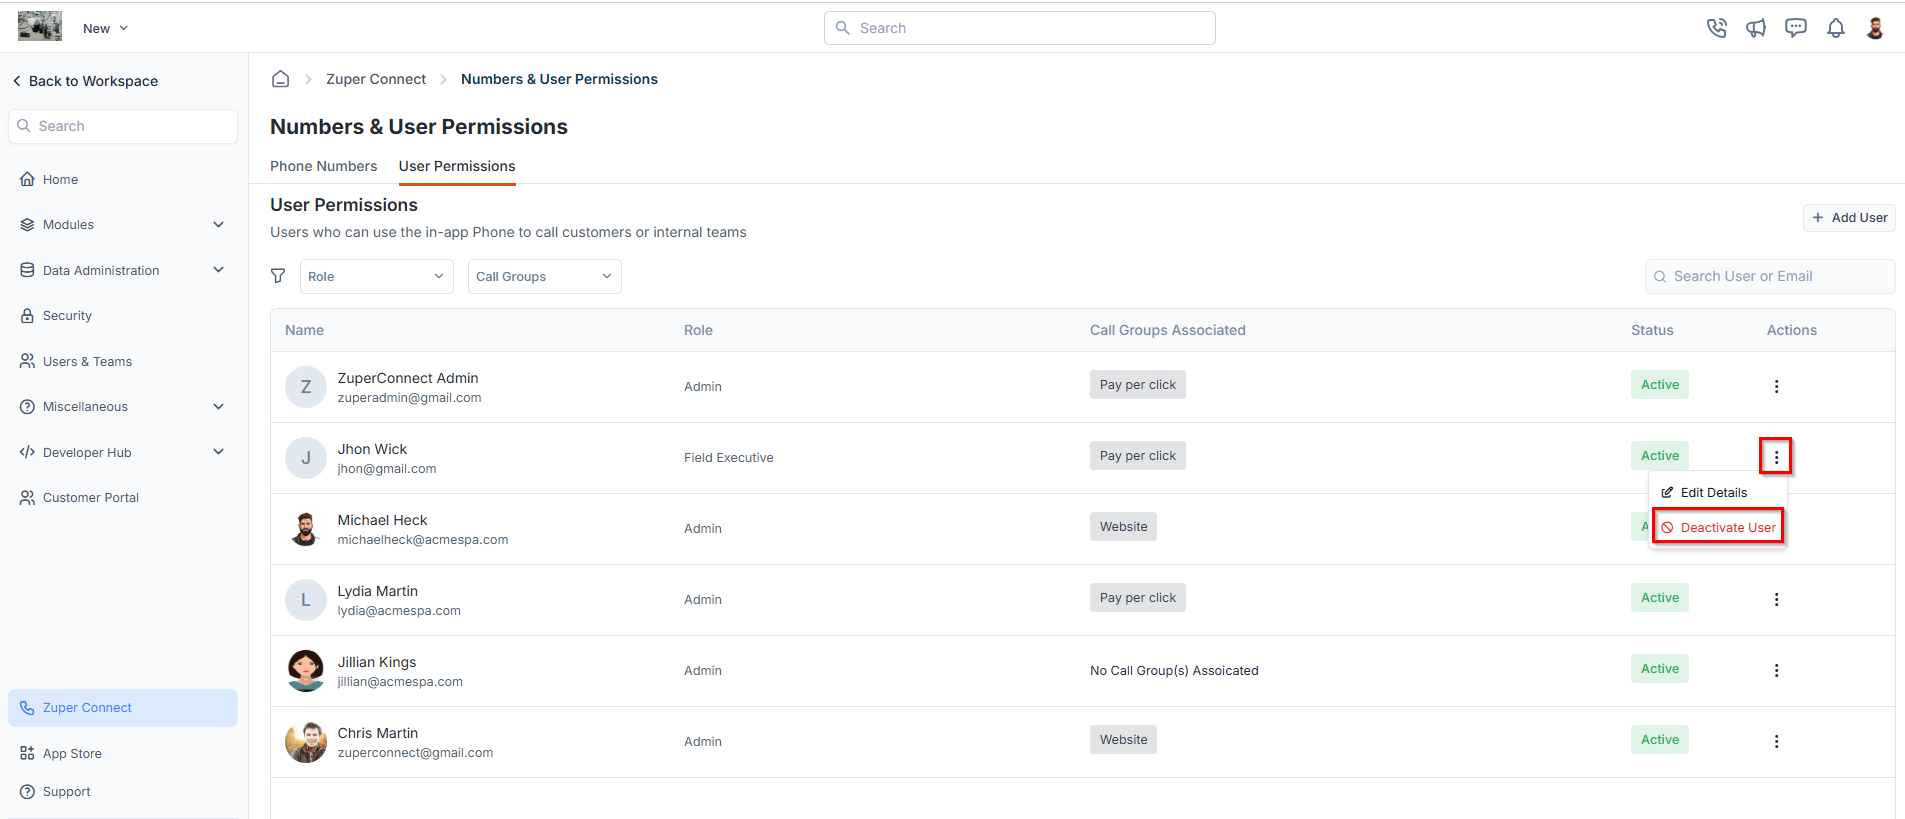
To remove a user’s access:- On the User Permissions listing page, click theicon next to the user you want to modify.
- Select Deactivate User from the dropdown menu.
- A confirmation dialog box will appear.
- Click Deactivate to revoke the user’s access.