Overview
The IVR (Interactive Voice Response) feature in Zuper Connect allows you to create automated menu options for incoming calls, enabling callers to self-direct to the appropriate department or service by pressing keys on their phone. This simplified guide covers setup, configuration, and troubleshooting.What is IVR?
IVR is an automated phone system that allows callers to interact with a menu using their phone keypad. When a caller dials your business number, they hear a pre-recorded message with options like: “Press 1 for Sales, Press 2 for Support, Press 3 for Billing”. The system then routes the call based on the caller’s selection.Key Features & Limitations
Features:- Automated Call Routing: Direct callers to specific call groups or users based on their keypad selection
- Custom Greeting Messages: Configure personalized welcome messages using Text-to-Speech
- Multiple Voice Options: Choose from various voice profiles (Alice, Brian, etc.)
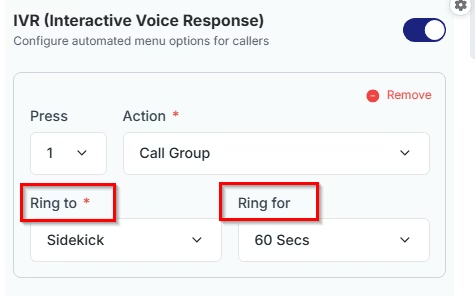
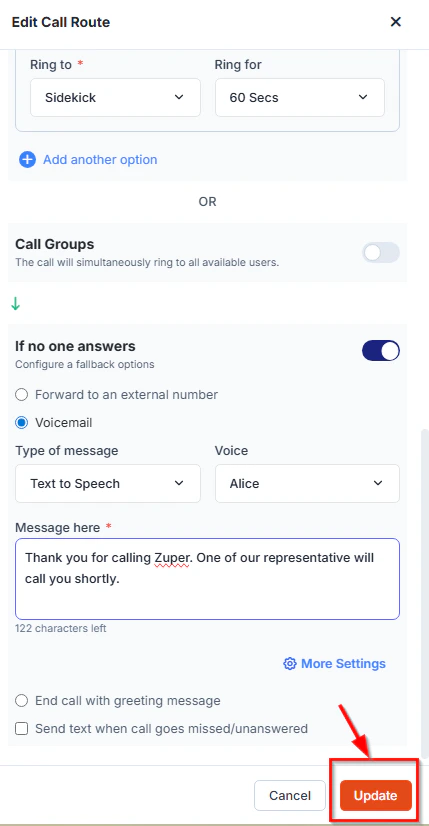
- Flexible Ring Duration: Set how long calls ring before fallback options activate
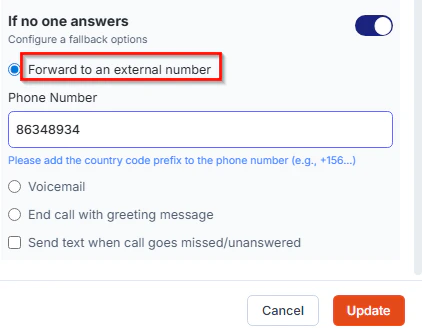
- Fallback Options: Configure voicemail or external number forwarding if no one answers
- Single-Level IVR Only: Zuper Connect supports one level of IVR with no branching. You cannot create sub-menus.
- Call Groups Disabled When IVR is Active: When you enable IVR for a call route, the Call Groups feature will be automatically toggled OFF. You cannot use both simultaneously.
Prerequisites
- Admin Access: You must have administrator permissions in Zuper Connect
- Call Route Created: At least one call route must exist in your system
- Call Groups Configured: Set up call groups that will receive routed calls
- Phone Number: A phone number assigned to your Zuper Connect account
Setting Up IVR
Step 1: Navigate to Call Settings- Log in to your Zuper Connect account
- From the left navigation menu, select Settings → Zuper Connect → Call Settings.
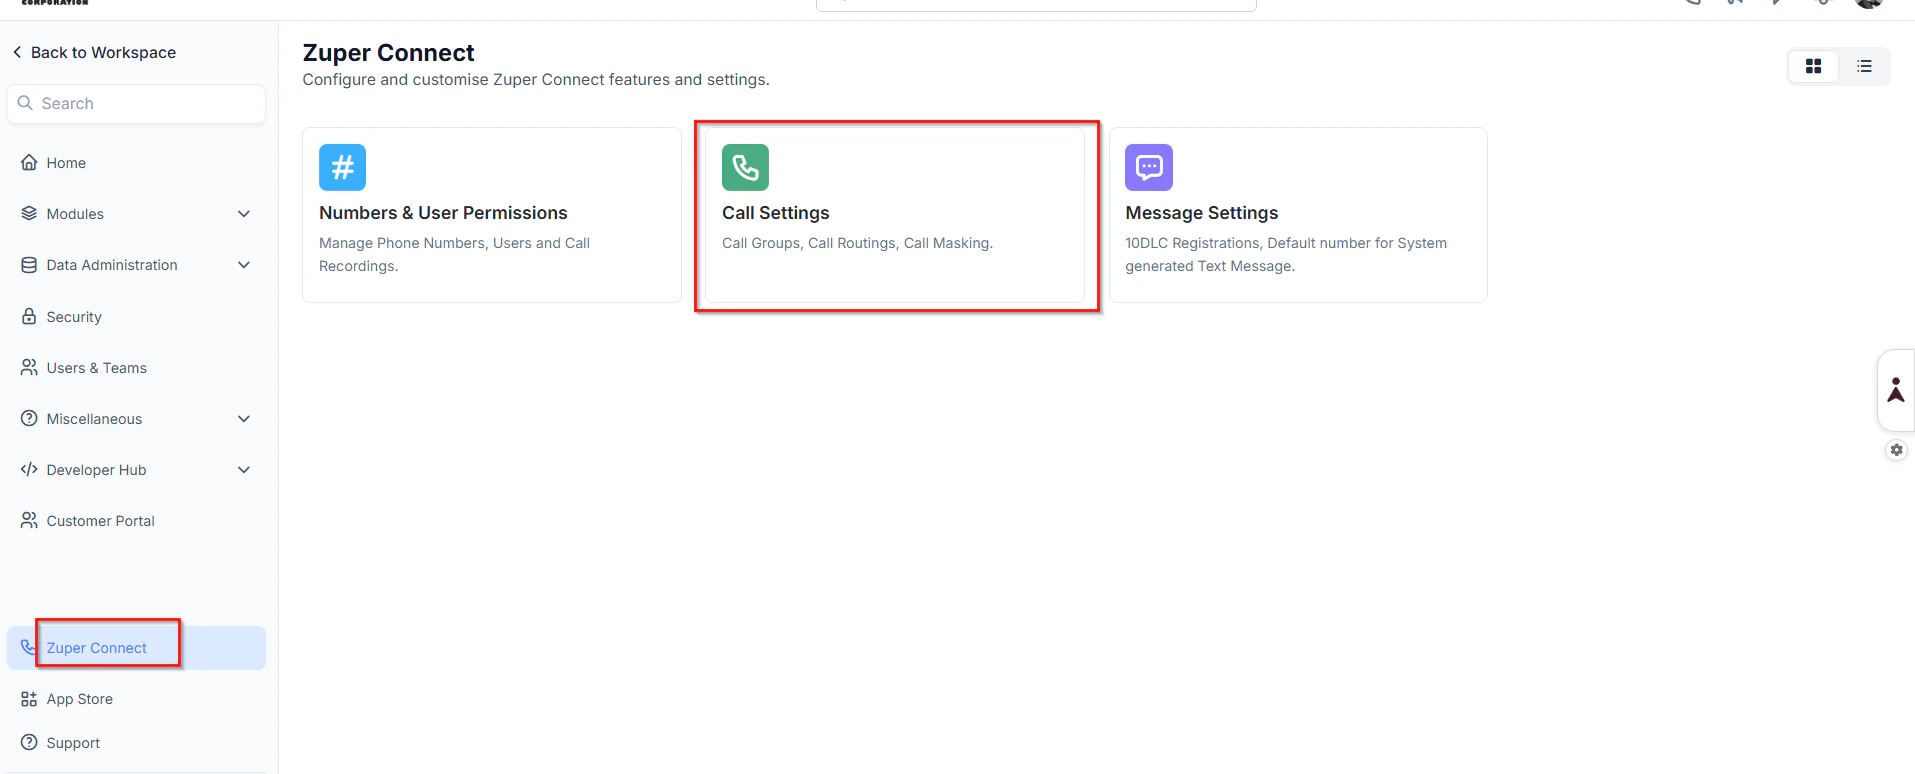
- On the Call Settings page, navigate to the Call Routings tab to view existing routes and associated phone numbers.
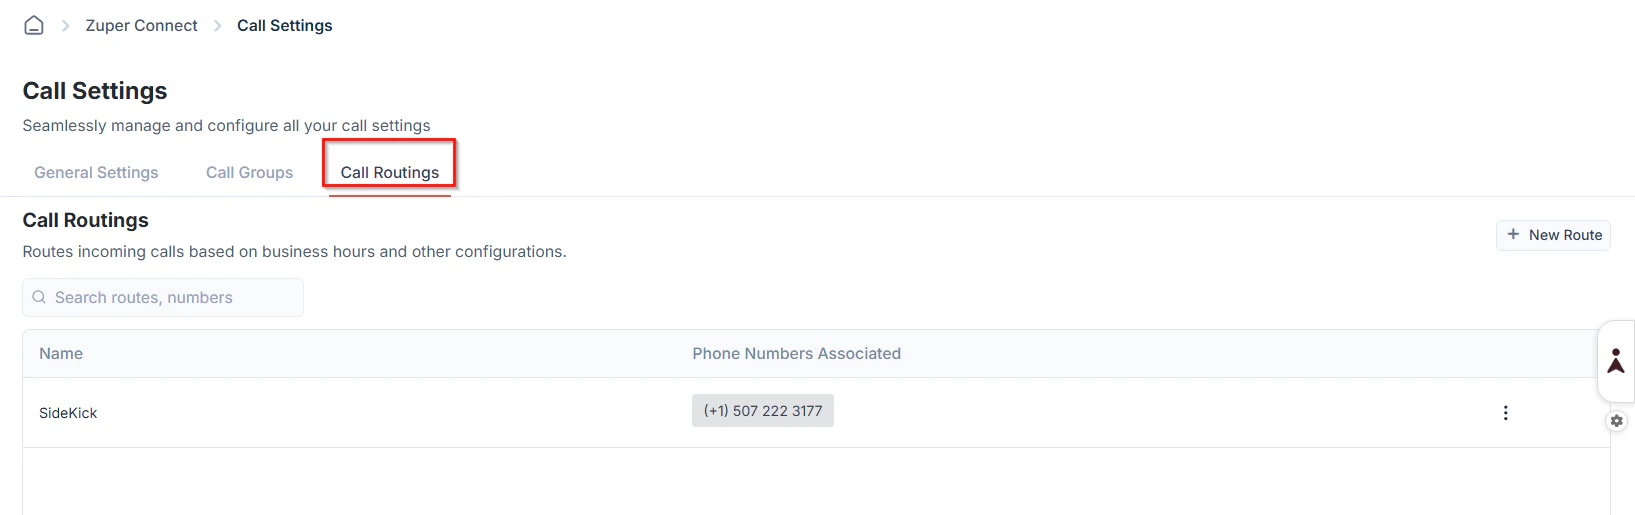
- Locate the call route you want to configure with IVR.
- Click on the New Route or the Edit icon (pencil icon) next to it.
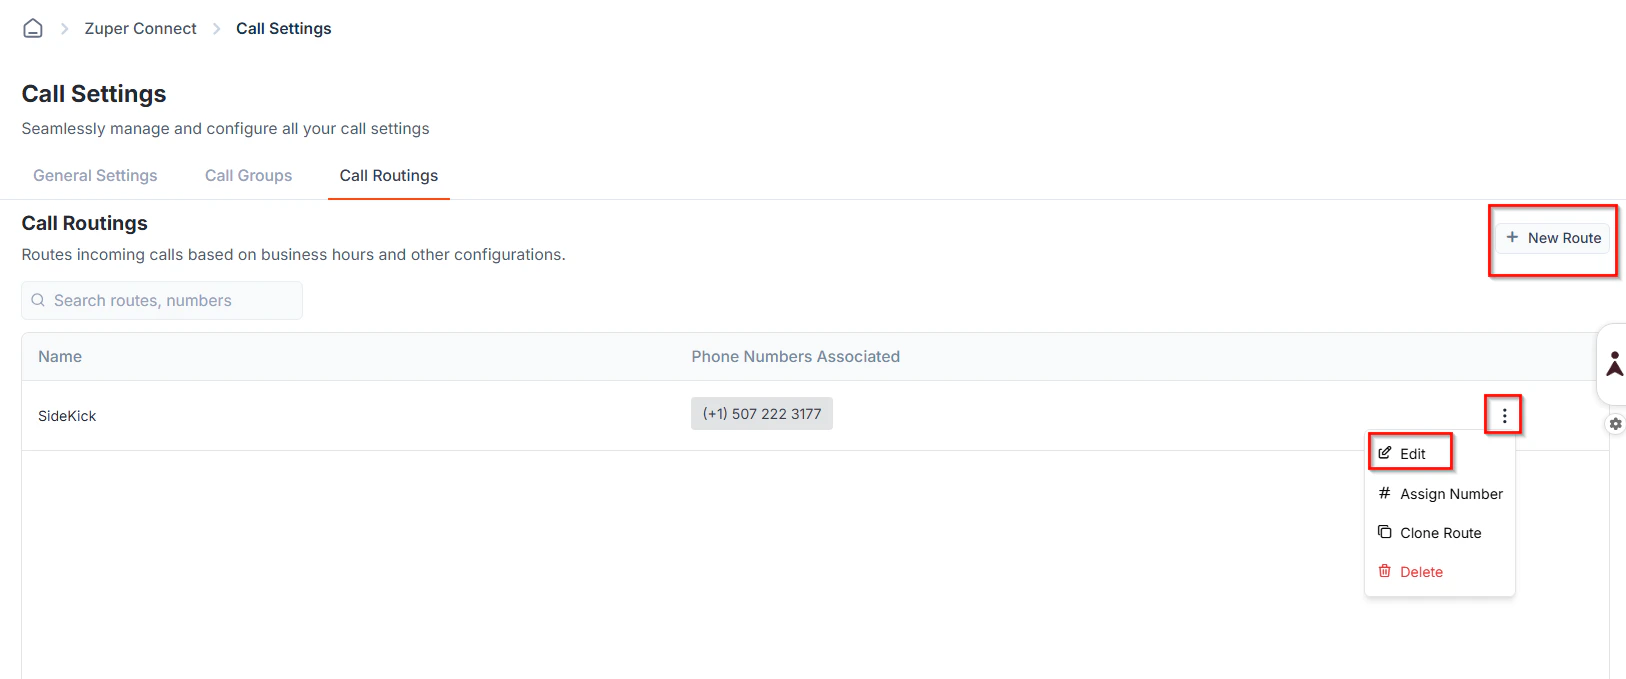
- The Edit Call Route panel will open on the right side
- In the Edit Call Route panel, locate the IVR section.
- Toggle the IVR switch to ON (it will turn blue)
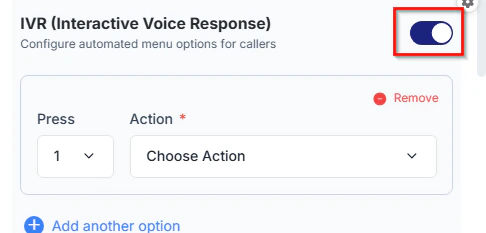
- A confirmation dialog will appear. Click Continue to proceed
- The Call Groups toggle will automatically turn OFF
Configuring IVR Options
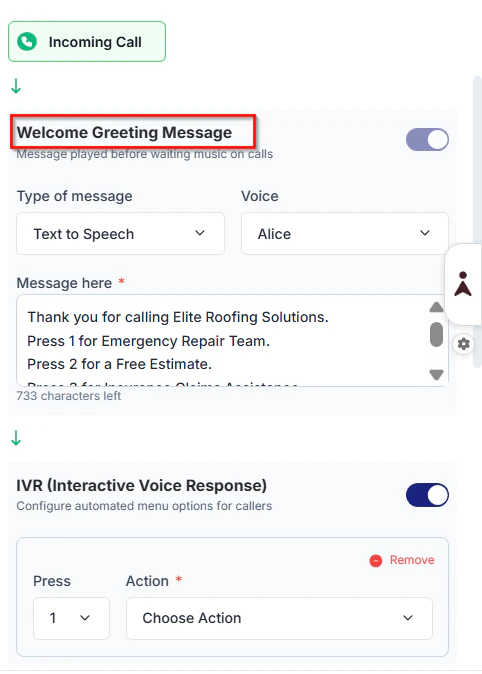
1. Greeting Message Configuration This is the message callers hear when they first connect to your IVR system. Configuration Options:- Type of Message: Select Text to Speech (default)
- Voice: Choose from available voice profiles (Alice, Brian, etc.)
- Message Text: Enter the greeting message that will be read to callers
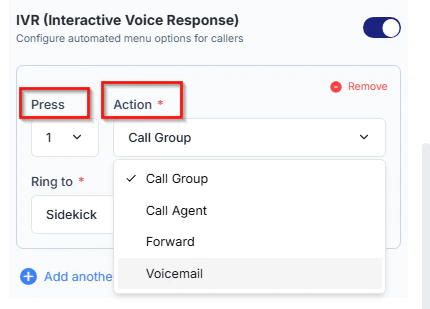
- Select which key the caller should press (0-9)
- Each key can only be assigned once.
- Call Group: Route to a specific call group
- User: Route to a specific user
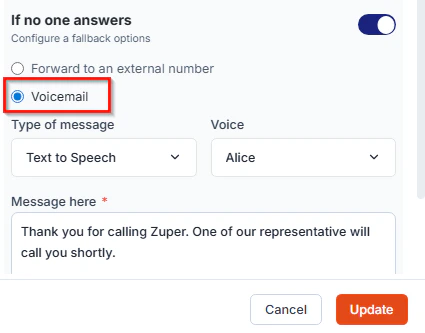
- Voicemail: Send directly to voicemail
- External Number: Forward to an external phone number
- Select this option and enter the external phone number.
- Type of Message: Text to Speech
- Voice: Select voice profile (e.g., Alice)
- Message Text: Enter the voicemail greeting.
- Review all your IVR settings
- Click the “Update” button at the bottom right of the panel
- Your IVR configuration is now active.
Troubleshooting
- IVR Toggle Won’t Turn On
- Toggle Call Groups OFF first, then enable IVR
- Ensure you have administrator access
- Create a call route if one doesn’t exist
- Callers Not Hearing IVR Menu
- Re-edit the call route, verify IVR is ON, and click “Update.”
- Ensure you’ve entered text in the greeting message field
- Try changing the voice profile or re-entering the message text
- Key Presses Not Working
- Verify each menu option has a key, an action, a destination, and a ring duration
- Check that no two options use the same key number
- Ensure the selected call group or user still exists and is active
- Calls Not Routing to Correct Destination
- Edit each option and verify the “Ring to” dropdown shows the correct destination
- Check that call groups have active members
- Verify that users in the destination group are logged in and available
- Voicemail Not Working
- Select “Voicemail” in the “If no one answers” section and configure the message
- Enter text in the voicemail message field
- Reduce the “Ring for” duration if calls are taking too long to reach voicemail
Important Behaviors
- IVR and Call Groups Mutual Exclusivity:
- Configuration Loss Warning: