Navigation: Contracts and Assets Management module -> Assets-> Assets listing page -> Asset Details
Accessing the assets listing page
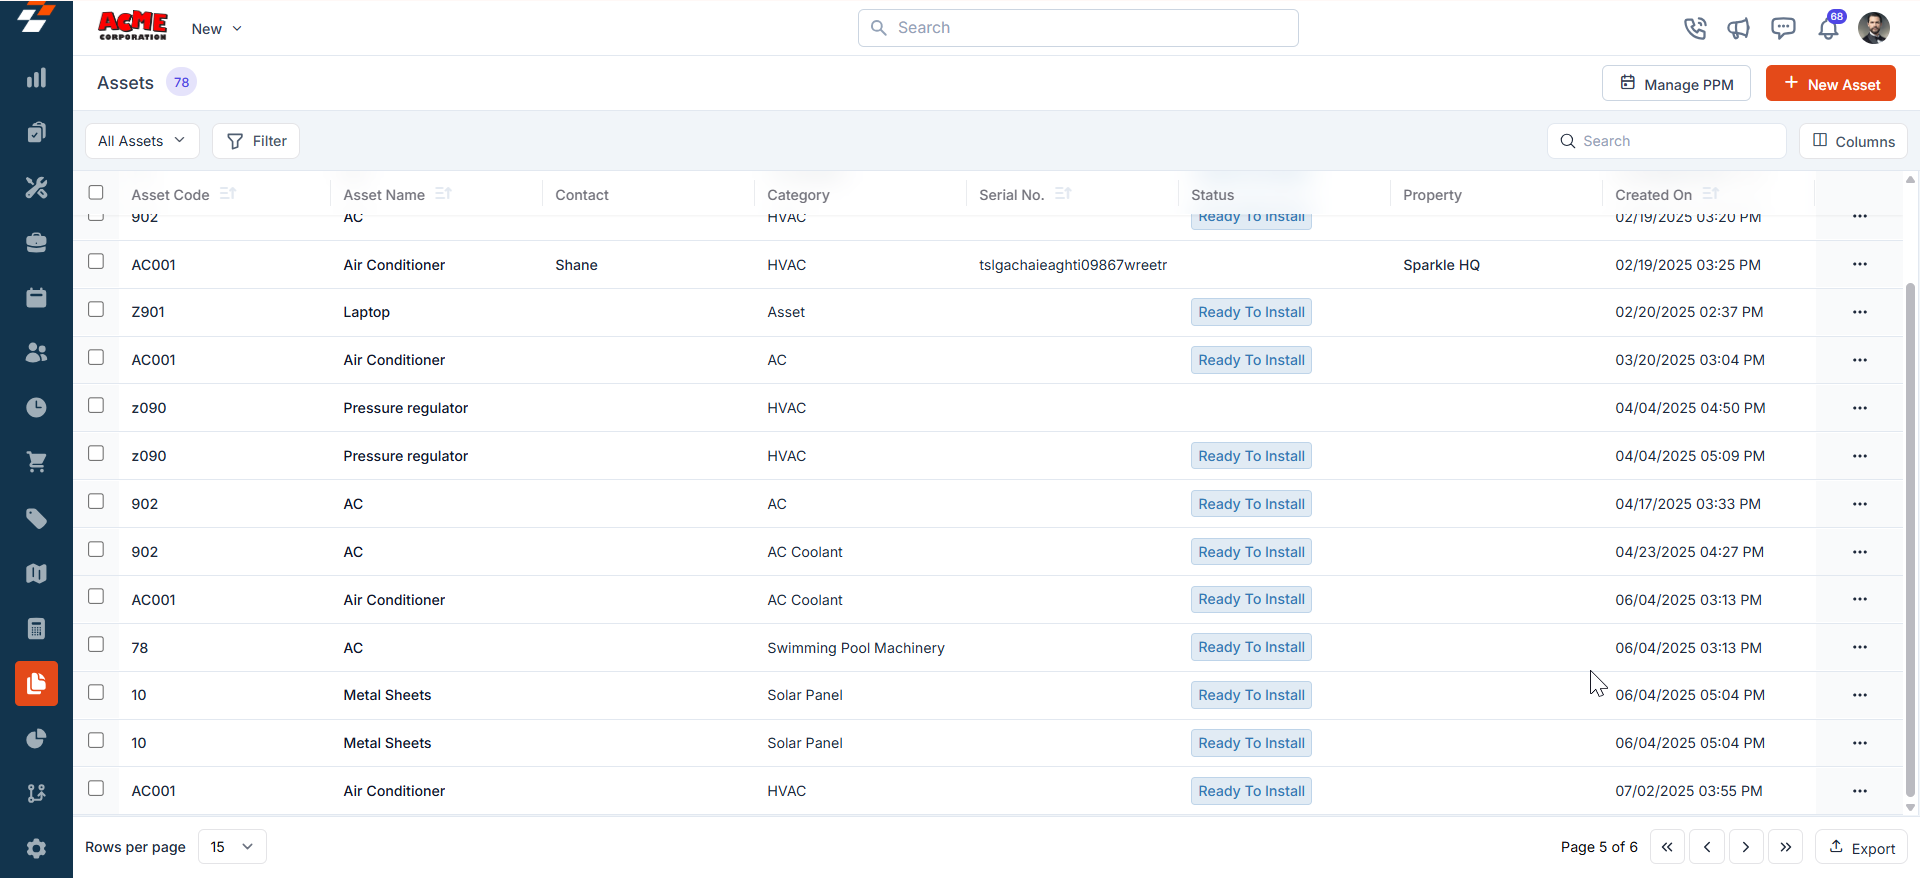
The asset listing page is designed to help you stay organized by providing a centralized view of all assets and enabling quick access to critical asset details. The page includes several key features to streamline asset management: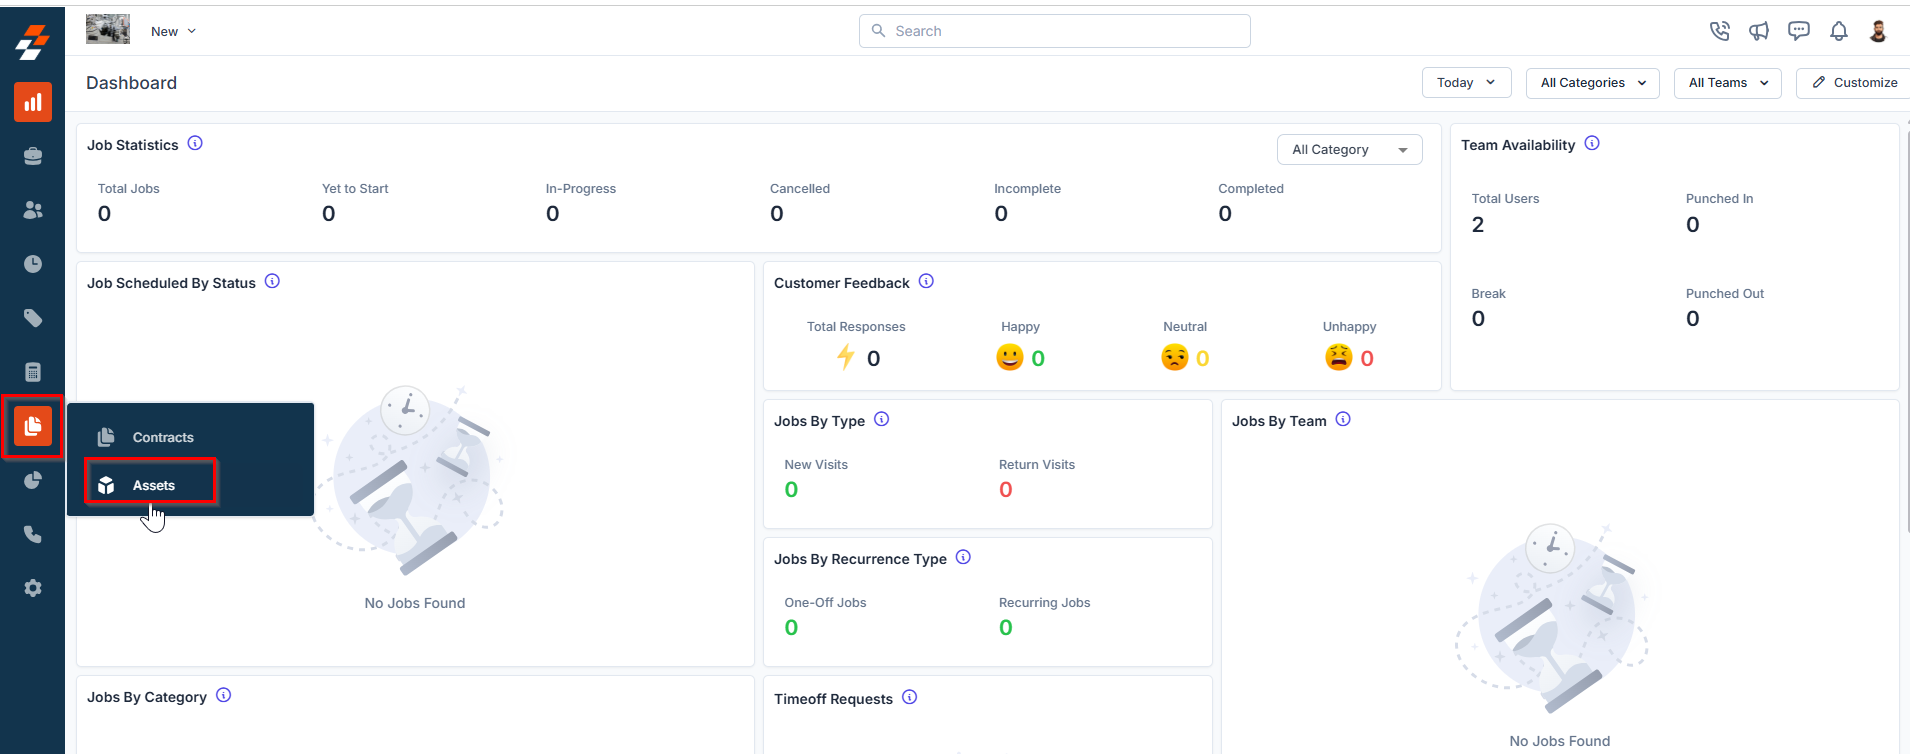
Listing View
Customize the Assets listing by adding/removing or reordering columns, then Update View to overwrite or save it as a new view. Update View Click Update View to modify the current view after changes. Save as a new view Use the dropdown beside Update View → Save as new view. Create View dialog Enter the View Name (mandatory), choose Share with (User/Team) and add users, toggle Visibility to all users, and click Create. Reset View Click Reset View to restore the current view to the default. Permissions- Edit: Add/remove/reorder columns; save as new or overwrite existing views.
- View-only: Apply views but can’t edit; can Save as new view to copy without altering the original.
- Manage view: Rename, adjust Visibility (Only Me/User/Team or global toggle), Duplicate, or Delete (creator only; reverts to default/another saved view).
Bulk Action:
The bulk printing of QR codes on the Assets is possible. With this, Assets can get their QR code printed in size. 1. Select the list of assets you want to bulk update and choose the option “Print QR Code.”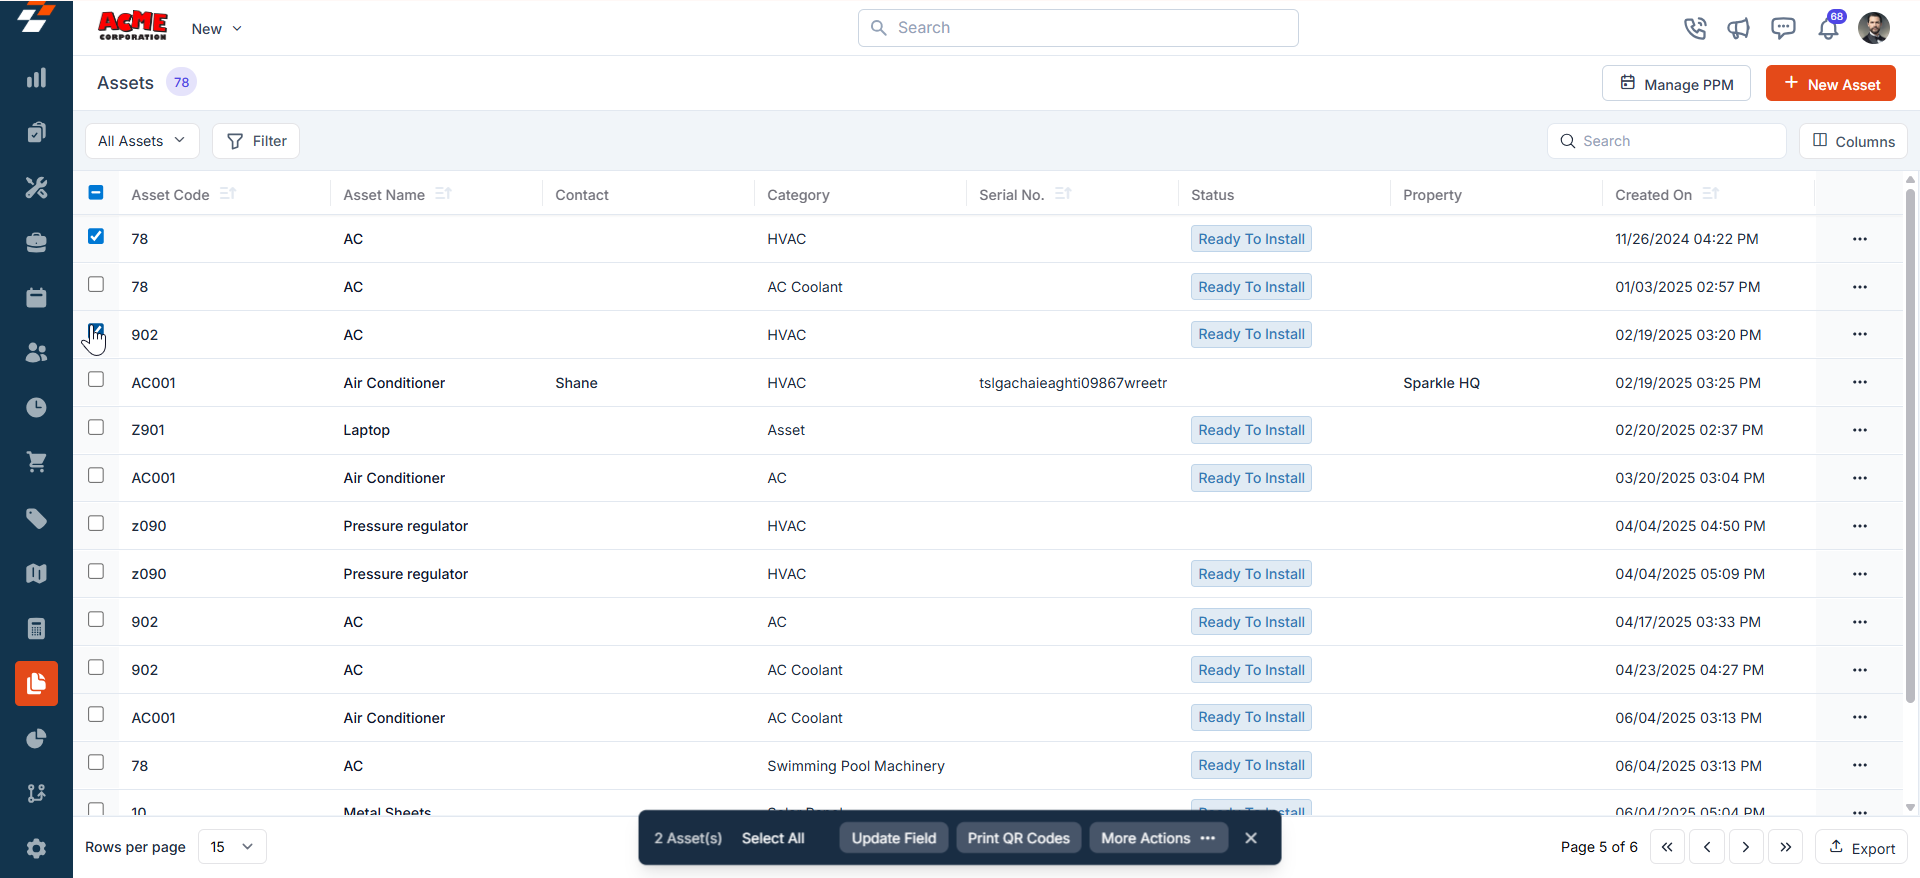
- The QR Codes are successfully printed in bulk.
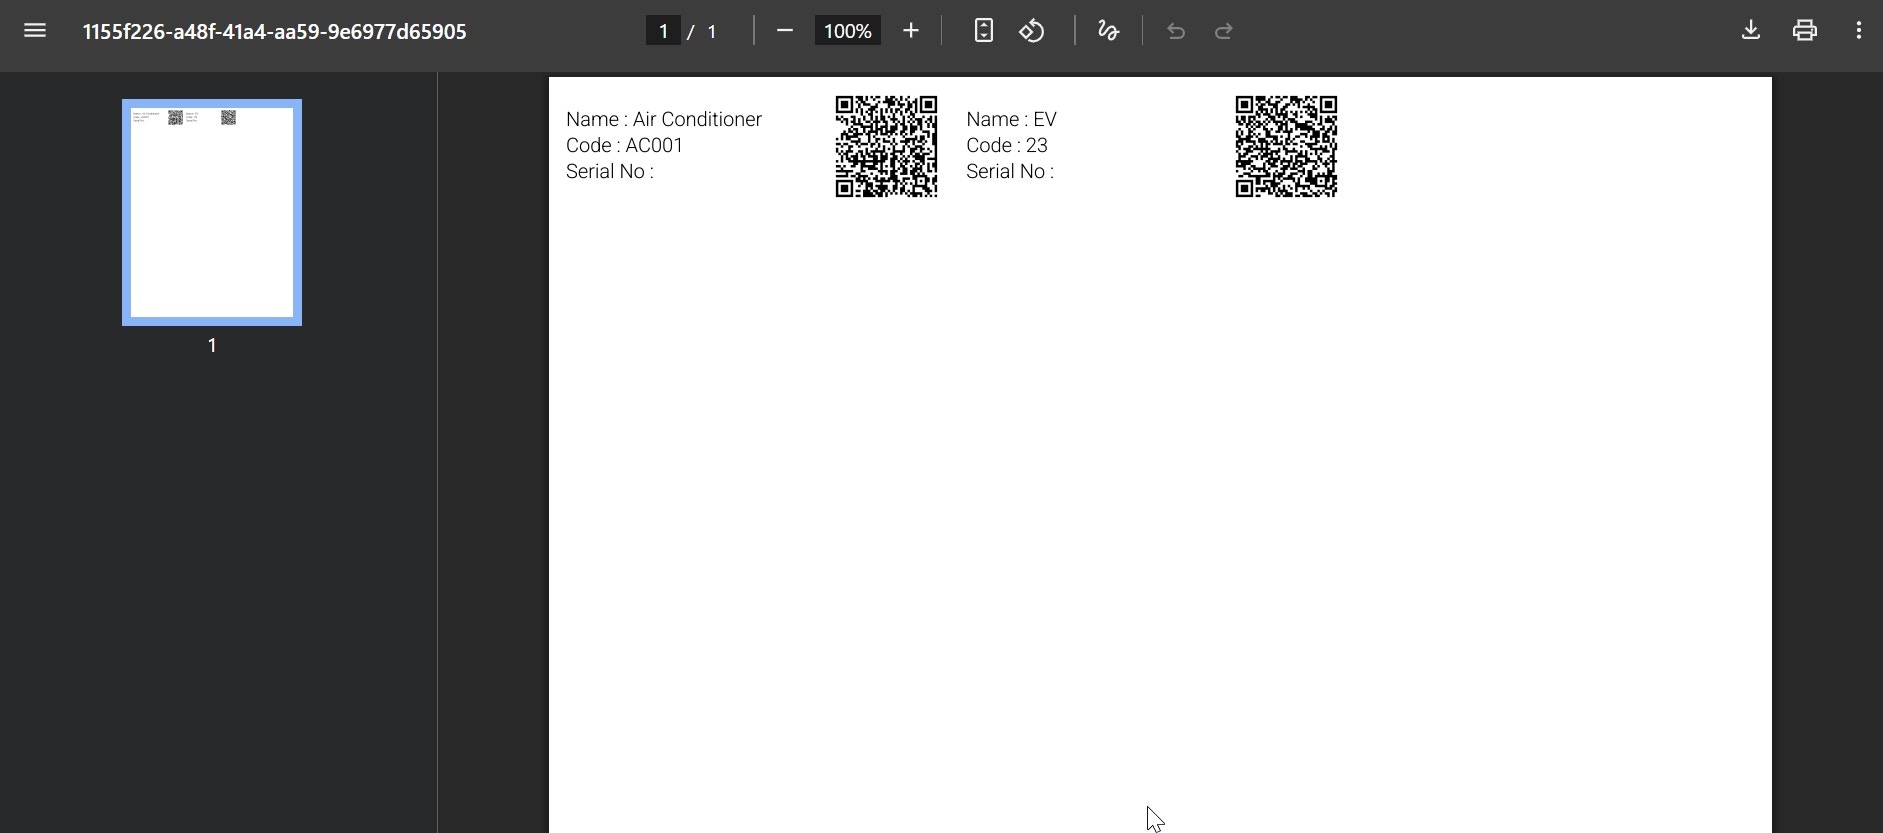
Note: The Bulk Print QR code is available for less than 100 assets at a time; if more than 100 assets are selected, the PDF is generated and sent over email. We can print the QR code using any printer.
The exported PDF will print to 1” x 2 5/8” sized labels—this format prints on the Avery Template Presta 94200 template.
Manage PPM (Planned Preventive Maintenance)
Easily oversee and manage planned preventive maintenance schedules for assets to ensure timely servicing and reduce unexpected breakdowns. To do this, click the “Manage PPM” button at the top right of the listing page. For a more detailed guide on how to manage PPM, see the Creating and Managing PPM article.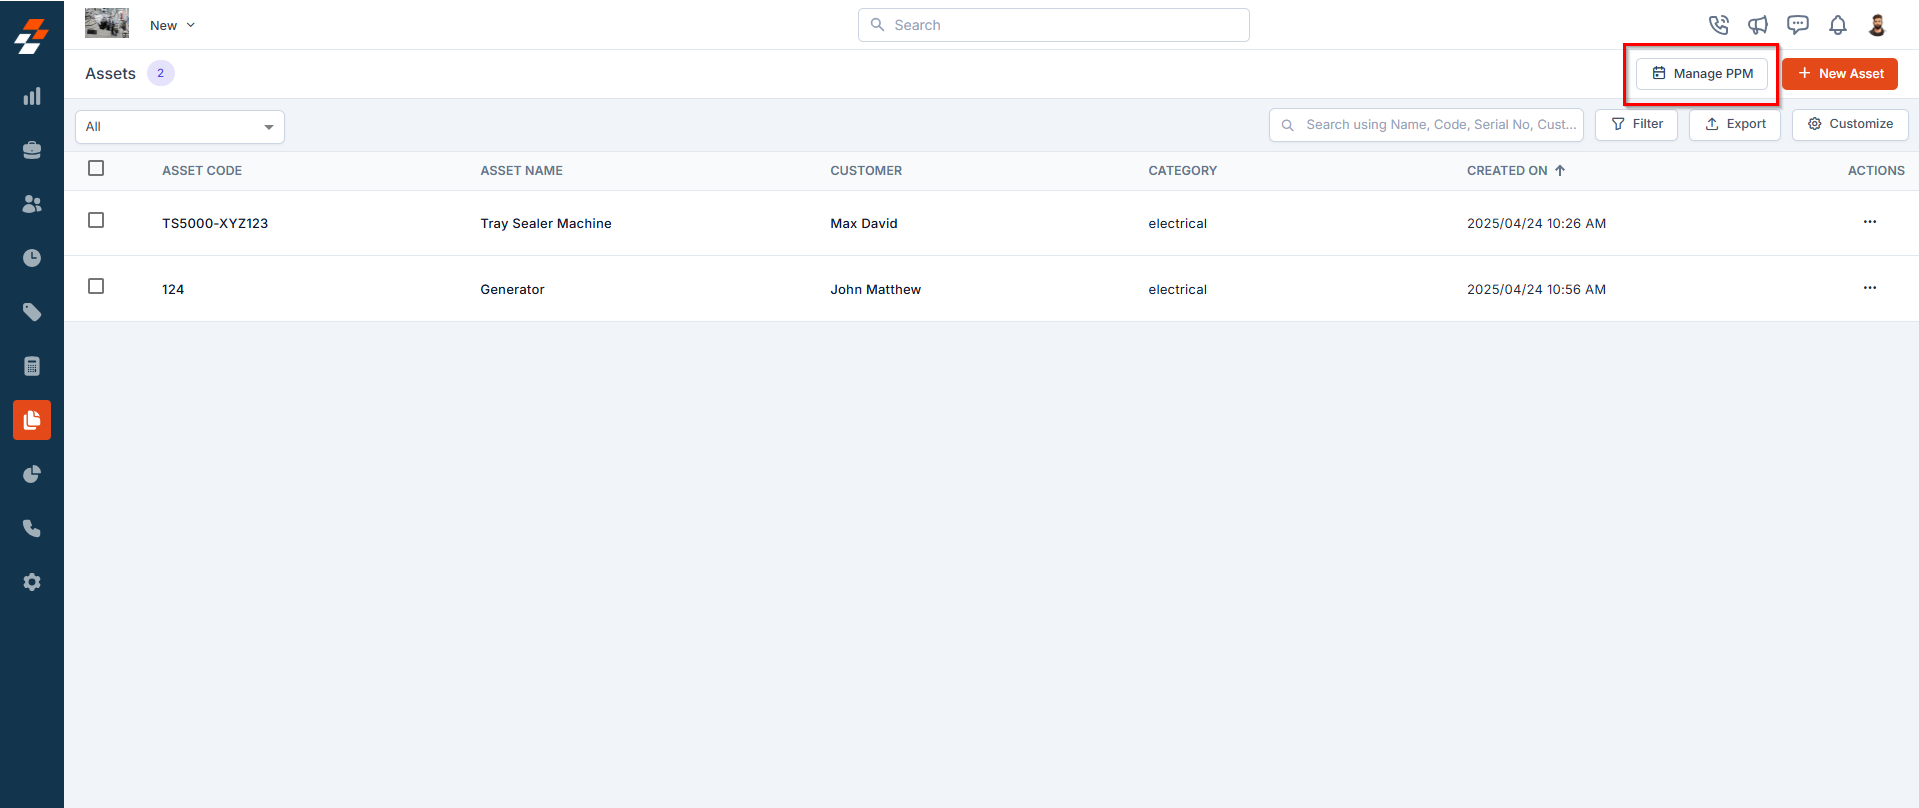
New asset creation
Quickly create new assets directly from the listing page, streamlining asset management. To do this, click the ”+ New Asset” button at the top right corner. For more detailed guide on how to create a new asset, see creating a new asset article.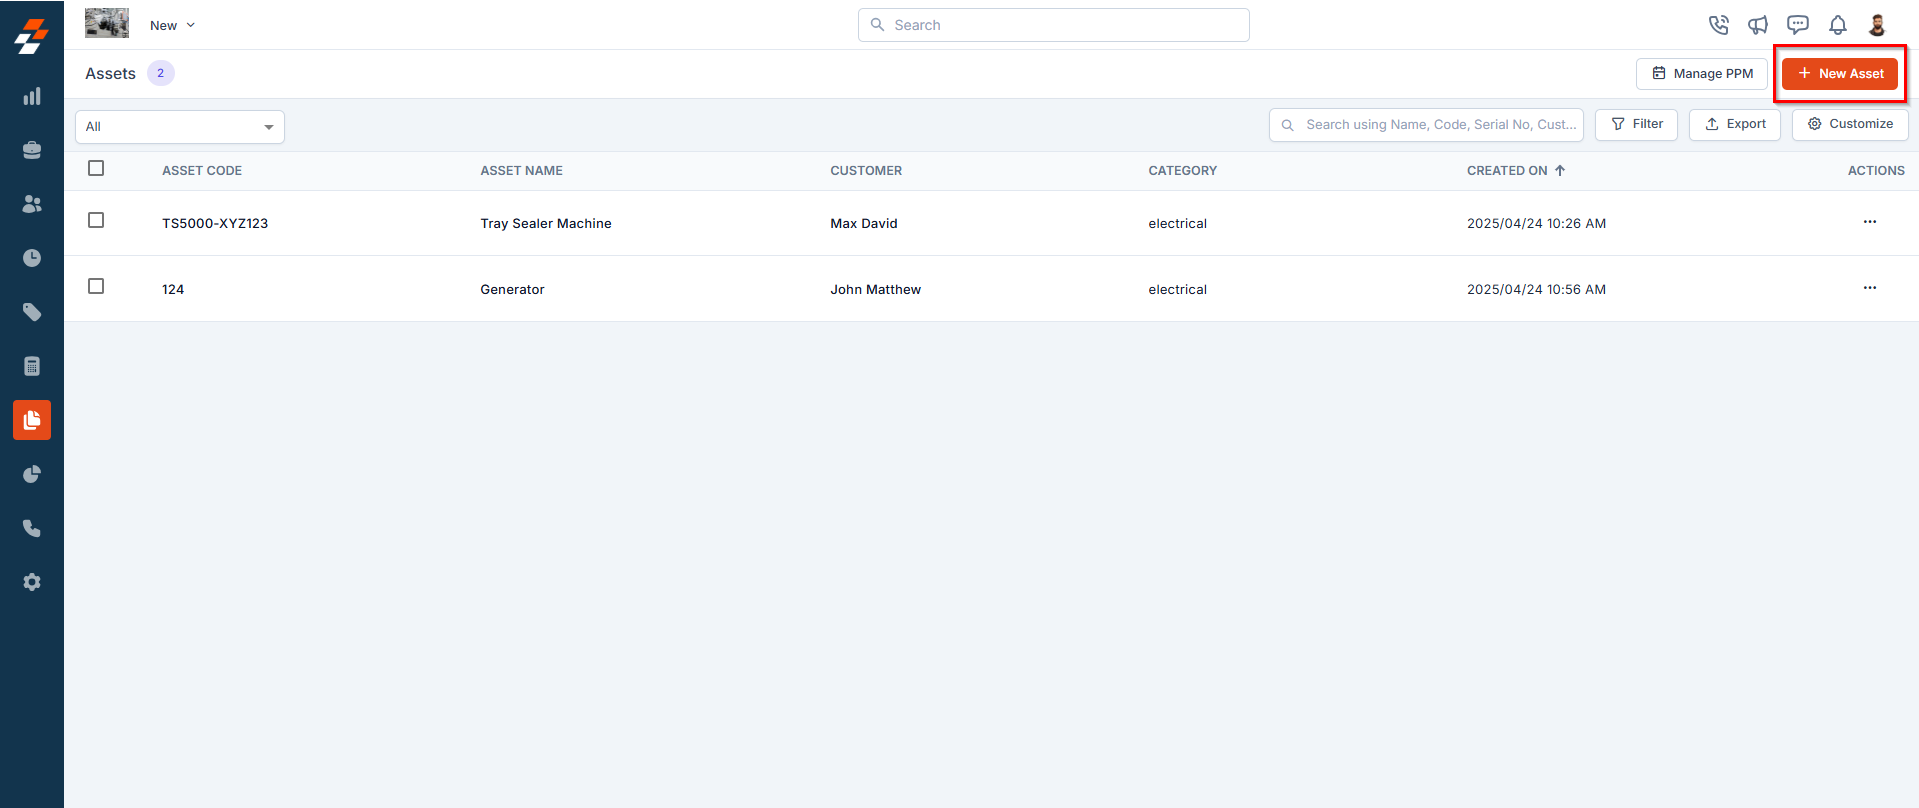
Filter assets
Refine your asset view by applying multiple filters based on predefined criteria such as Asset Type, Status, Location, Warranty Expiry, and more. Click here for more details on how to apply multiple filters and find specific assets quickly.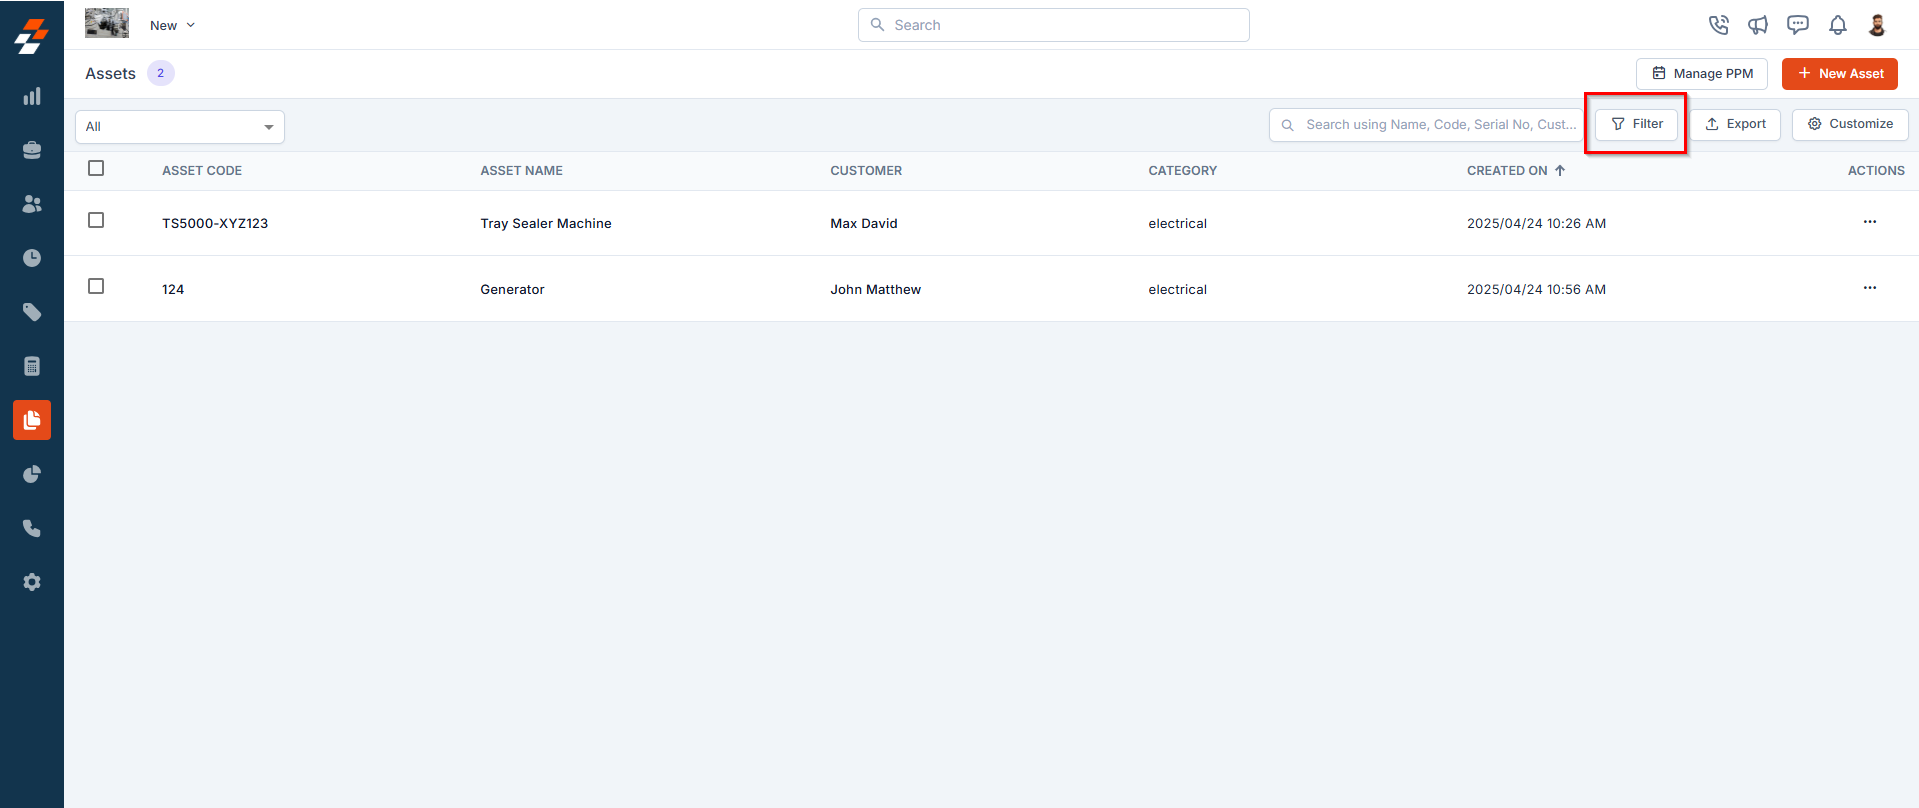
Managing Asset Details
Once an asset is created or accessed from the listing page, the Asset Details Page becomes your central hub for managing its lifecycle. The page follows a three-column layout, the left panel displays the asset’s primary details, while the right panel provides contextual insights and quick actions for efficient asset management.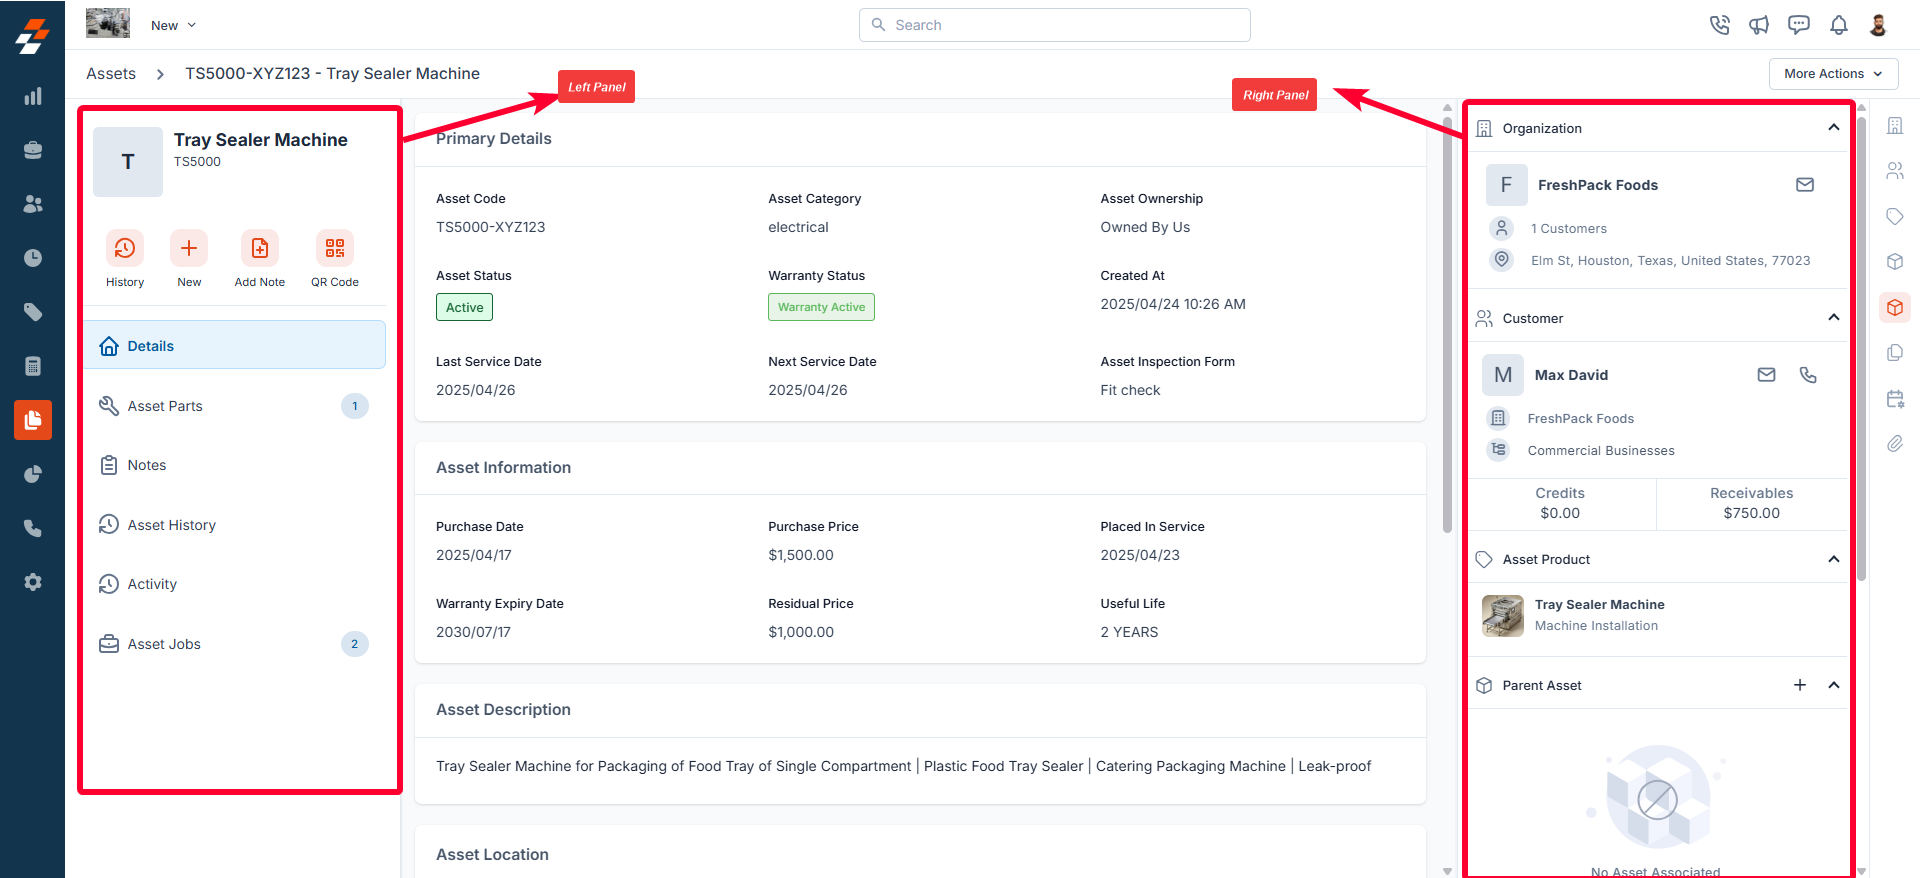
Left panel
The left panel contains asset-related details such as the asset name and code. Below this, you will find the quick actions bar, which provides contextual action buttons, including options to view the history of performed actions, create a new job or project, add notes, and view the asset’s QR code (which can be printed and affixed to the physical asset for tracking and identification purposes). From here, you also have quick access to view information such as asset details, associated parts, notes, history, activity, and jobs.View history
View history
Use the ” History” button to view a chronological log of all actions performed on the asset. This includes Status updates (e.g., asset activation, deactivation, or maintenance), Job and project associations, Parts added, and more.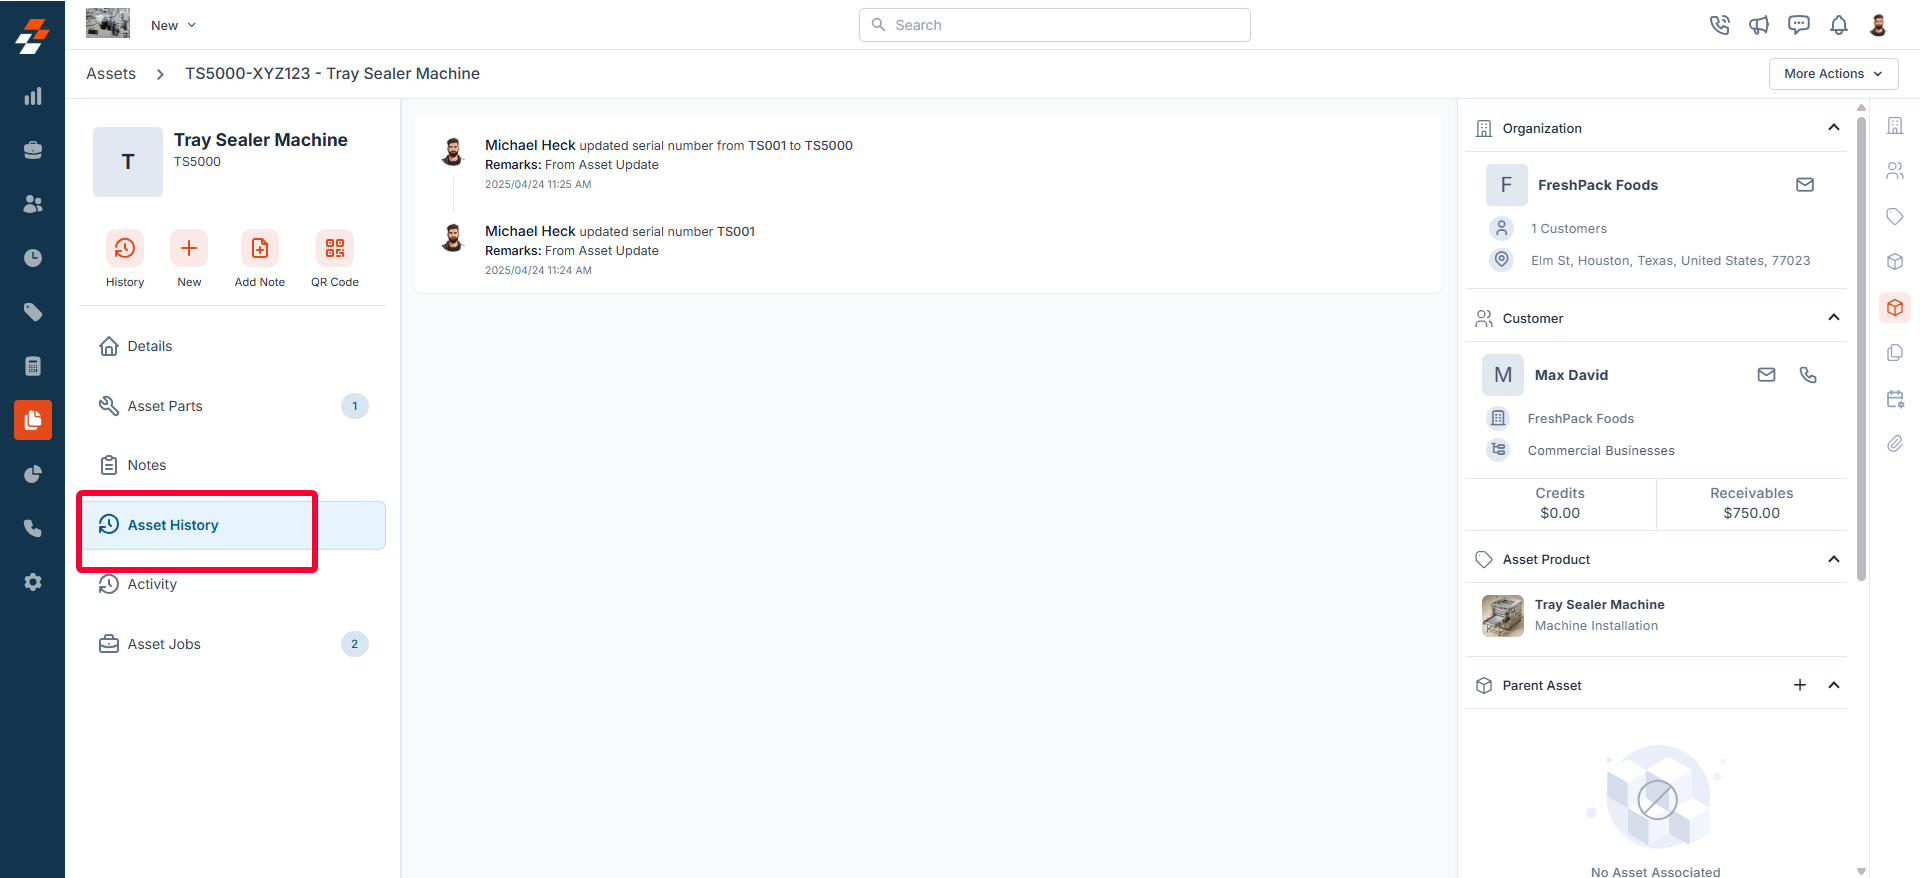

Create new job/project
Create new job/project
Use the “+ New” button to create a new job or a project for the asset, if required. 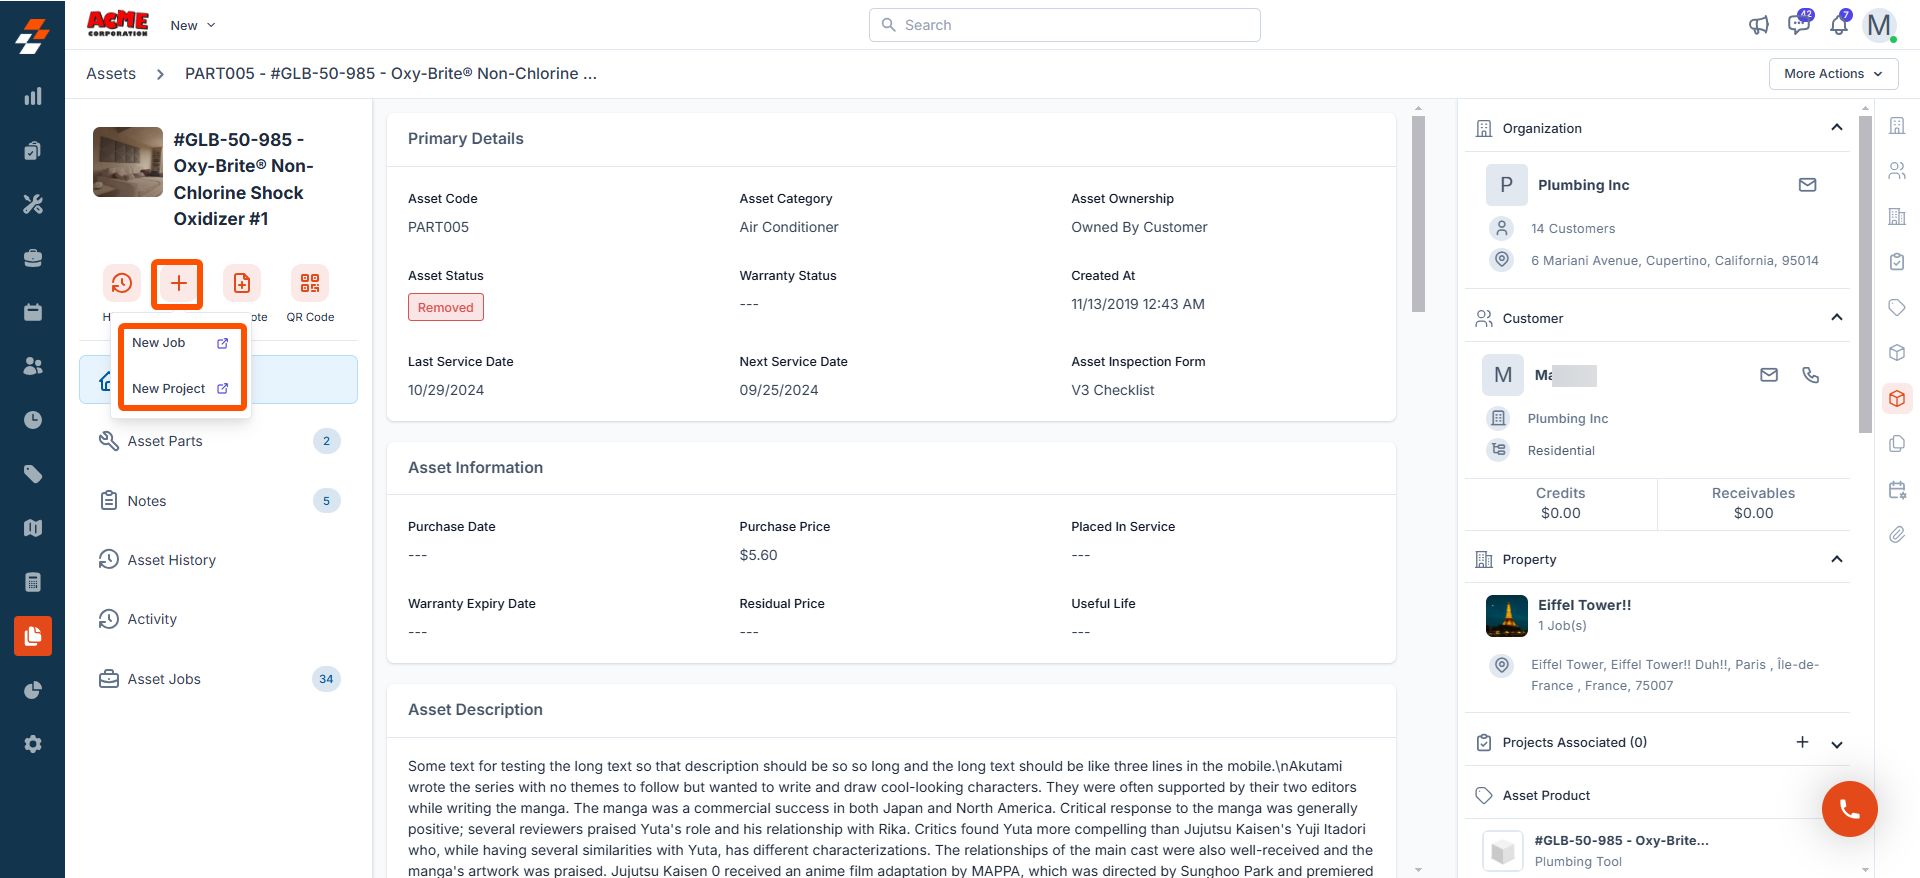

- For step-by-step instructions on how to create a new job, see the Creating a new job article.
- For step-by-step instructions on how to create a new project, see the Creating a new project article.
Add notes
Add notes
Use the ”+ Add Note” button to create a new note. Notes are comments or information added to an asset over its course. Your notes can be anything ranging from a simple text reminder to an image of the item, service, video, or document. All added notes can be viewed under the Notes Section. 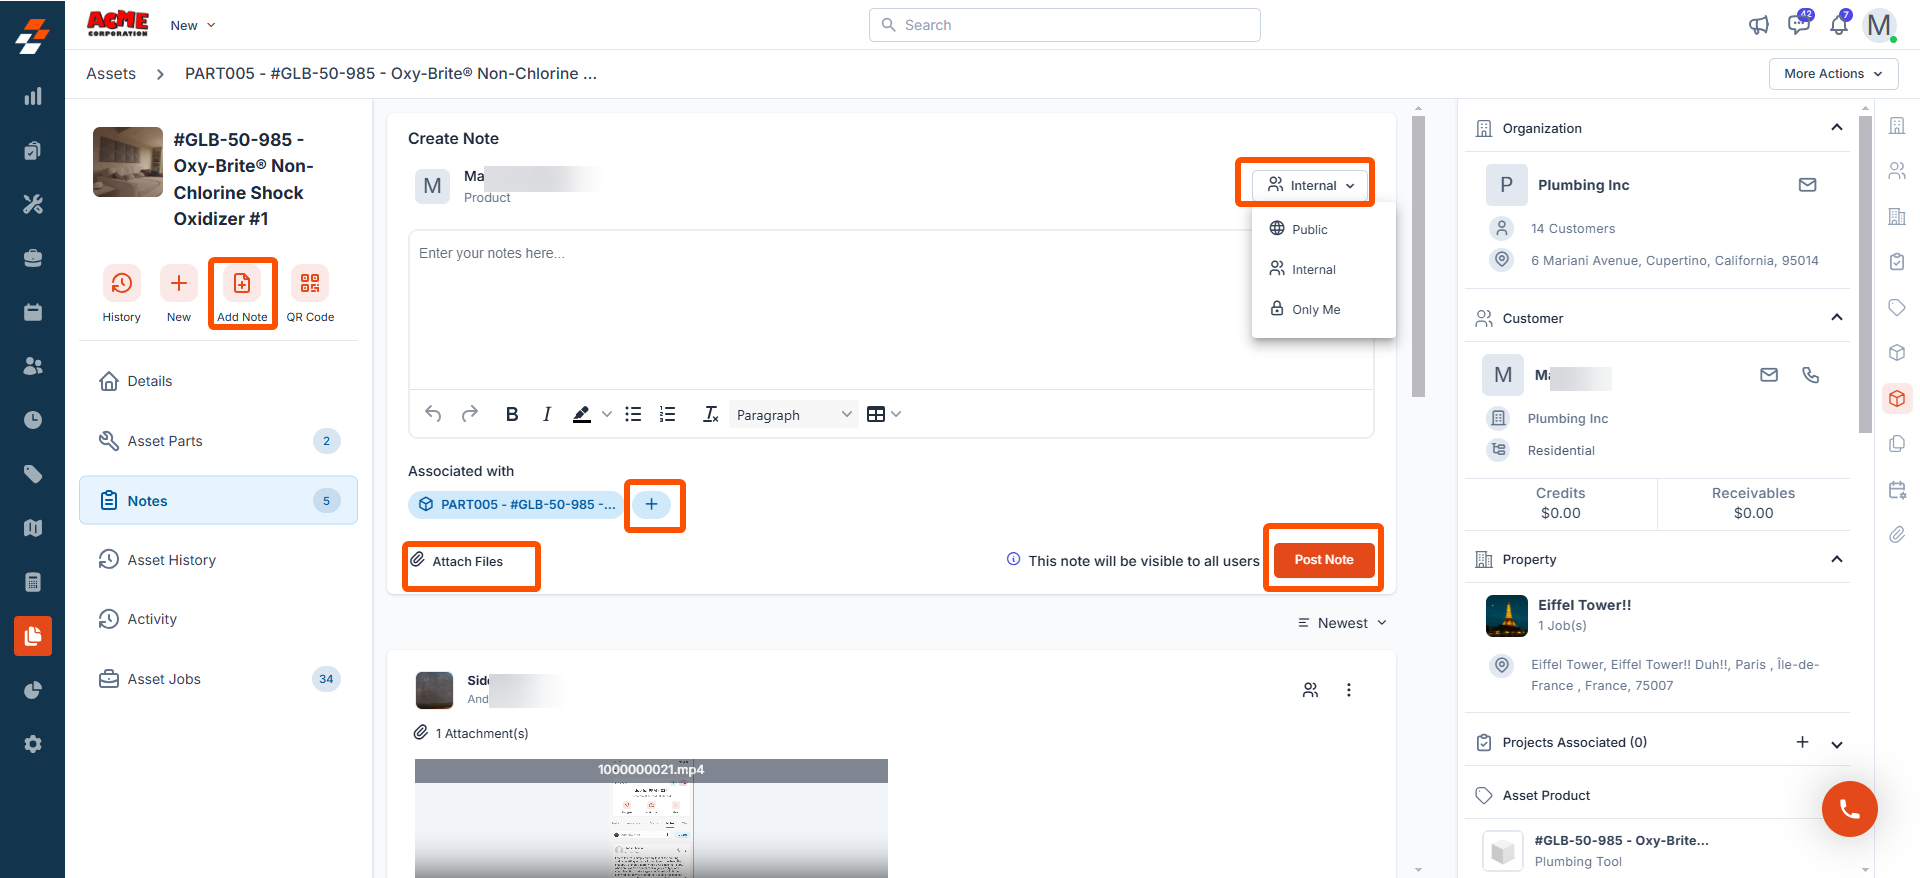

View & print QR code
View & print QR code
Use the ” QR Code” button to view and print the asset’s QR code, which can be attached to the physical asset for streamlined tracking and identification. 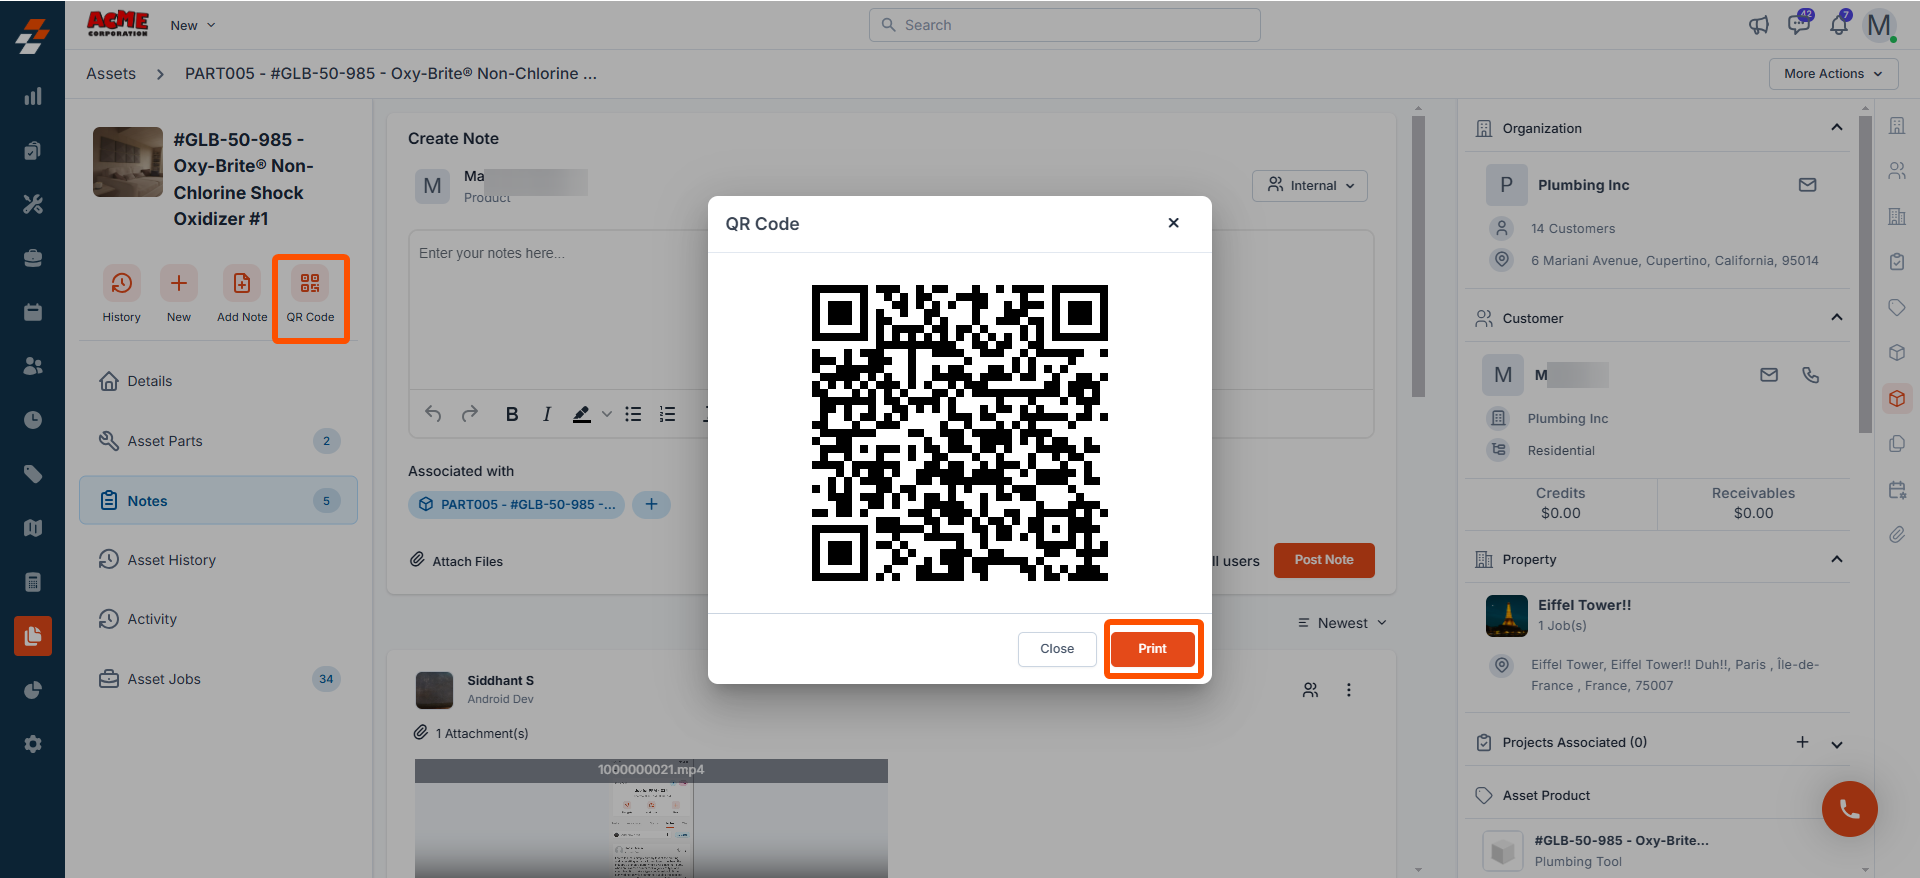

View asset details
View asset details
The asset details section offers a comprehensive overview of the asset, including its code, ownership, status, warranty status, last service date, purchase date, price, location, description, and other relevant details. 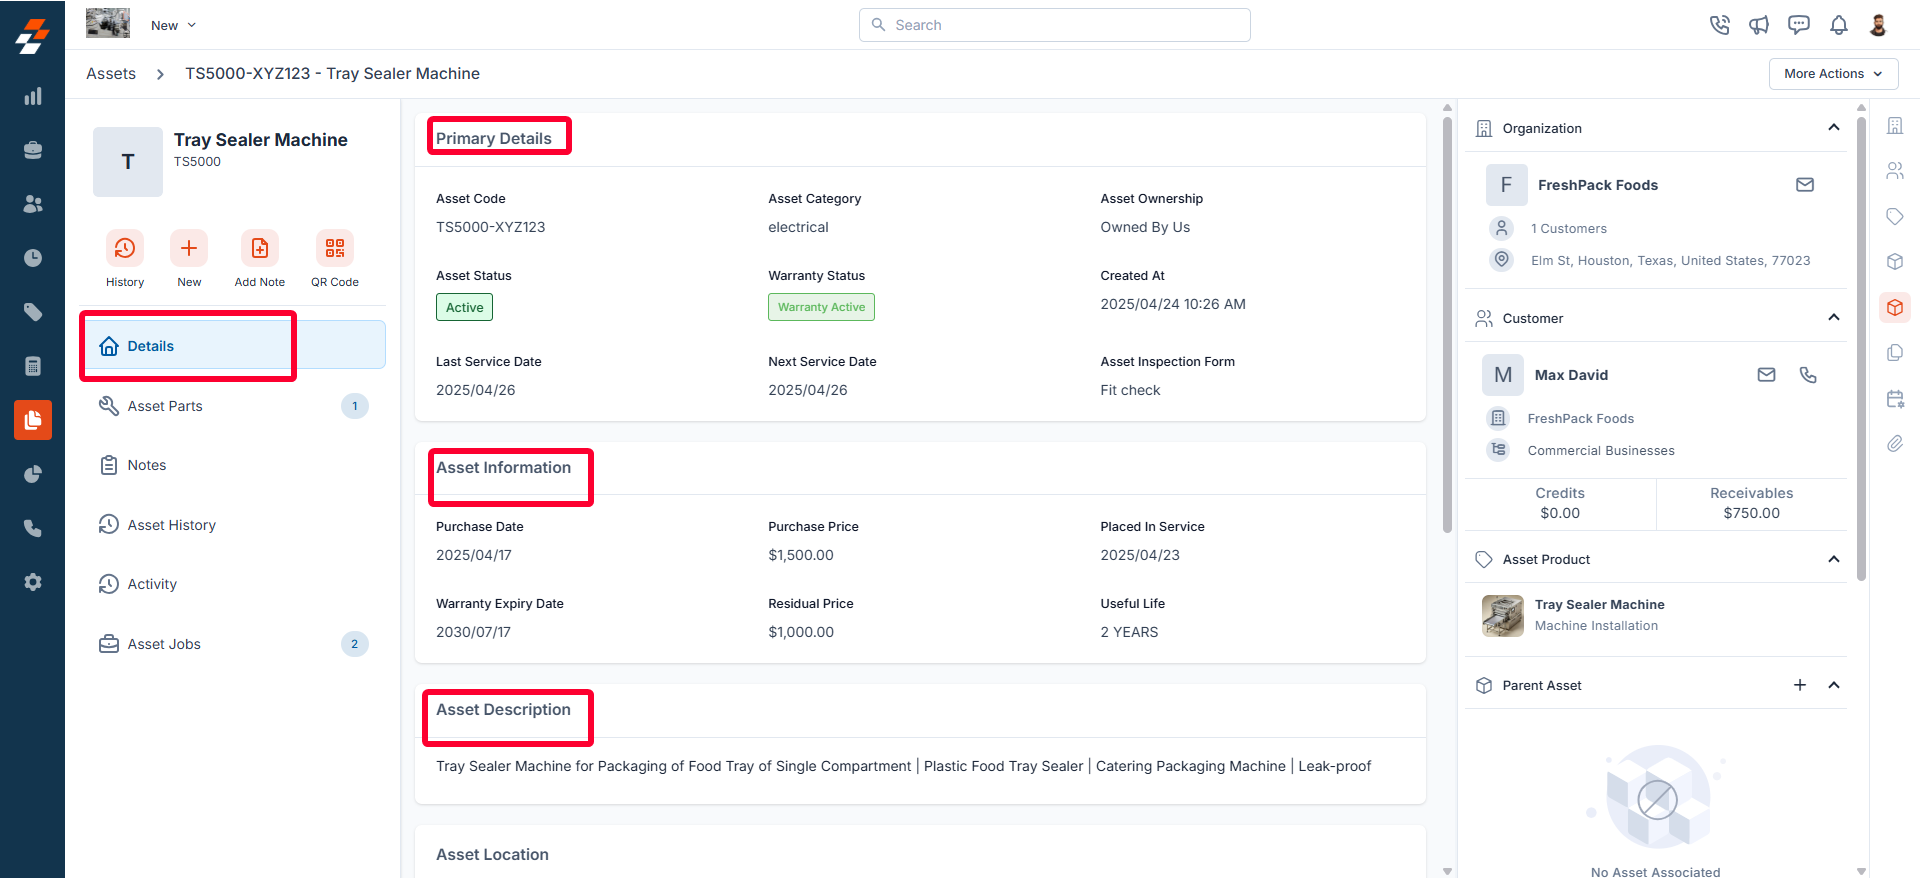

View asset parts
View asset parts
-
This section allows you to view all the parts associated with the asset. To add new parts to the asset, click the ”+ Add item” button at the top right of the page.
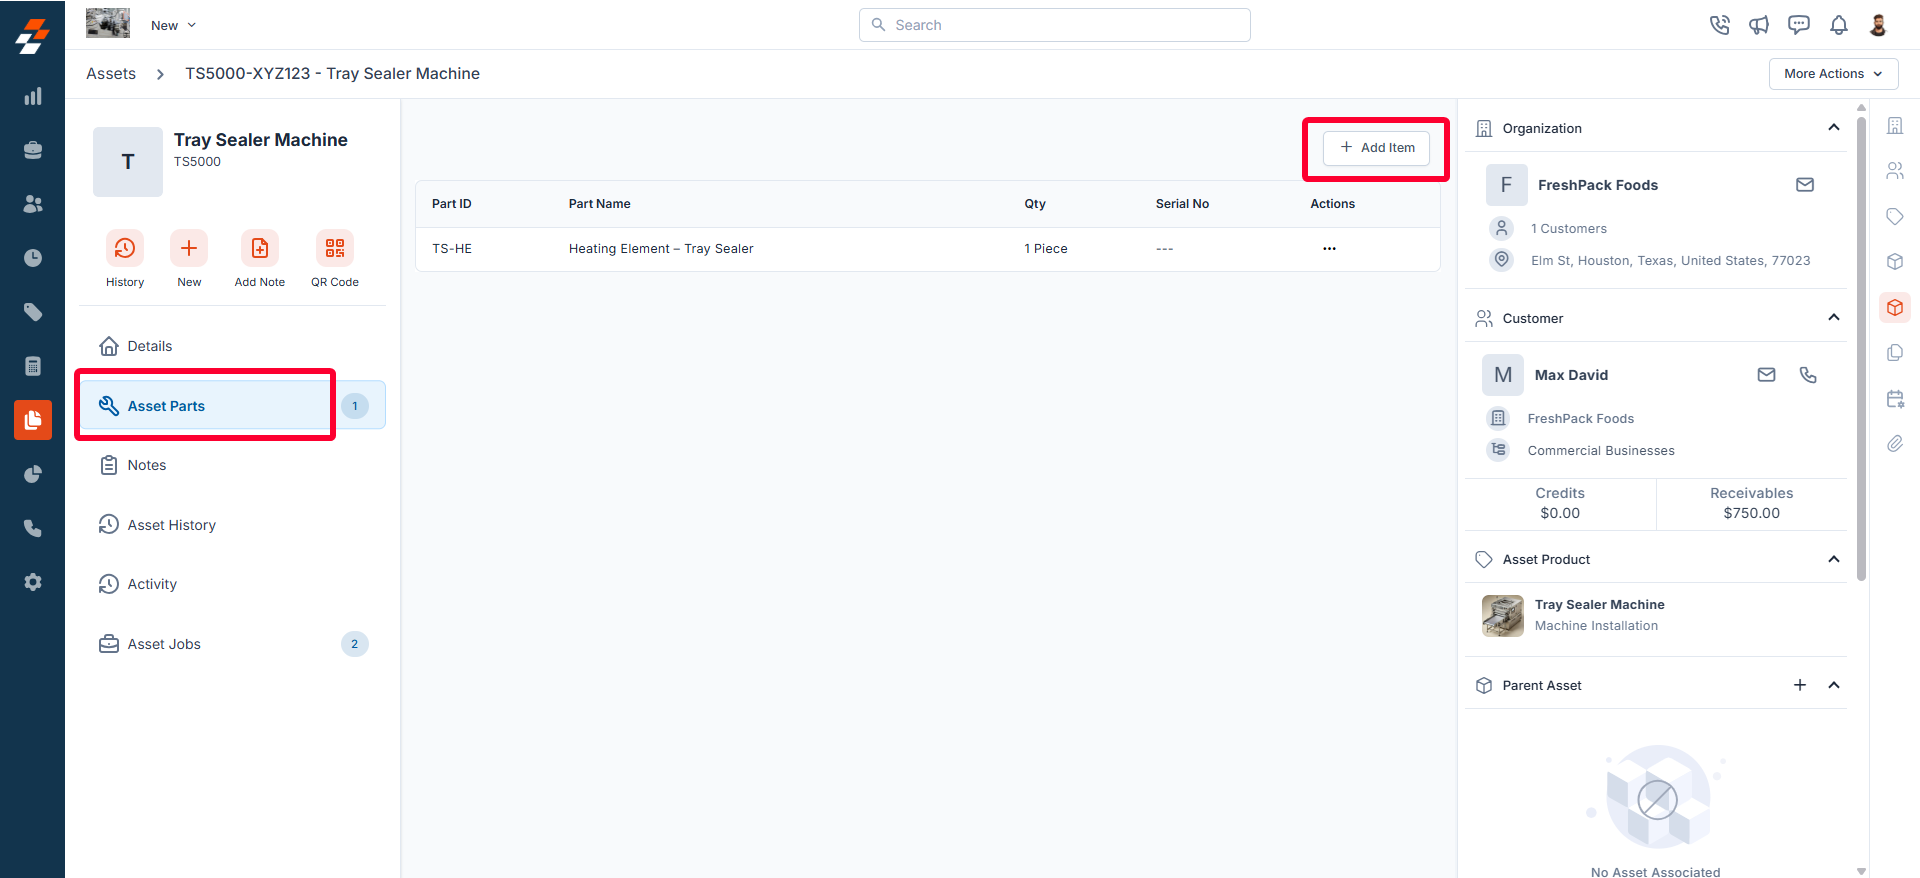
- Select the parts with quantity and click “Add Part.” The parts will be updated successfully to the asset.
View notes
View notes
- The Notes section allows you to view, add, and manage notes related to the asset. From here, you can use the rich text editor to add any new note. To tag a user to a note, you can use @ and key in the name to tag the user.
- You can attach multimedia files such as images, audio, video, and documents related to the contract. Use the “+” option to associate the notes with other modules such as customer, property, etc.
- You can also choose one of the following options for how you’d like the notes to be visible:
- Public- This privacy setting will help you make the note public to all, including the customer.
- Internal(Default) – This privacy setting will help you make the note visible to all your Zuper users in your account.
- Only me– This note is visible only to the user who created the note.

- Once the notes have been posted, you can sort them based on the newest or oldest.
Note: Asset notes can be edited or deleted only by the user who created them.
View asset history
View asset history
The asset history section allows you to view a chronological log of all actions performed on the asset. 

View activity
View activity
The activity section on the details page displays a log or timeline of all actions and updates related to this asset, helping you stay informed about recent changes and track the asset’s status. 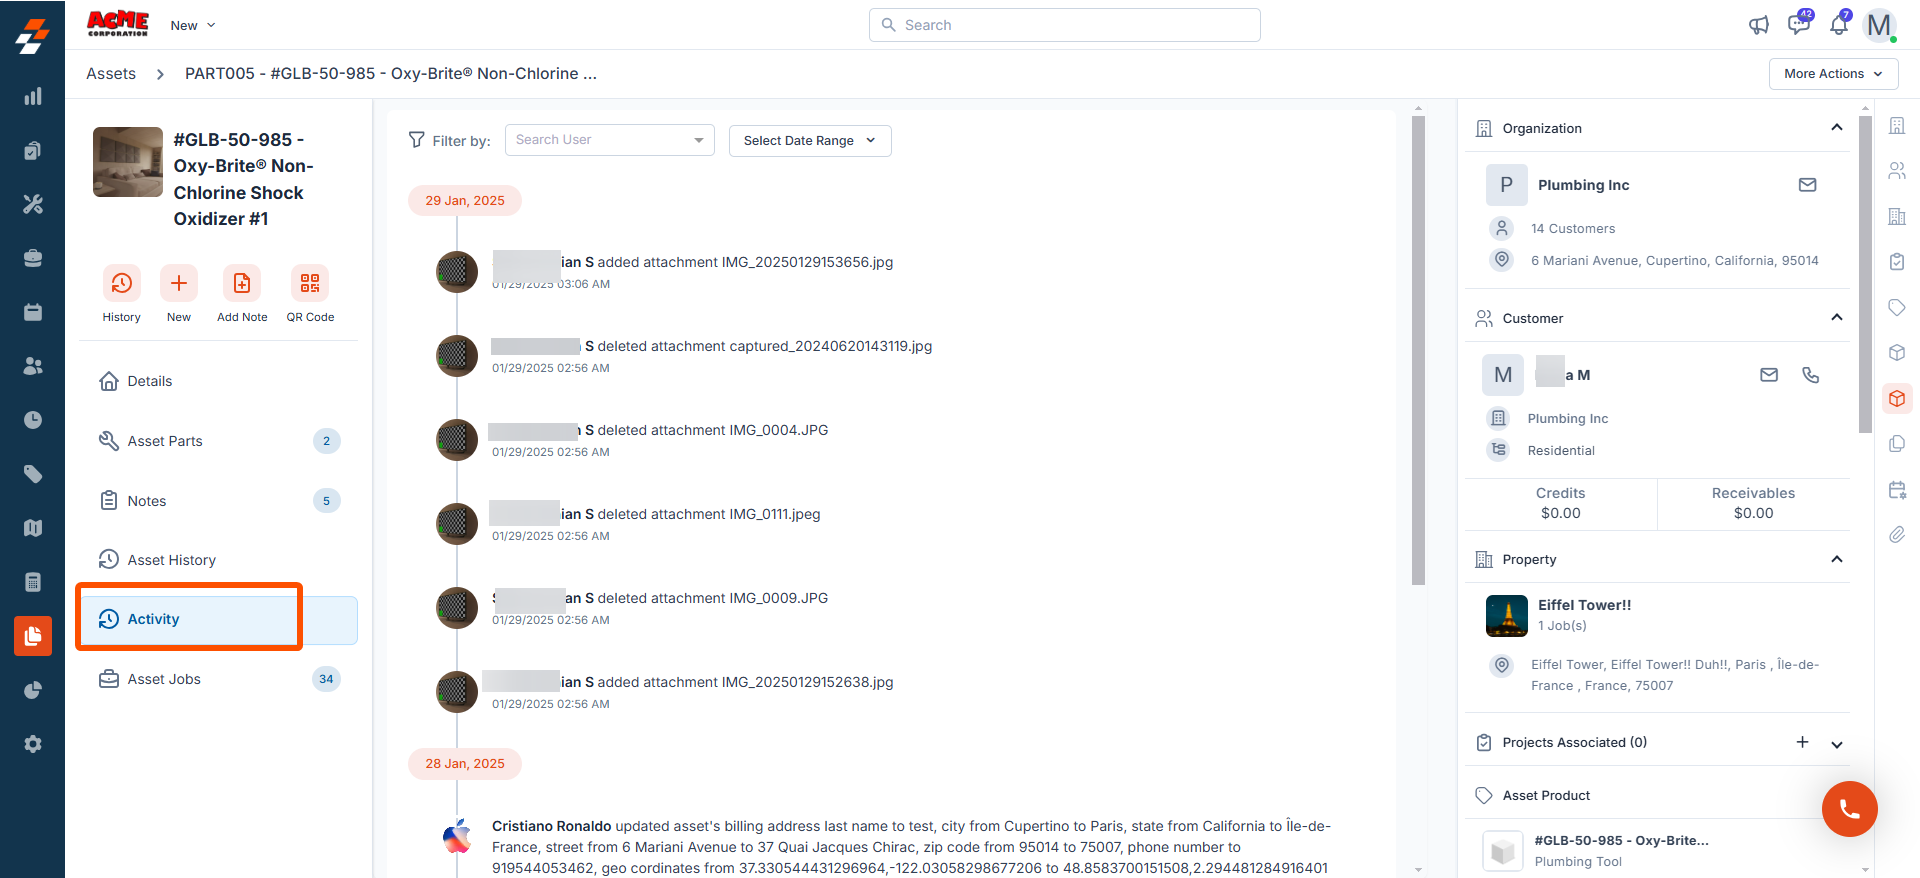

View asset jobs
View asset jobs
The asset jobs section allows you to view all jobs associated with the asset. This includes new, ongoing and completed jobs, providing you with a comprehensive overview of job statuses, schedule, and related details. 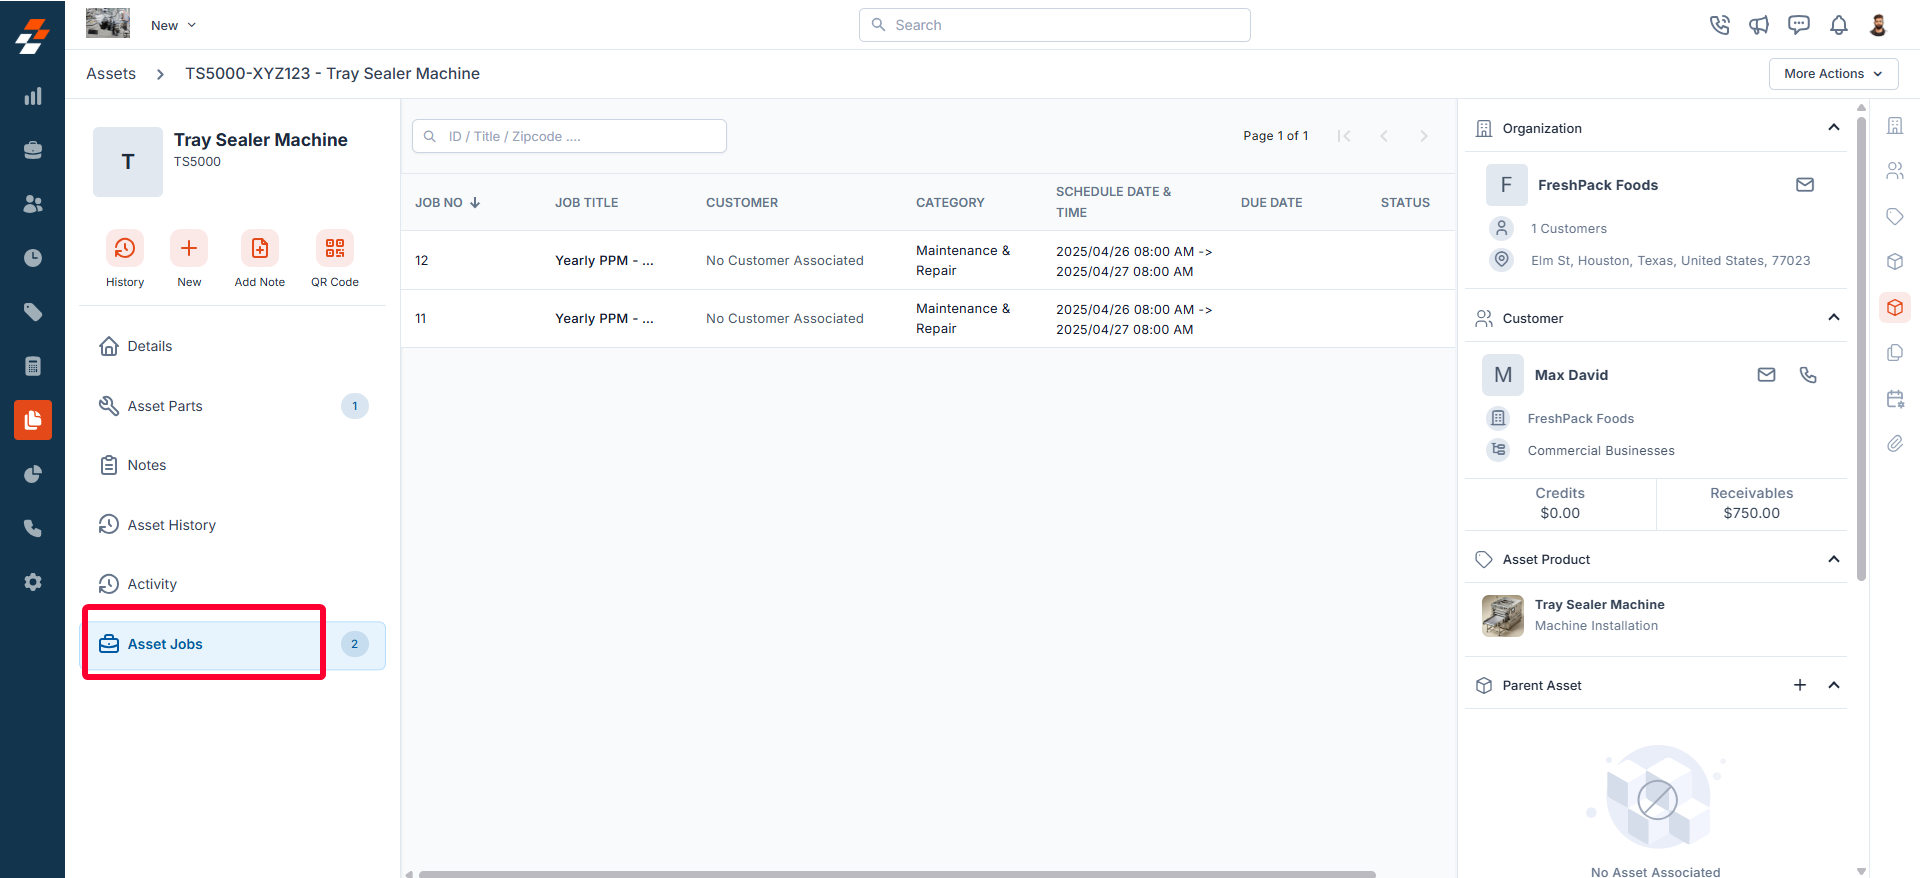

Right panel
In the right panel, view the organization or contact information associated with the asset, and manage its links to various modules, such as properties, projects, contracts, organizations, PPM, and more. To associate a module, click the “+” icon next to the desired module.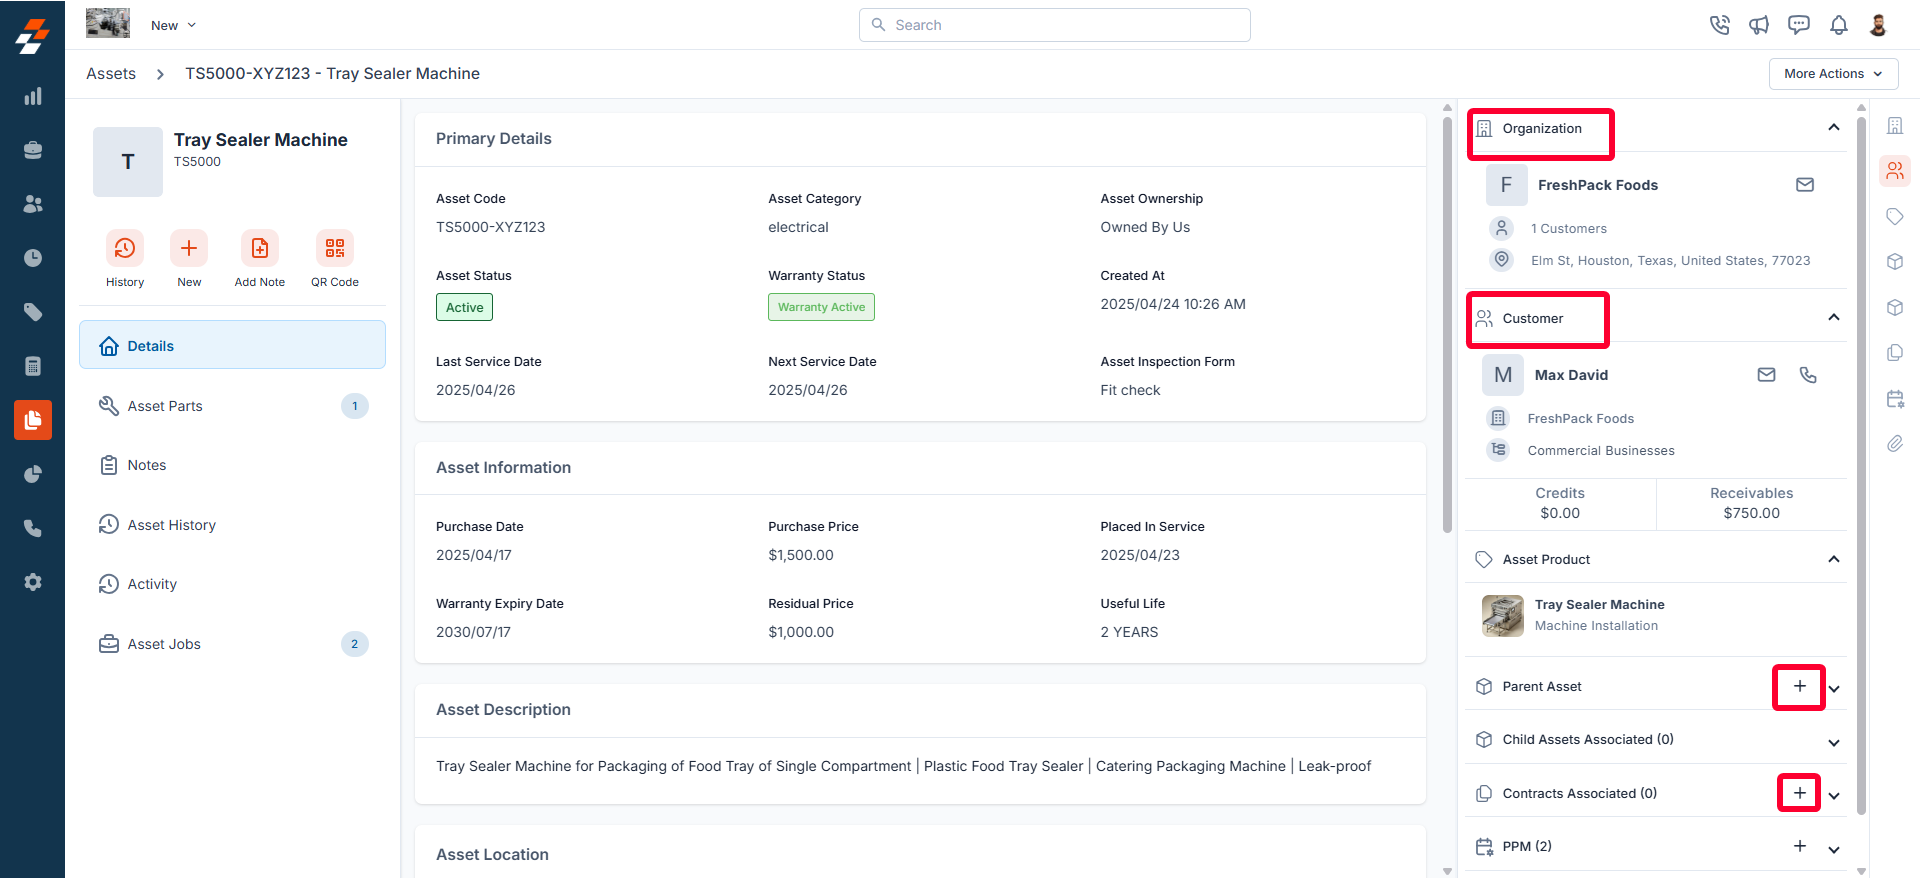
More actions
Managing assets doesn’t stop at viewing details—you can perform various actions such as editing, cloning, printing, sharing, and deactivating the asset. To do this, click the “More Actions” button at the top right corner of the page and select the desired option.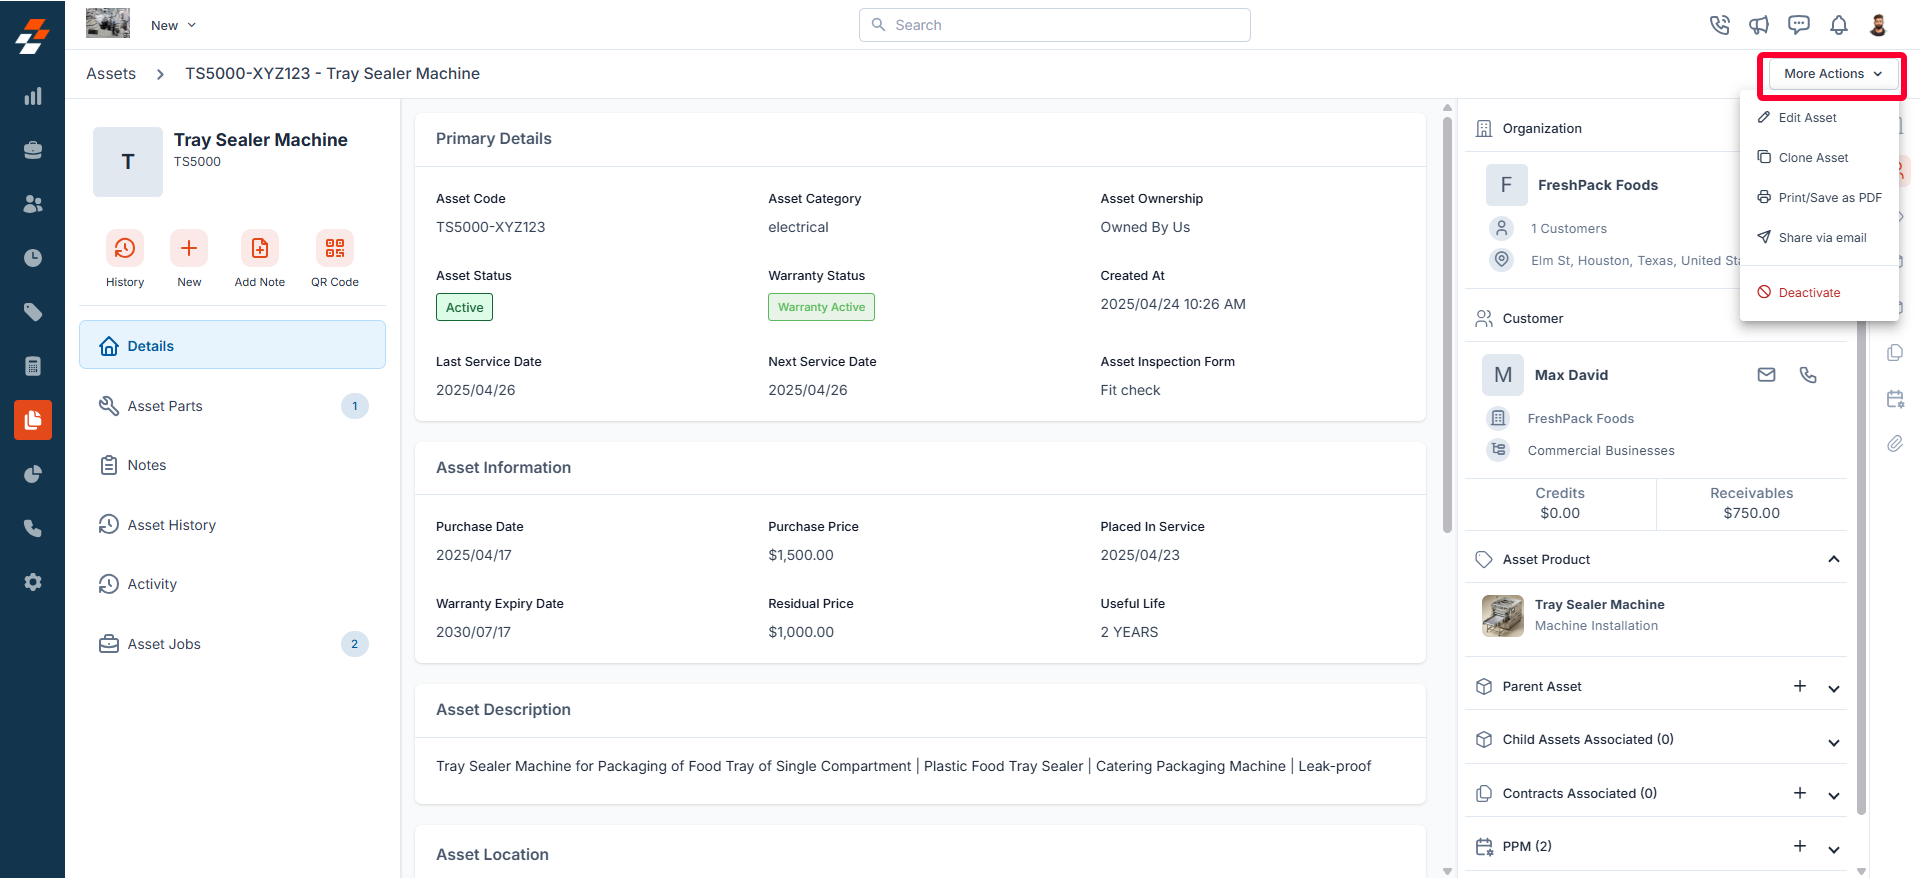
Edit Asset
Edit Asset
Use the Edit Asset option to modify existing asset details as needed.
Clone
Clone
Use the Clone Asset option to quickly create a replica of an existing asset, saving time. The current asset details will be duplicated onto a new asset page, where you can make any necessary edits before saving.
Print/Save as PDF
Print/Save as PDF
Use this option to print the asset details or save them as a PDF for documentation purposes.
Share via Email
Share via Email
Deactivate
Deactivate
Use the Deactivate option to disable the asset. Once deactivated, you will have the option to delete the asset, if needed.