Navigation: Contracts and Assets Management module -> Assets → + New Asset
To create a new asset
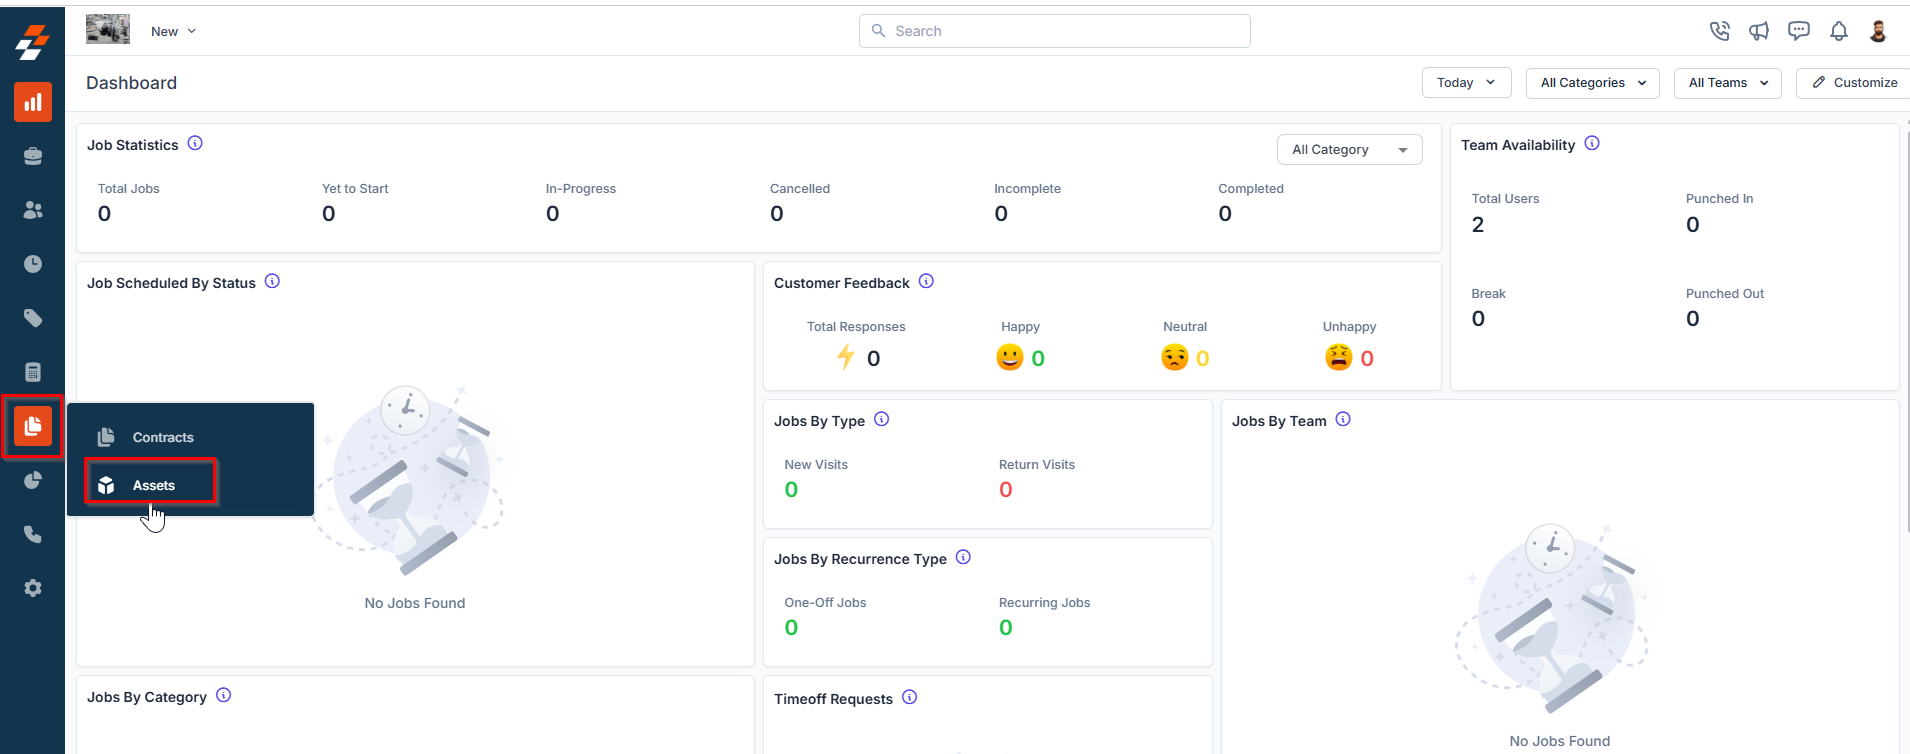
- Select the “Contracts and Assets Management” module from the left navigation menu and choose “Assets.”
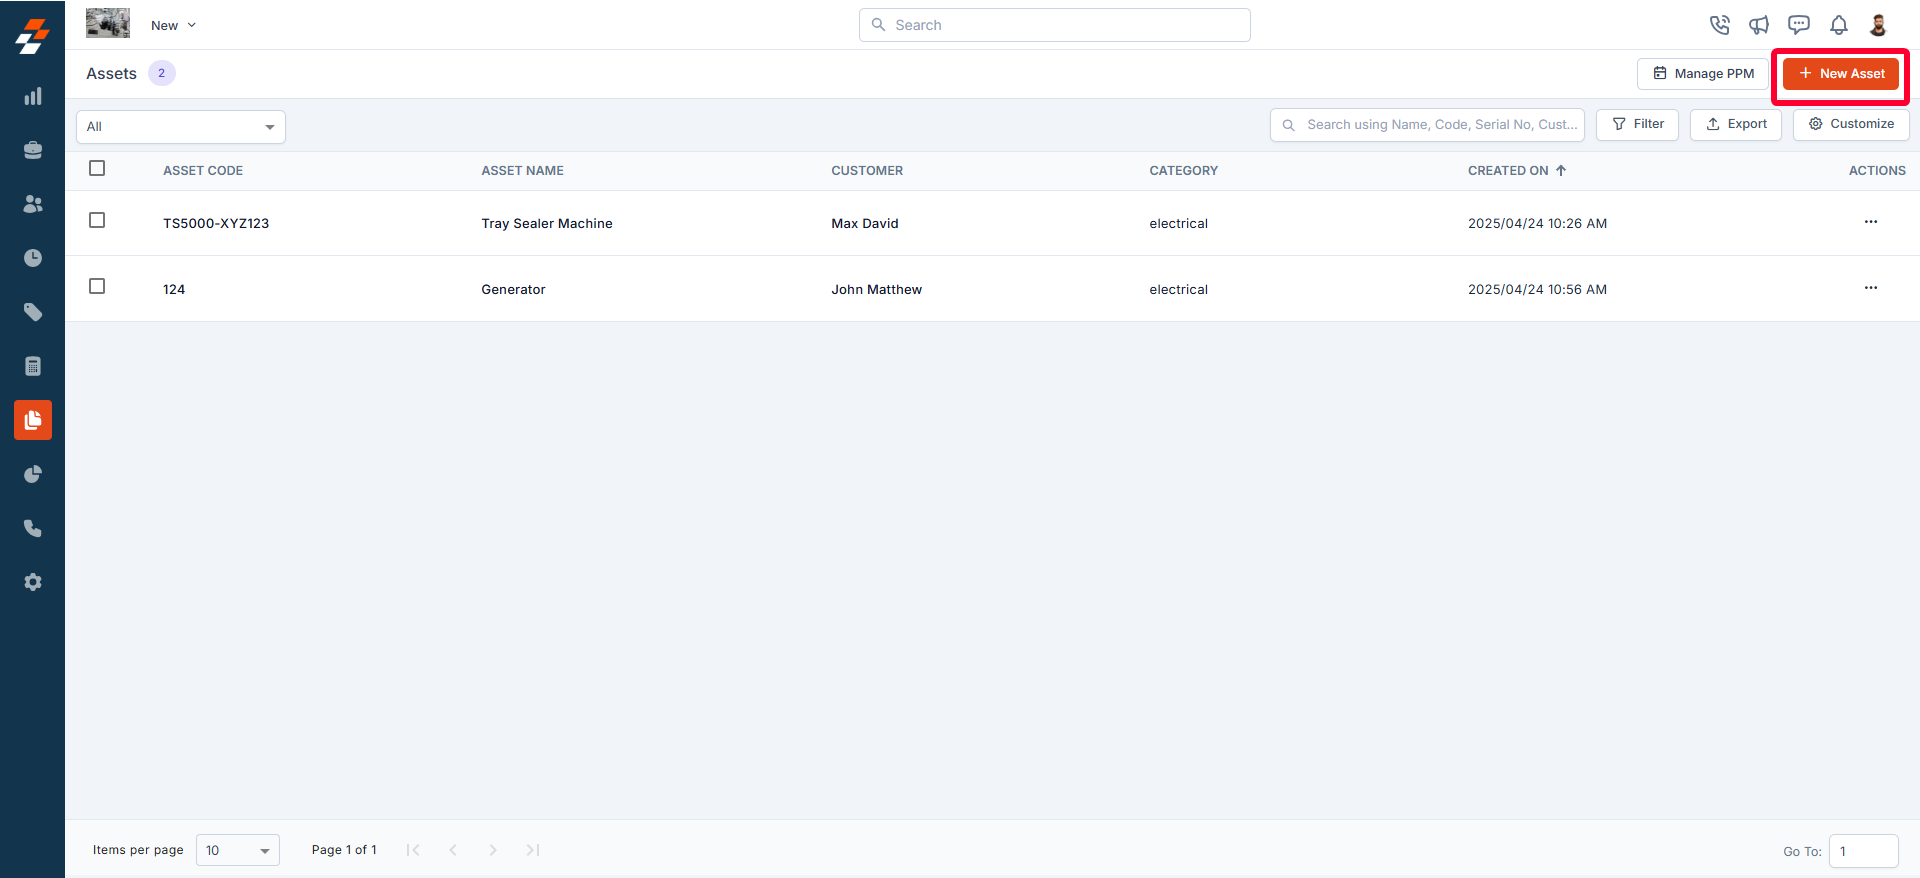
- On the assets listing page, you will see an overview of existing assets, including Asset Code, Asset Name, Asset status, and more.
- Click the “+ New Asset” button at the top right corner of the page to begin creating a new asset.
- The new asset creation page appears in a user-friendly layout, making data entry easier:
A. Primary Details
- Product: Select the product you want to distribute to a customer from the inventory. The asset code and name will be auto-filled based on the selected product.
- Asset Code(Mandatory): It is ideally the product model used to identify the kind of asset. This field is auto-filled based on the selected product.
- Asset Name(Mandatory): The name of the asset. This field is auto-filled based on the selected product.
- Asset Serial Number: A unique identifier (letters, digits, or dashes) used for business-owned or customer-owned assets.
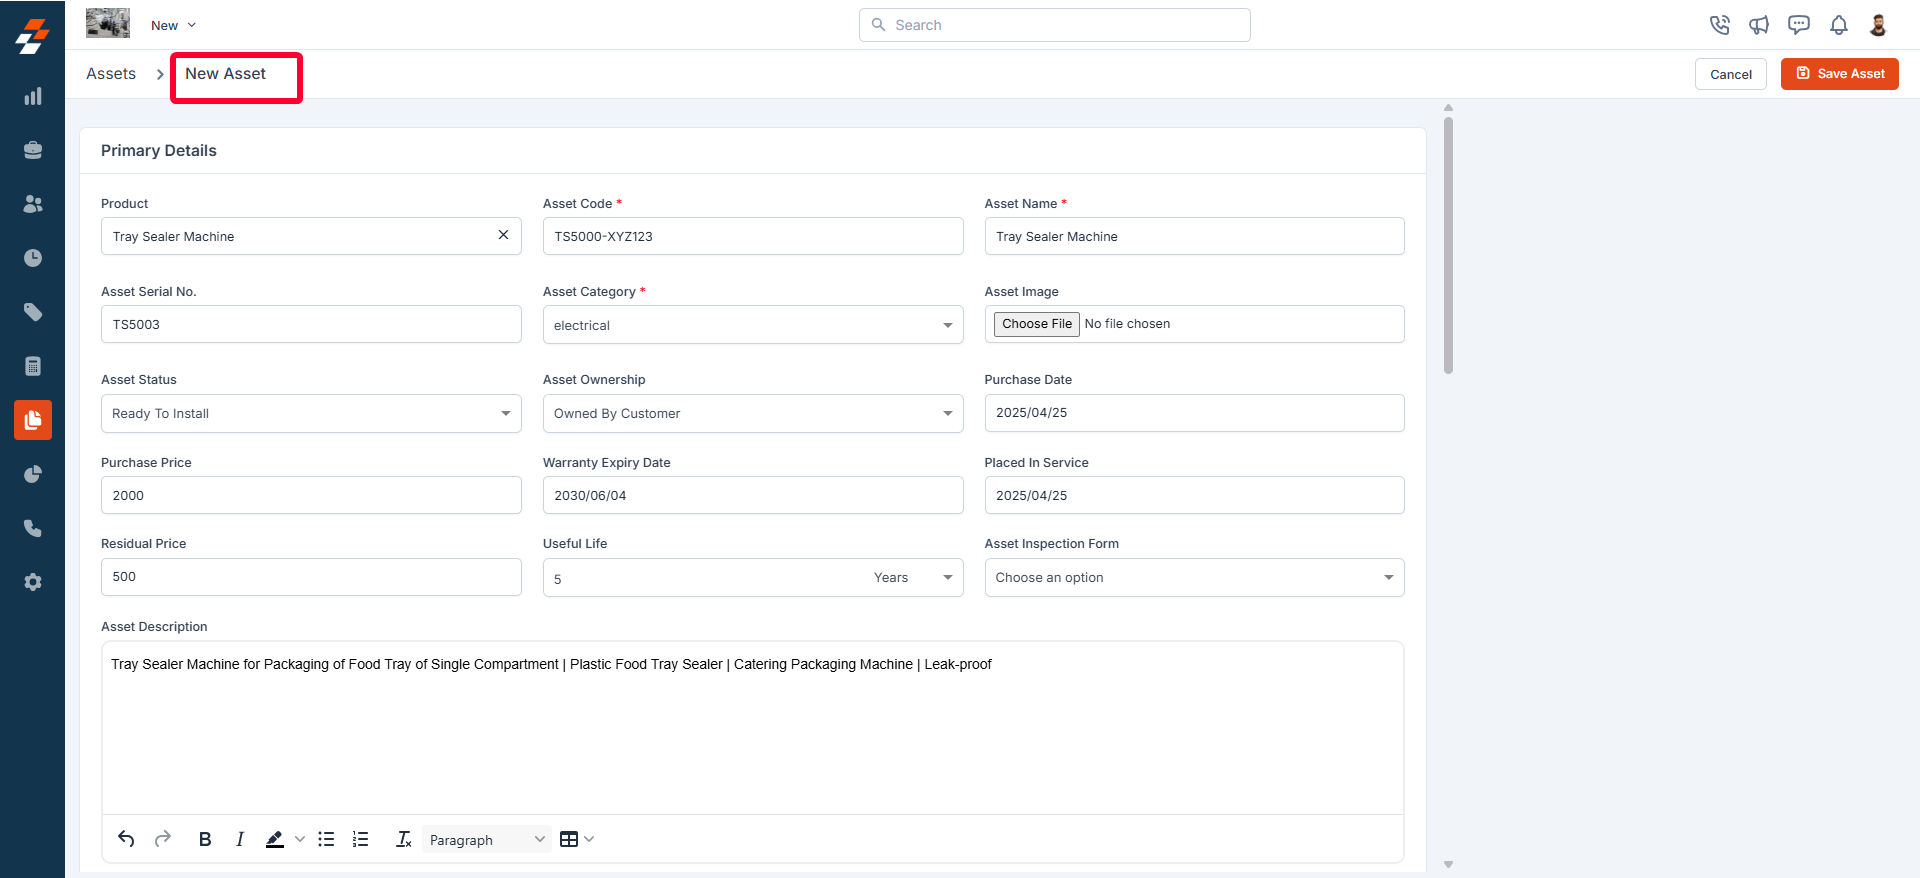
- Asset Category(Mandatory): The category to which the asset belongs.
- Asset Image: Upload an image to help identify the asset.
- Asset Status: The current status of the asset.
- Asset Ownership: Indicates whether the asset is customer-owned or company-owned.
- Purchase Date: The date when the asset was purchased.
- Purchase Price: The actual purchase price of the asset.
- Warranty Expiry Date: The date when the asset’s warranty expires.
- Placed in Service Date: The date when the asset was put into service.
- Residual Price: The estimated remaining value of the asset.
- Useful Life: The expected duration the asset can be used (in days, months, or years).
- Asset inspection form: Select the asset inspection form from the dropdown menu. This is the checklist used by field technicians to assess an asset’s condition and record maintenance details.
- Asset Description: A brief summary of the asset.
B. Primary Information
Customer information includes details about the organization or customer associated with the asset. When entering customer information:- You can select an organization, a customer, or both.
- If the selected organization and customer are linked, their details will be auto-filled.
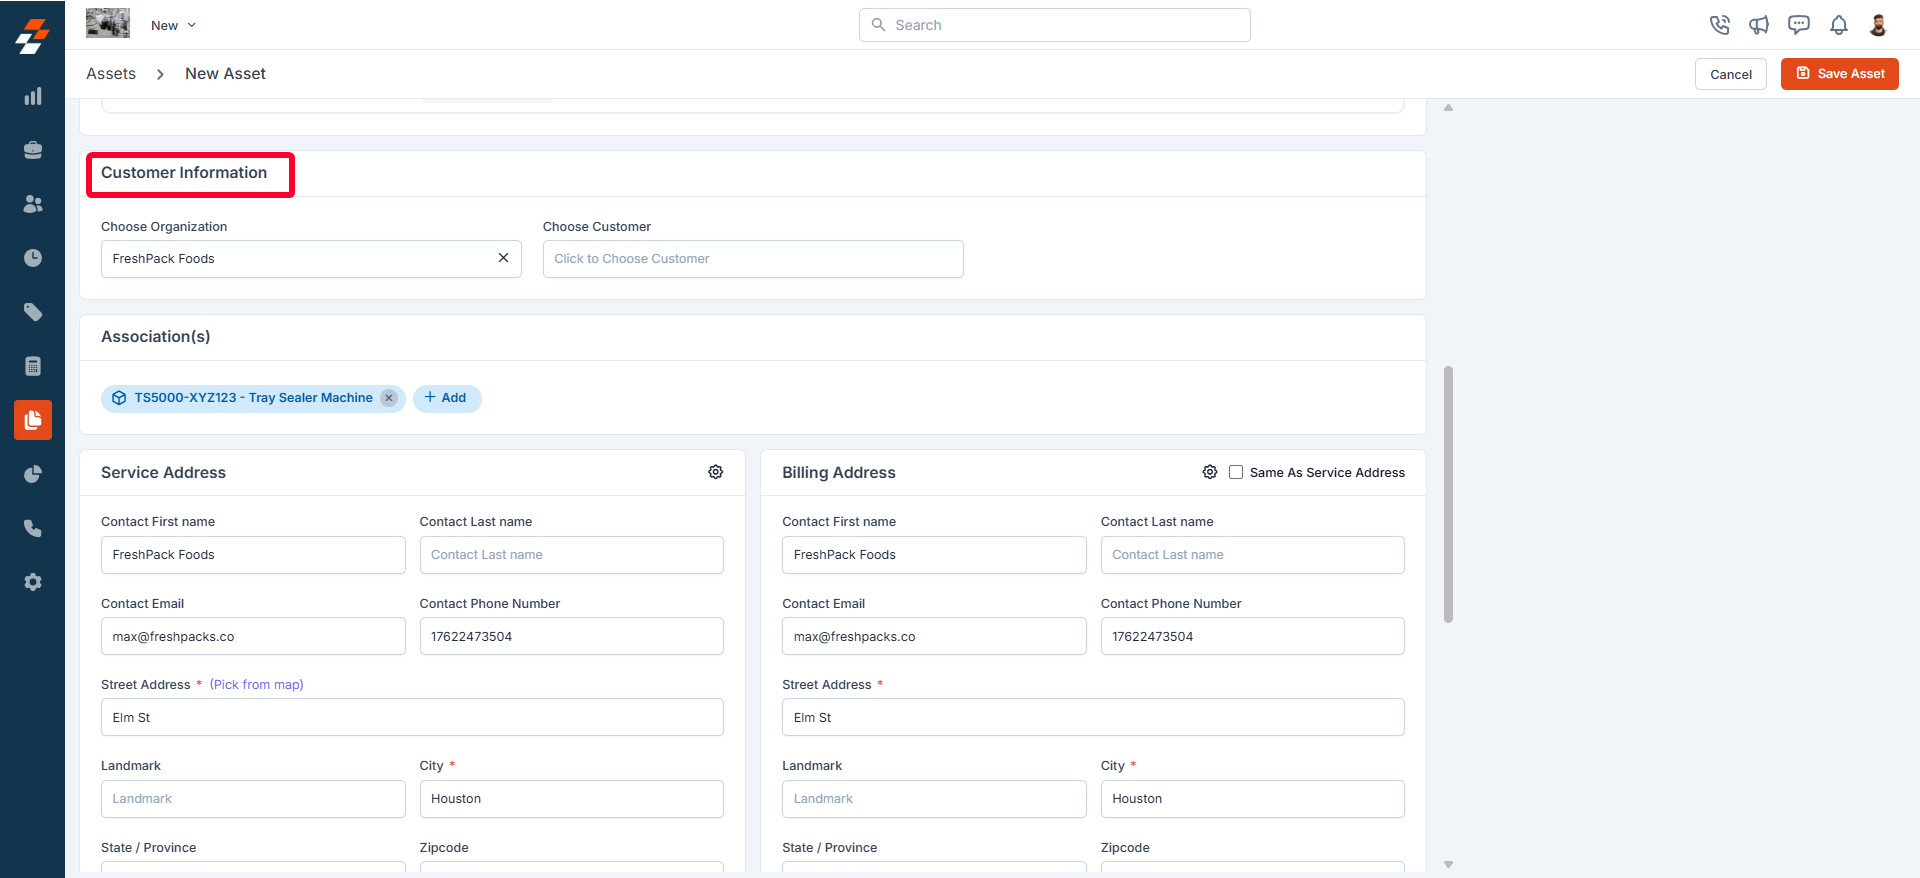
Note: Based on the customer or organization you’ve chosen, the service and billing address will be auto-filled. You can modify the address if needed.
C. Association(s)
You can also associate a property or parent asset with this new asset. To do this, click the ”+ Add” button, choose the property or parent asset as needed, and click “Proceed.”D. Service/Billing Address
The service or billing address indicates where the asset is provided. It is automatically filled based on the selected customer or organization, but you can change it if necessary.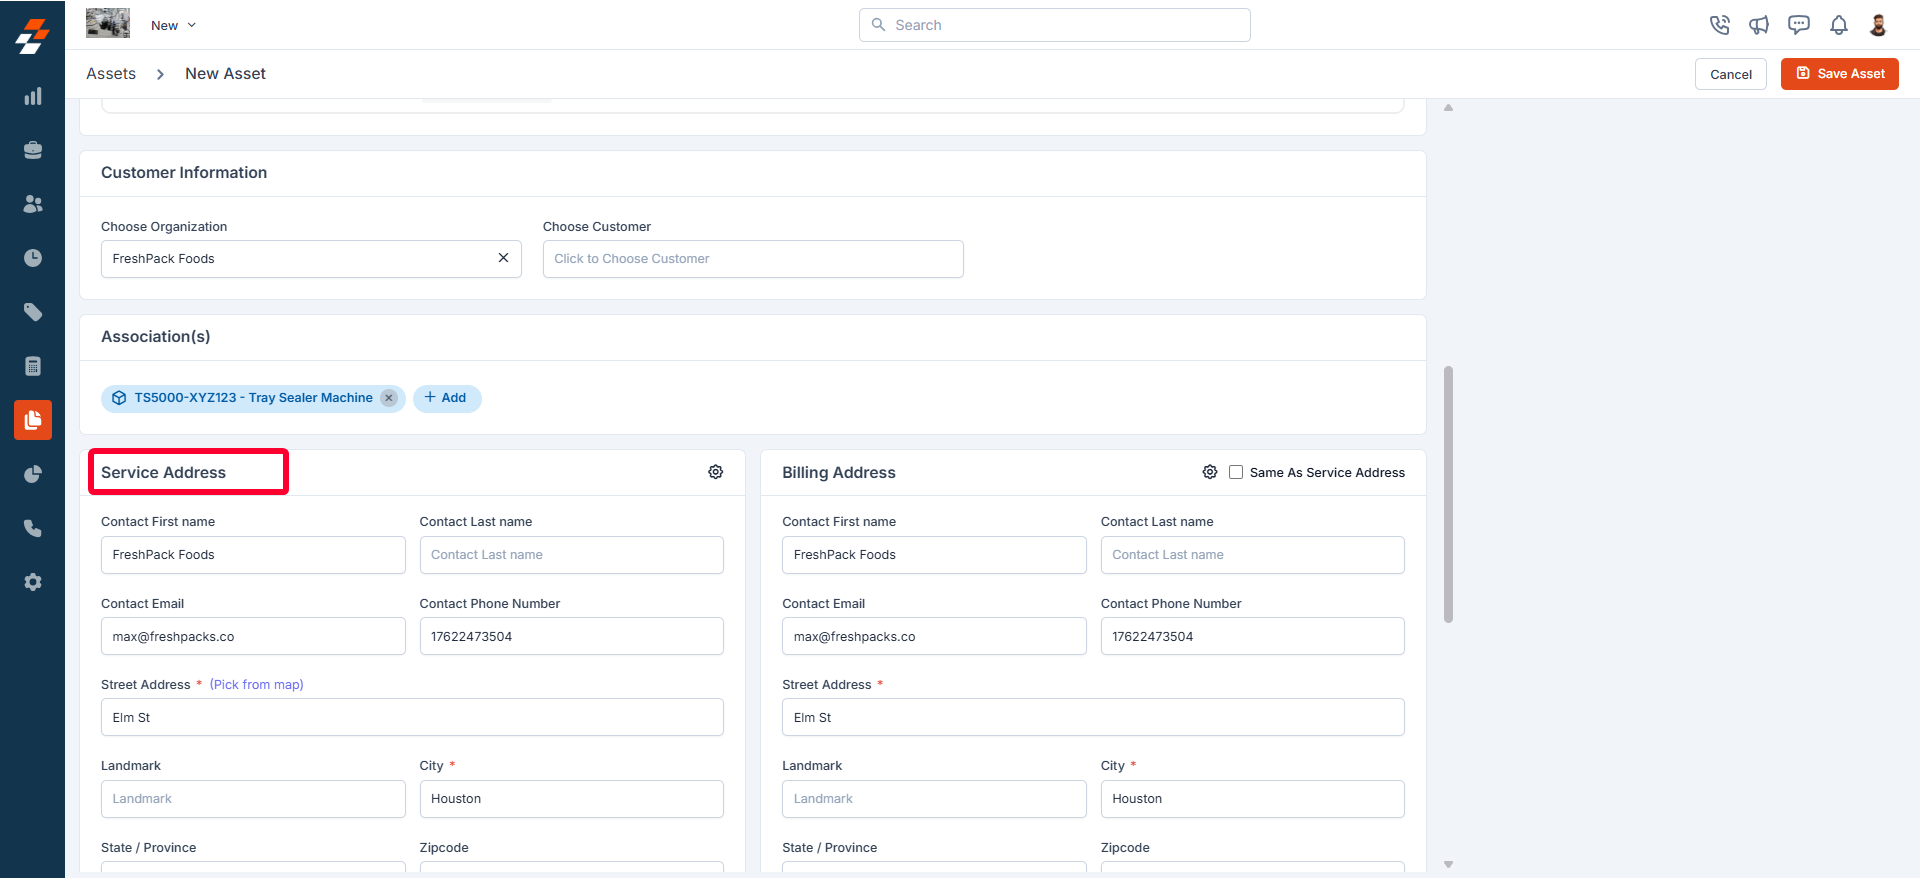
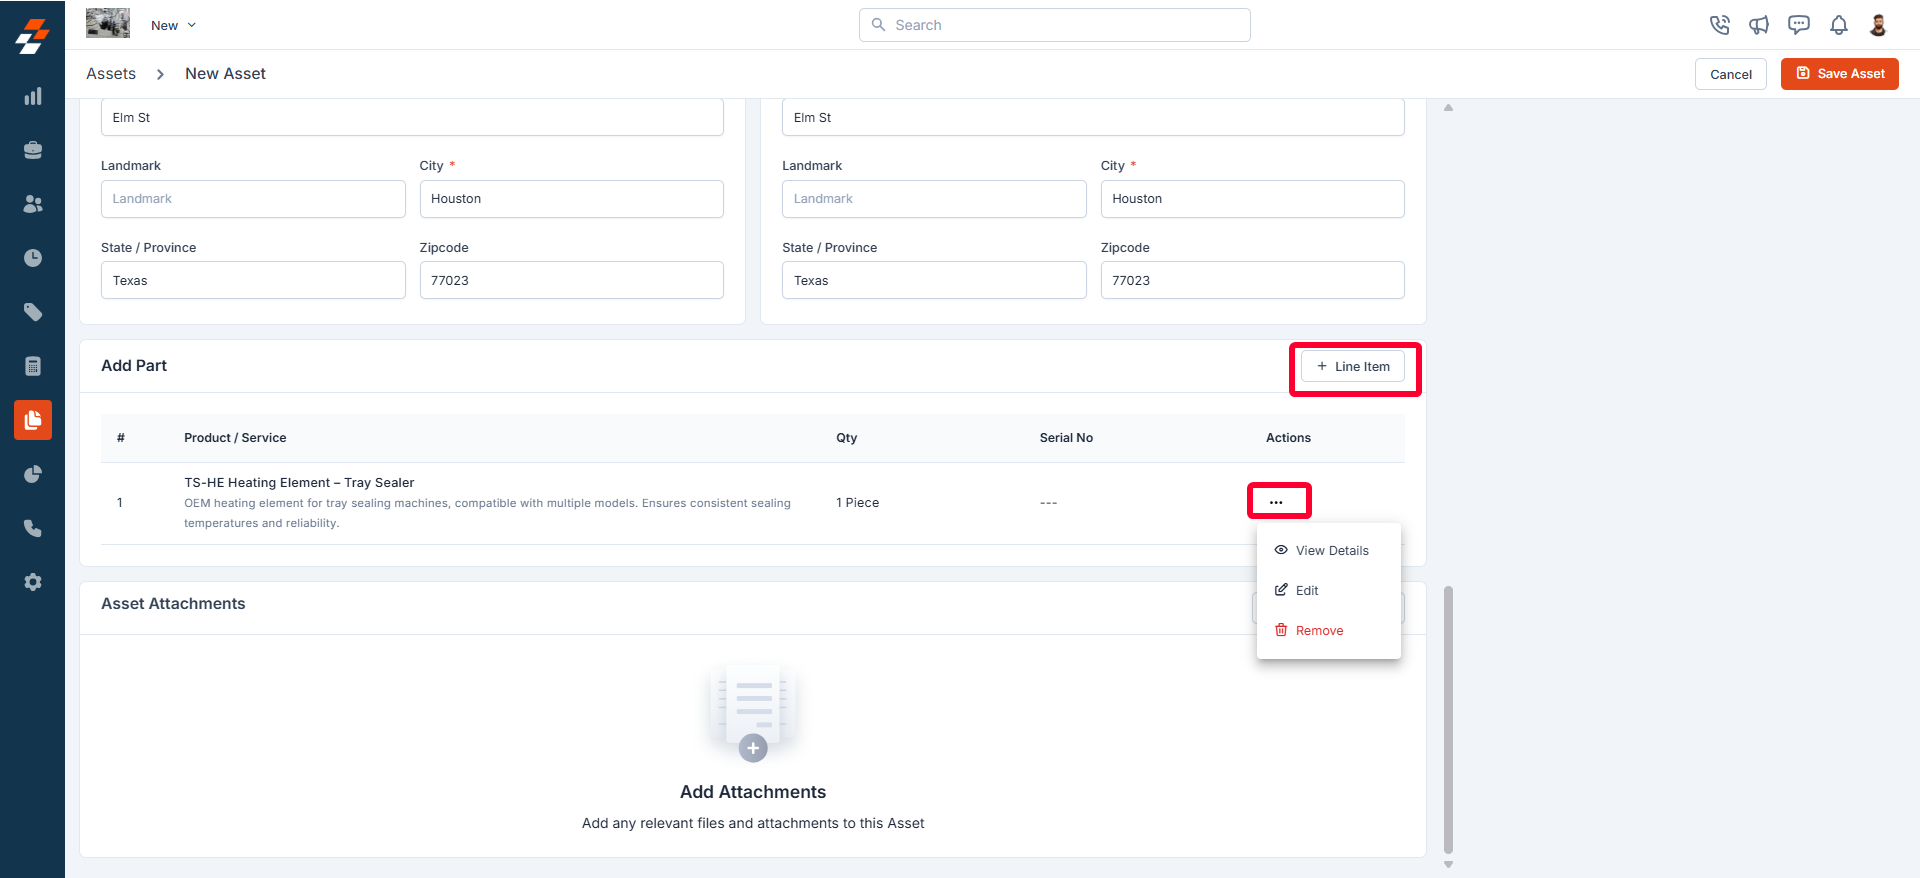
E. Add Part
Parts are individual components or materials associated with an asset, which may be required for its operation, maintenance, or repairs. To add parts to an asset:- Click the ”+ Line Item” button.
- Select the required parts and specify the quantity.
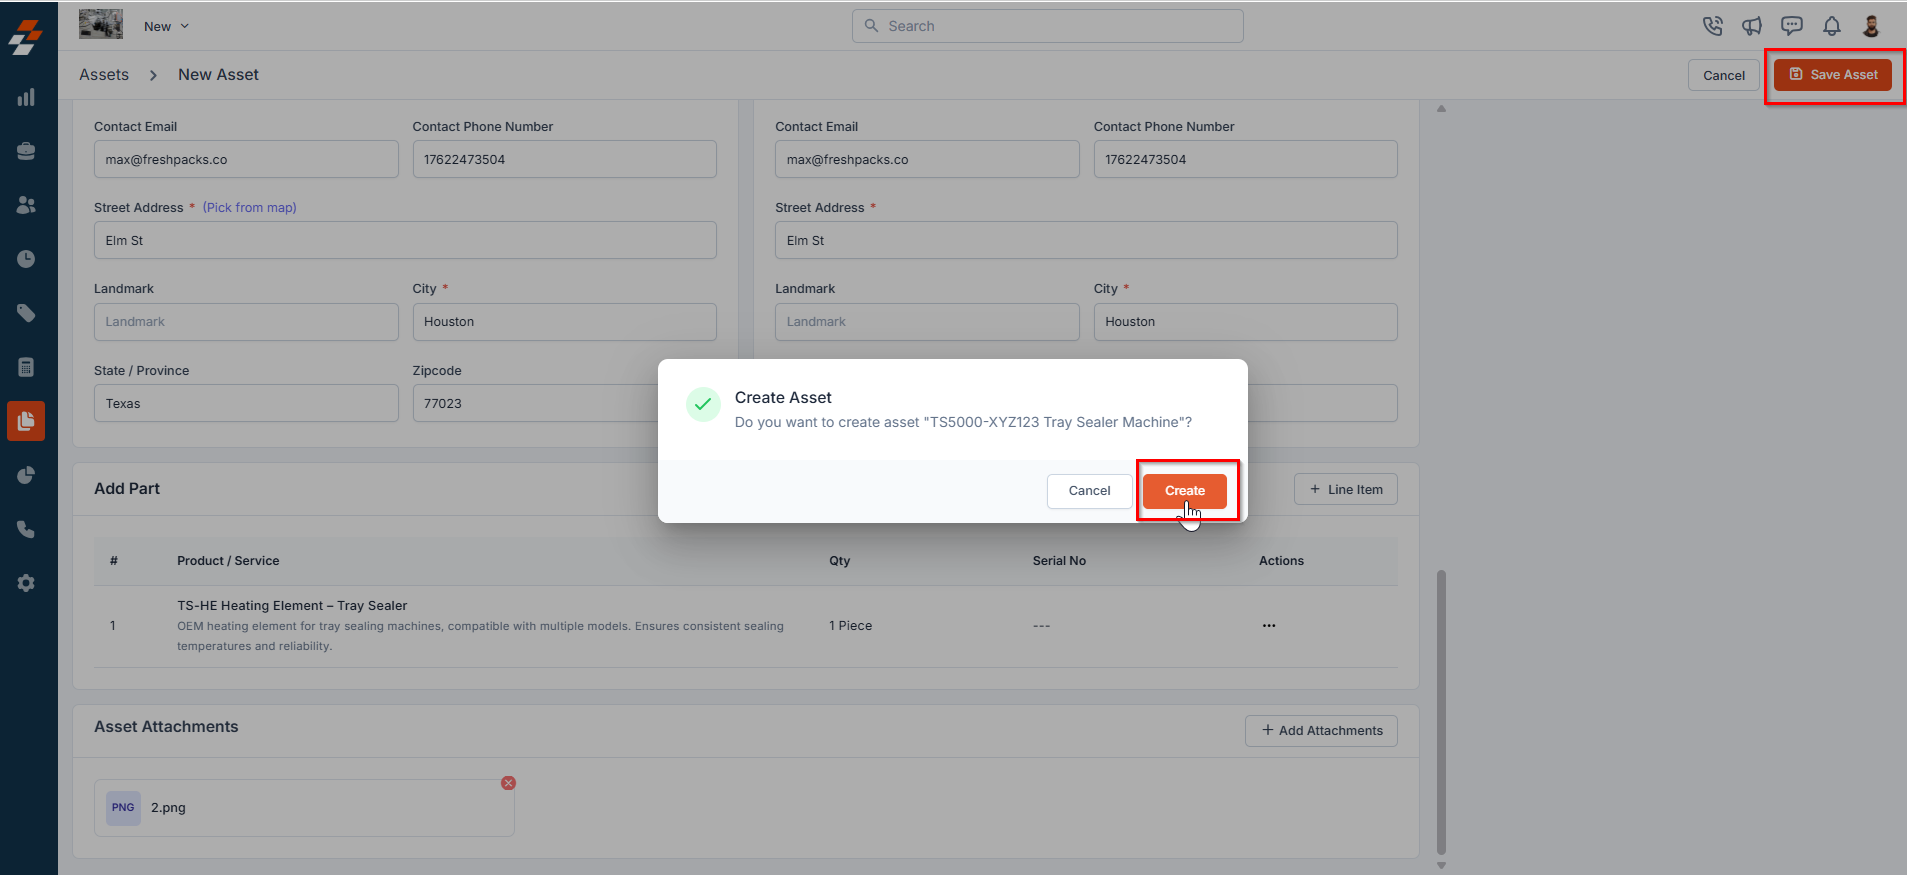
- Click “Add Part” to include them in the asset.
F. Asset Attachments
You can add relevant files and attachments to the asset. To do this:- Click the ”+ Add Attachments” button. A pop-up will appear.
- Click to upload or drag and drop a file from your computer.
- Once uploaded, click the “Close” button.
- You can also preview or remove attachments as needed.