

Zuper Connect is present under the Communication module once email is enabled for your account. If email is not enabled, you still find calls and texts under Zuper Connect.
Navigation: Communication > Emails
Conversations tab
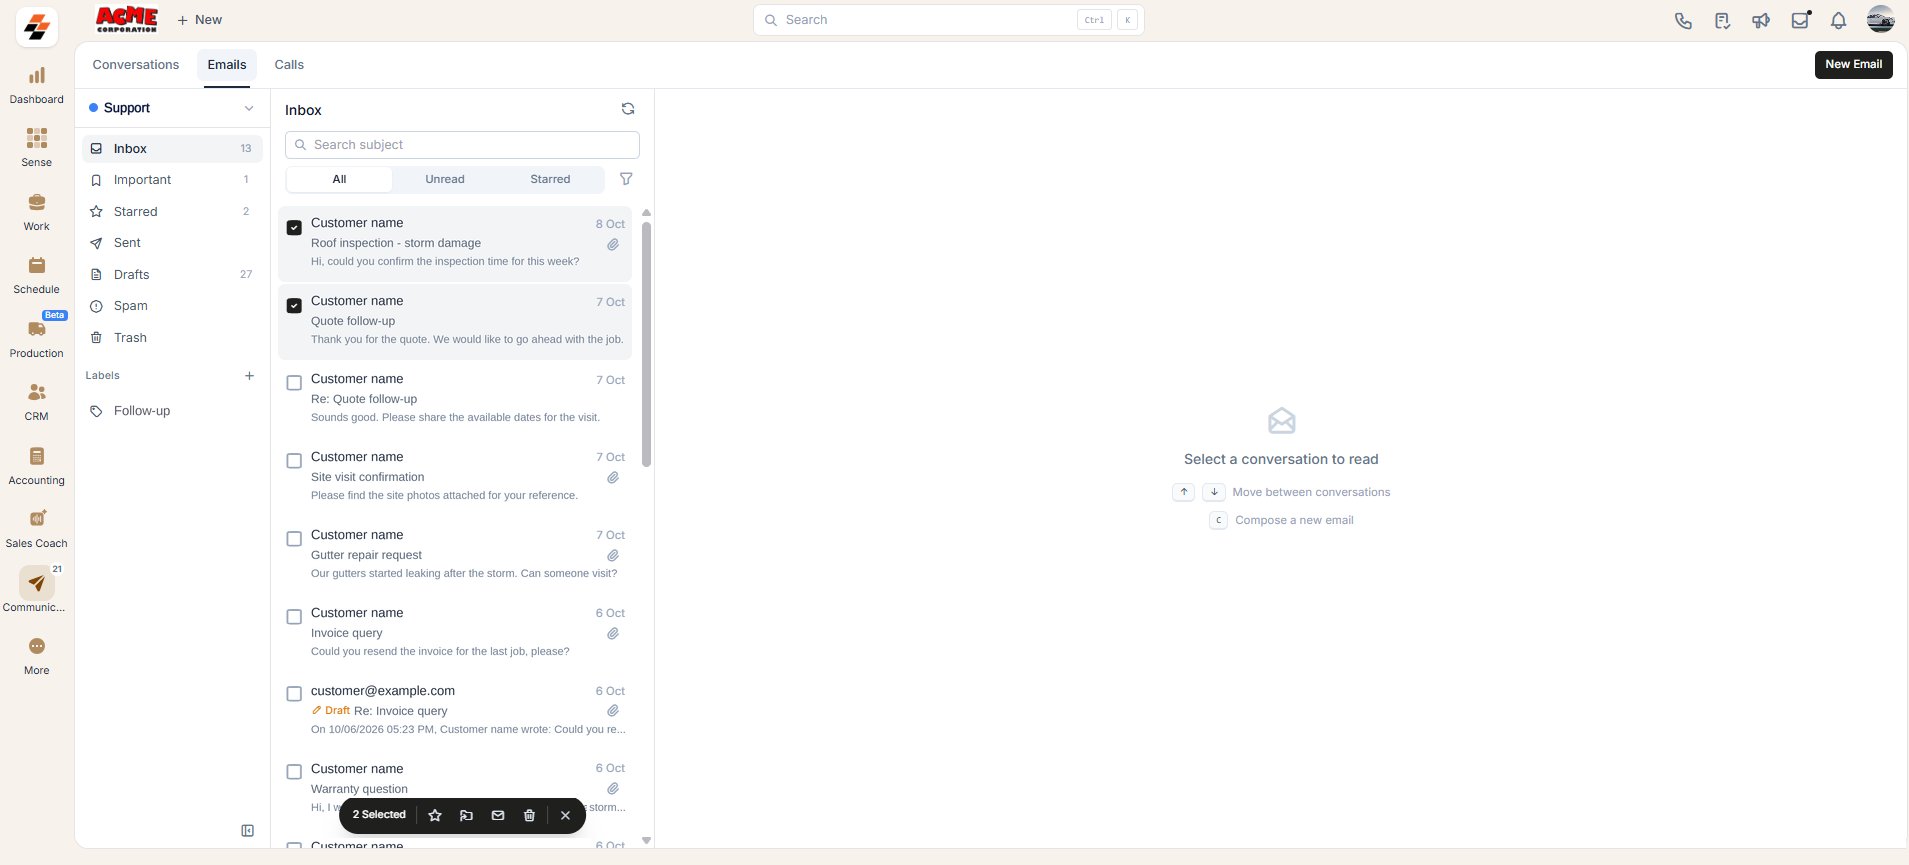
Email conversations behave the same way calls and texts do here. A new email creates a conversation, or adds to an existing one, just like an incoming call or text. Select a conversation to open and reply to it. Select Mark as Closed on a conversation to close it. Zuper reopens it automatically if the customer/contact replies. Select the checkboxes on multiple conversations to open a bulk action bar with Mark as read and Mark as closed. To learn more about managing text message conversations, see View and manage web conversations. To start a new email from your Conversations tab, select New Email.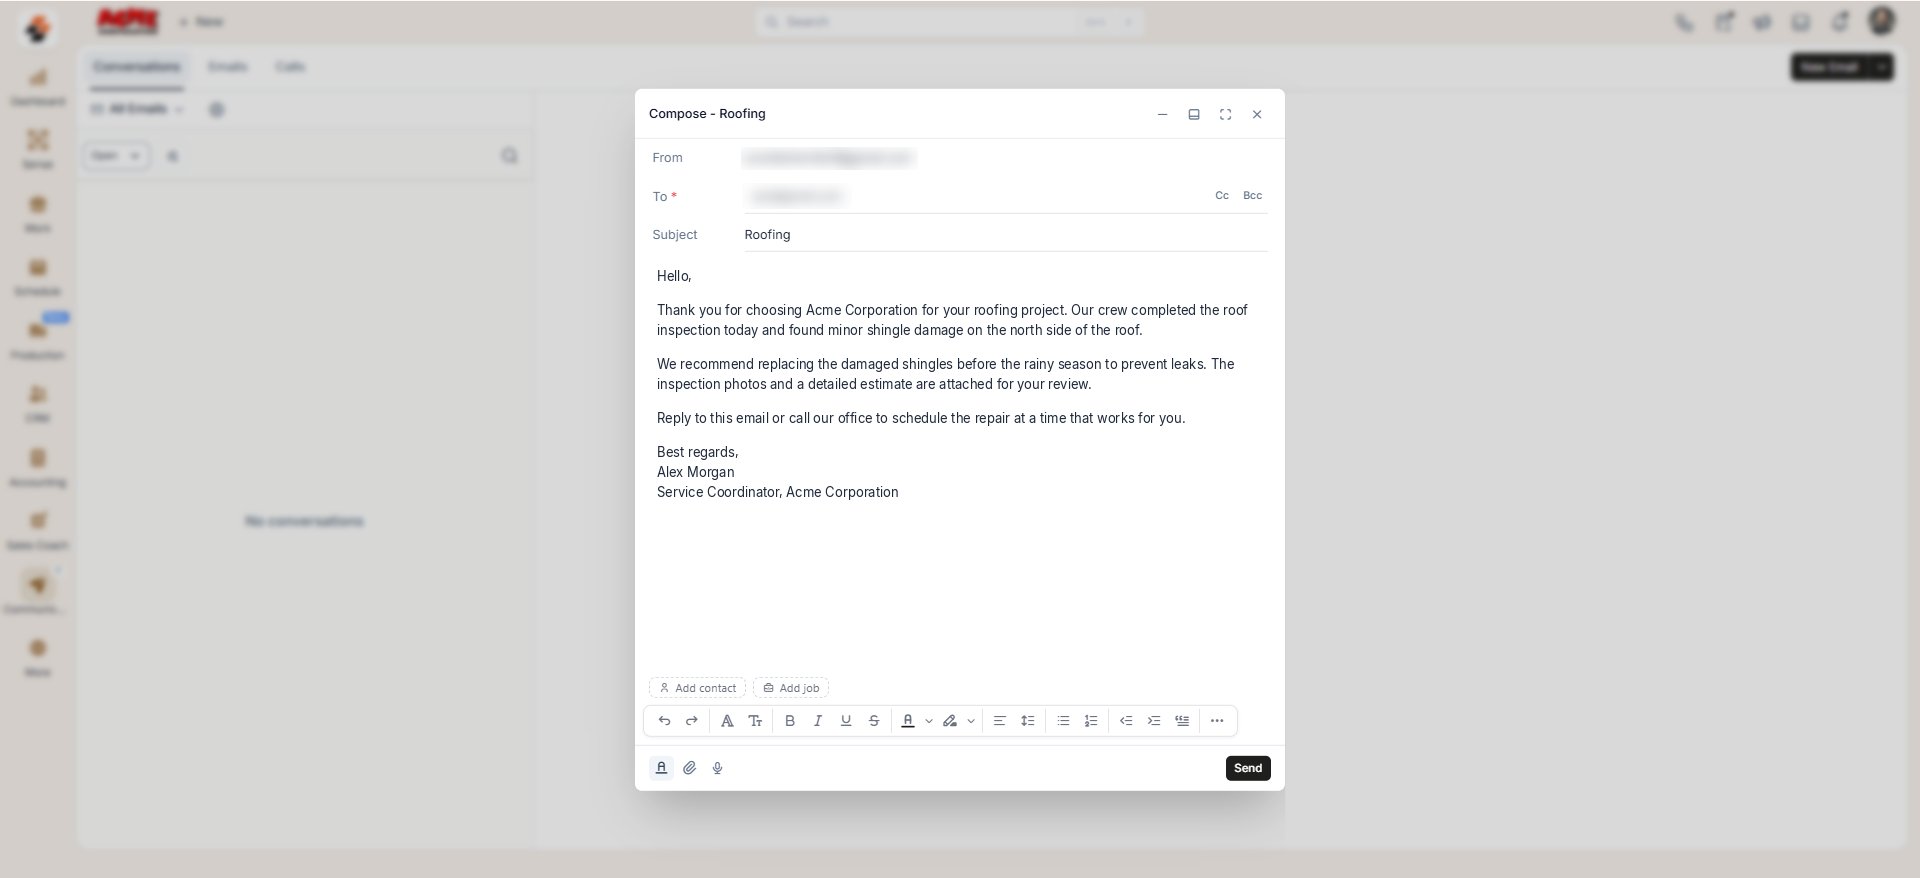
- Filter your list using the Open dropdown, or the filter icon for Needs Attention, Unread, or Unresponded.
Needs Attention is not applicable for emails.
.png?fit=max&auto=format&n=VQkK-nUj5I8ecn32&q=85&s=d13b613ce1f02d3eb9281b176776b333)
- Bulk select emails to mark them as read or closed.
Emails tab
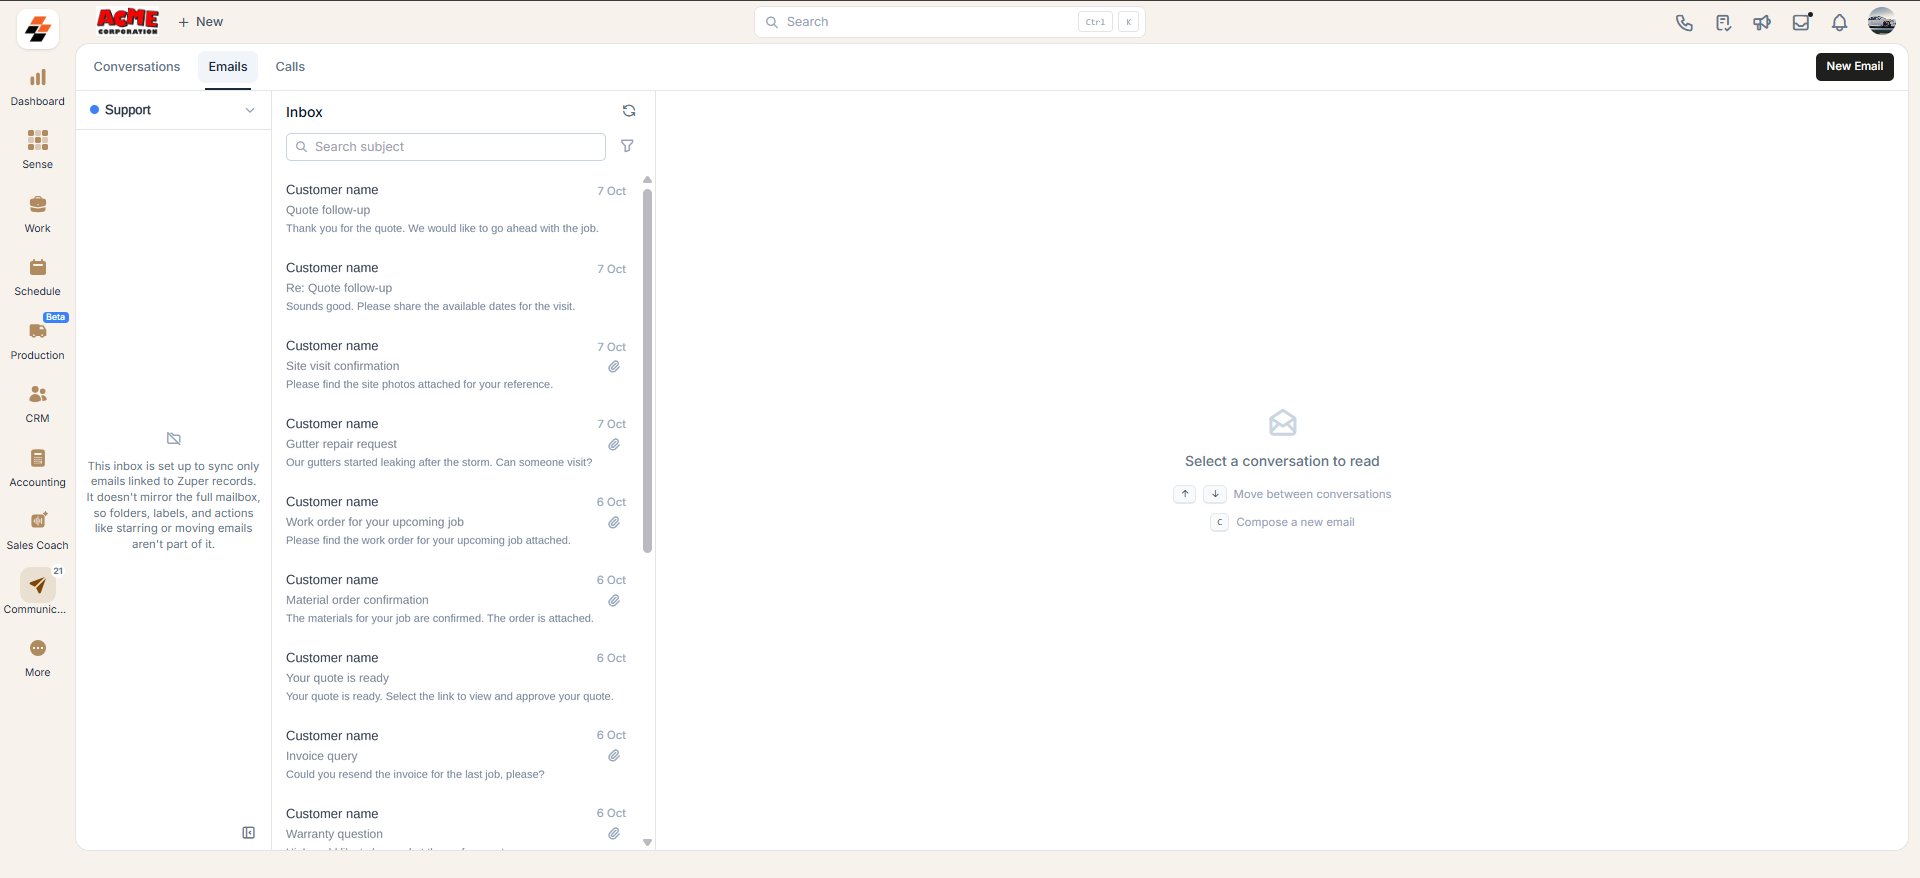
Your Emails tab lists all the mailboxes you have access to: Personal and Shared inboxes. Select one to view its emails in one of two views, depending on how your admin configured that mailbox.- A Zuper-only mailbox shows only the emails linked to a customer/contact or job record. It does not show folders such as Sent, Drafts, or Spam. It also does not support starring, moving emails between folders, or selecting multiple emails at once.
If a new email arrives from an address already saved for a customer/contact, Zuper automatically links the customer/contact. You still add the job yourself.
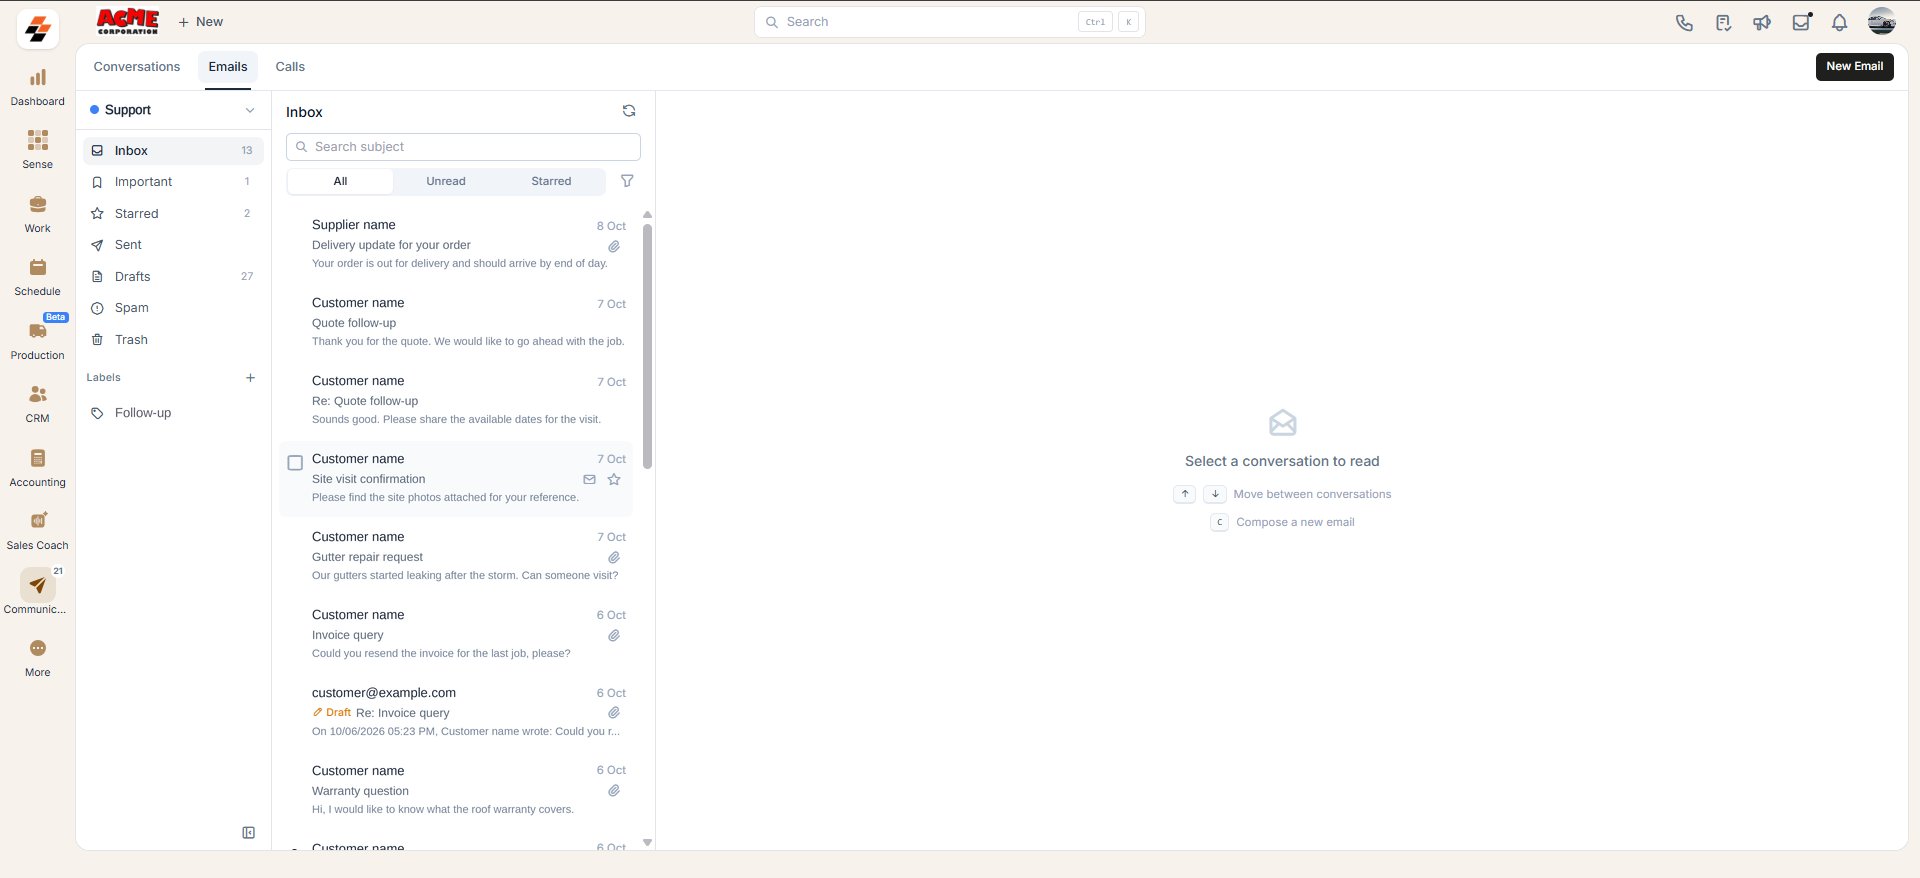
- A fully synced mailbox mirrors your entire mailbox. This includes standard folders such as Sent, Drafts, and Spam, as well as any custom folders or labels. If you create a new folder in Zuper, it syncs back to your Gmail or Outlook account.
For steps to set up and switch between these views, see Configure your inboxes.
Compose a new email
You can start a new email conversation directly from your Emails tab.- Select New Email at the top right of the Emails tab. The composing window opens.
- Enter the recipients’ email addresses in the To, Cc, and Bcc fields, and enter a Subject.
- Enter your message in the body of the email. Use the formatting toolbar to format your text, or select Email Template to use a pre-existing template instead. To learn more, see Use email templates.
- Select the microphone icon to dictate your message instead of typing it, if needed.
- Select the dynamic field icon in the composing toolbar to add job or customer-specific fields.
- Select the attachment icon to attach files from your device or Zuper.
- Select Send.
Dictation is available only on supported browsers.
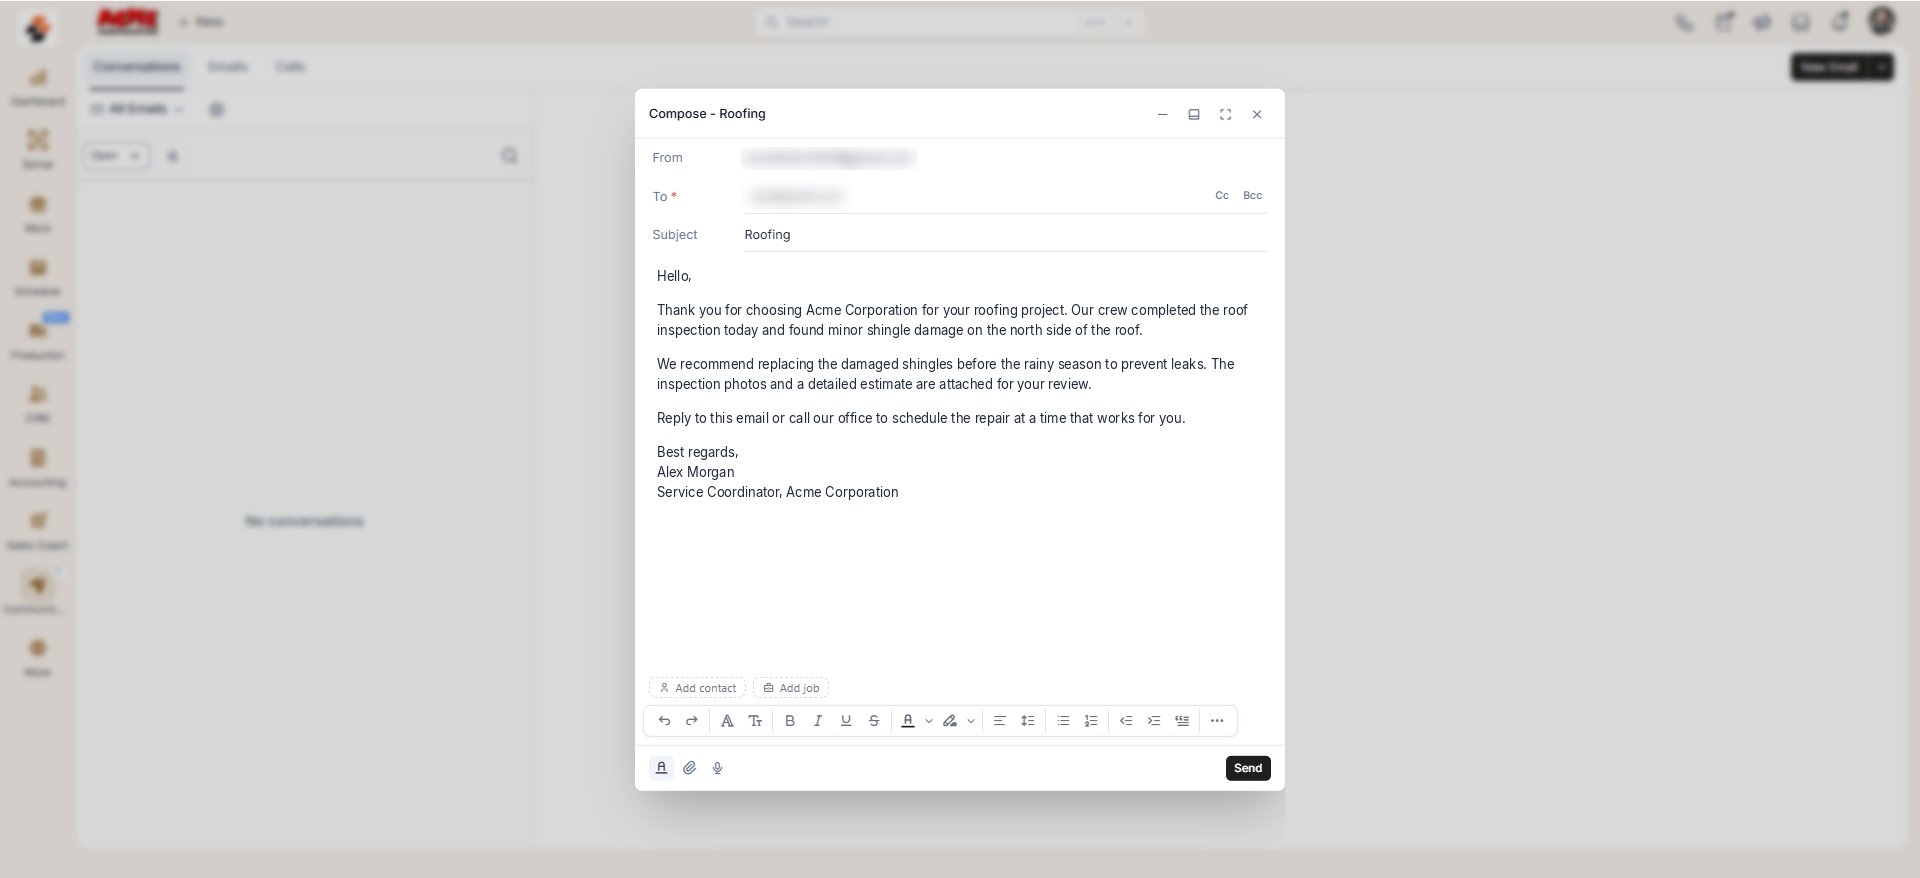
Attach a file
What you can attach to an email depends on whether the email is associated with a contact or a job.- If neither a contact nor a job is associated, you can attach a file only From device.
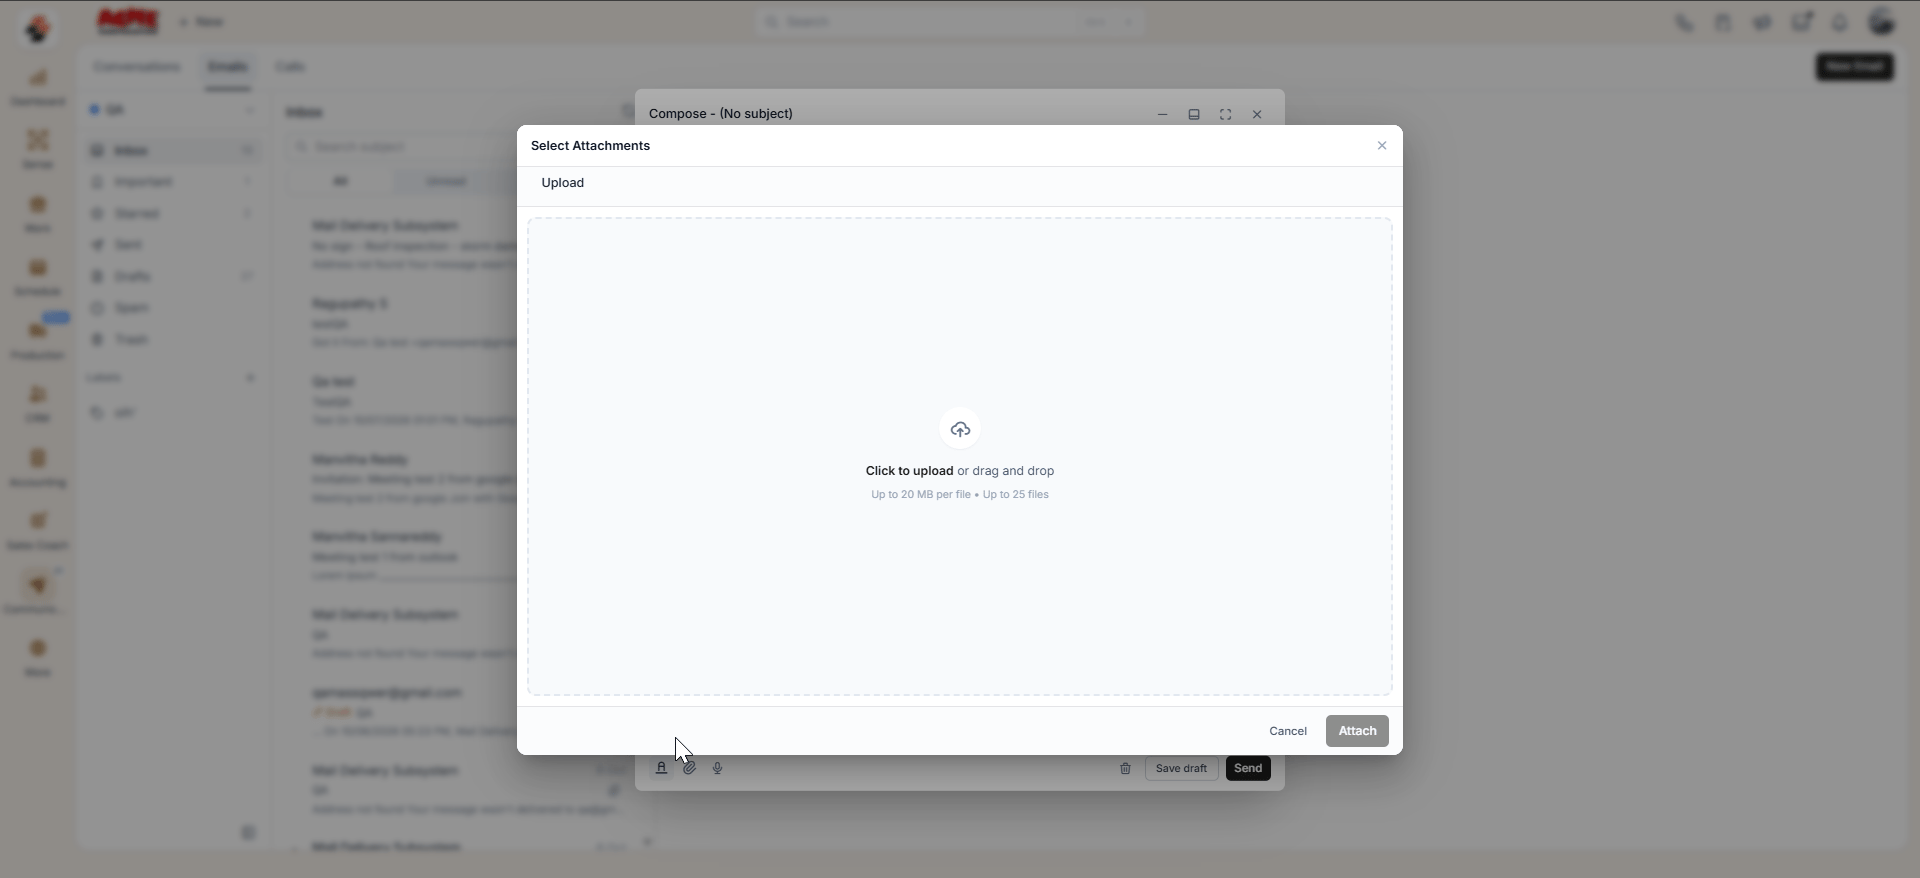
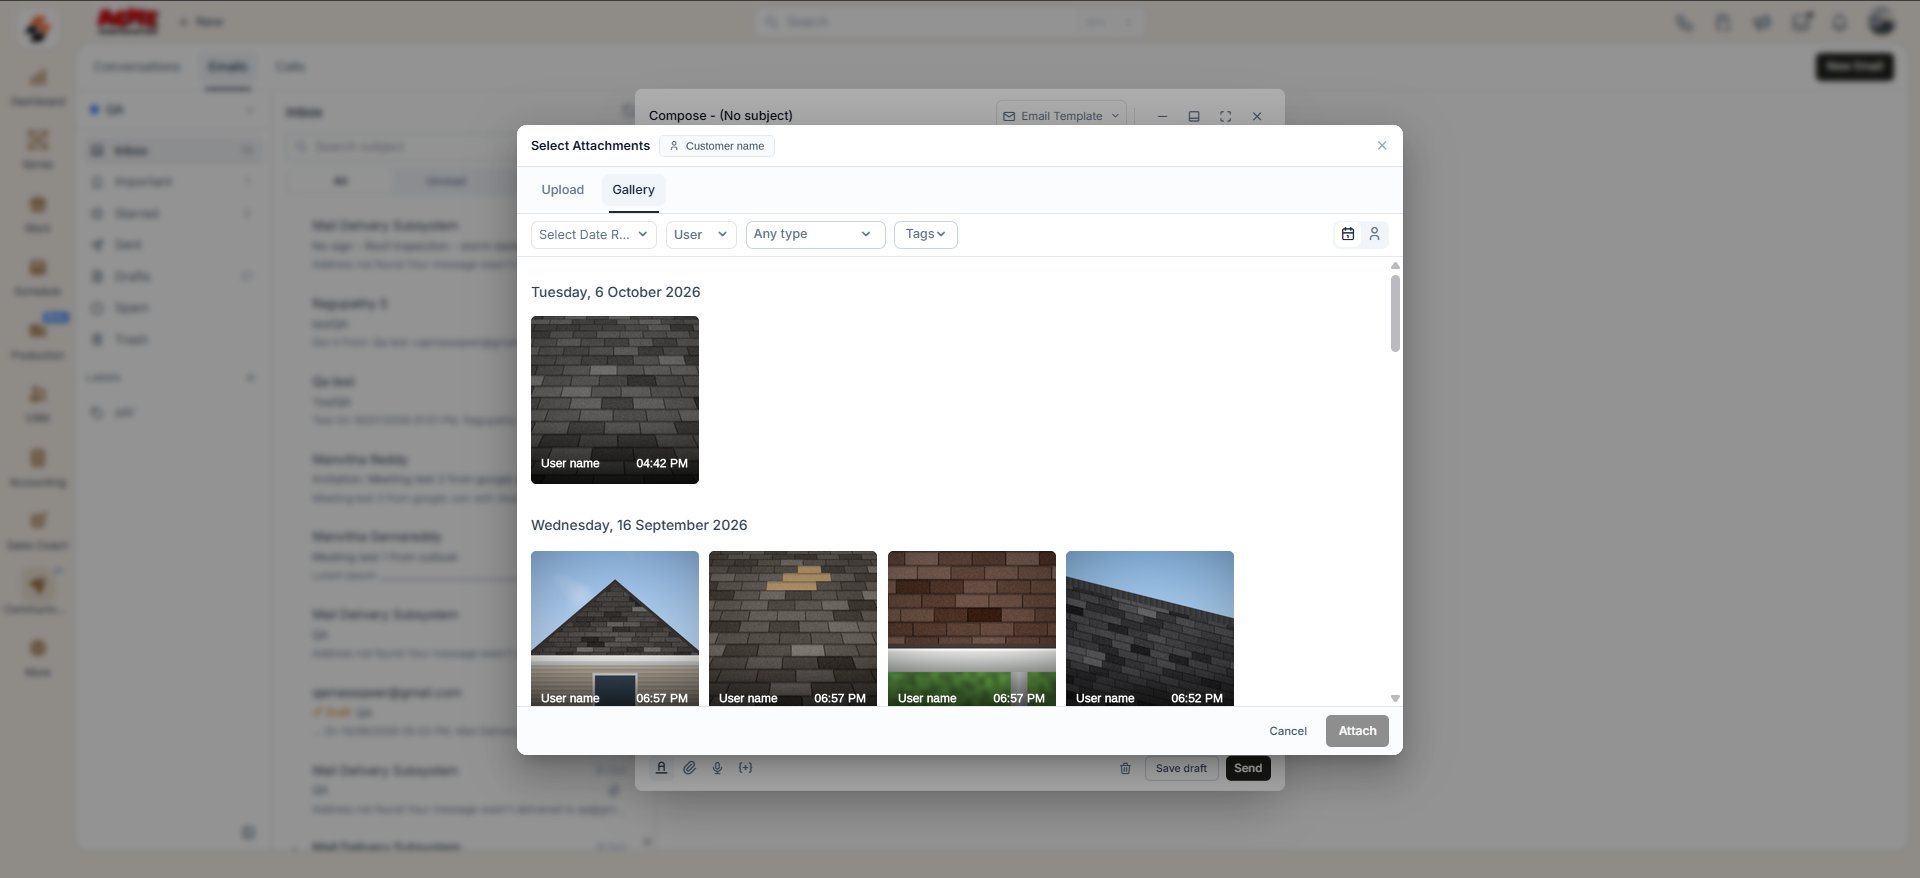
- If a job or contact is associated, you can also attach a file From gallery, along with adding from a device.
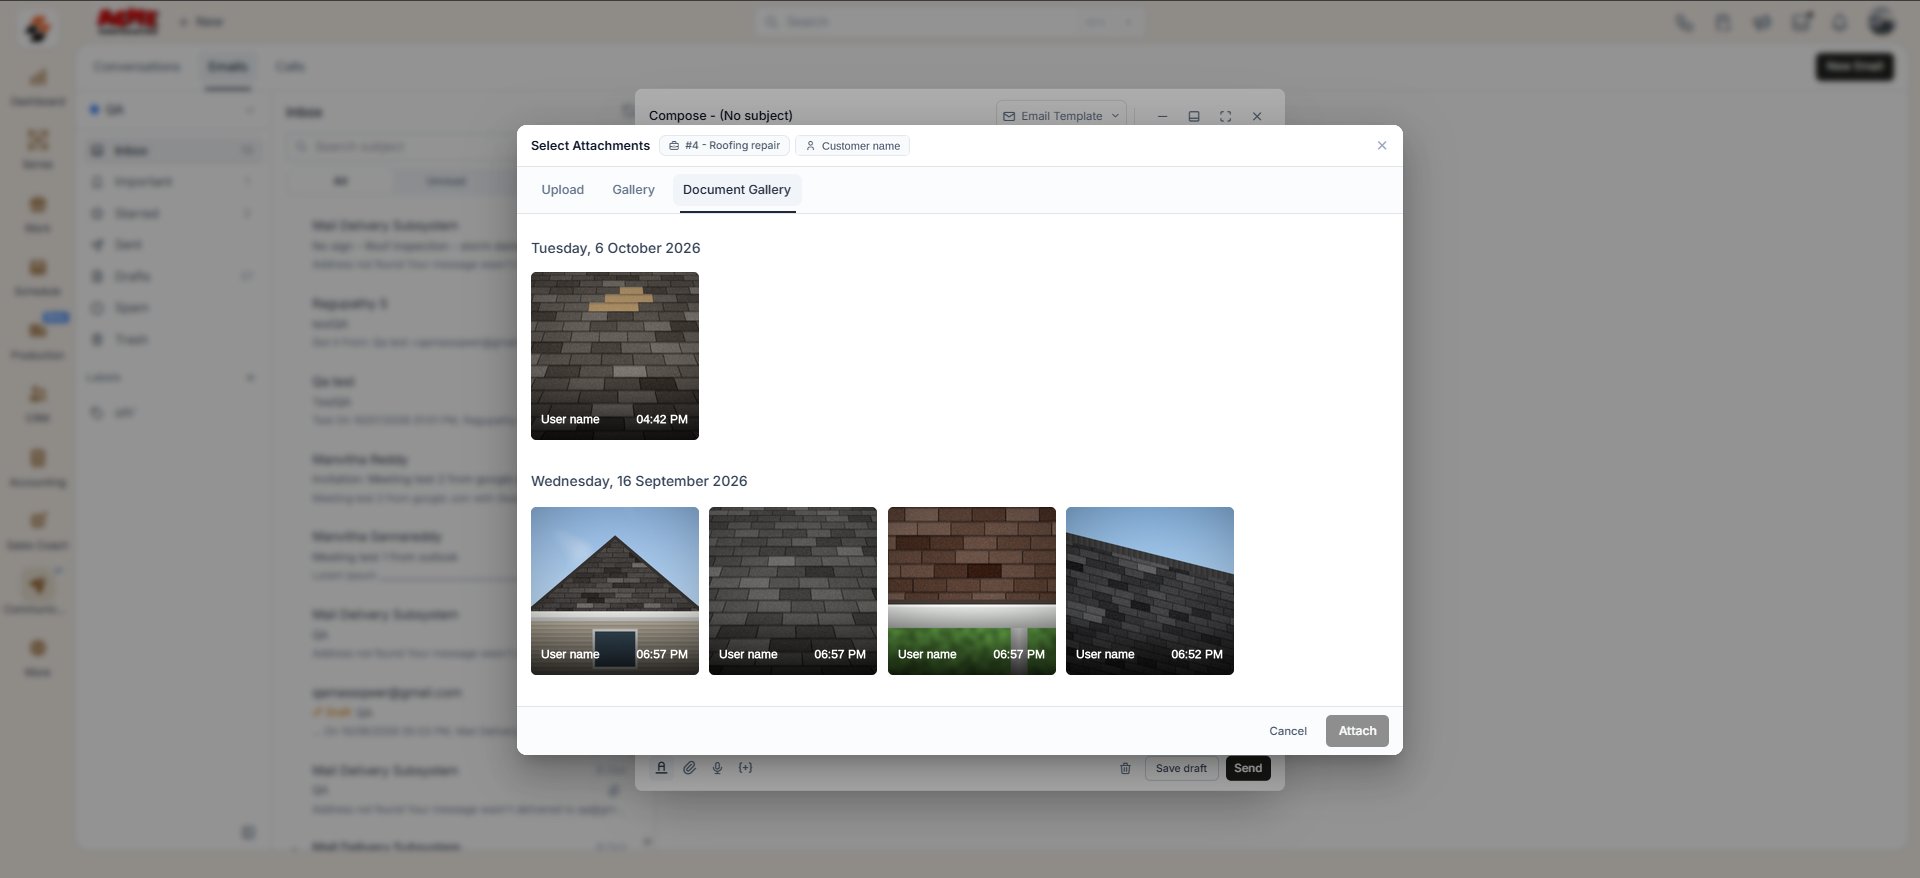
- If a job is associated, you can also attach a file From Job document.
Associate a customer/contact or a job with an email
This section covers three cases: associating while composing a new email, associating with an email you already sent or received, and changing or removing an existing association. When you associate a customer/contact or job with an email, you can access that email from Jobs and Customers.Associate while composing
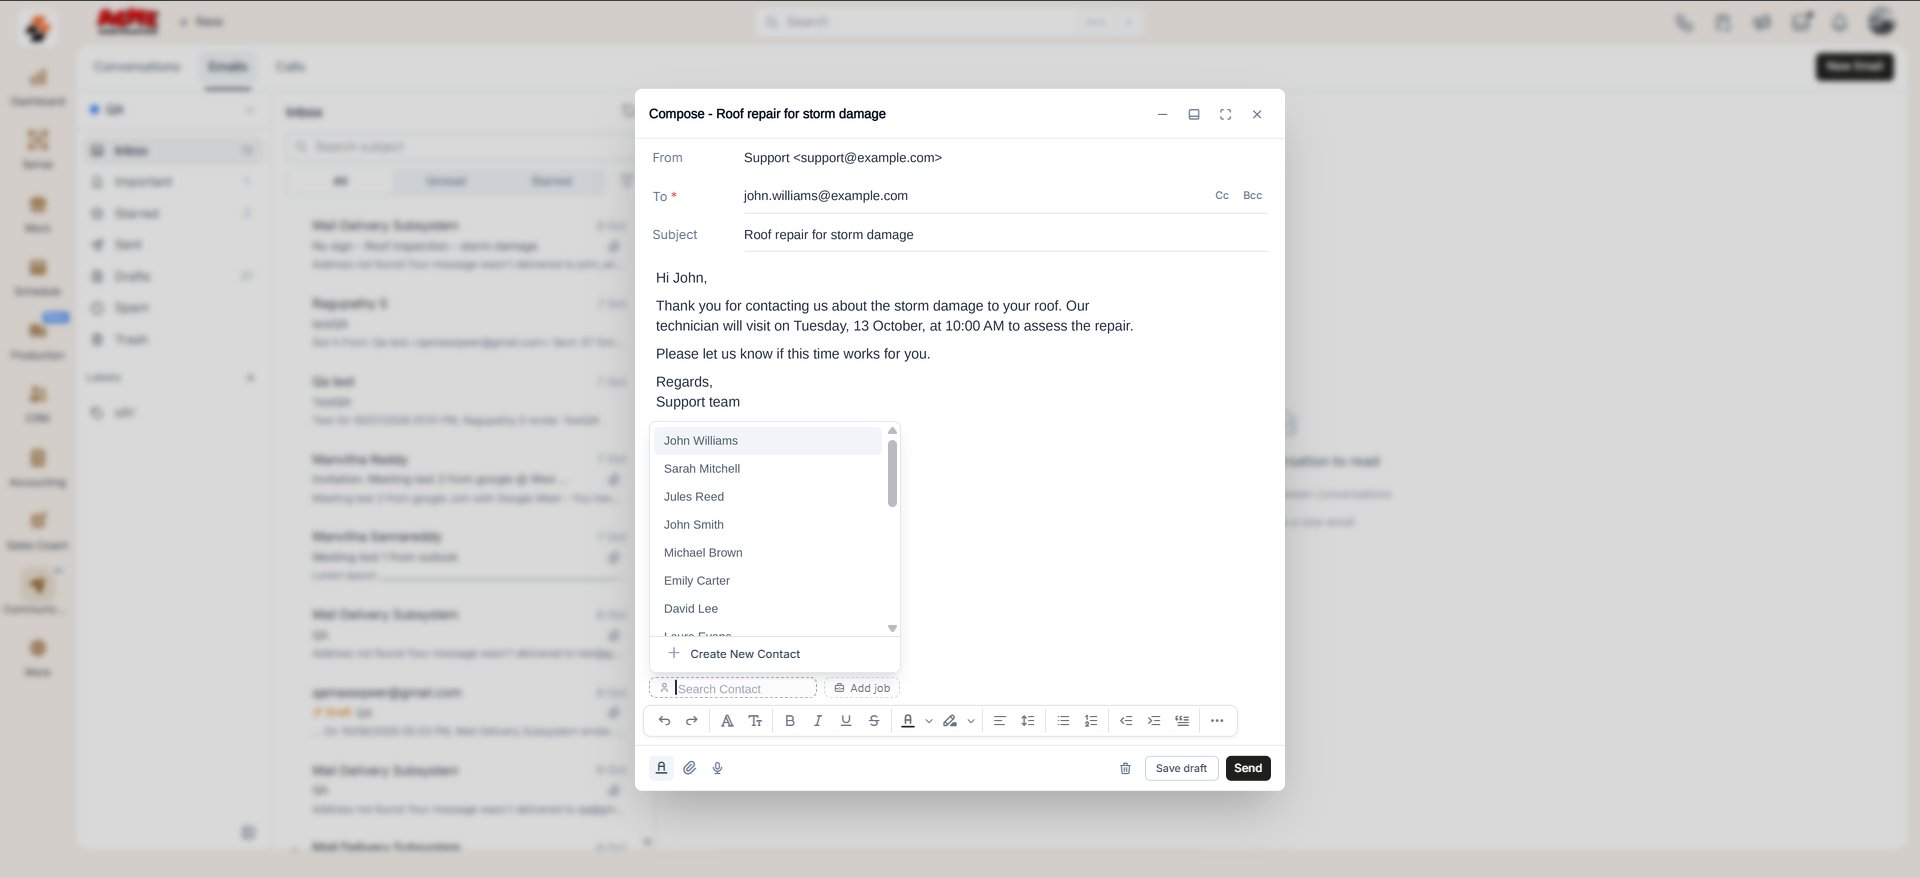
- In the composing window, select Add contact below the message fields, then choose the customer/contact from the list.
- Select Add job to associate a job in the same way. If a contact is already associated, Zuper lists only that contact’s jobs.
- Finish composing your email and select Send.
Associate a sent or received email
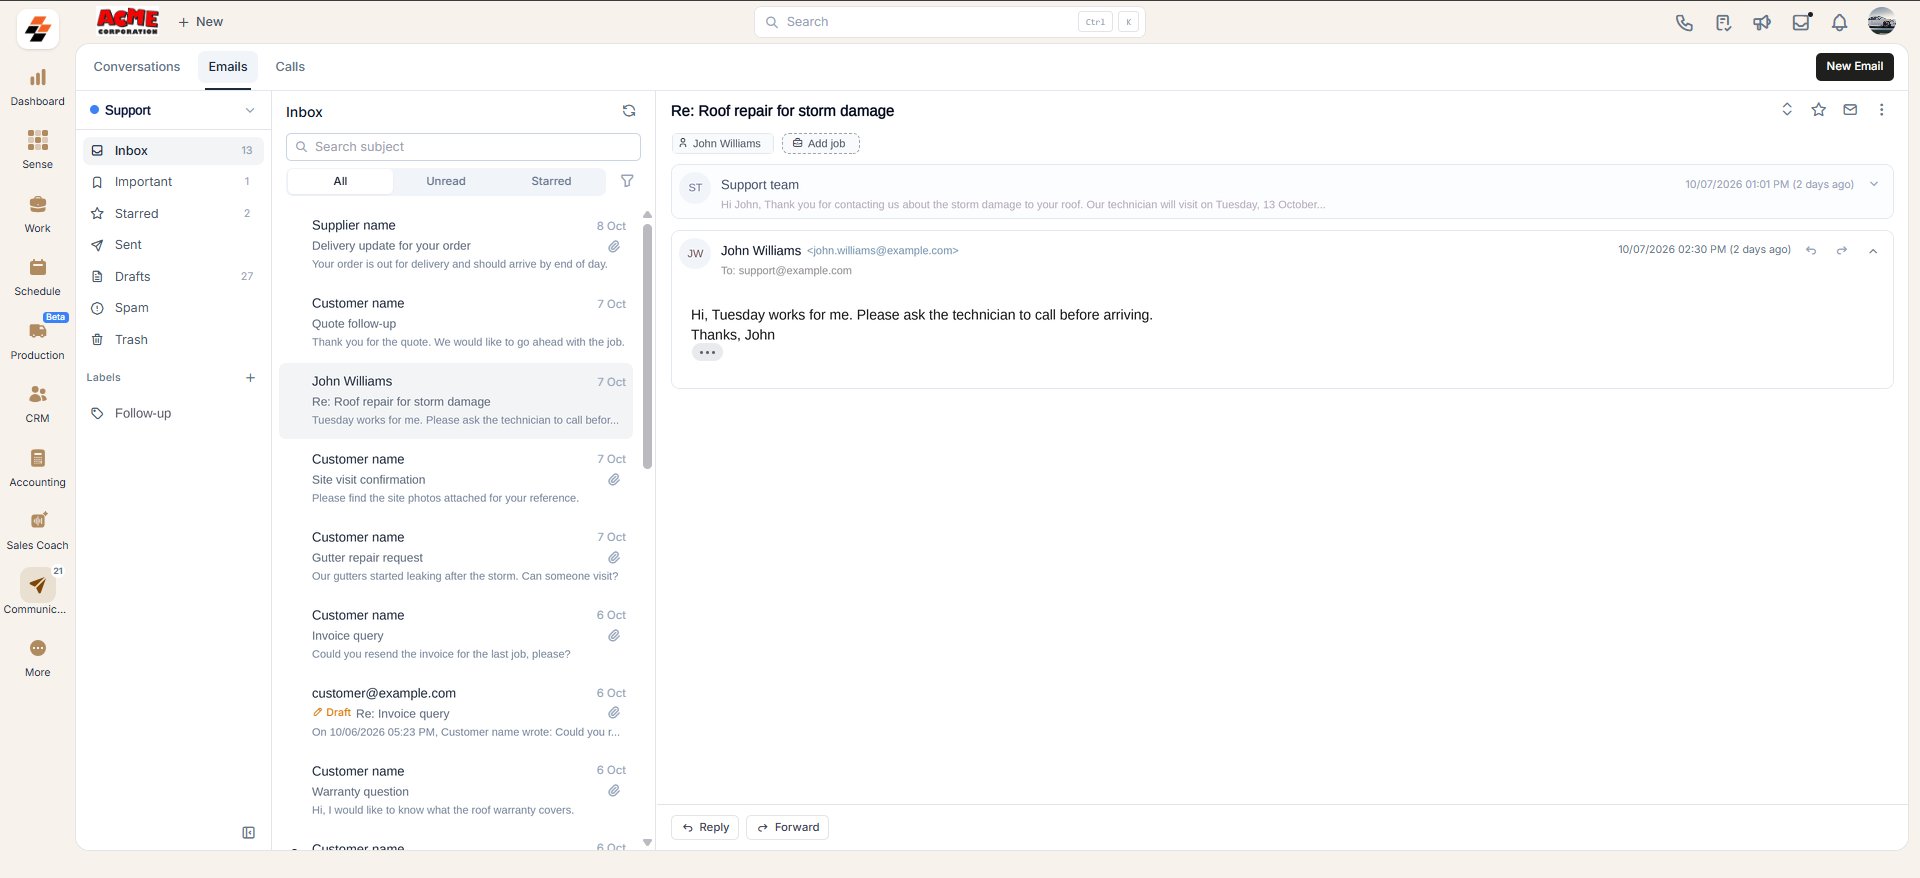
- Open the email you want to update.
- Select Add contact or Add Job at the top of the email, then choose the customer/contact or job from the list.
Change or remove an association
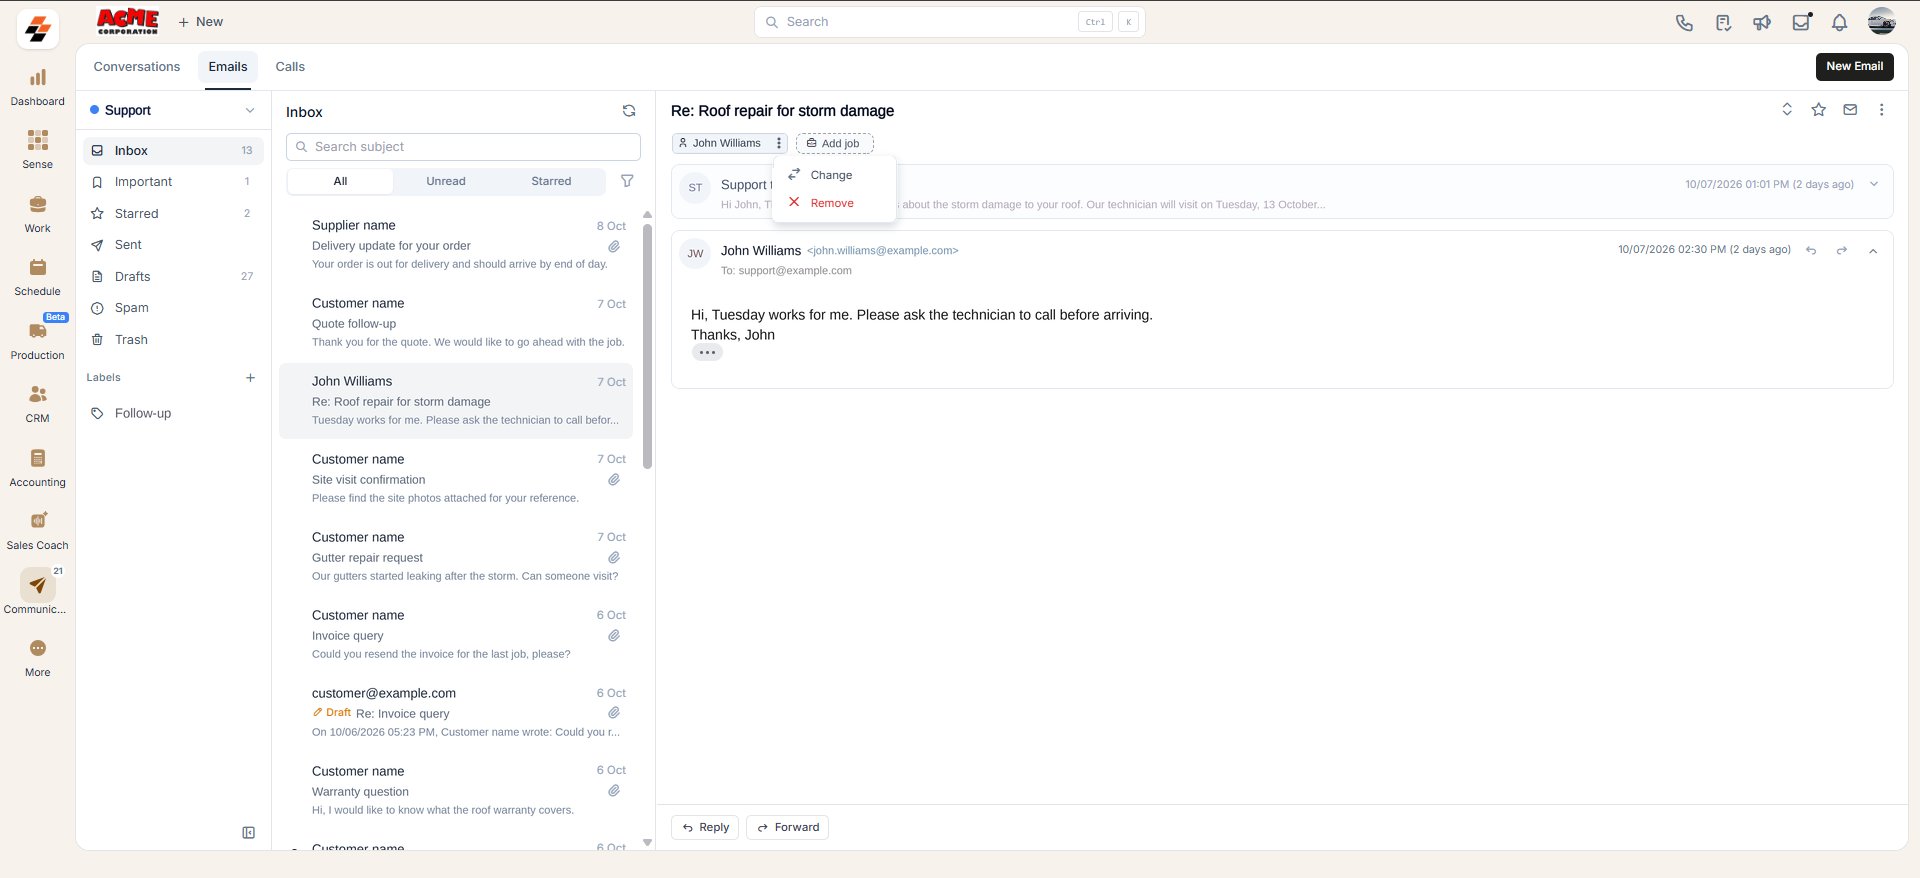
- Select the context menu next to the customer/contact or job chip.
- Select Change to replace the association, or select Remove to remove it entirely.
Use email templates
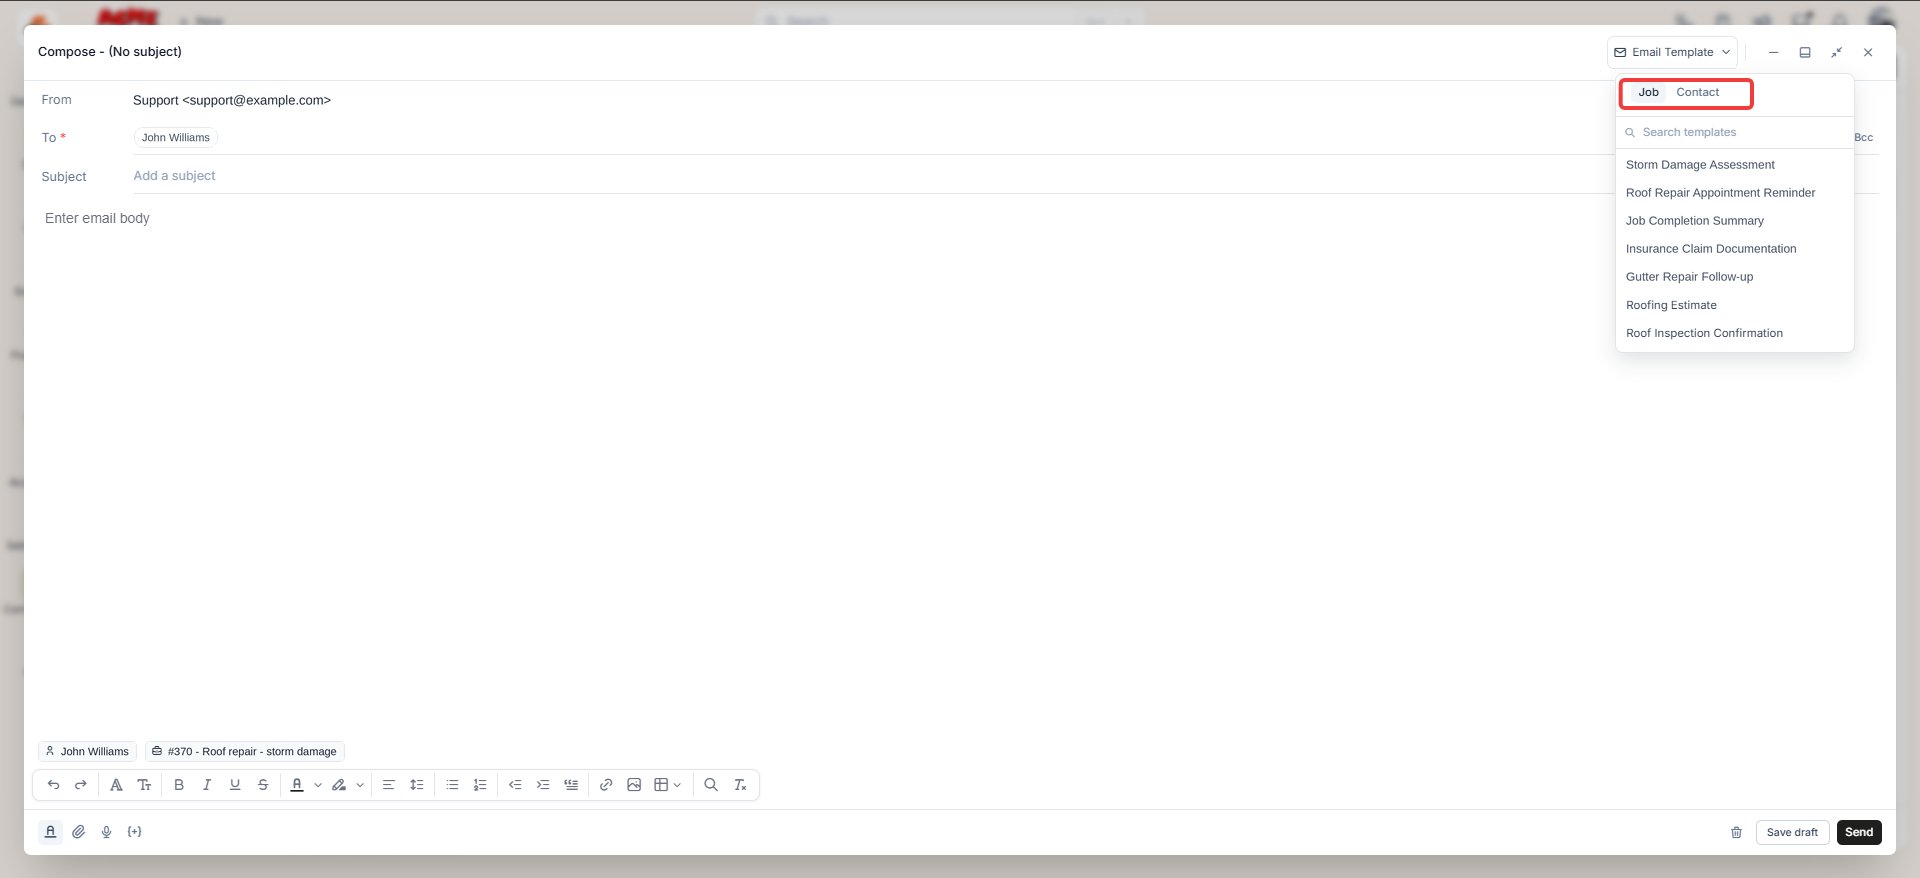
Templates save you from writing the same update every time. Zuper shows the Email Template option only once you associate a customer/contact or a job with the email.- Select Email Template at the top of the composing window.
- Select the Job tab for job-related templates, or select the Customer/contact tab for customer-related templates.
Email actions
- Open the email you want to respond to.
- Select Reply to respond to the sender, or select Forward to send it to a new recipient.
- Enter your message and select Send.
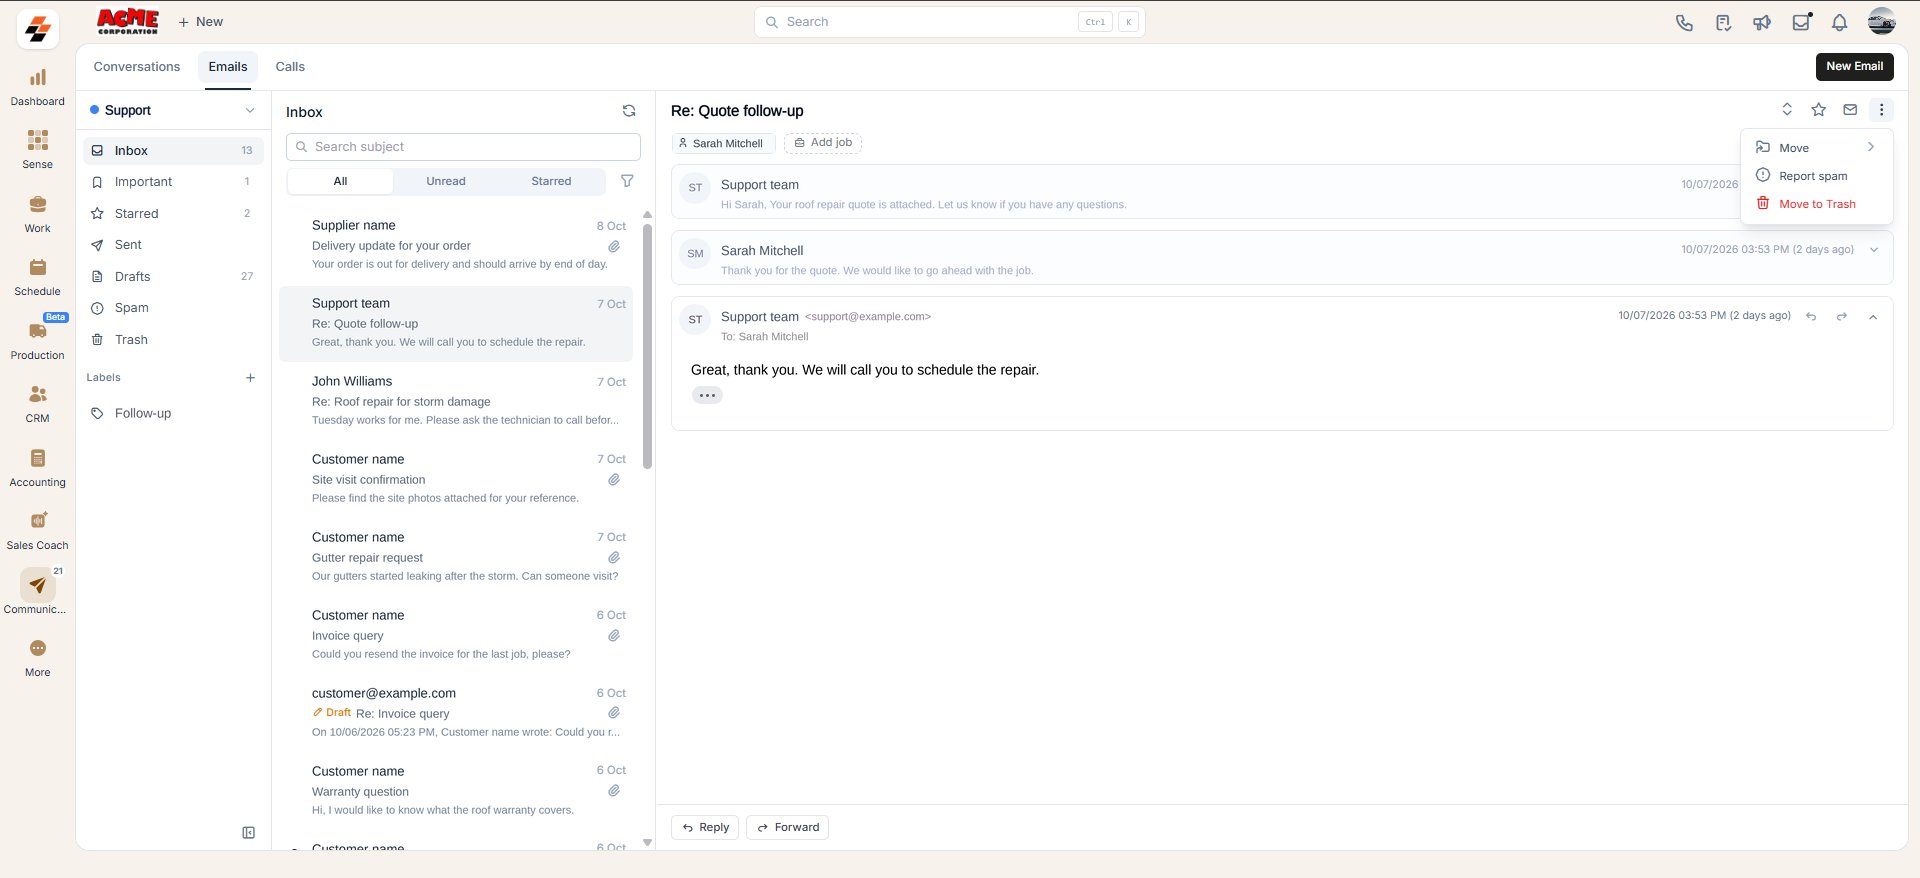
Move an email to trash
- Open the email you want to remove from your inbox.
- Select the context menu (three-dot icon) at the top right of the email.
- Select Move to trash.
FAQs
- Can I search for a specific email on my Emails tab?
Yes. You can search emails only by subject. - Can I connect more than one mailbox?
Yes. Admins can connect more inboxes. Other users can connect one personal inbox and access any number of shared inboxes that the admin gives them access to. - Does marking a conversation as closed delete it?
No. Closing only changes its status. Select the dropdown and choose Closed to find it again.
New replies to a closed email thread automatically reopen it. - Do I need to associate a customer/contact or job before sending an email?
No. You can send an email without either, then associate one anytime afterward. - Can I use this for mass marketing or bulk campaigns?
No. This module is built for one-to-one conversations, and emails are sent from your own mailbox, so your provider’s sending limits apply.
Sending bulk email from a connected mailbox risks your domain’s deliverability and can result in Google or Microsoft suspending your account.
If the issue continues, contact Support.
Related articles
- Configure your inboxes: set up a Zuper-only or fully synced mailbox for your team.