

Learn more about how connected emails appear on jobs and customer records in Emails in jobs and contacts.
Creating inboxes
There are two kinds of inbox, and different people create each one.- Personal inbox: Each user connects their own mailbox. It appears only for that user, unless someone shares it.
- Shared inbox: An admin creates this inbox, and grants access to the roles or users who need it. Sharing happens inside Zuper, not with the mailbox provider, so the account type does not restrict it. A Microsoft shared mailbox, a Google Workspace account, or a personal Gmail or Outlook address can all become a shared inbox.
Setup steps
You authenticate a personal inbox from your own user account in the Communication module. Only an admin can create a shared inbox.- Select Personal or Shared as the inbox type.
- Enter a name for the inbox. This name is a label inside Zuper, separate from the email address. Choose a name your team recognizes at a glance, since it appears in the inbox list.
- Select Zuper-only or Fully synced as the setup option. See the table below for what each option syncs. This choice affects everything a user sees, so confirm it before you grant access.
- Select the roles or users who get access to the inbox. A personal inbox that stays private needs no action here.
- Set permissions for each role or user you added to a shared inbox. See the permissions table below.
- Select Save and Connect to connect the mailbox through Google or Microsoft. Whoever completes this step must be able to sign in to the mailbox. For a shared mailbox, this is usually the admin who owns it or has delegated access. Sync begins once you complete this step.
Setup options
A fully synced inbox also allows Move to Spam, Report spam, and New label actions, along with bulk trash and spam actions. A Zuper-only inbox does not support these actions.
Permissions
Set permissions per inbox, for roles or for individual users. Settings on an individual user override the settings from their role.
A user can have no access, View only, or View and Send access. You can turn on Notifications alongside either access level.
The communication module
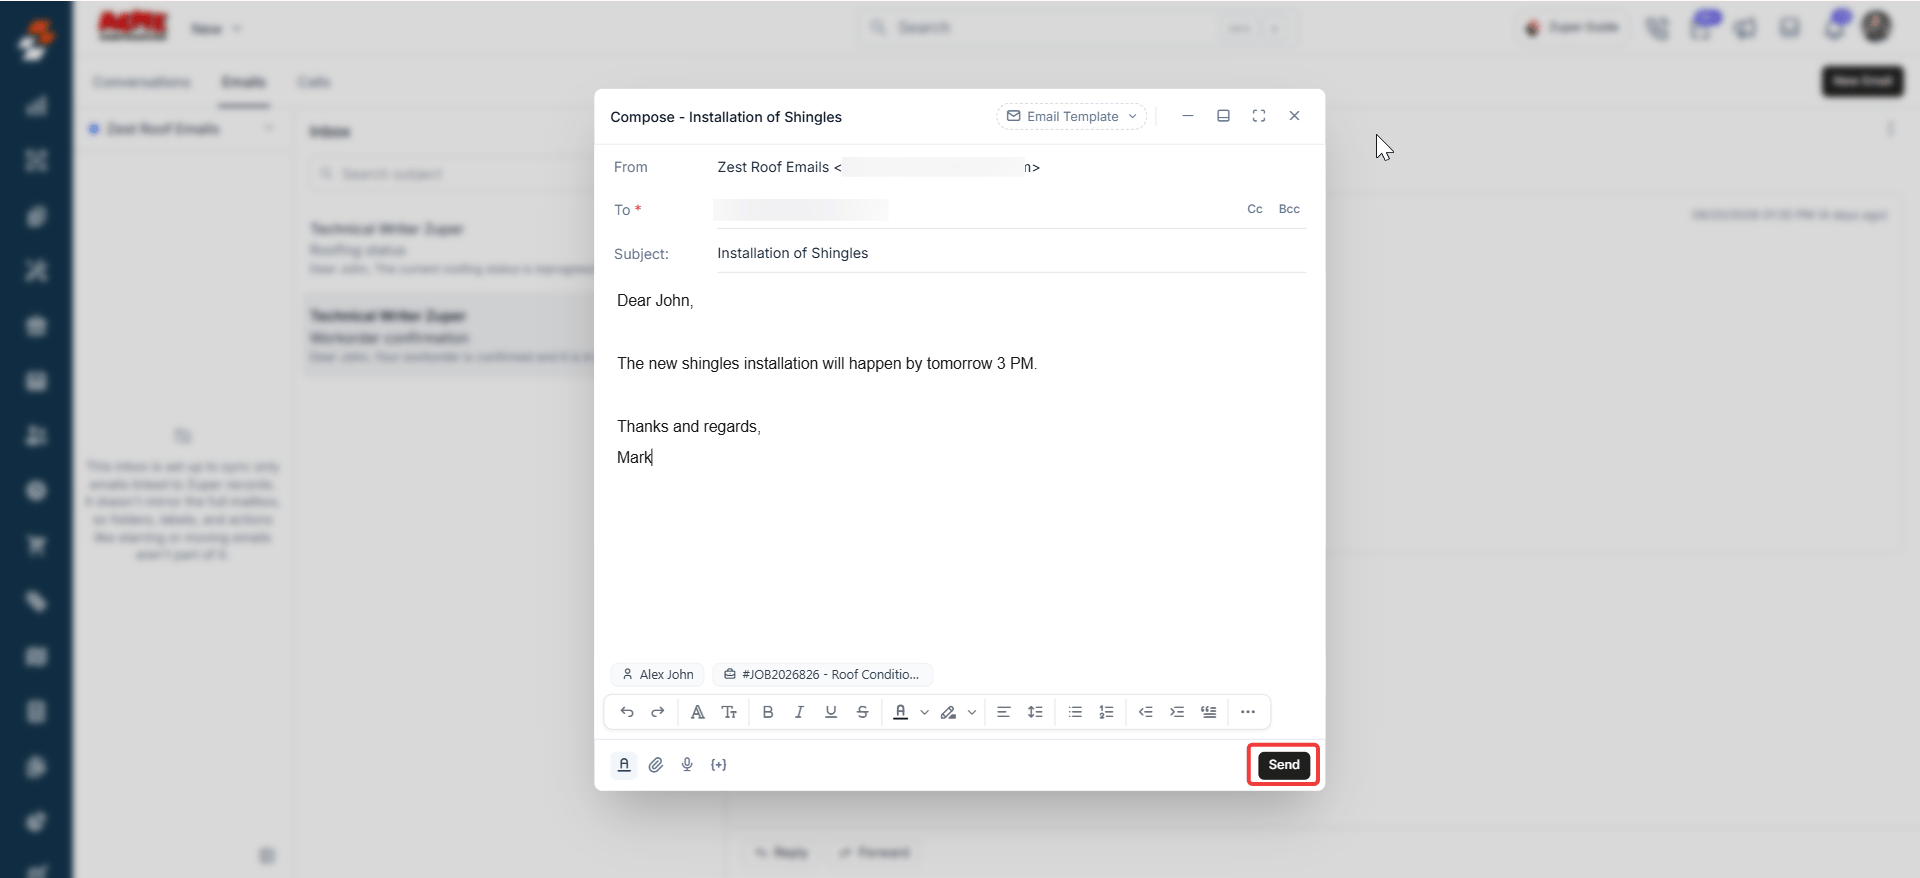
Path: Communication Conversations is one queue across all your customers. It lists text messages and emails from everyone, together. If Zuper Connect is enabled, email sits alongside texts and calls. A new email then arrives as a conversation, and you reply to it the same way you reply to a text. Use Conversations to see what needs a response right now. Use a job’s or customer’s own Communication tab, covered next, when you want the history for one record. Select Mark as Closed on a conversation once it is handled. The conversation reopens automatically if the customer replies. Select the checkboxes on several conversations to use the bulk Mark as read and Mark as closed actions. Select the Open dropdown, or the filter icon, to filter by Needs Attention, Unread, or Unresponded. The Emails tab gives you the same context, focused on email only. It lists every inbox you have access to, personal and shared, and you view one at a time. Use this tab when texts and calls would be noise.Search works on the subject line only.
Linking emails to contacts and jobs
Linking is what makes an email appear on the job or customer record. Without it, the email exists only in the inbox.- Automatic linking: An incoming email from an address already saved on a customer links to that customer as soon as it arrives. Zuper does not link the job automatically.
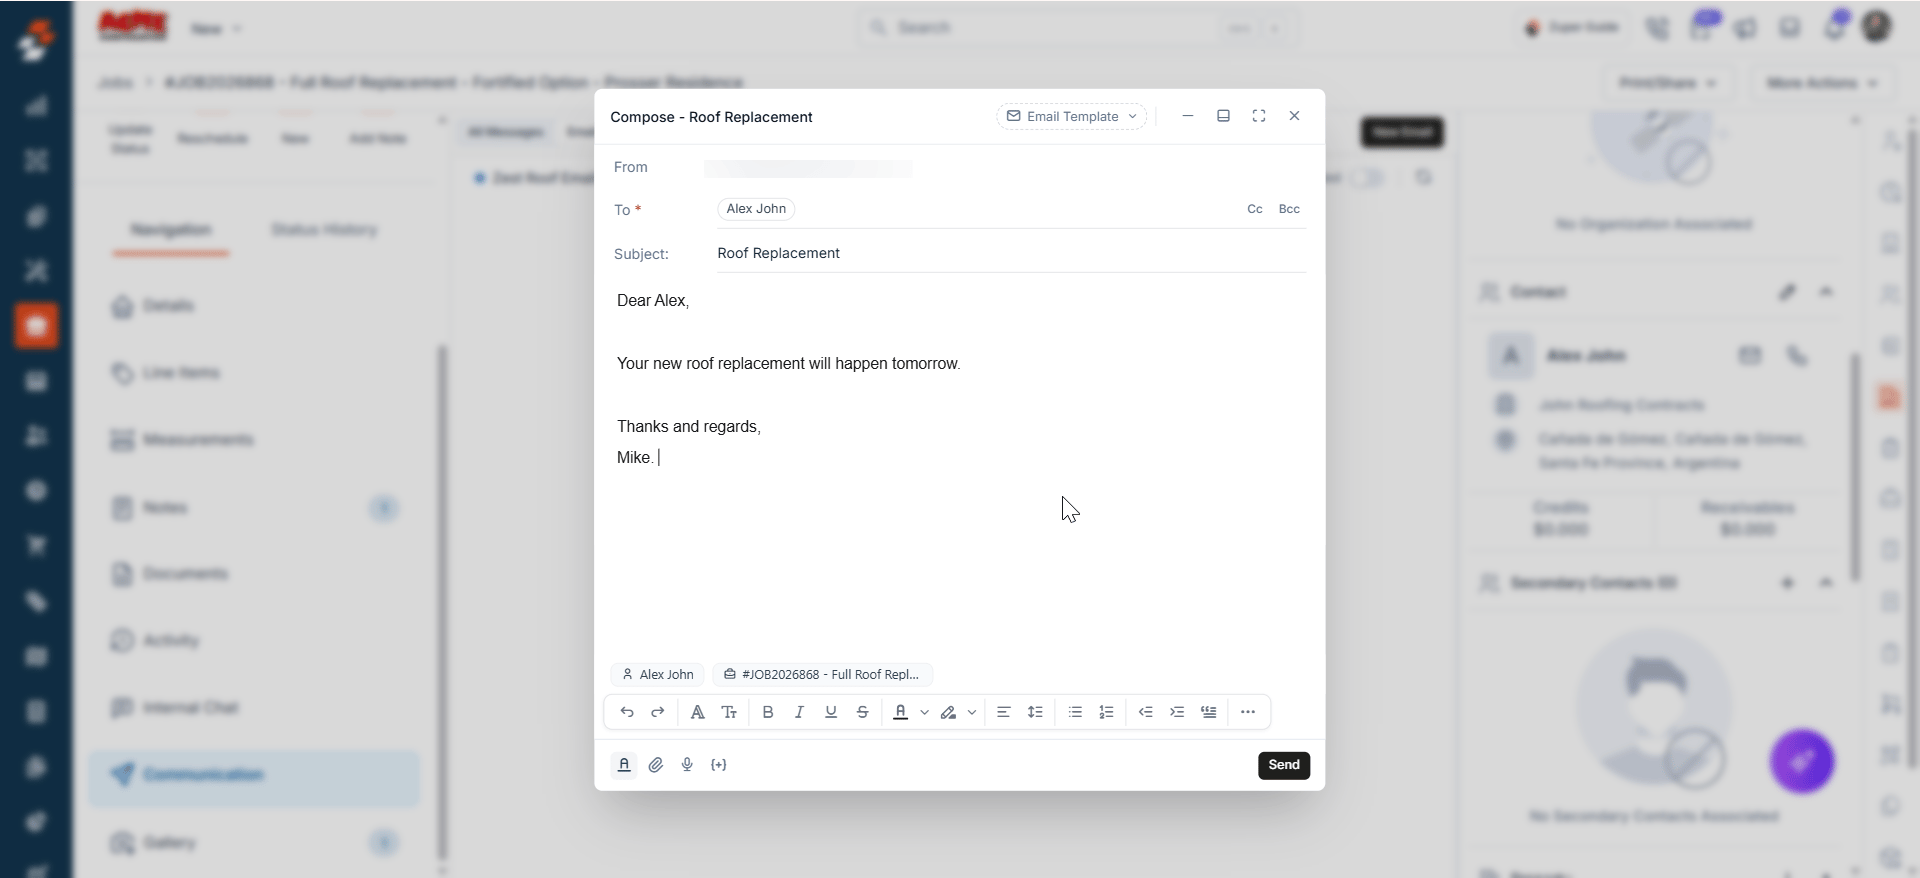
- Manual linking: Select Add contact and Add job below the message body while composing. You can also do this at the top of an email you already sent or received. If you link a contact first, Zuper offers only that contact’s jobs.
- Changing a link: Select the three-dot menu on a chip, then select Change or Remove.
Communication within jobs and contacts
Path: Jobs > a job > Communication, or Contacts > a customer > Communication Every job and customer record has its own Communication tab, alongside Details, Notes, and Gallery. Three views sit inside this tab. All Messages is the unified console for that record. With Zuper Connect enabled, emails and texts appear together, so you never check two places for one conversation. Select All Inboxes to combine every number and mailbox, or filter to just one. Emails narrows the view to email for that record only. On a job, the Show Related toggle switches between this job’s email and everything linked to the customer. Activity logs every email sent from the record. This differs from the other two views in an important way: Emails and All Messages show only the inboxes you have access to, while Activity shows every email sent from the record. Anyone with access to the record can open the full thread from Activity, even without access to the inbox it came from.Activity shows every email sent from the record, even from inboxes you do not have access to. Emails and All Messages show only the inboxes you can see.
Attachments in emails
You can attach a file to an email from your device, from a gallery, or from job documents. What you can attach depends on what the email is linked to.FAQs
What happens if I do not link an email to a job or customer?
What happens if I do not link an email to a job or customer?
The email stays in the inbox, but does not appear anywhere else. Linking is what makes an email show up on a job or customer record.
Can I see an email from an inbox I do not have access to?
Can I see an email from an inbox I do not have access to?
Only through a record’s Activity view. Activity shows every email sent from a job or customer, even from inboxes you cannot see. Emails and All Messages show only the inboxes you have access to.
What does a Zuper-only inbox sync?
What does a Zuper-only inbox sync?
Only emails linked to a job or customer. Standard folders such as Sent, Drafts, and Spam, and any custom folders or labels, do not sync.
Can I grant someone Send access without View access?
Can I grant someone Send access without View access?
No. View is required before you can grant Send, since a user needs to see the inbox to send from it.