• Define approval flows for purchase orders and material requests
• Customize vendor, material request, and purchase order forms
• Create reusable purchase order templates
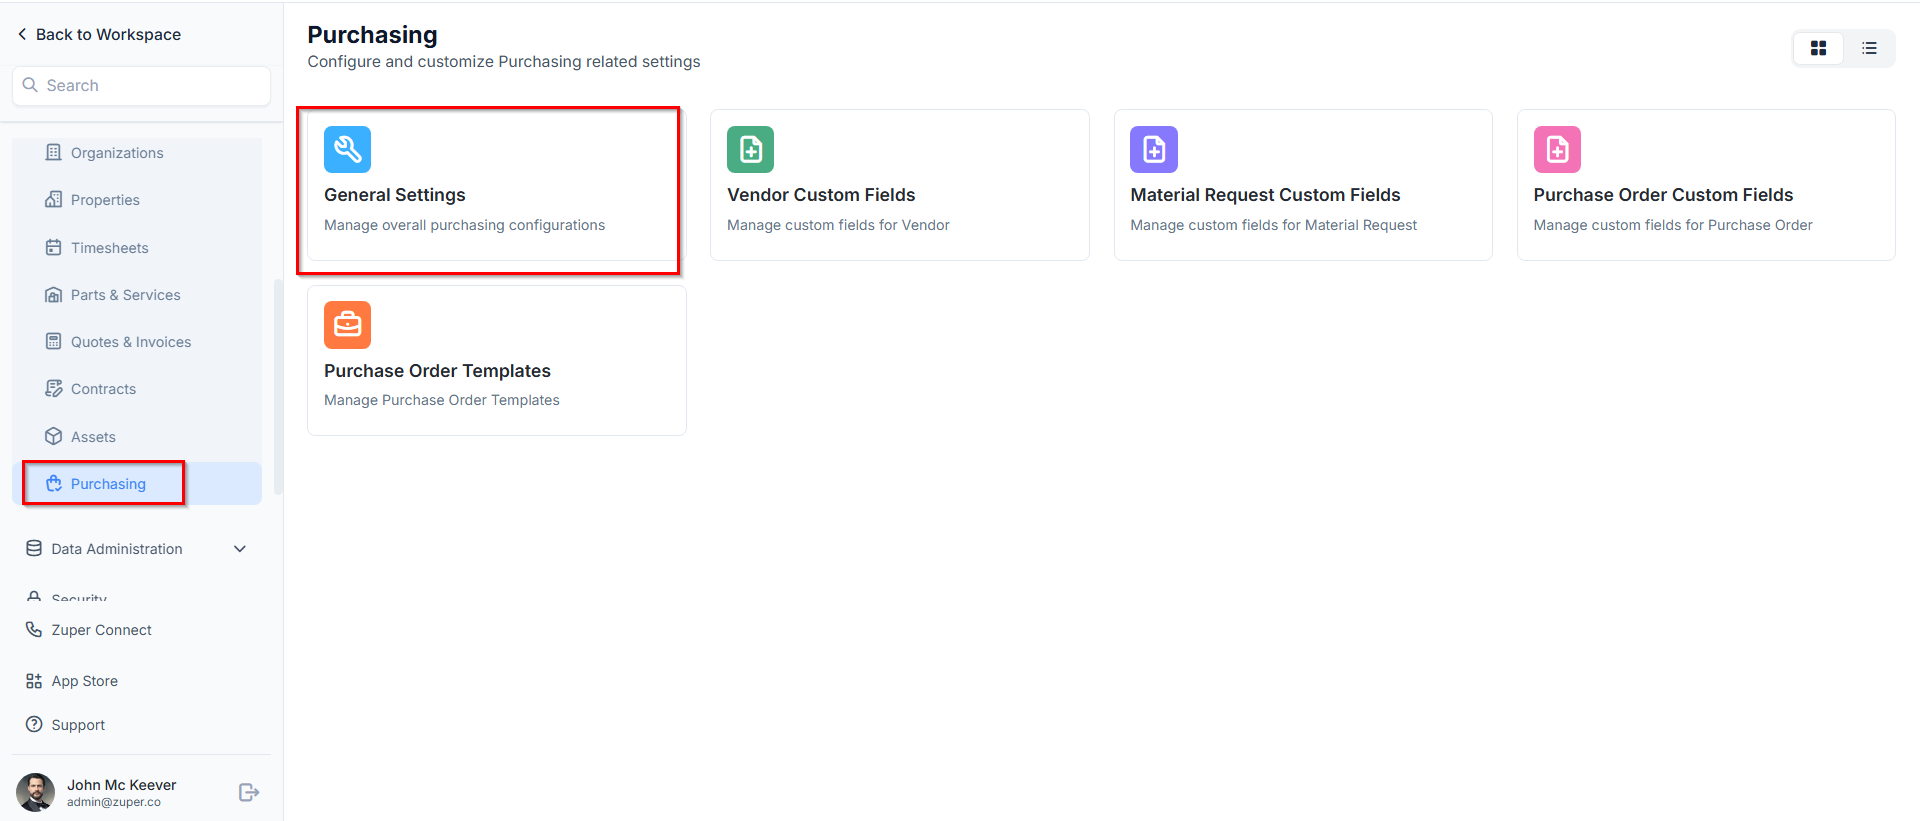
Navigation: Settings → Modules → Purchasing
General Settings
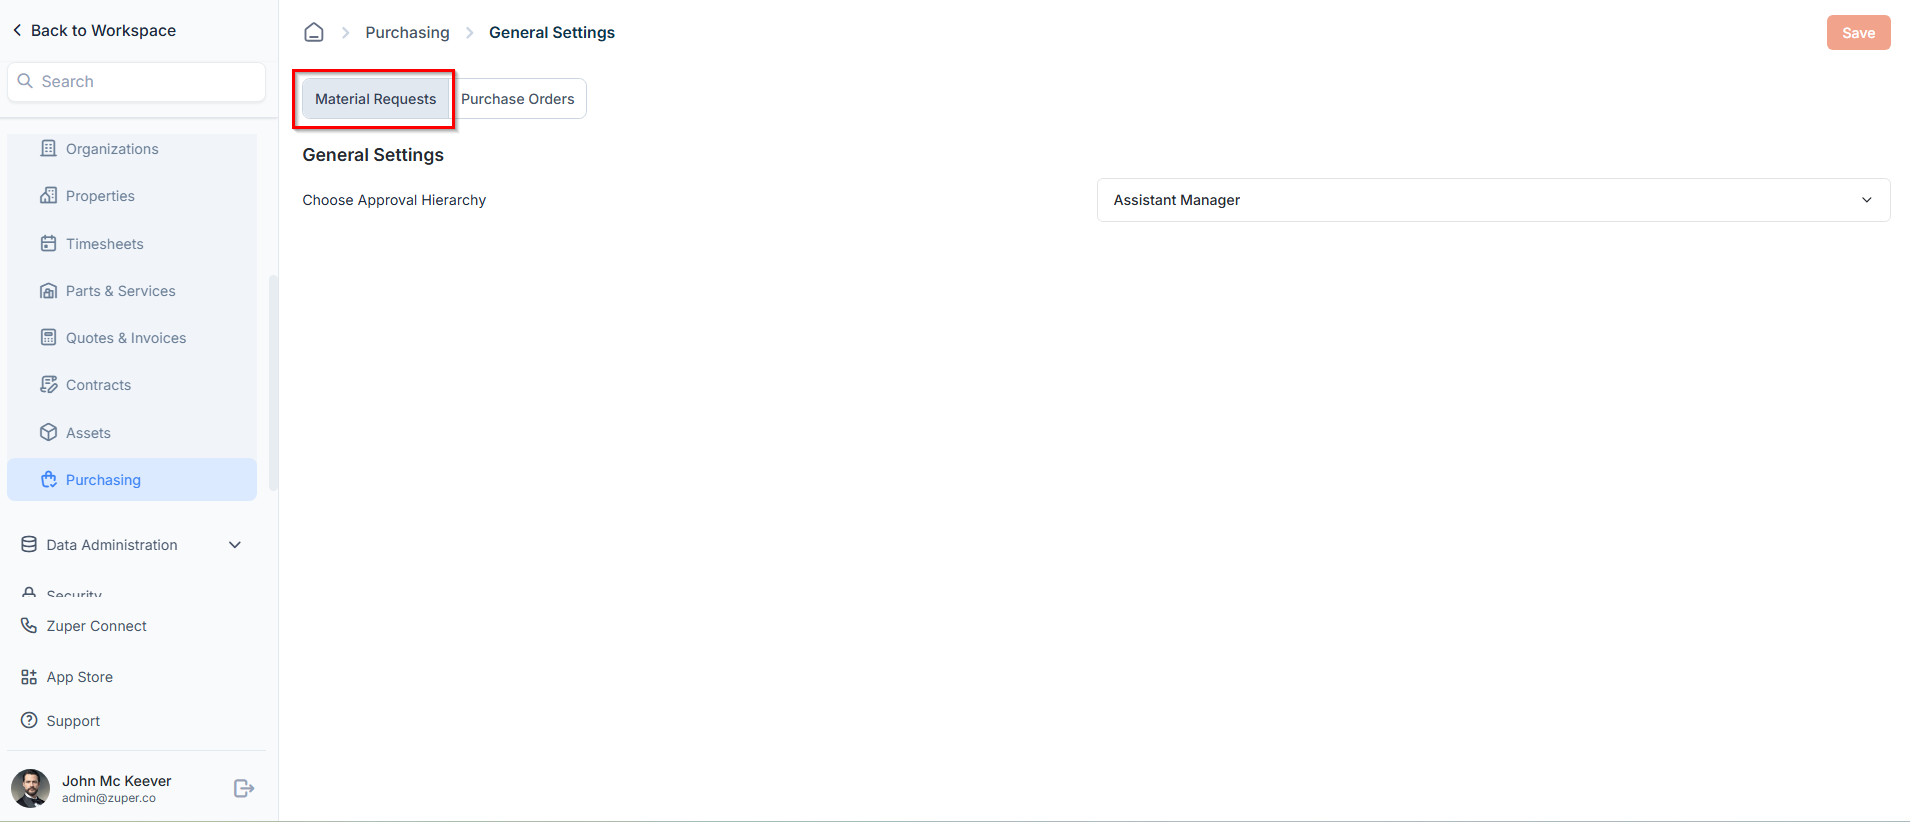
General settings control approval workflows and default behaviors for purchase orders and material requests.Navigation: Settings → Modules → Purchasing → General Settings
- Purchase Orders
- Material Requests
When you open General Settings, you’ll land on the Purchase Orders tab by default. This allows you to configure general purchase order settings.
- Choose Approval Hierarchy: Select how purchase orders are approved within your organization. This defines the approval flow before a purchase order is finalized.
- Default Email Template: Choose the default email template that will be used when sending purchase orders to vendors.
- Require Vendor Approval?: Enable this option if vendor approval is required before a purchase order can proceed. This helps ensure vendor confirmation and accuracy.
- Automatically send PO to Vendor after Approval?: When this option is enabled, Zuper automatically sends the purchase order to the vendor by email immediately after approval. If you disable this option, you must send the email to the vendor manually.
By default, the Automatically send PO to Vendor after Approval toggle is set to on.

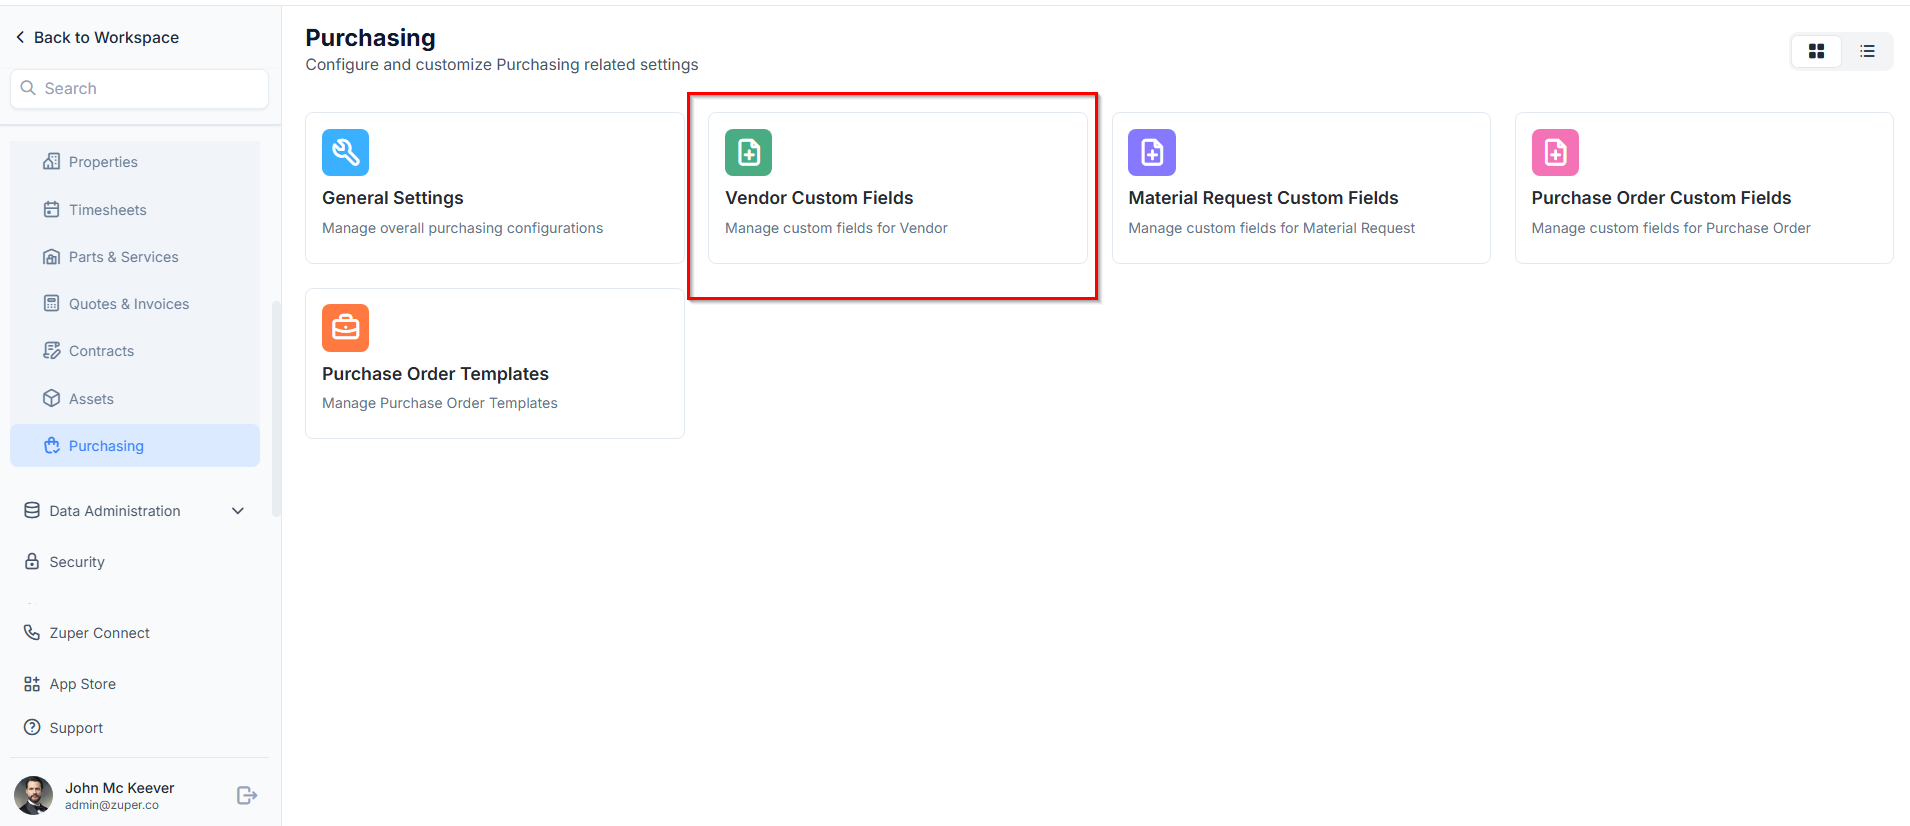
Vendor Custom Fields
Vendor custom fields allow you to capture additional information specific to vendors, beyond the standard fields.Navigation: Settings → Modules → Purchasing → Vendor Custom Fields
- Select the Settings module from the left navigation menu.
- Under Modules, choose Purchasing.
- Select Vendor Custom Fields.
- Drag and drop custom fields from the right panel into the form layout.
- Configure field properties as needed.
- Click Create New to create a Custom Field group.
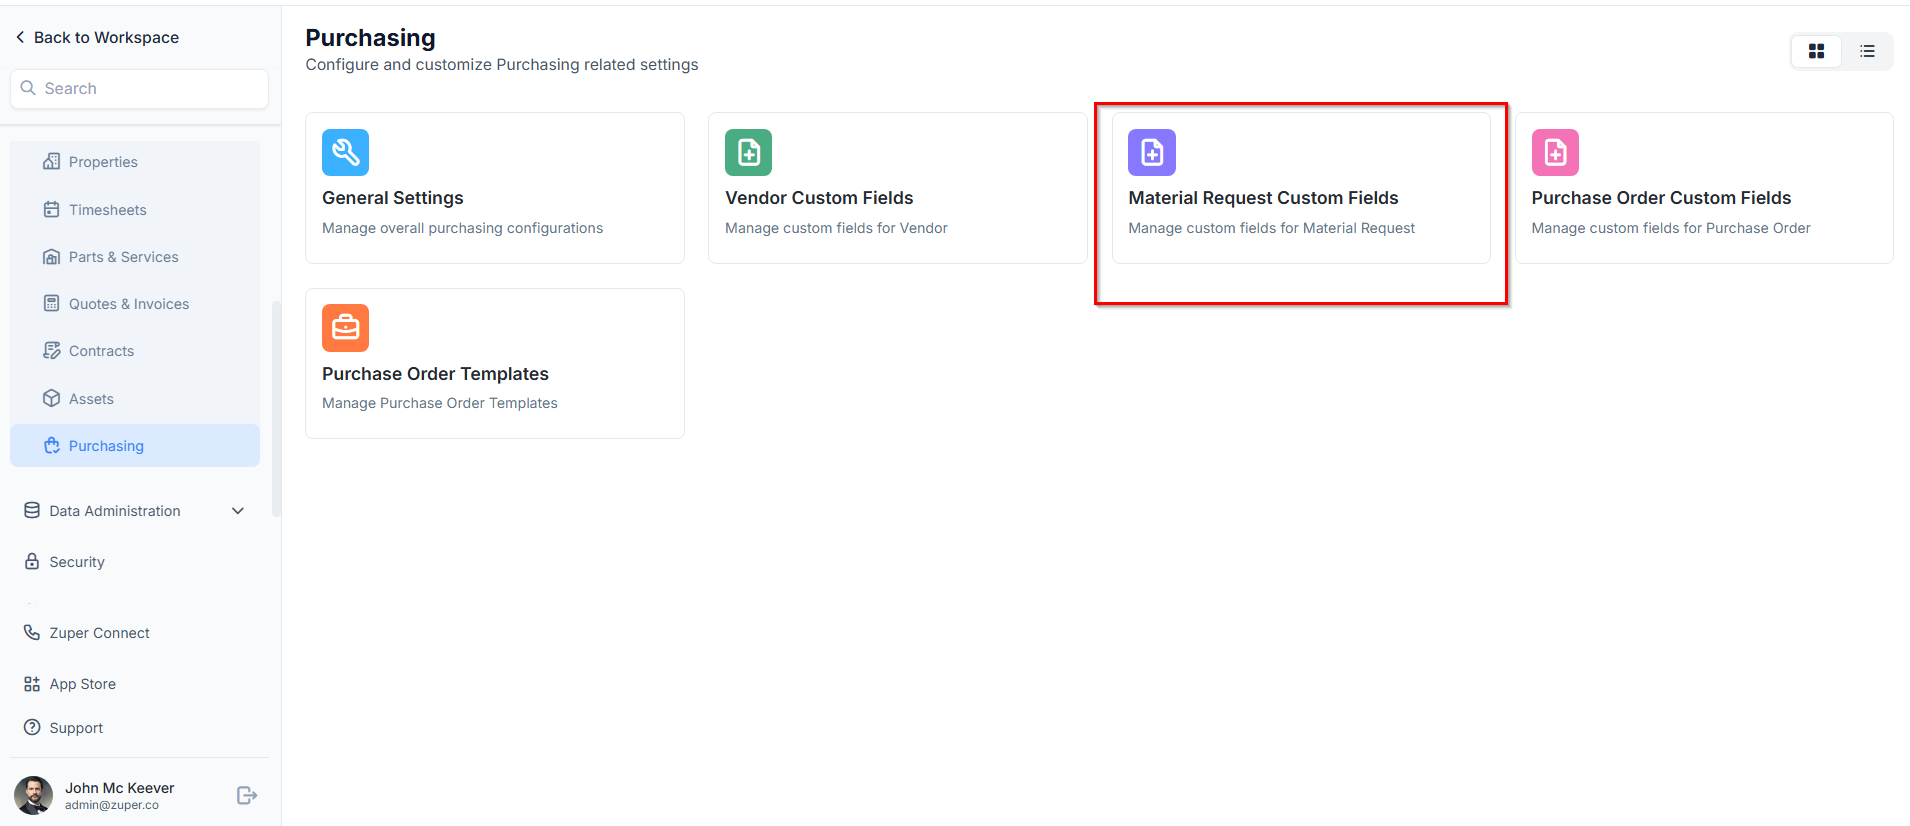
Material Request Custom Fields
Material request custom fields let you collect additional details when users create a material request. Any fields you configure here appear in the Other Details section of the material request form. See Creating a Material Request — Other Details.Navigation: Settings → Modules → Purchasing → Material Request Custom Fields
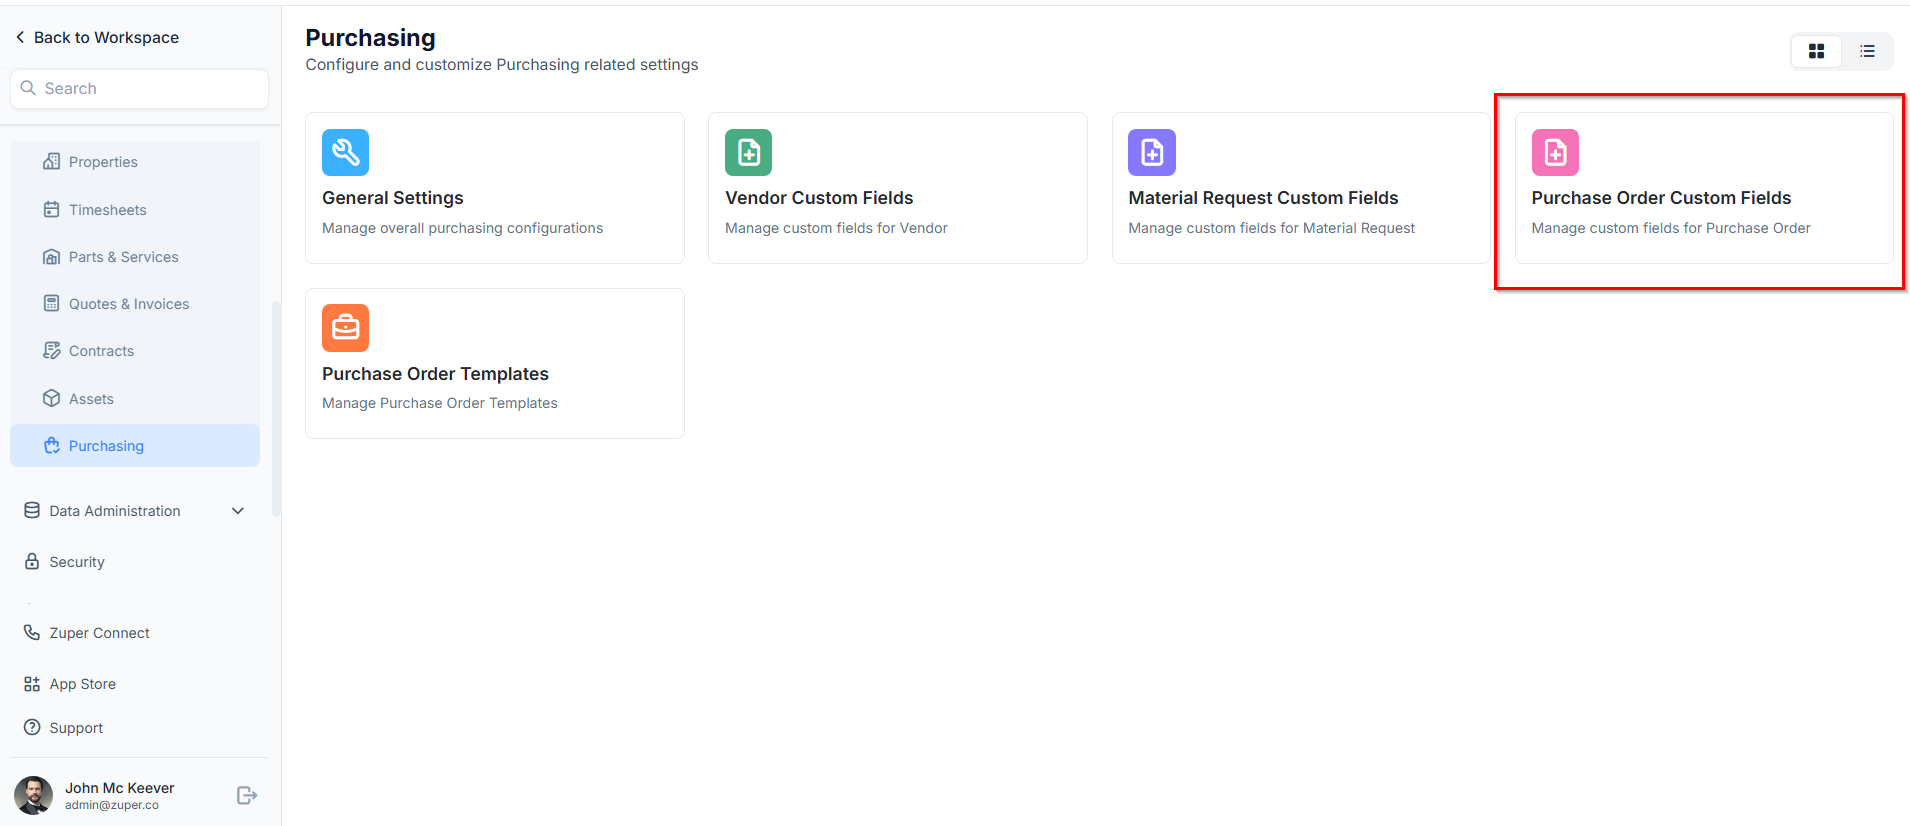
Purchase Order Custom Fields
Purchase order custom fields help you customize purchase order forms with additional information required by your business.Navigation: Settings → Modules → Purchasing → Purchase Order Custom Fields
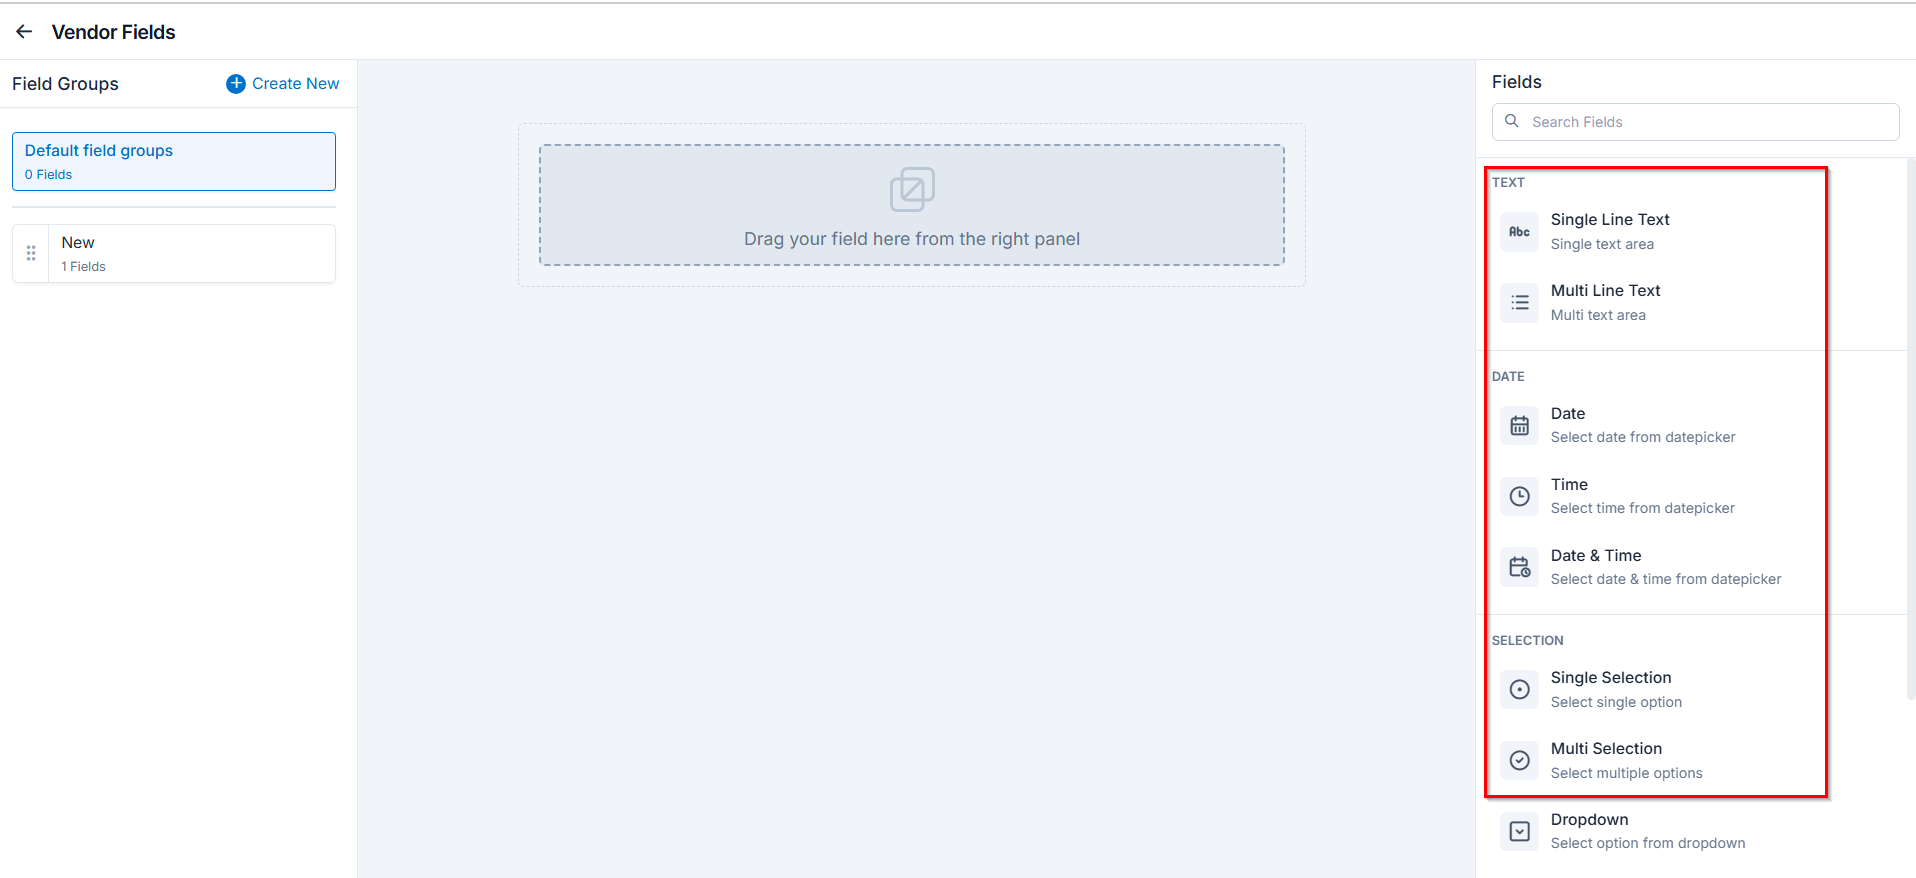
Custom Field Types Available
You can drag and drop the following types of custom fields across Vendor, Material Request, and Purchase Order forms. Text- Single-Line Input: Allows users to enter a single line of free text.
- Multi-Line Input: Allows users to enter multiple lines of free text.
- Date Input: Allows users to select a specific date from a calendar.
- Time Input: Allows users to select a specific time.
- Date Time Input: Allows users to select both date and time.
- Single-Selection: Creates a radio button field where only one option can be selected.
- Multi-Selection: Creates checkbox fields where multiple options can be selected.
- Drop-Down: Creates a drop-down list with predefined options.
- Upload: Allows users to upload files as part of the form.
- Look Up: Allows users to look up and select products, users, invoices, and quotes.
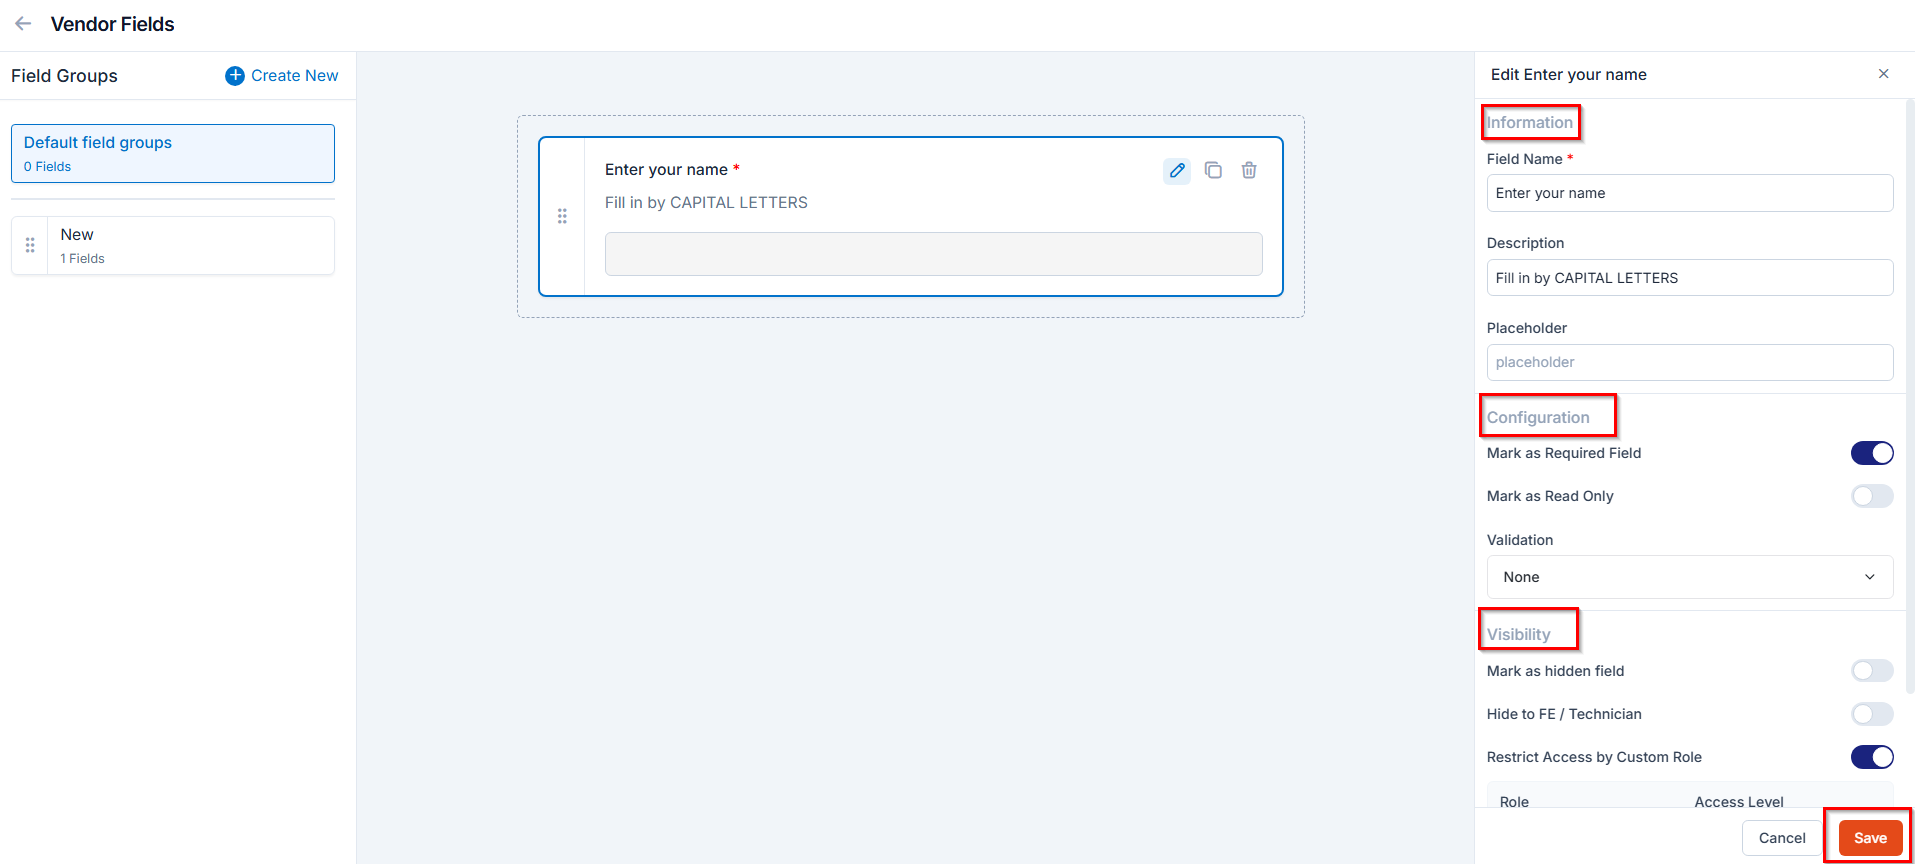
Configuring Field Types
After dragging and dropping the custom fields from the right panel, fill in the following sections: Information- Field Name: Enter or update the name of the field.
- Description: Provide additional details about the field.
- Placeholder: Add placeholder text to guide users when filling the field.
- Mark as Required Field: Toggle to make this field mandatory.
- Mark as Read Only: Toggle to prevent edits on this field.
- Mark as Hidden Field: Hide the field from all users.
- Hide to FE / Technician: Hide the field from field technicians in the mobile app.
- Restrict Access by Custom Role: Limit access to users with specific roles. This means that only users with the specific role will have access to this field. Other users will not be able to see or interact with it based on the access level assigned. When toggled on, you can choose one or more roles from the dropdown using the “Add Role Access” button. For each role, you can set an Access Level:
- Hidden → The field is completely hidden for this role.
- View Only → The role can see the field but cannot make any changes.
- View & Edit → The role can see and edit the field.
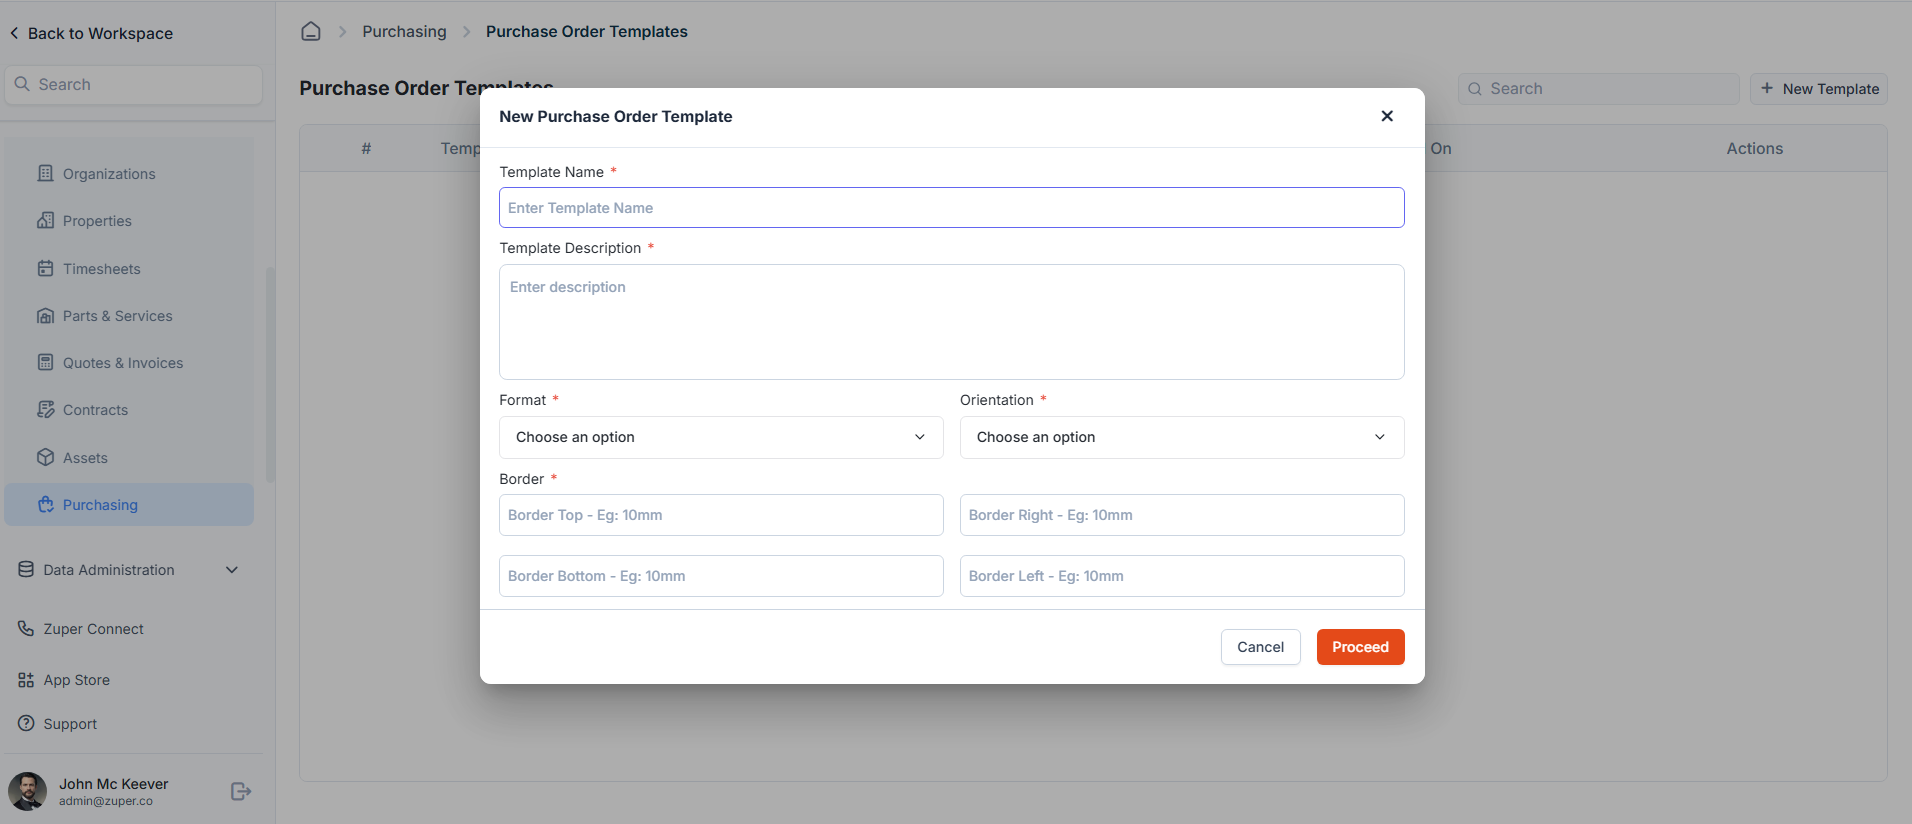
Purchase Order Templates
Purchase order templates allow you to standardize purchase order formats for consistency and professionalism.Navigation: Settings → Modules → Purchasing → Purchase Order Templates
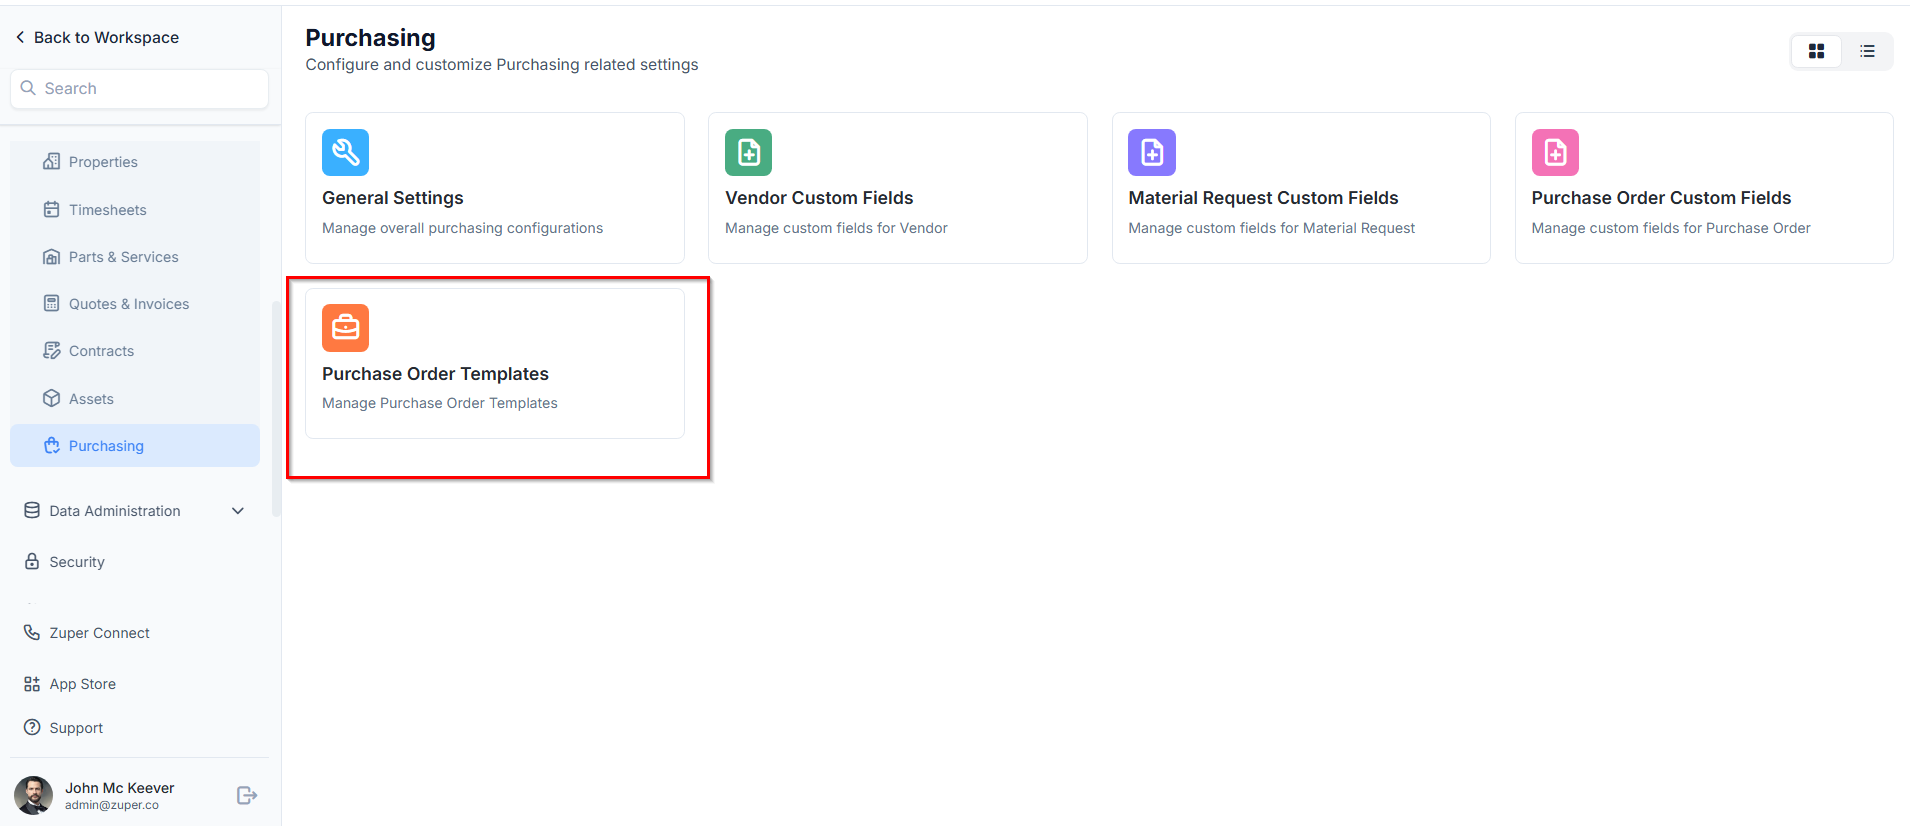
- Select the Settings module from the left navigation menu.
- Under Modules, choose Purchasing.
- Select Purchase Order Templates.
- Click + New Template.
- Fill in the template details.
- Click Save Template.
Best Practices
- Define approval hierarchies carefully to avoid delays in purchasing
- Use required fields only when necessary to keep forms user-friendly
- Hide internal-only fields from technicians to reduce confusion
- Use templates to maintain consistent branding and information across purchase orders