Creating a new request
Navigation: Request—> Request Listing page—> +New Request
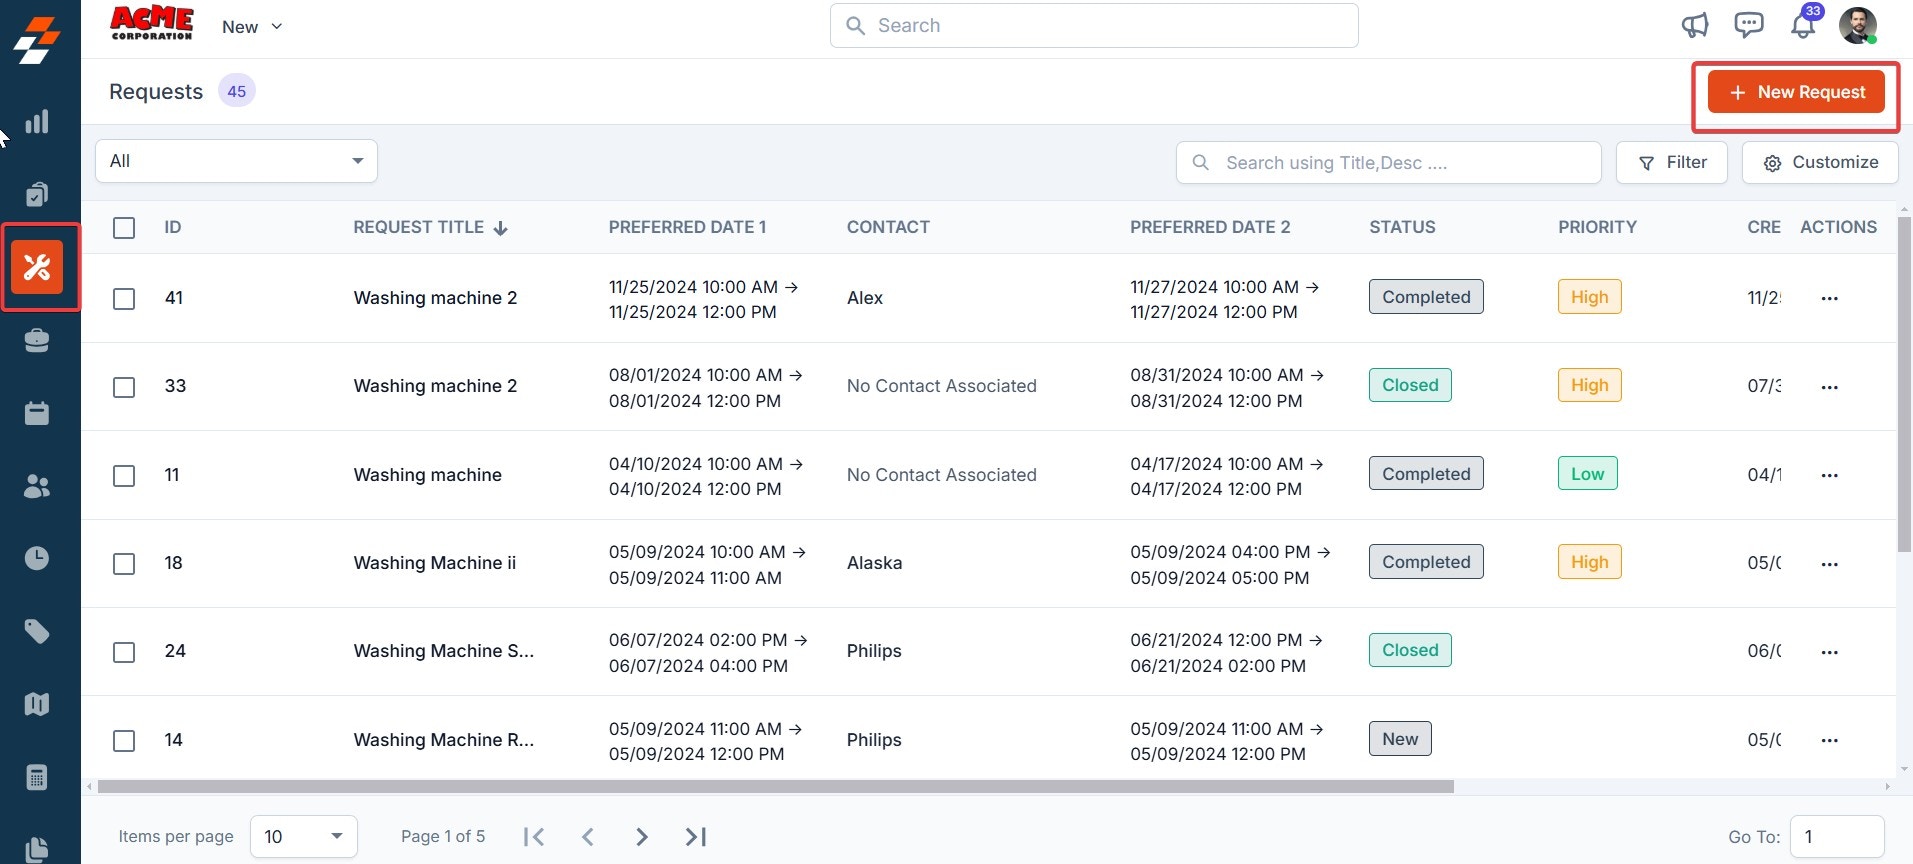
- Select the “Request” module from the left navigation menu. The requests listing page displays all the requests raised by the contacts. Click the “+ New Request” button on the top right corner to create a new request.
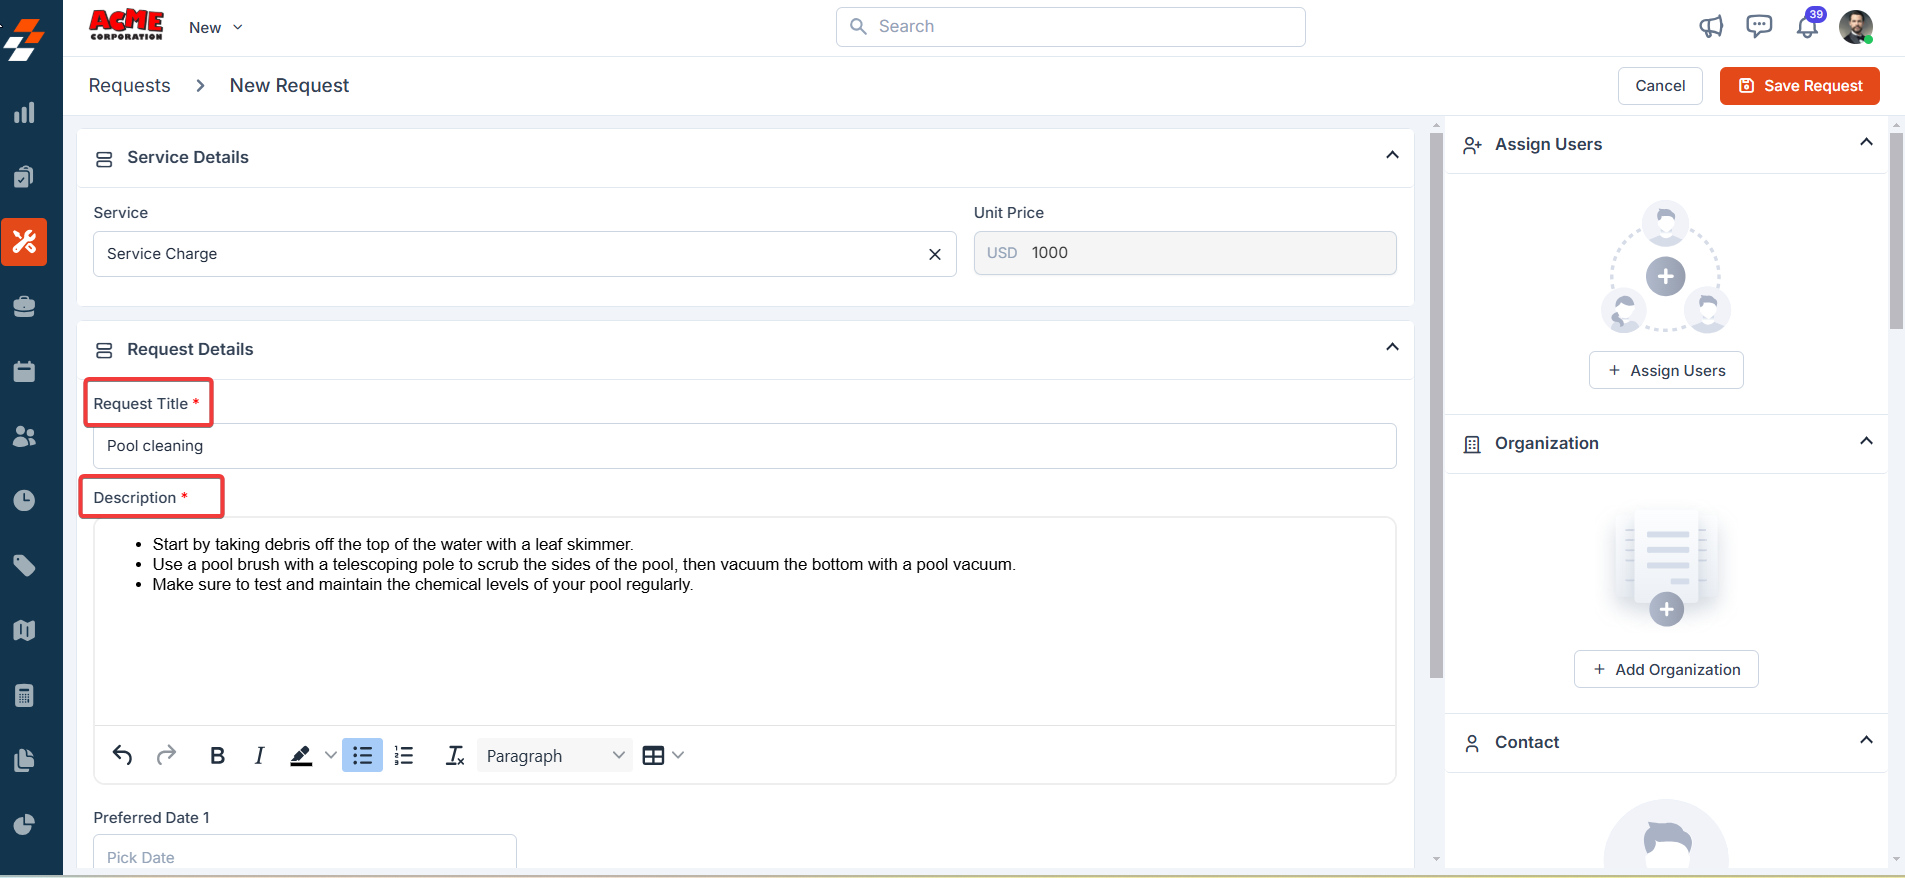
- Choose the service the contact requests and click the “Choose Service” button to confirm it (these services appear based on the configuration you set in the request settings).
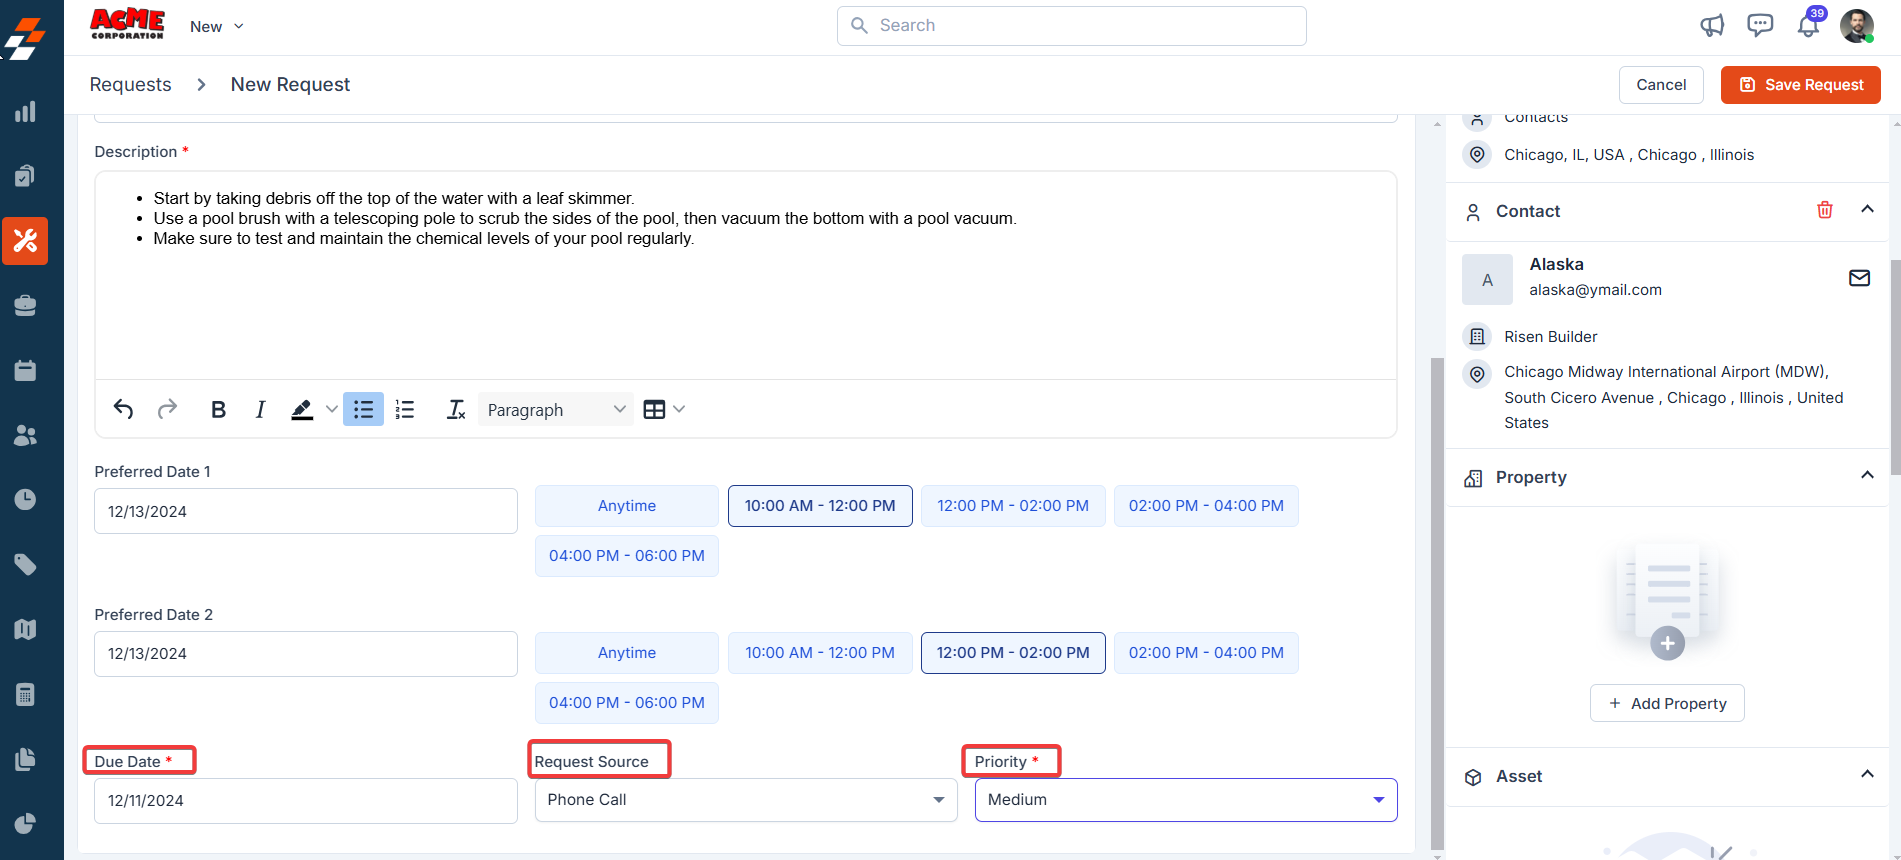
- Choose the contact’s preferred dates and time slots to perform the request.
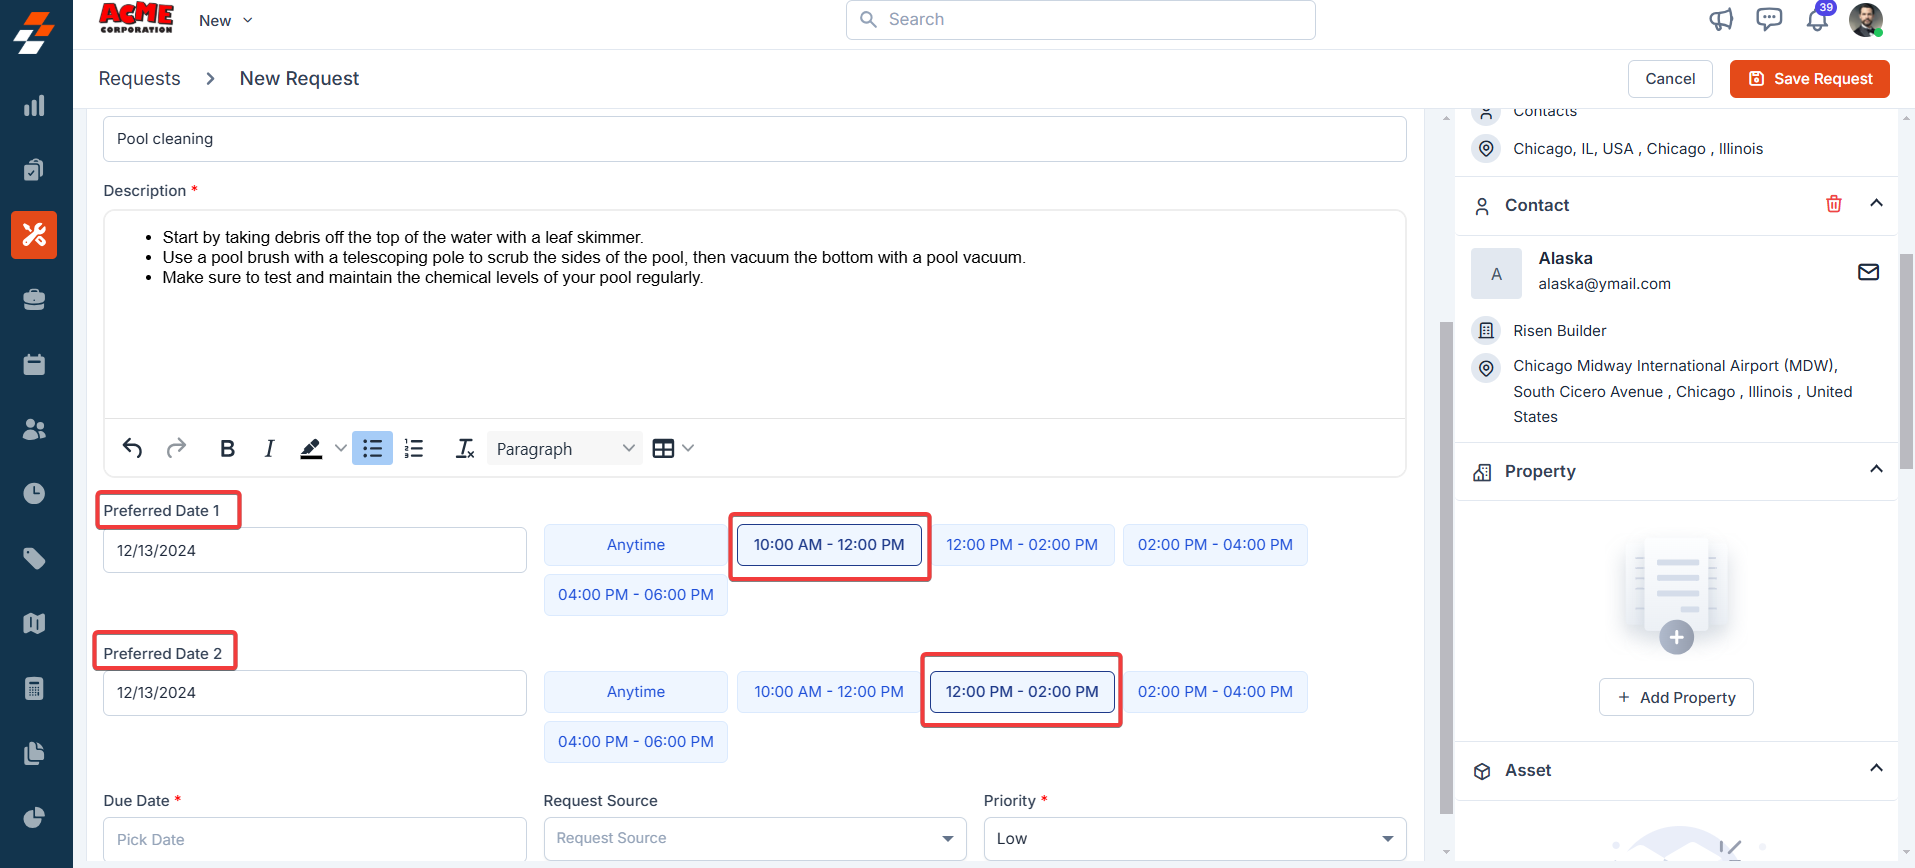
- Select the request’s due date, source, and priority.
- Once done, providing the contact/organization details is mandatory to save the request, then click “Add Organization/ Add Contact.”
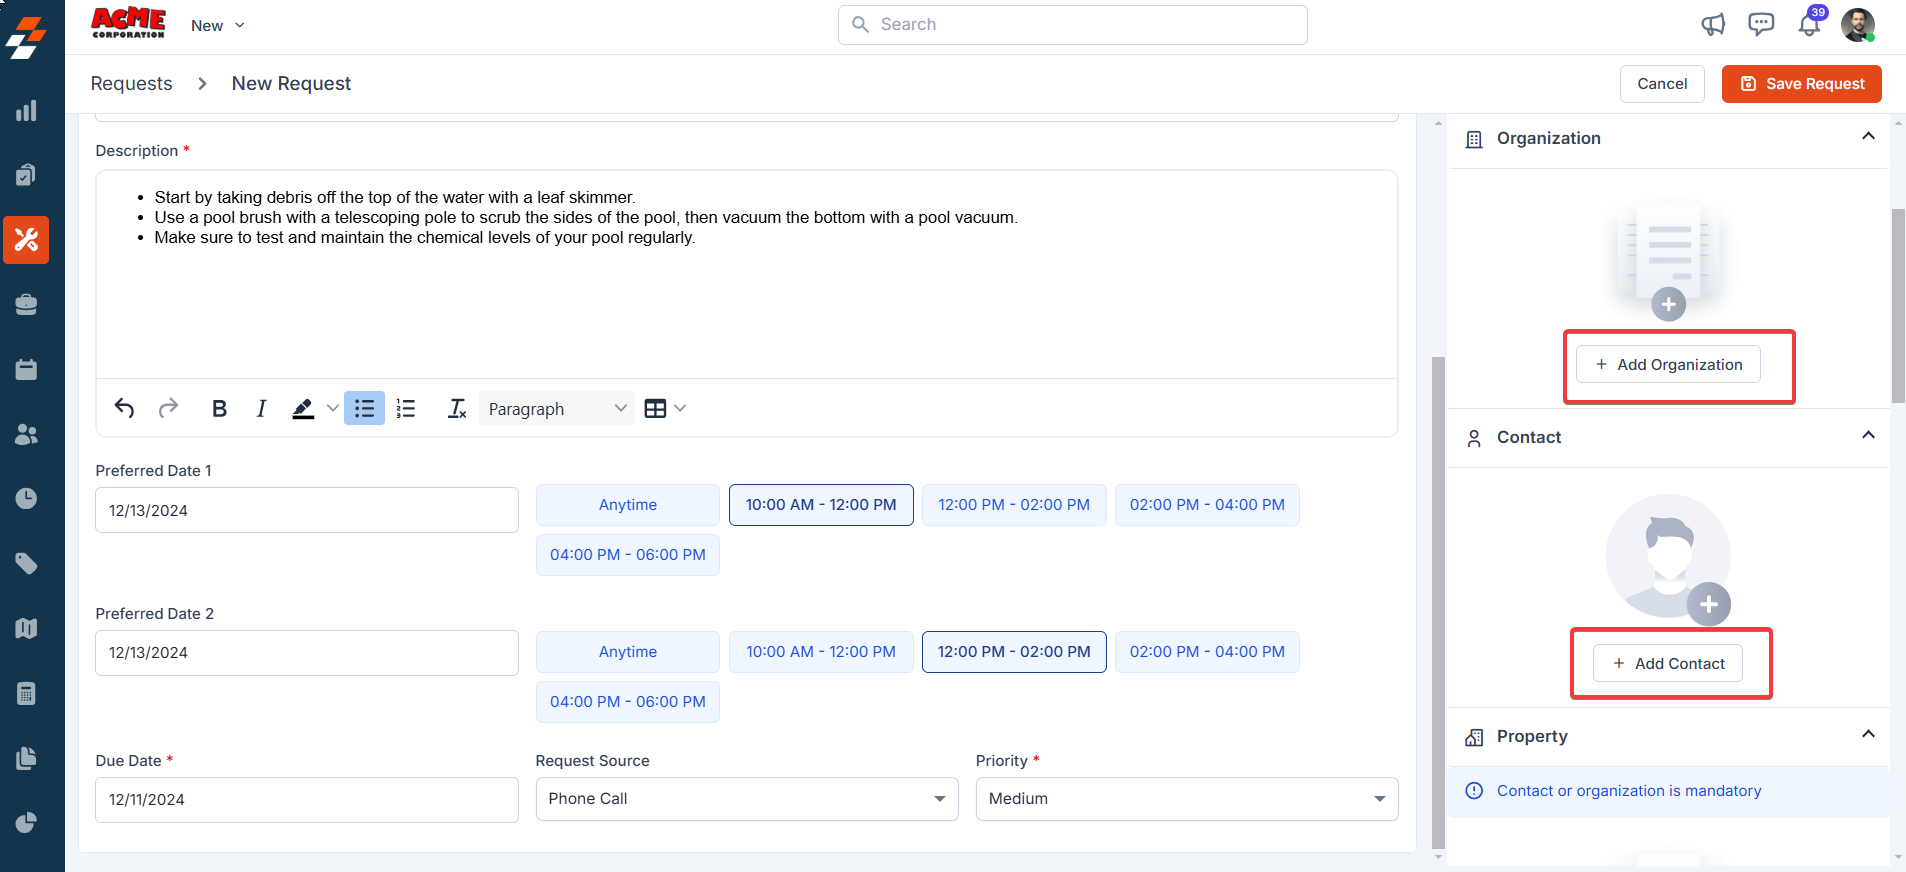
Note: You can choose either an organization or a contact.
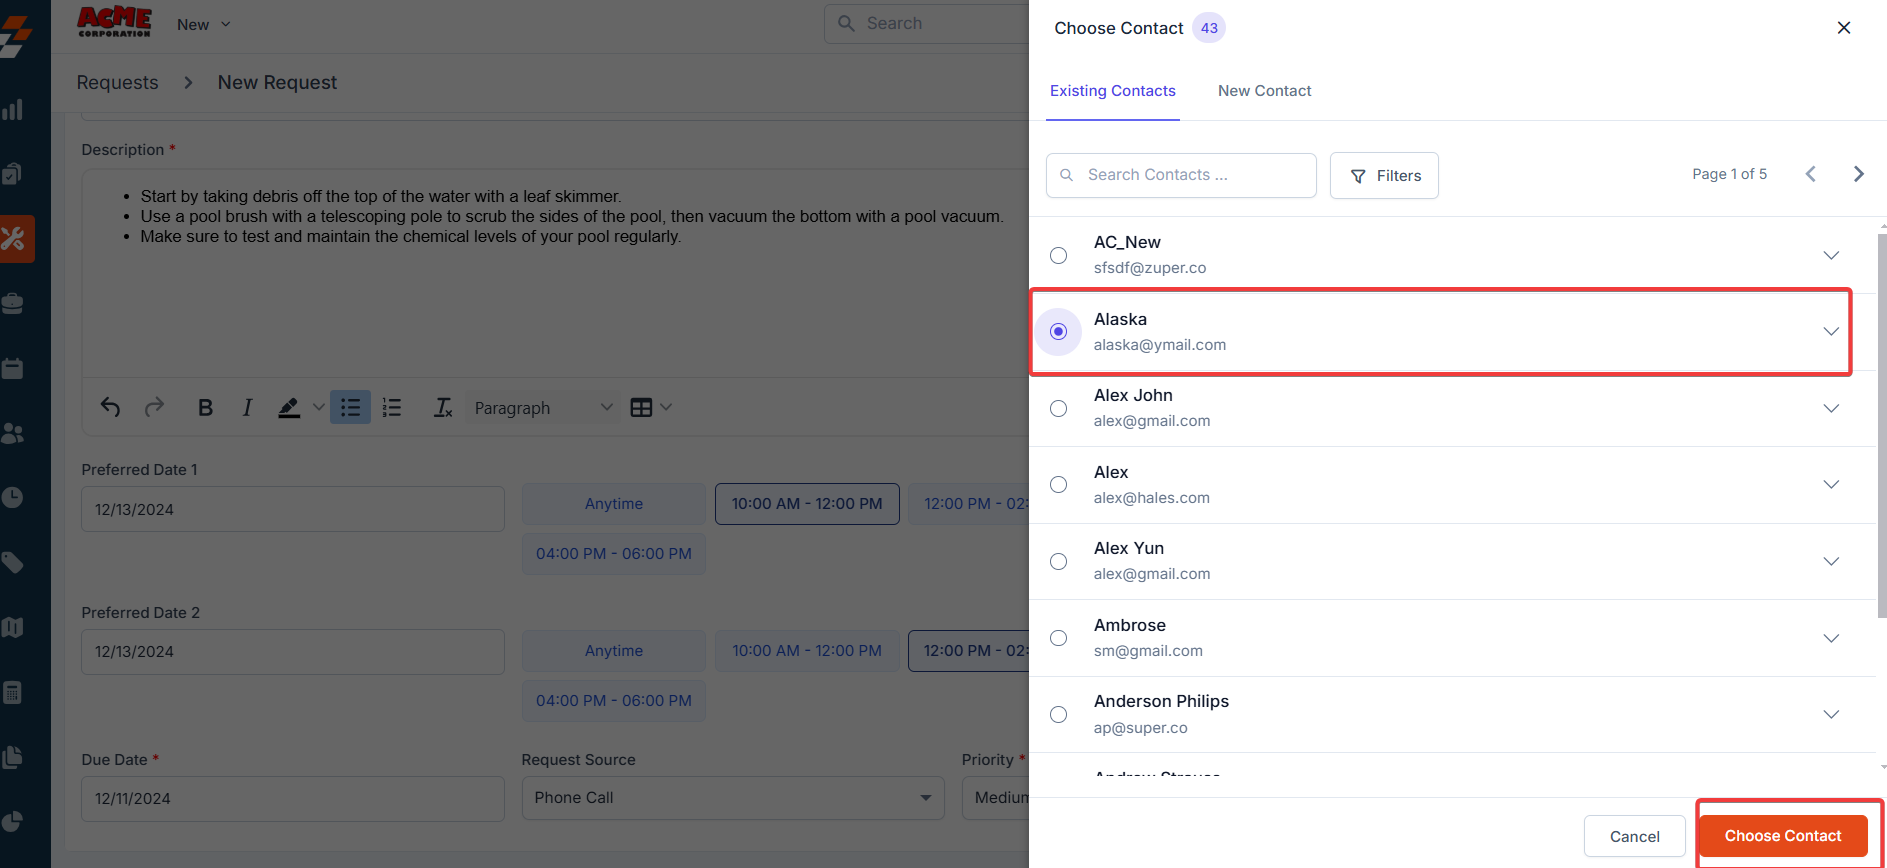
- Choose the organization/contact from the list and click the “Save Request” button.

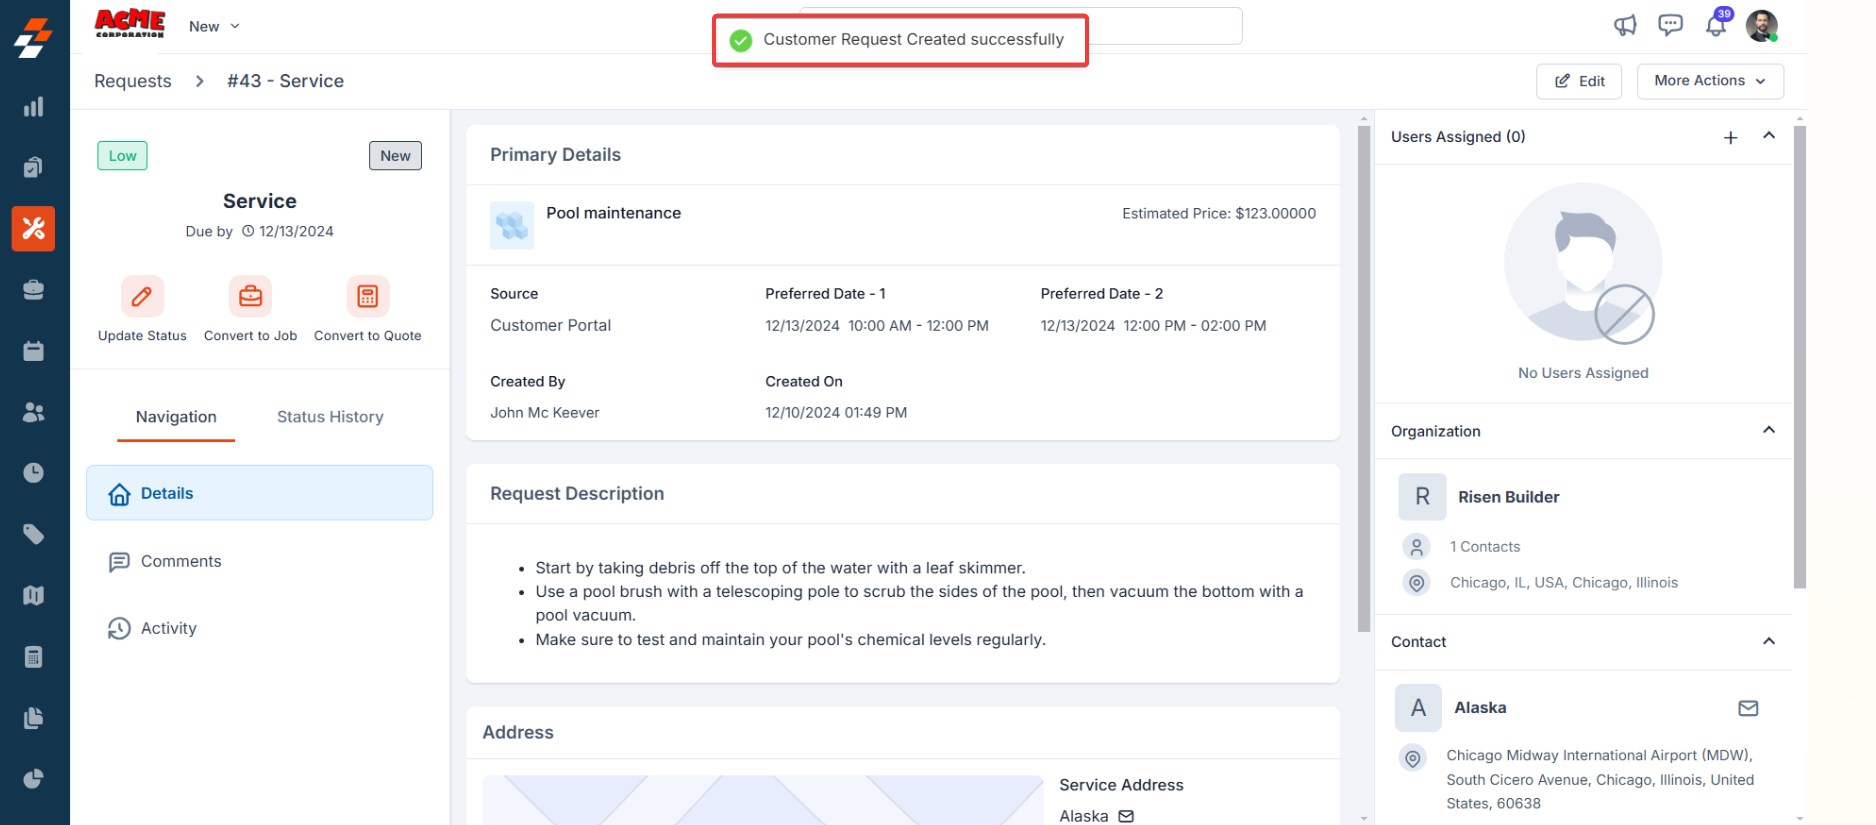
- The request is created successfully, and then you can convert it to a job/quote based on its nature. Additionally, you can track and update the request’s status from here.