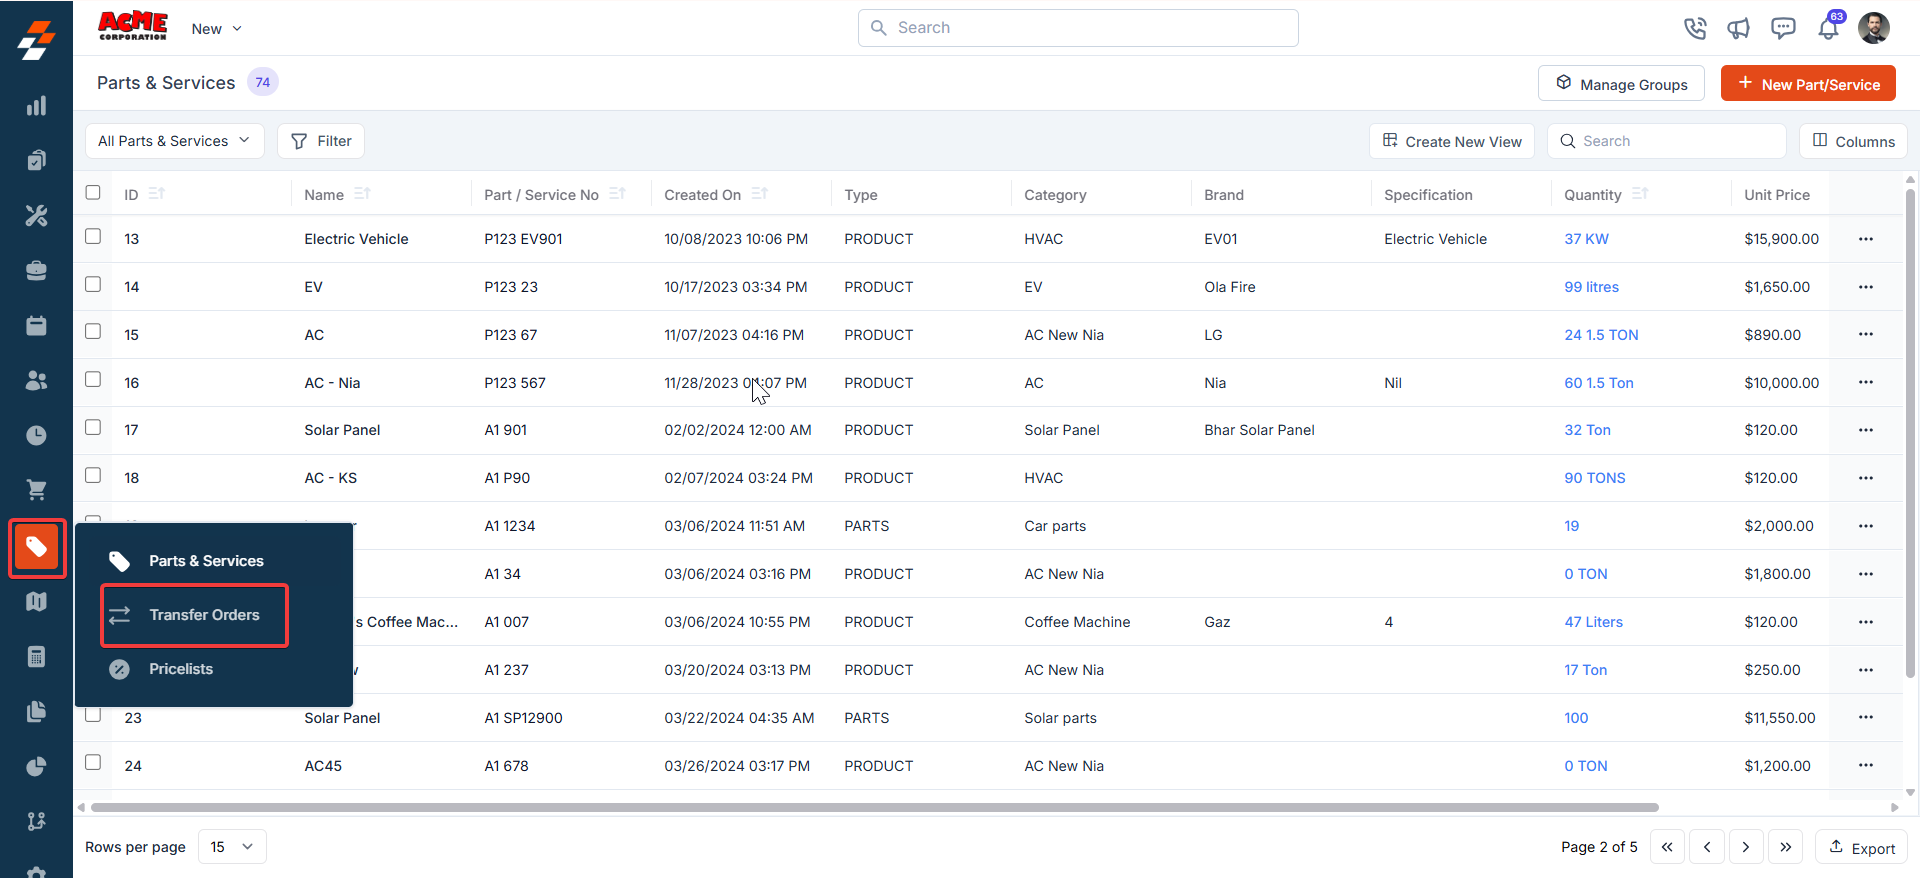
Navigation: Inventory & Pricebook -> Transfer Orders
Accessing the transfer order listing page
- Select the “Inventory & Pricebook” module from the left navigation menu and choose “Transfer Orders.” You will then be taken to the transfer orders listing page.
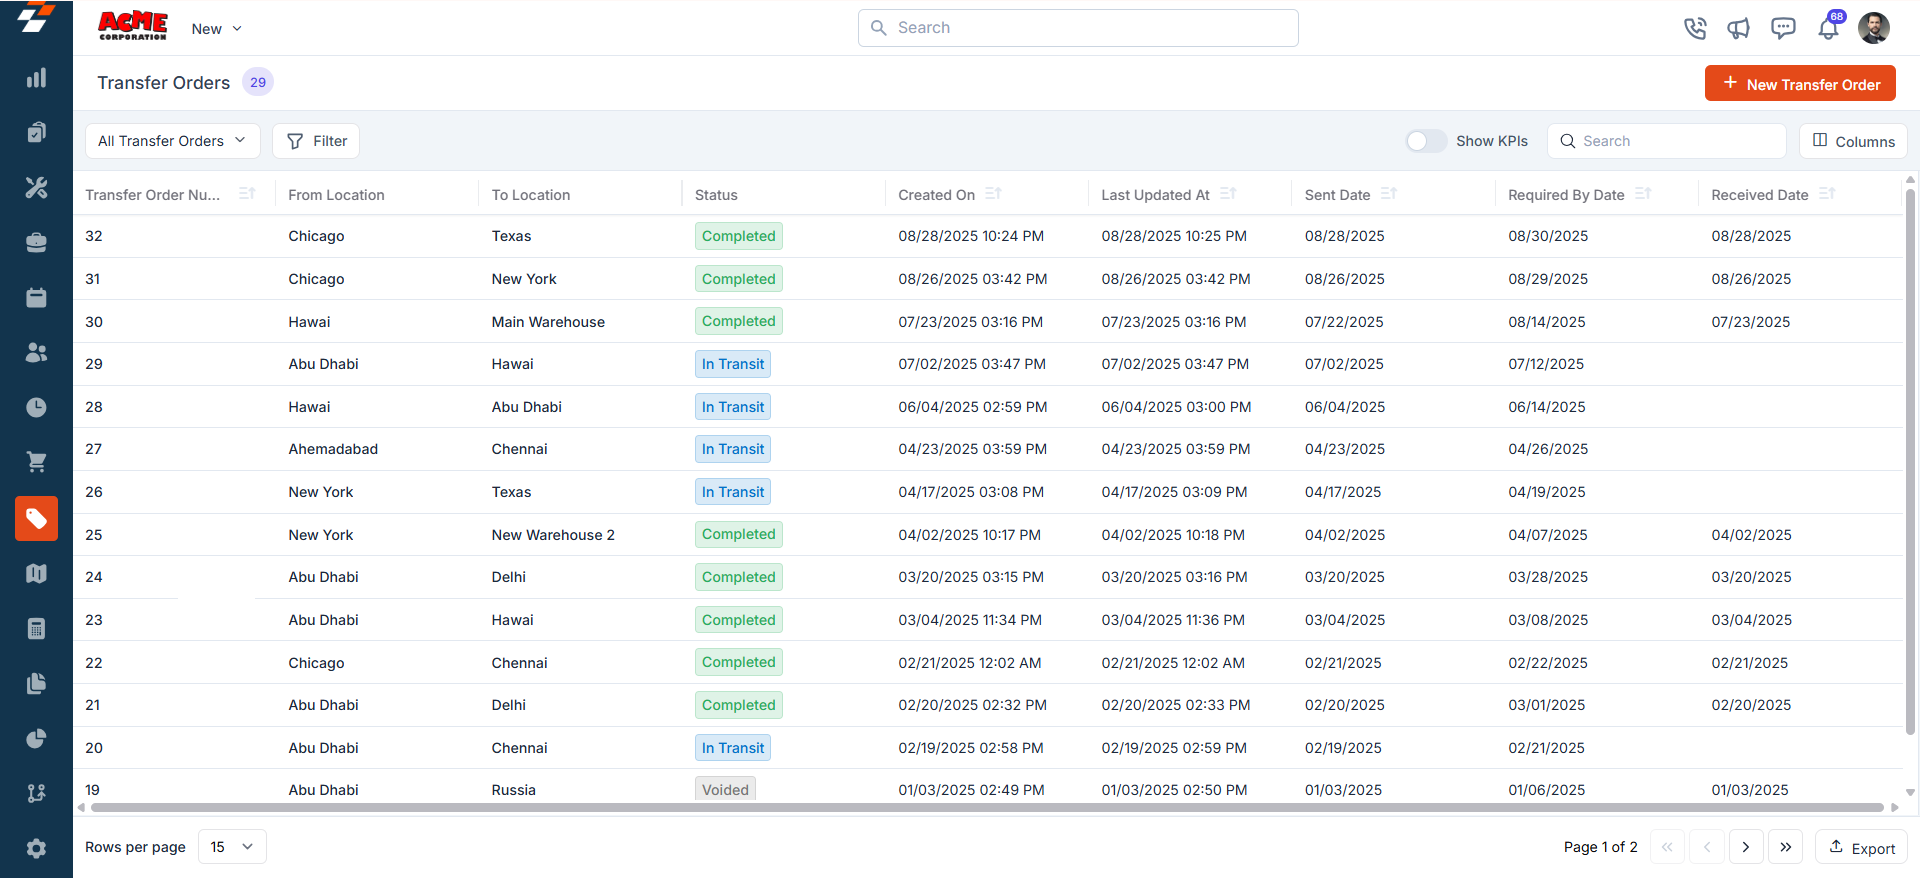
- On the Transfer orders listing page, you can view an overview of existing transfer orders, including the transfer order number, status, sent date, required date, and more, based on the period selected at the top right corner of the page.
Exploring the listing page
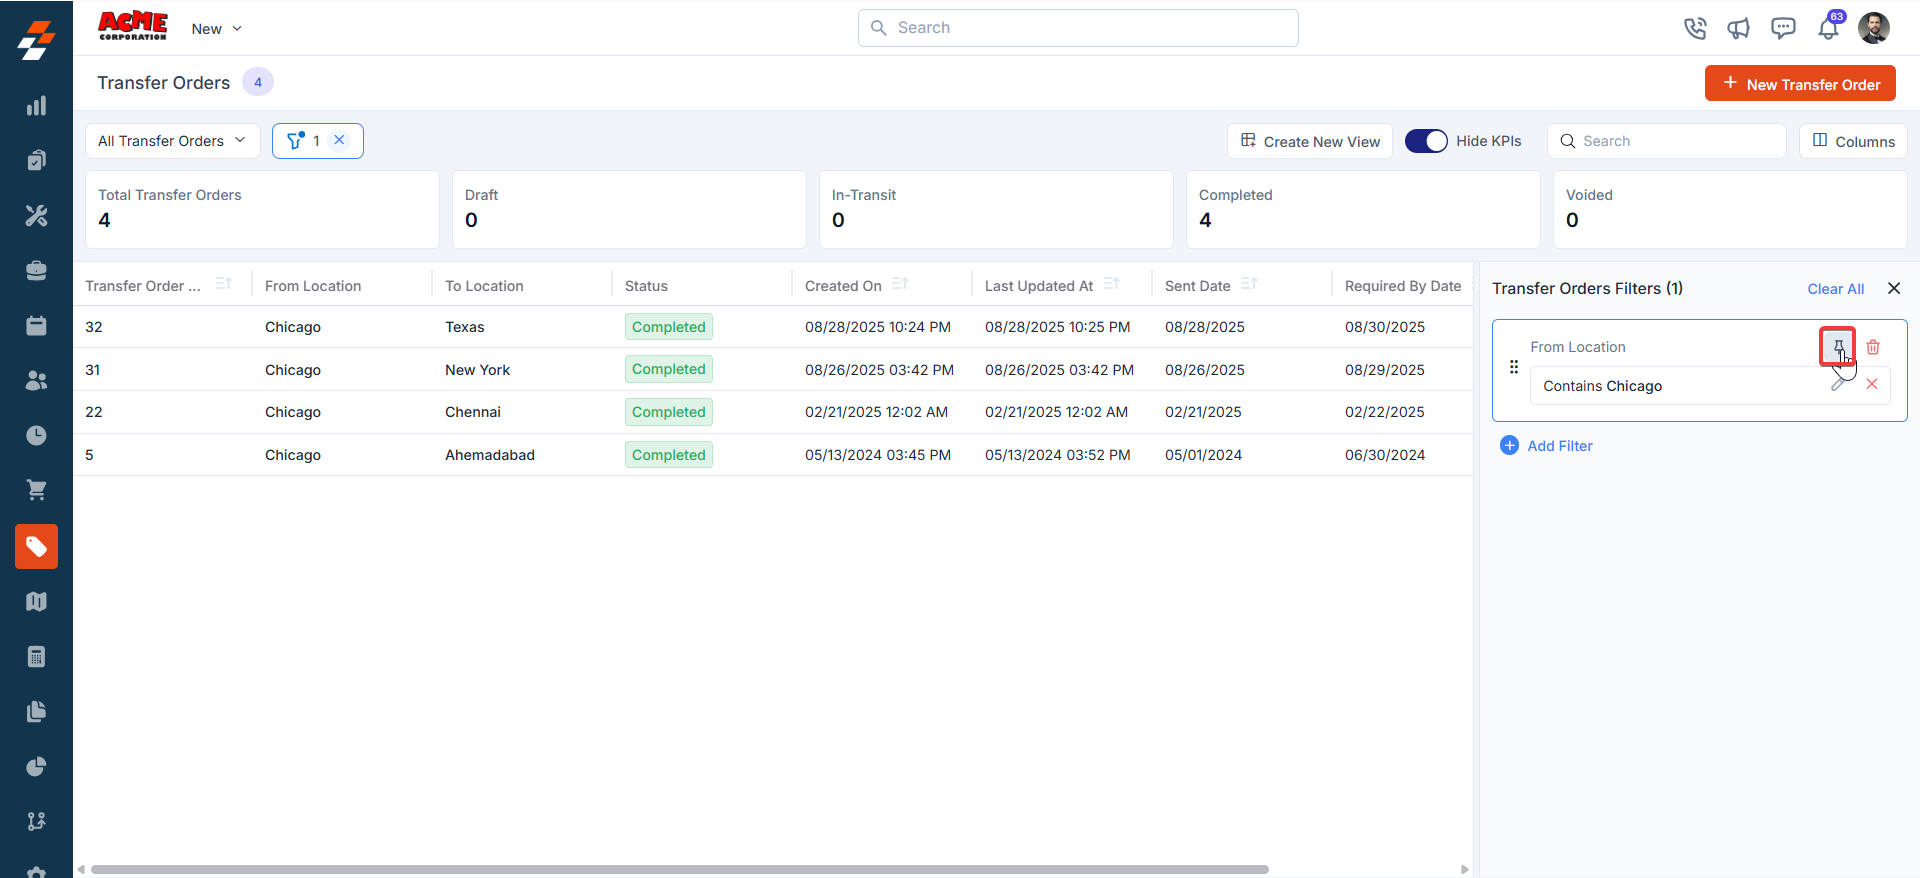
The transfer orders listing is designed to help you stay organized and quickly access the information you need. Summary Cards: On the top of the listing page, you’ll see summary cards displaying high-level information about your transfer orders. Each card highlights details such as:- Total number of transfer orders
- Draft, In-transit, Completed, and void.
- Click Update View to modify the current view after changes.
- Use the dropdown beside Update View → Save as new view.
- Enter the View Name (mandatory), choose Share with (User/Team) and add users, toggle Visibility to all users, and click Create.
- Click Reset View to restore the current view to the default.
- Edit: Add/remove/reorder columns; save as new or overwrite existing views.
- View-only: Apply views but can’t edit; can Save as new view to copy without altering the original.
- Manage view: Rename, adjust Visibility (Only Me/User/Team or global toggle), Duplicate, or Delete (creator only; reverts to default/another saved view).
Pinned filters
Zuper’s Transfer Orders module lets you use pinned filters to streamline your filter experience. Pinned filters keep your most-used criteria readily accessible for quick application. Pin up to 3 filters in any module.Navigation: Inventory & Pricebook -> Transfer Orders -> Filters -> Pinned Filters
- Select the “Inventory & Pricebook” module from the left navigation menu and choose “Transfer Orders.”
- Pin Filters for Quick Access
- Once your filters are set, click the Pin Filters button in the dialog box to save them as pinned.
- Pinned filters appear in the dialog box’s “Pinned Filters” section, allowing you to apply them with one click in future sessions.
- To Unpin the filter:
- To unpin, select a pinned filter and click Remove.
- To apply pinned or default filters, open the dialog box and select them.
- Use Clear All to remove active filters.

- After filtering, click a Transfer Order Number or Transfer Order ID to view and manage details.
Managing transfer order details
Once a transfer order is created or accessed from the listing page, the Transfer Order Details Page becomes your central hub for managing its lifecycle. Upon landing the details page, you can view and update the status of the Transfer Order. Depending on the status of the Transfer Order, you can perform actions such as Edit, Update status, Clone, and Delete. Each status has been explained in detail below:1. Save as Draft
When you choose to save the Transfer Order as a draft, the order will be saved in draft status, and you can continue to make changes to the Transfer Order.2. In-Transit
This status indicates that the stock has left the From Location. When you update the status to in-transit, you are prompted to choose the sent date using the date picker. The sent date cannot be a future date. Once chosen, click the “Update” button. The status will be updated, and the transferred quantity will be deducted from the ‘From Location’ for each of the line items.3. Completed
When you mark the order as complete, you’ll be asked to choose the received date, which cannot be a future date. Once a Transfer Order is marked as completed, the transferred quantity is increased in the To Location for each line item. If the transfer is completed instantly (i.e., it is marked as completed during creation or from draft status), the sent date will be the same as the received date, and the line-item quantity and serial numbers will be updated in both the From and To Locations.4. Void
If you need to cancel or invalidate any of the Transfer Orders, you can mark them as void. This action will reverse the quantity transferred between locations. Once an order is marked as void, you will be prompted to provide a reason. After providing the reason, click the “Update” button to void the Transfer Order successfully. The provided reason is captured under activity.Note: Once an order is marked as void, you cannot edit or process it further. You can only “Clone” an order as needed by clicking the “More Actions” button at the top right as shown below:
More Actions
Managing transfer orders doesn’t stop at viewing details—you can take various actions to keep things moving. Things you can do are:Print
To generate a physical copy of the transfer order for record-keeping or customer reference, use the “Print” button at the top right of the page.
Share
Share
Activity Log
Activity Log
To view activity, click on “Activity” in the right pane, where you can see all the actions performed within the Transfer Order, along with the corresponding user names.
Clone
Clone
To clone the transfer order, use the “Clone” button at the top right of the page.