Accessing the Organization listing page
Navigation: Clients -> Organizations -> Organization listing page
Create View Configuration
Selecting Columns You can choose which columns to display to focus on relevant data: 1. Select the “Organization” module from the left navigation menu. You can view the listing page.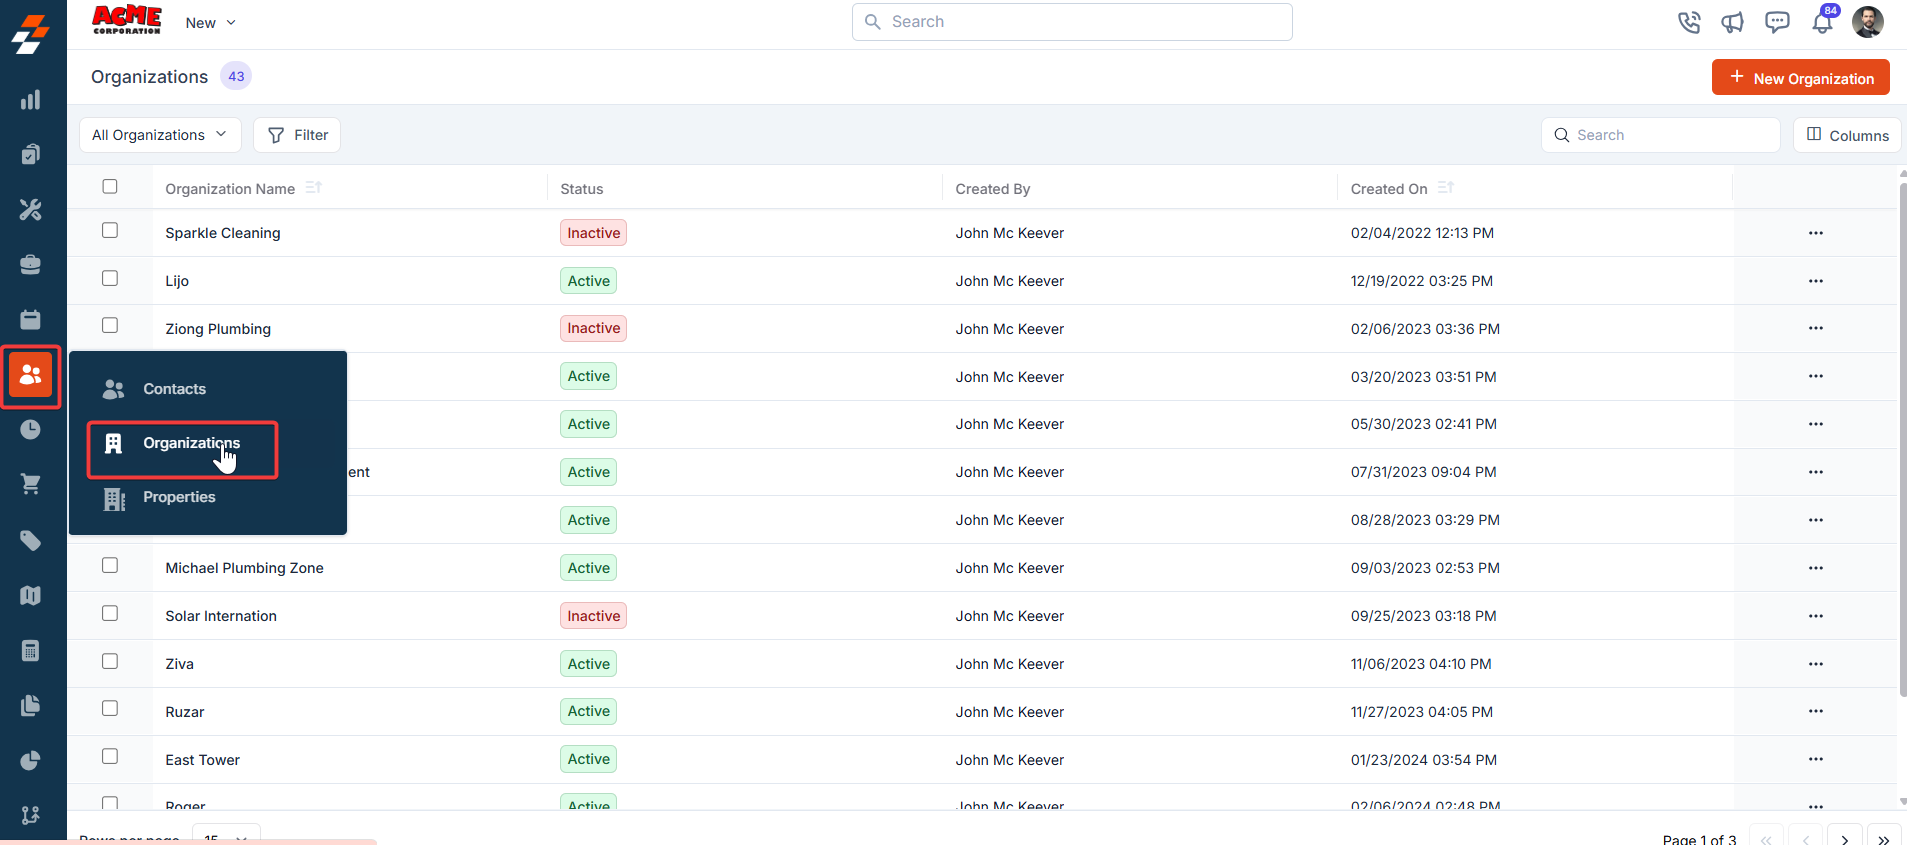
- From the “Views” list, click “+Create new view.”
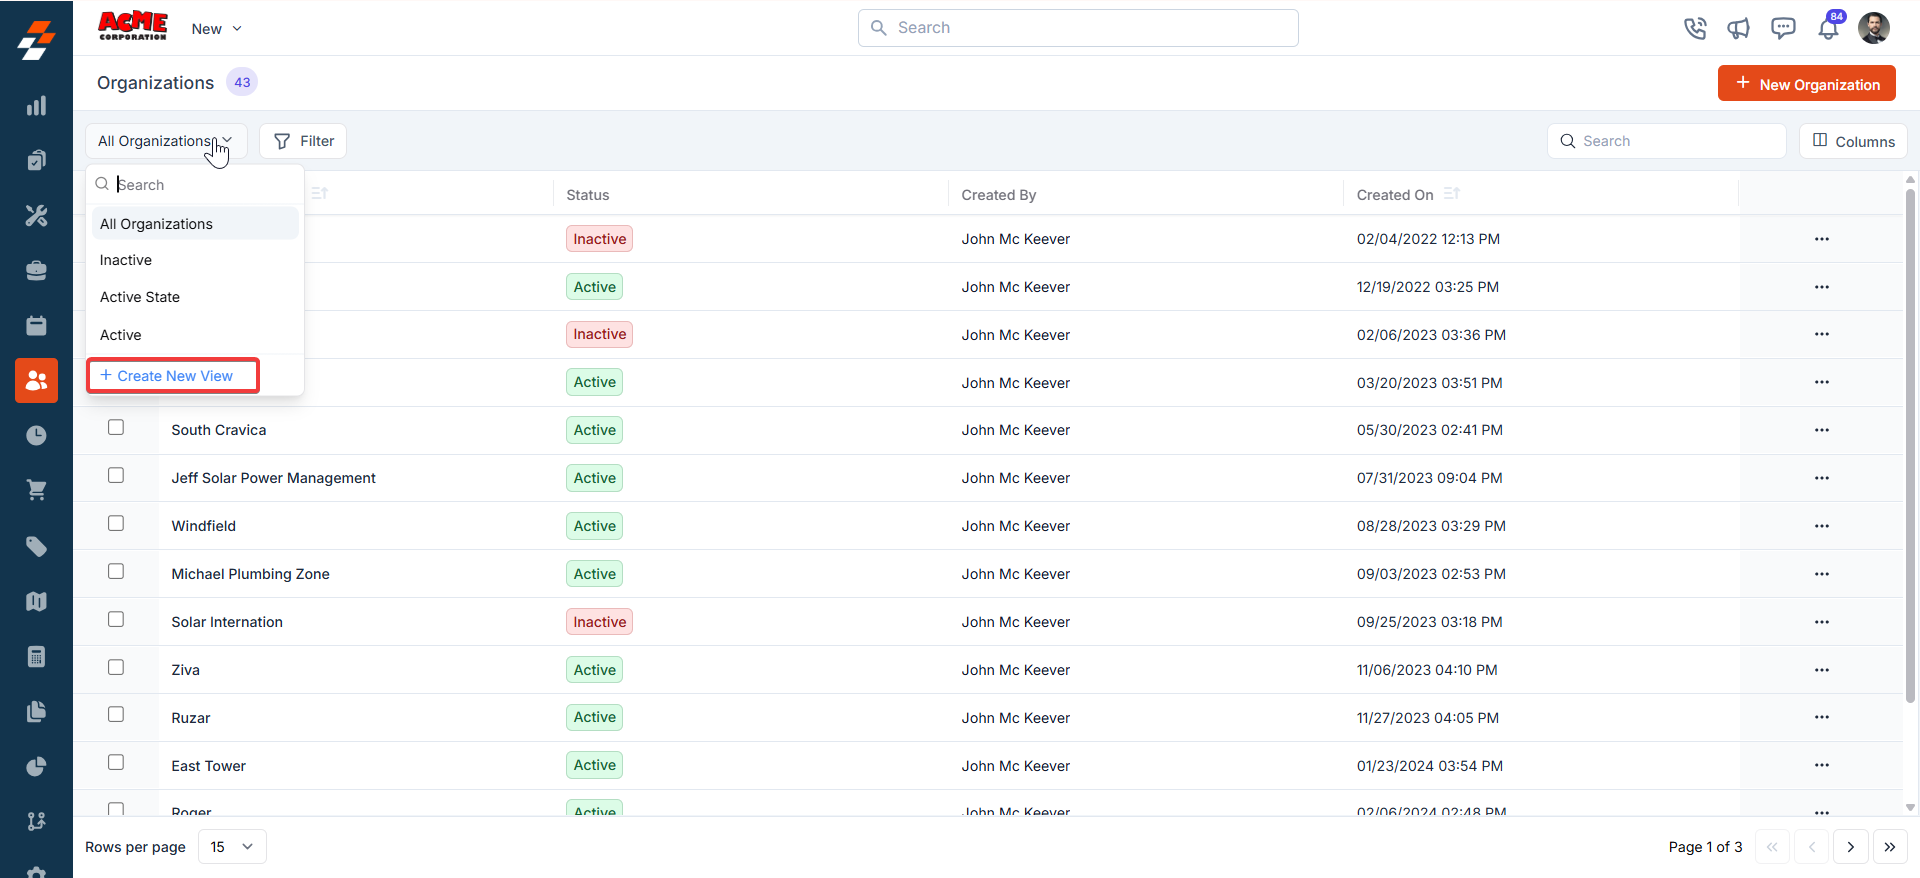
- A “Create View” dialog box appears.
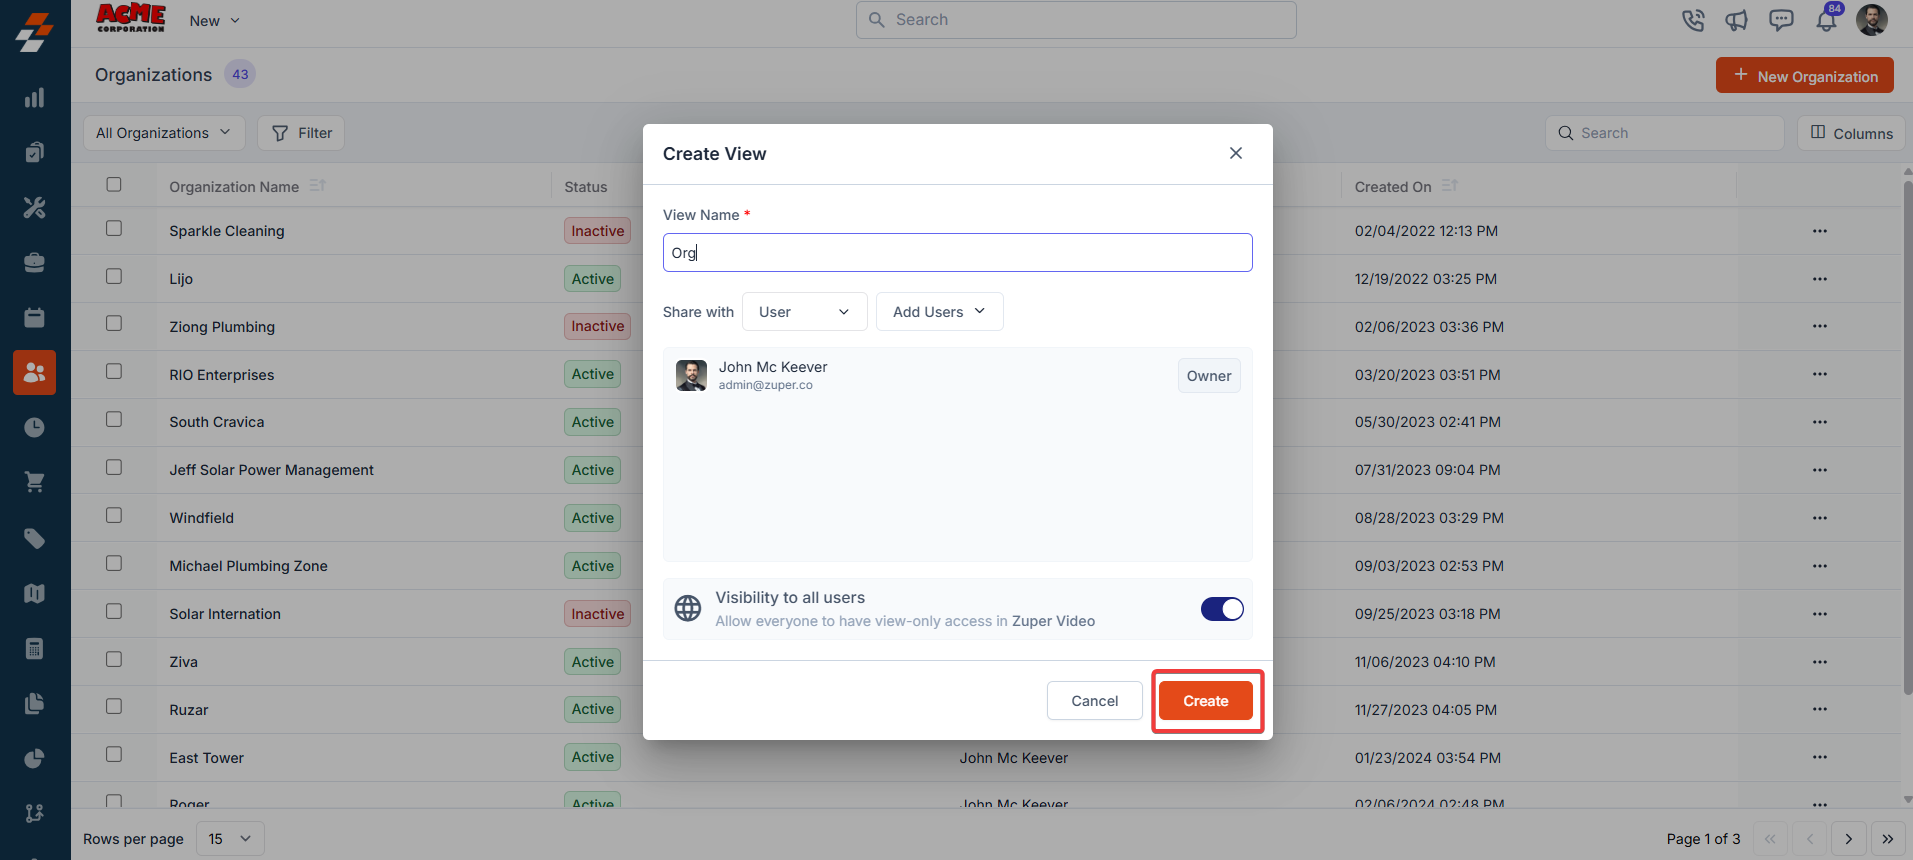
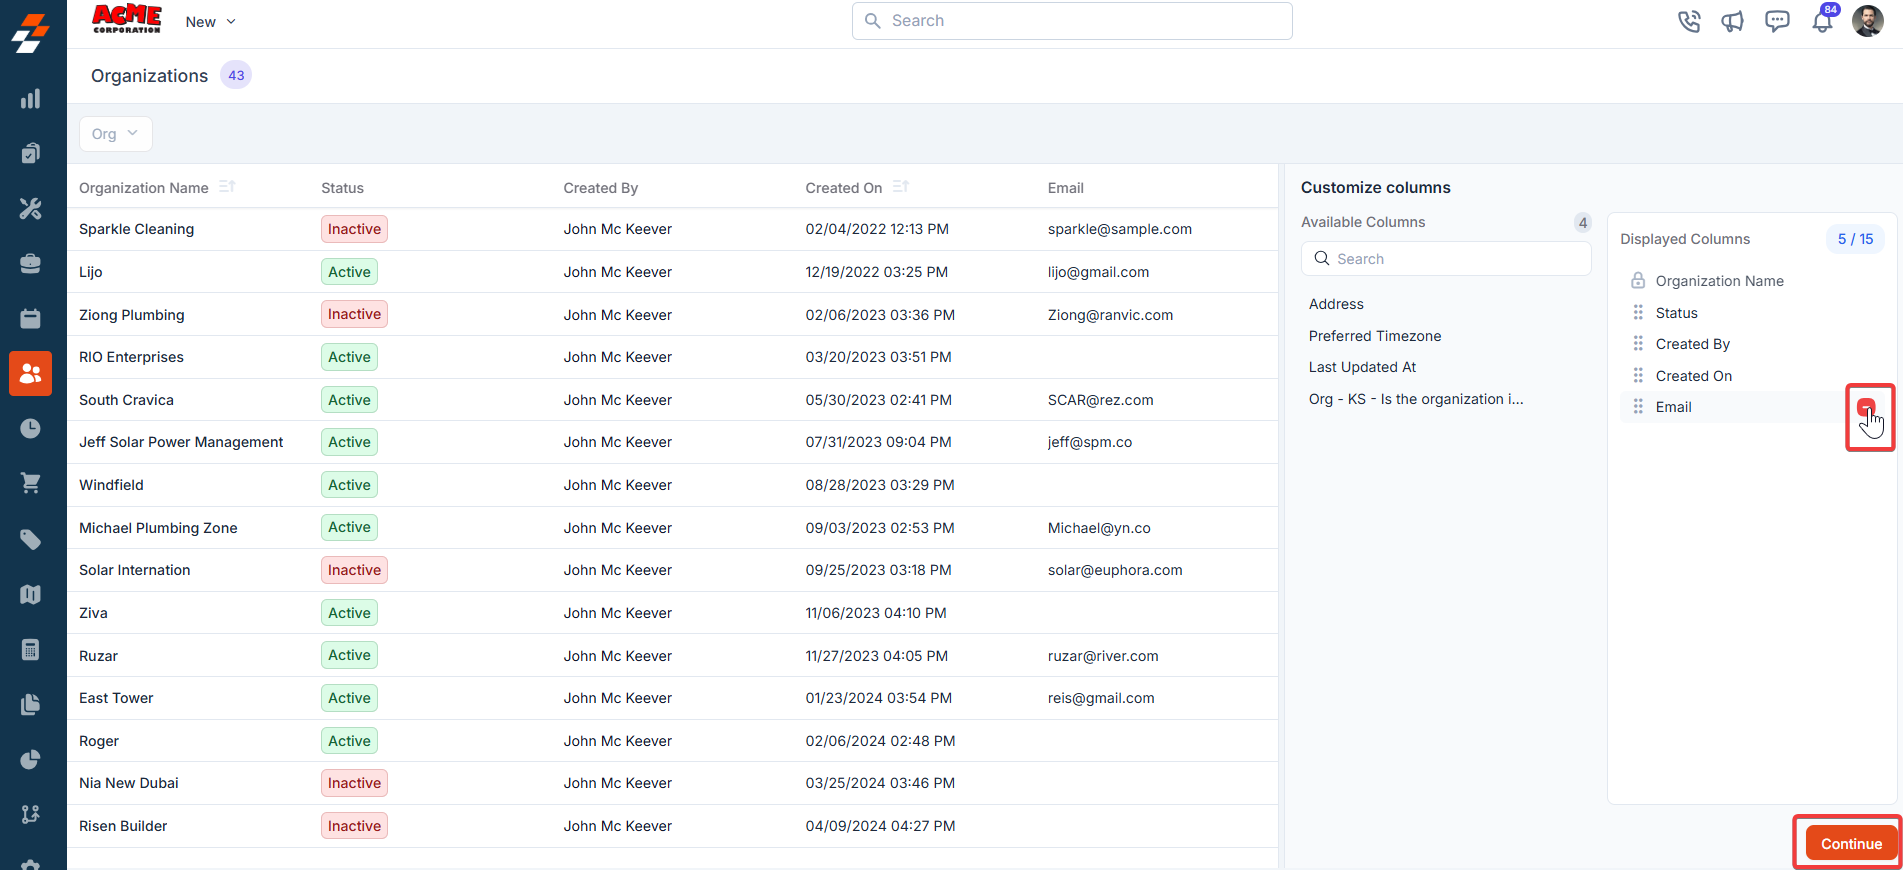
- Once you click “Create,” the Columns sidebar appears, showing “Available Columns” and “Displayed Columns.” To add a column, drag and drop it from the “Available Columns” list on the left to the “Displayed Columns” list on the right. You can click “Continue.”
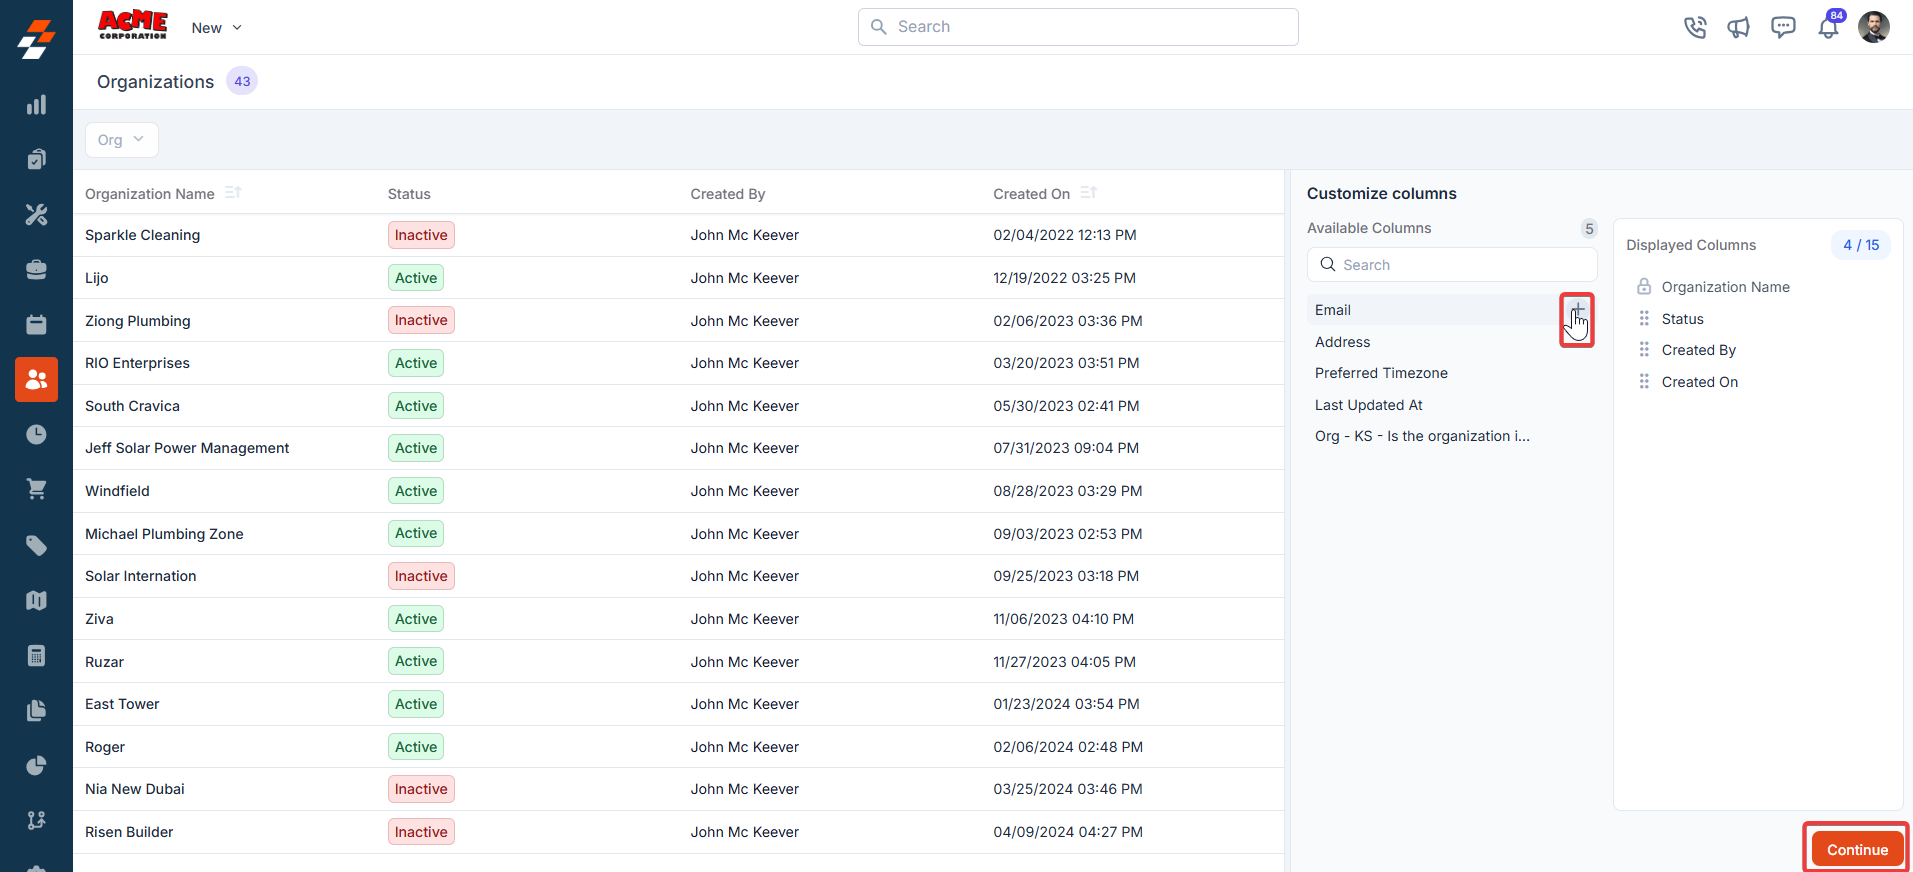
- To remove a column, drag it from the “Displayed Columns” list back to the “Available Columns” list or click the - next to the column name. Click Continue to apply the changes.
- If you wish not to add any filter, click “Skip and Save” to create the view.
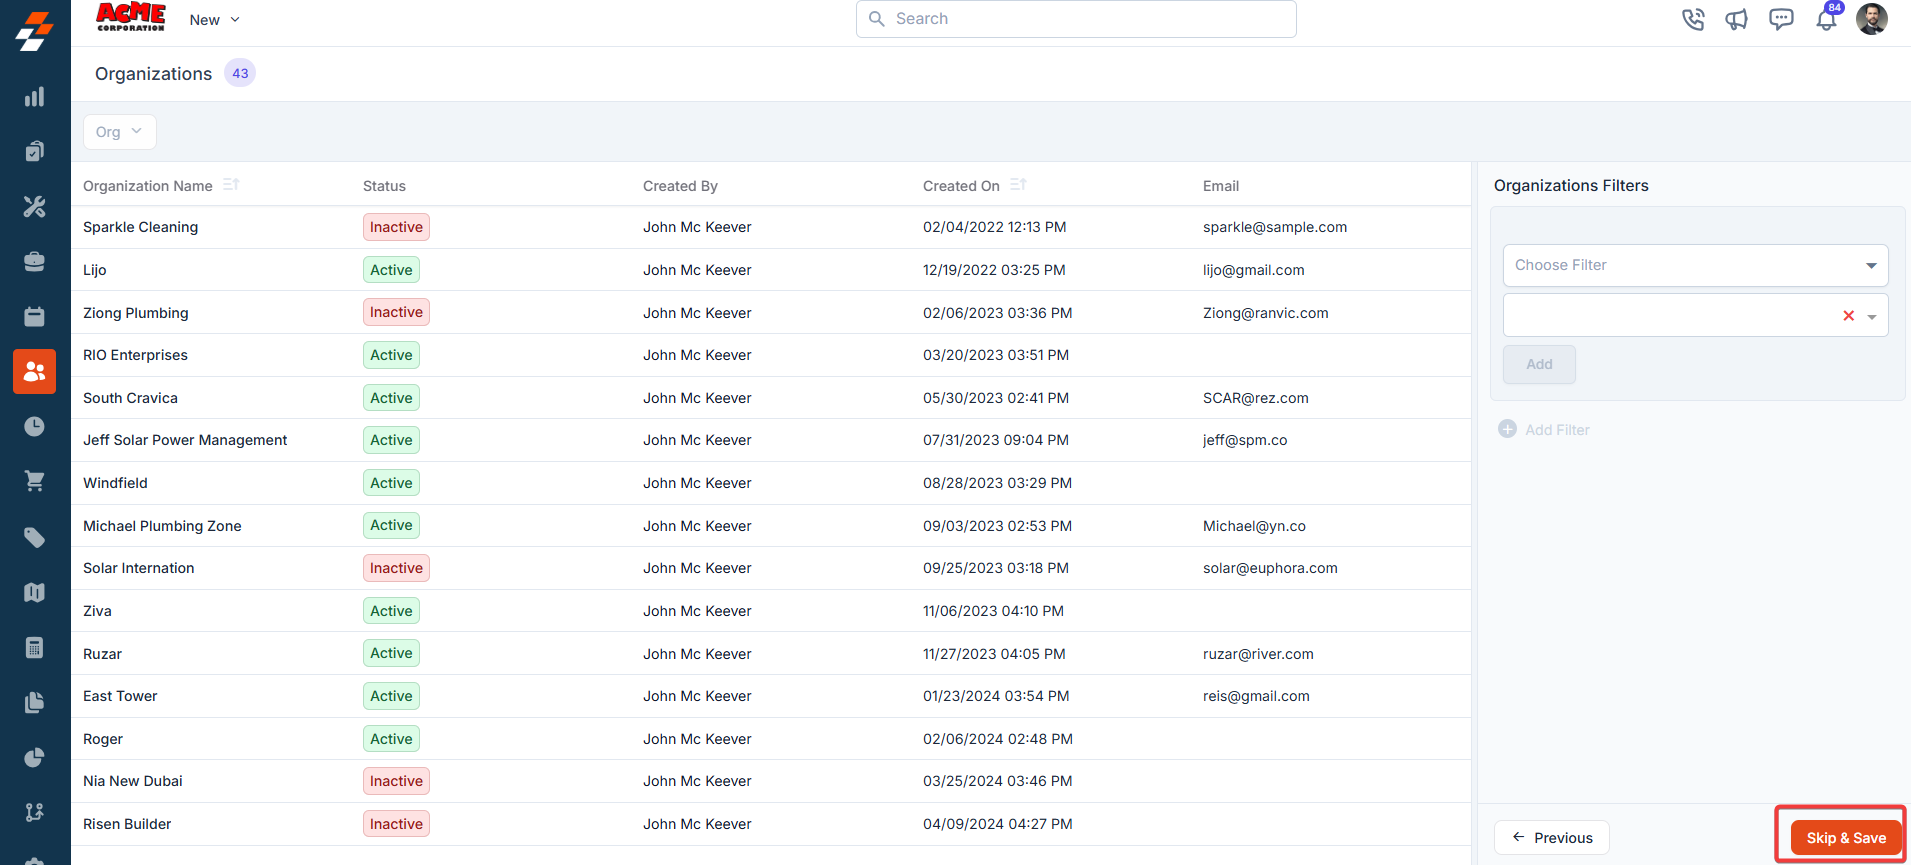
- The view is saved successfully.

Applying filters
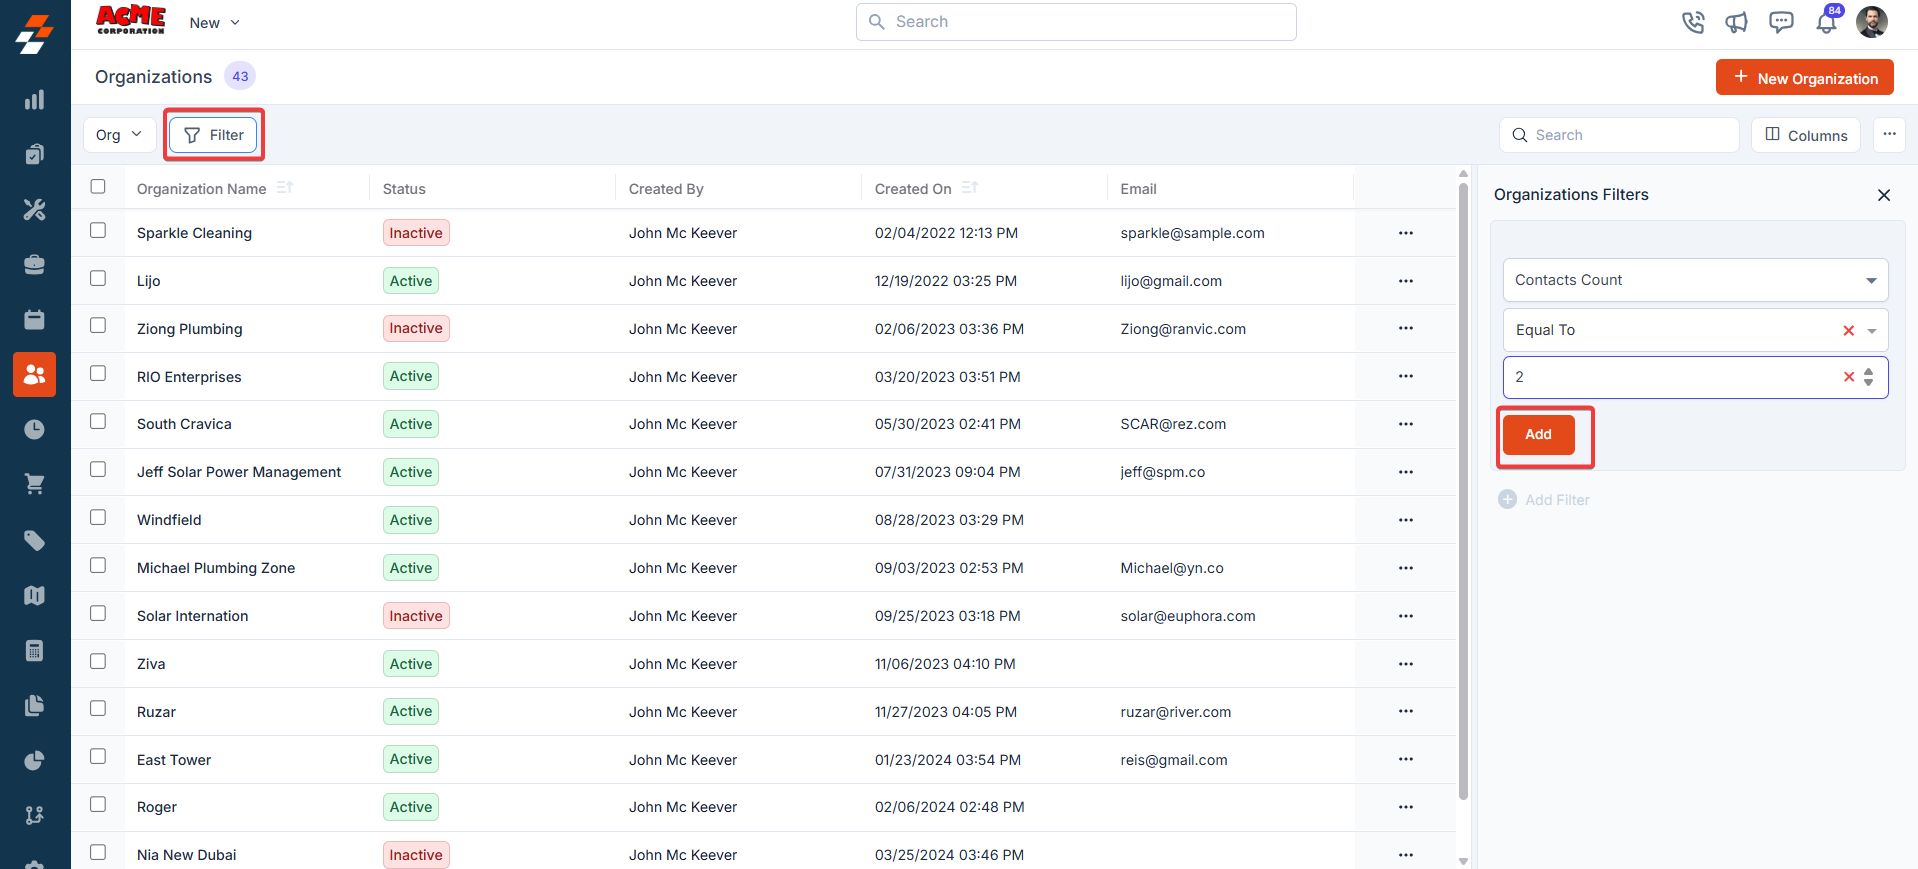
The Filter feature lets you refine your view by applying multiple filters based on available attributes. For example, you can select an attribute like “Organization Status Type,” choose conditions such as “Equal to,” “Contains,” or “Does Not Contain,” and choose the desired value. Once the filter is applied, the results will update to show only the Organizations that meet your criteria, making it easier to find and manage relevant Organizations.- Click “Filter” at the top left of the page. Choose the attributes you want to filter by, apply the desired conditions, and click the “Add” button to view the results.
- Click “Update View” to modify the existing view.
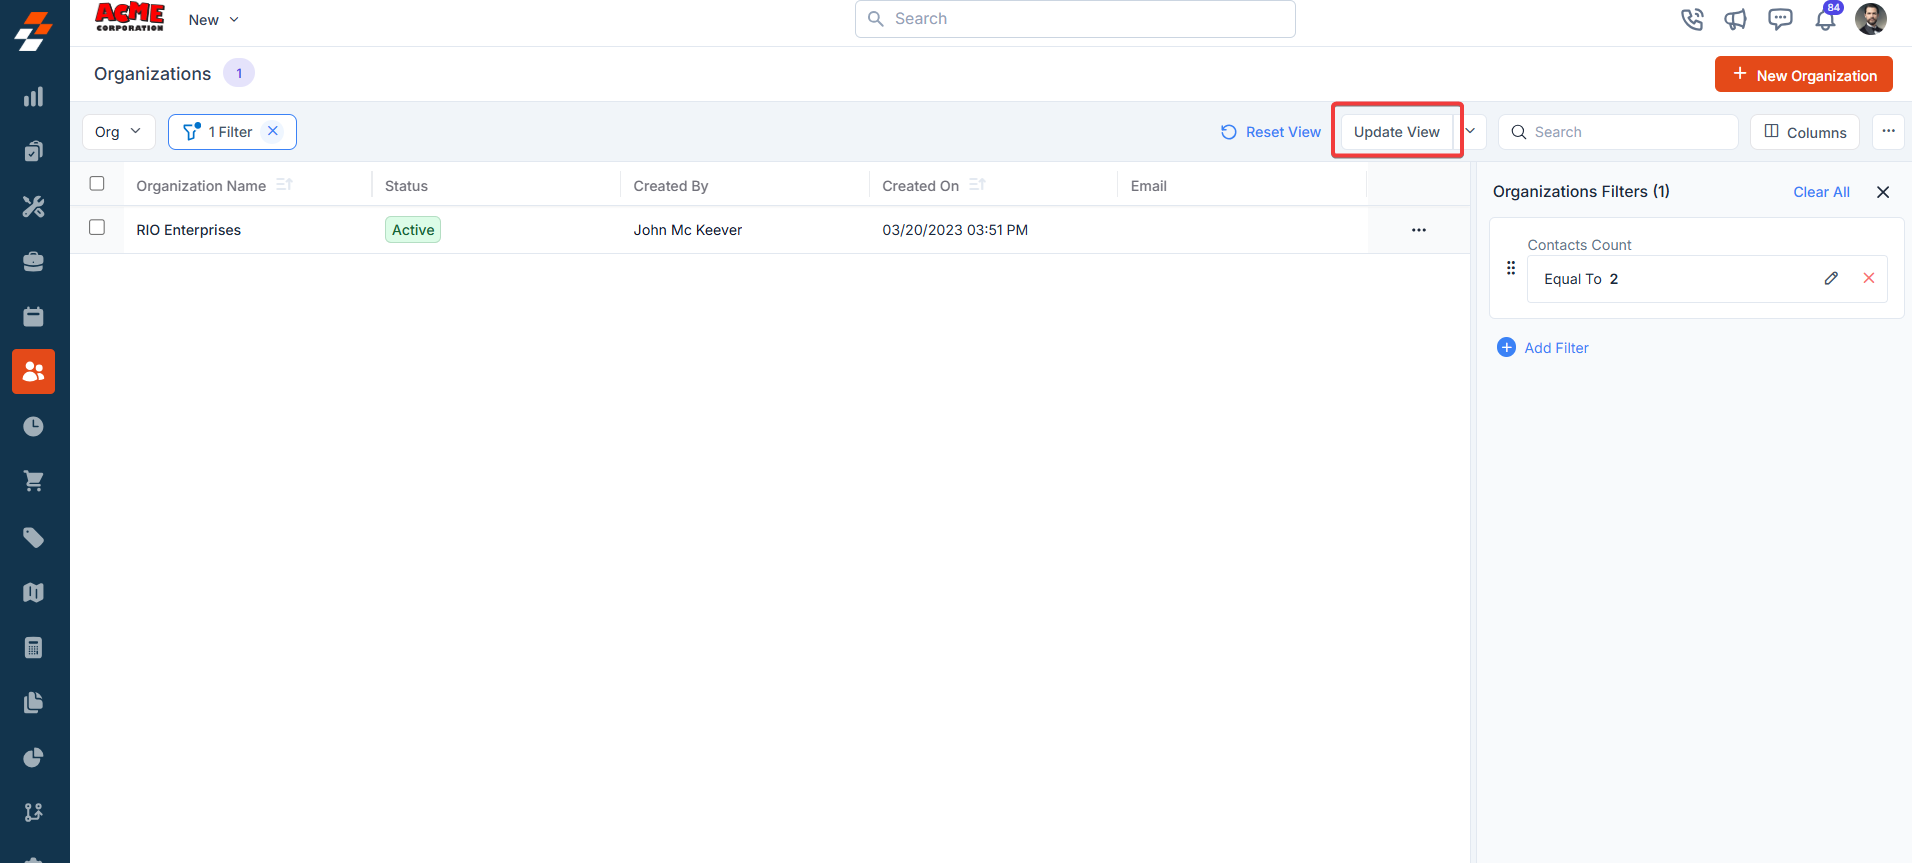
- The new view is set successfully with the filter. You can view the filter created and the filter name from the view list.
Update View
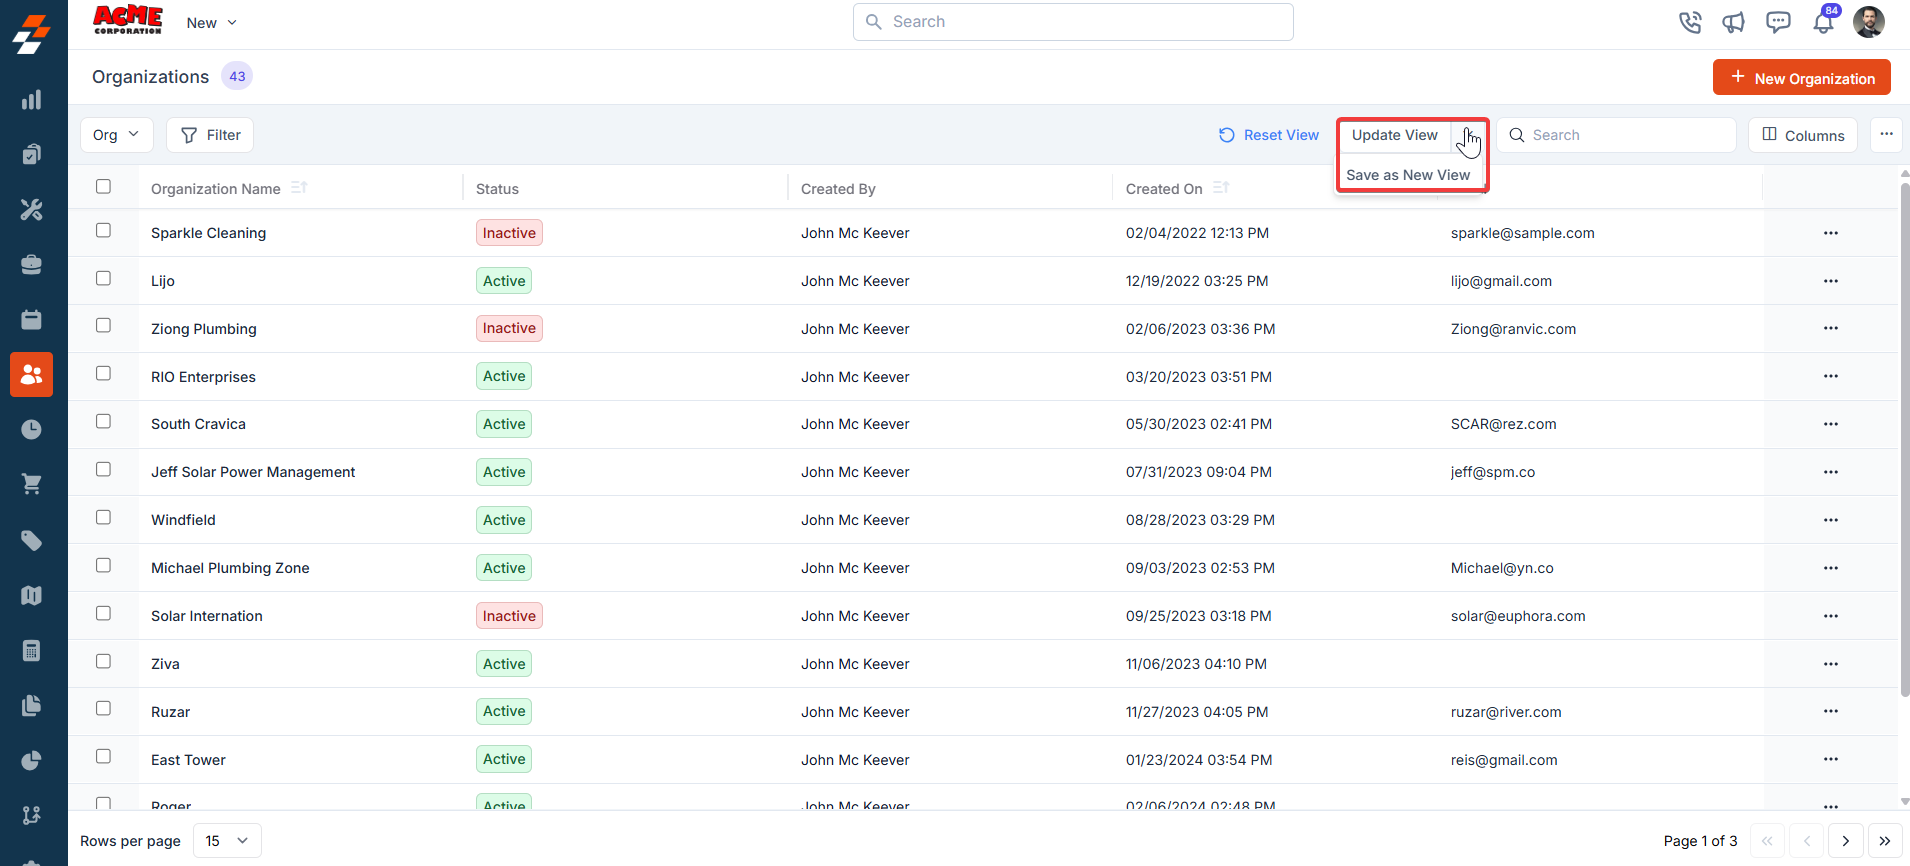
An update view allows you to modify the current display settings of the “Organization” section. After making changes, you can save the updated configuration to the existing one or name it a new view.- Add/remove the existing columns and click “Update View” to modify the existing view.
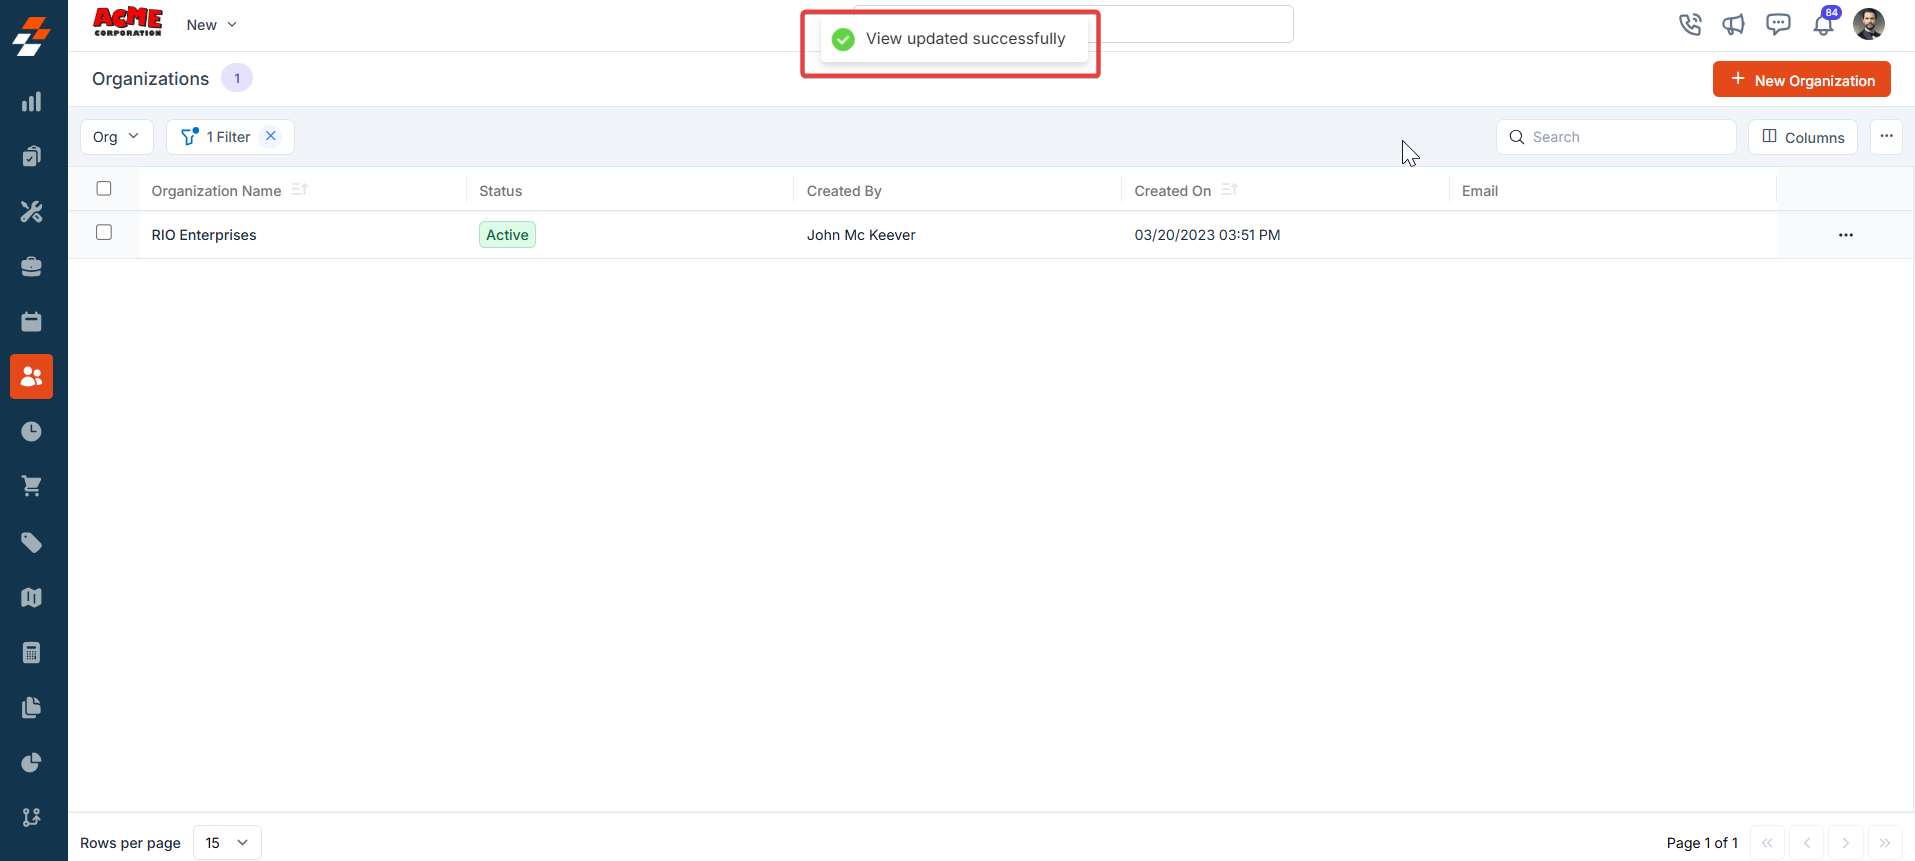
- The view is updated successfully.
- Click the down arrow below the “Update View” to create a new view by clicking “Save as new view.”
- A “Create View” dialog box appears.
- View Name (Mandatory) – Enter the view name.
- Share with - Select any one of the options (User, Team), and you can add the relevant users.
- Visibility to all users – Toggle on to make this view visible.
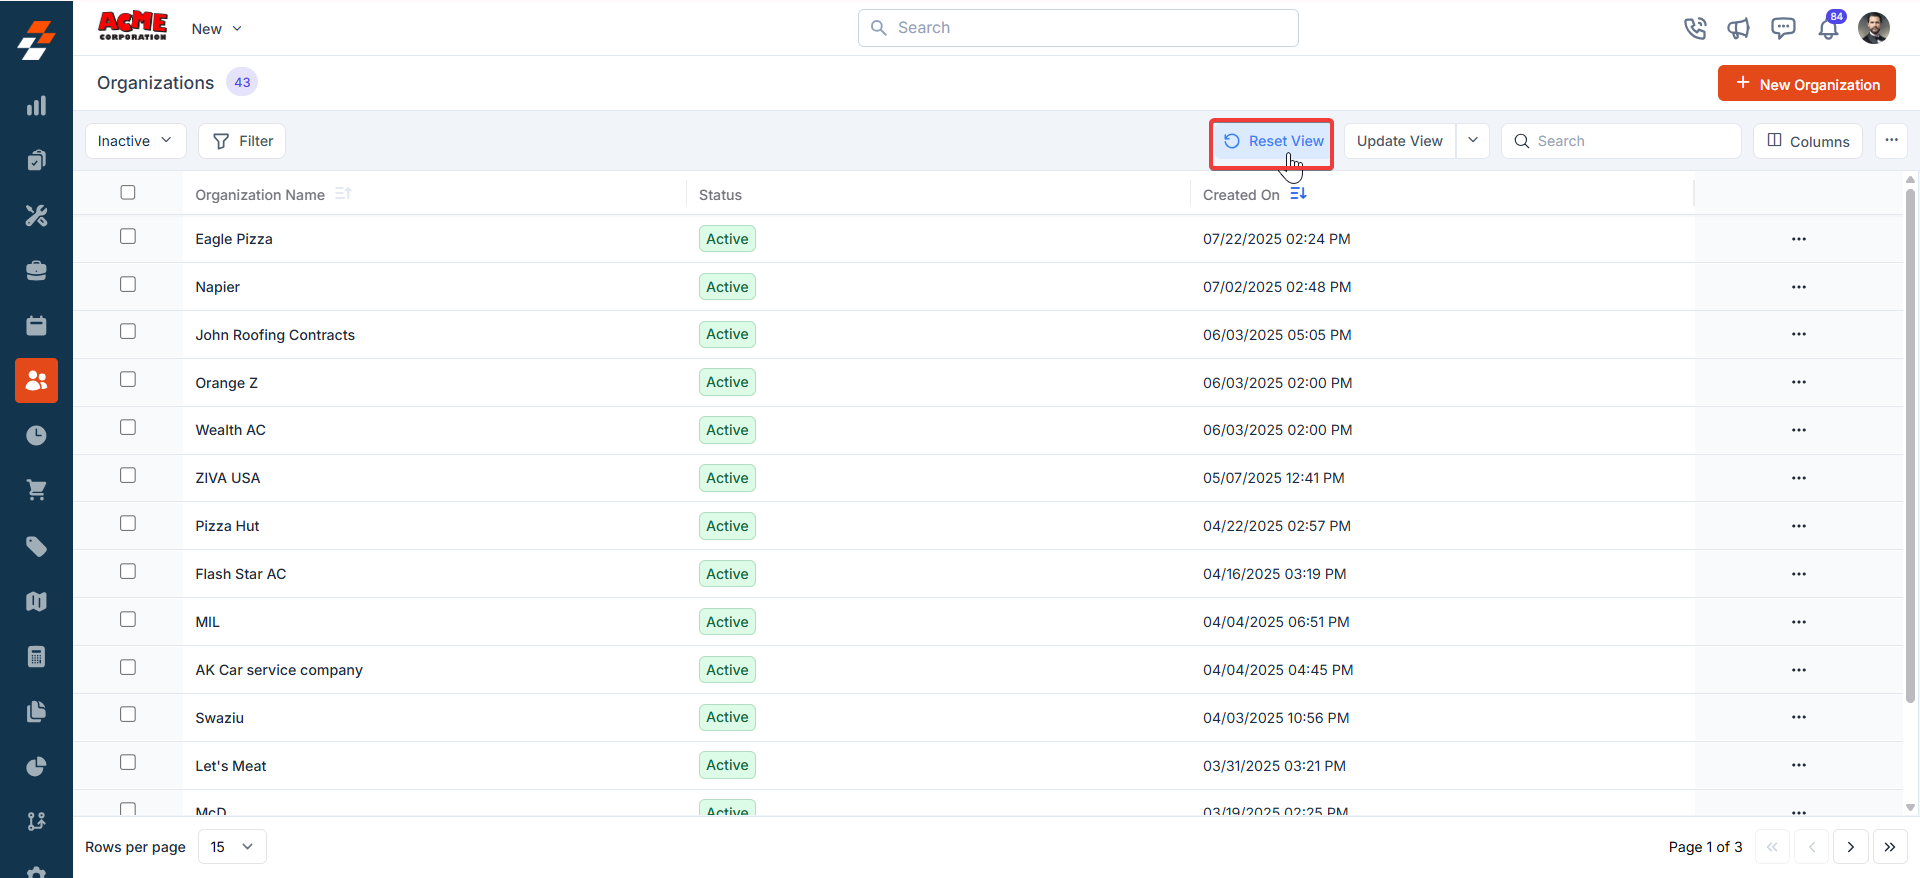
- Click “Reset View” to reset the current view.
Setting Permissions for Views
Edit Permissions
Users with edit permissions can modify the layout:- They can add/remove columns, reorder them, and adjust views as described above.
- If permission is given, changes can be saved as a new view or overwritten as an existing one.
View Permissions
Users with view-only permissions can see the layout but cannot make changes:- They can view the customized columns and filters but cannot edit them. To ensure consistency for viewers, they can save them as a new “View.”
Make changes to the view
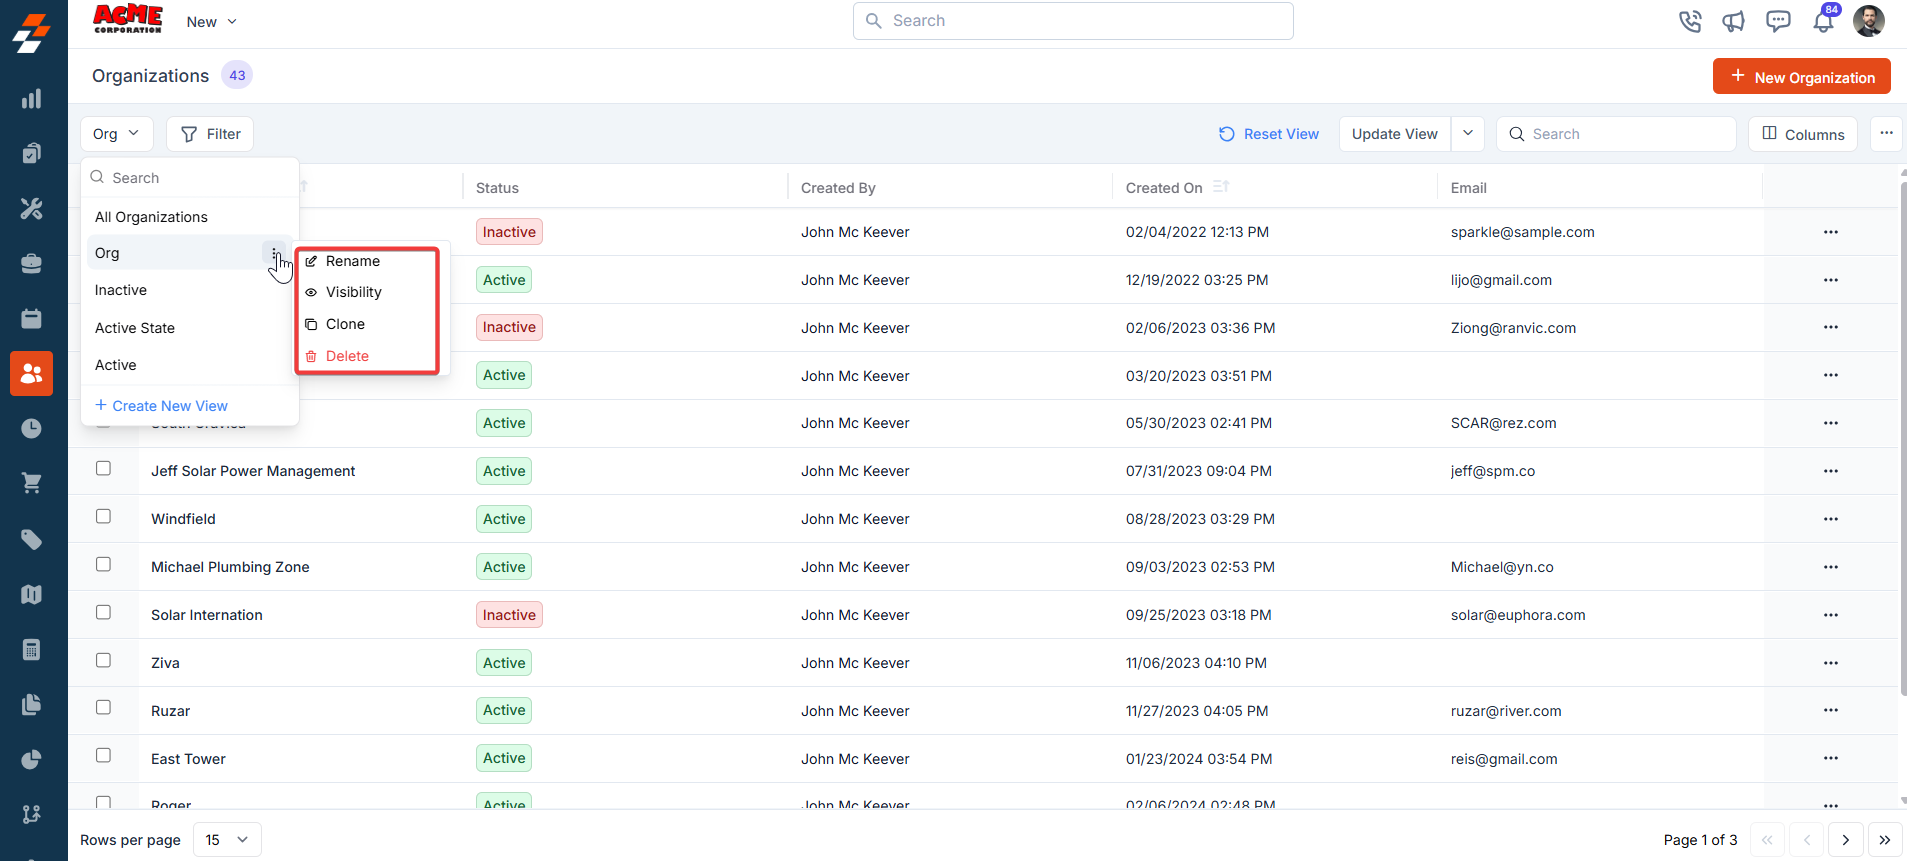
- Rename: This option allows you to change the view’s name (e.g., from “Org” to something else).
- Visibility: This lets you adjust who can see the view. Options include sharing with a user or team or keeping it private (“Only Me”), as well as toggling visibility for all users in Zuper (as shown in the “Create a View” dialog in prior images).
- Duplicate: This function creates a copy of the “Org” view, allowing you to modify the duplicate without affecting the original.
- Delete: Removes the view entirely. Since this is a custom view, deleting it would revert the listing to the default view or another saved view. Only the created user can delete the view.
Pinned filters
Zuper’s Organizations module lets you use pinned filters to streamline your filter experience. Pinned filters keep your most-used criteria readily accessible for quick application. Pin up to 3 filters in any module.Navigation: Clients -> Organizations -> Filters -> Pinned Filter
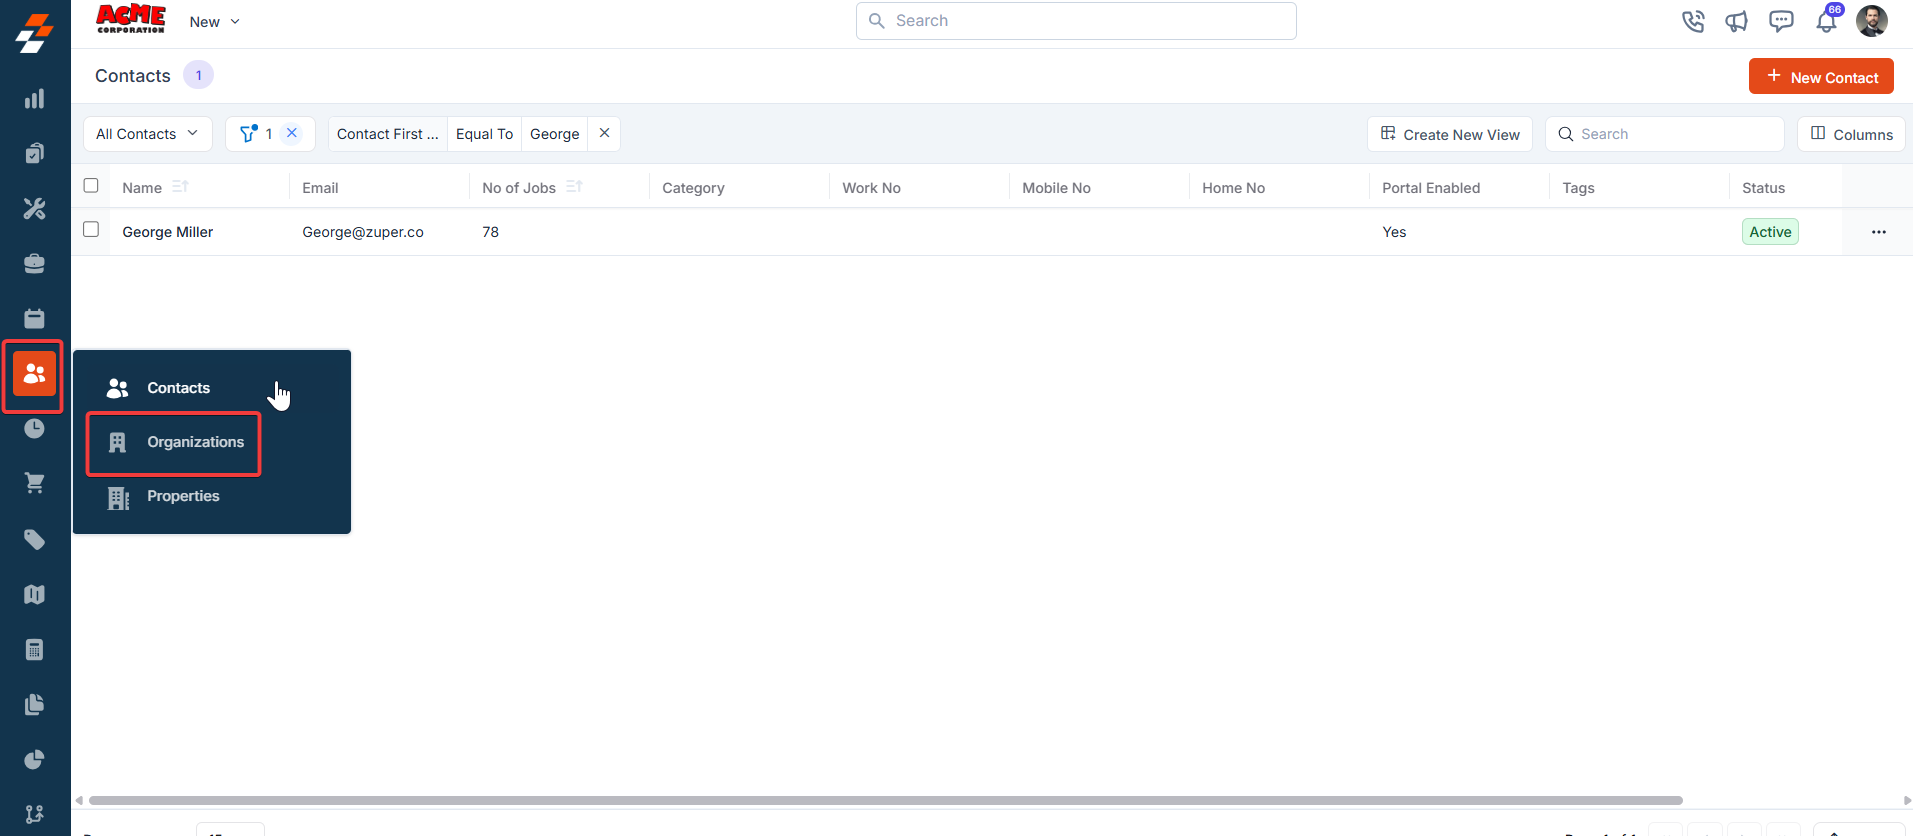
- Select the “Clients” module from the left navigation menu. Choose the “Organizations.”
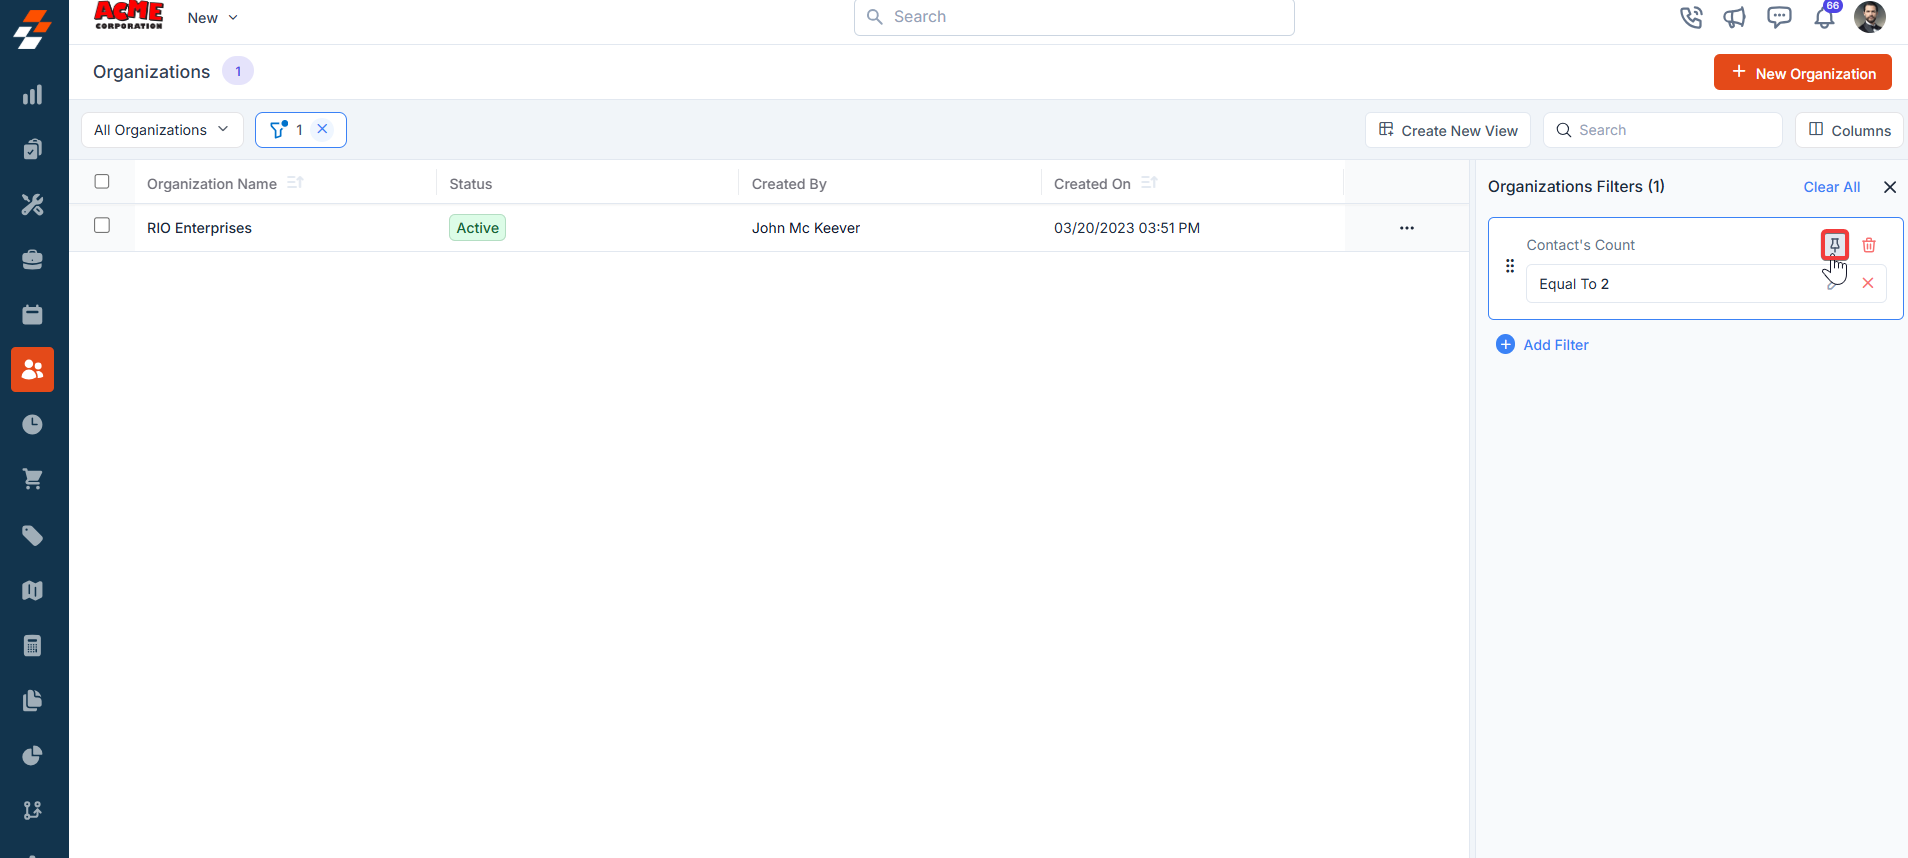
- Pin Filters for Quick Access
- Once your filters are set, click the Pin Filters button in the dialog box to save them as pinned.
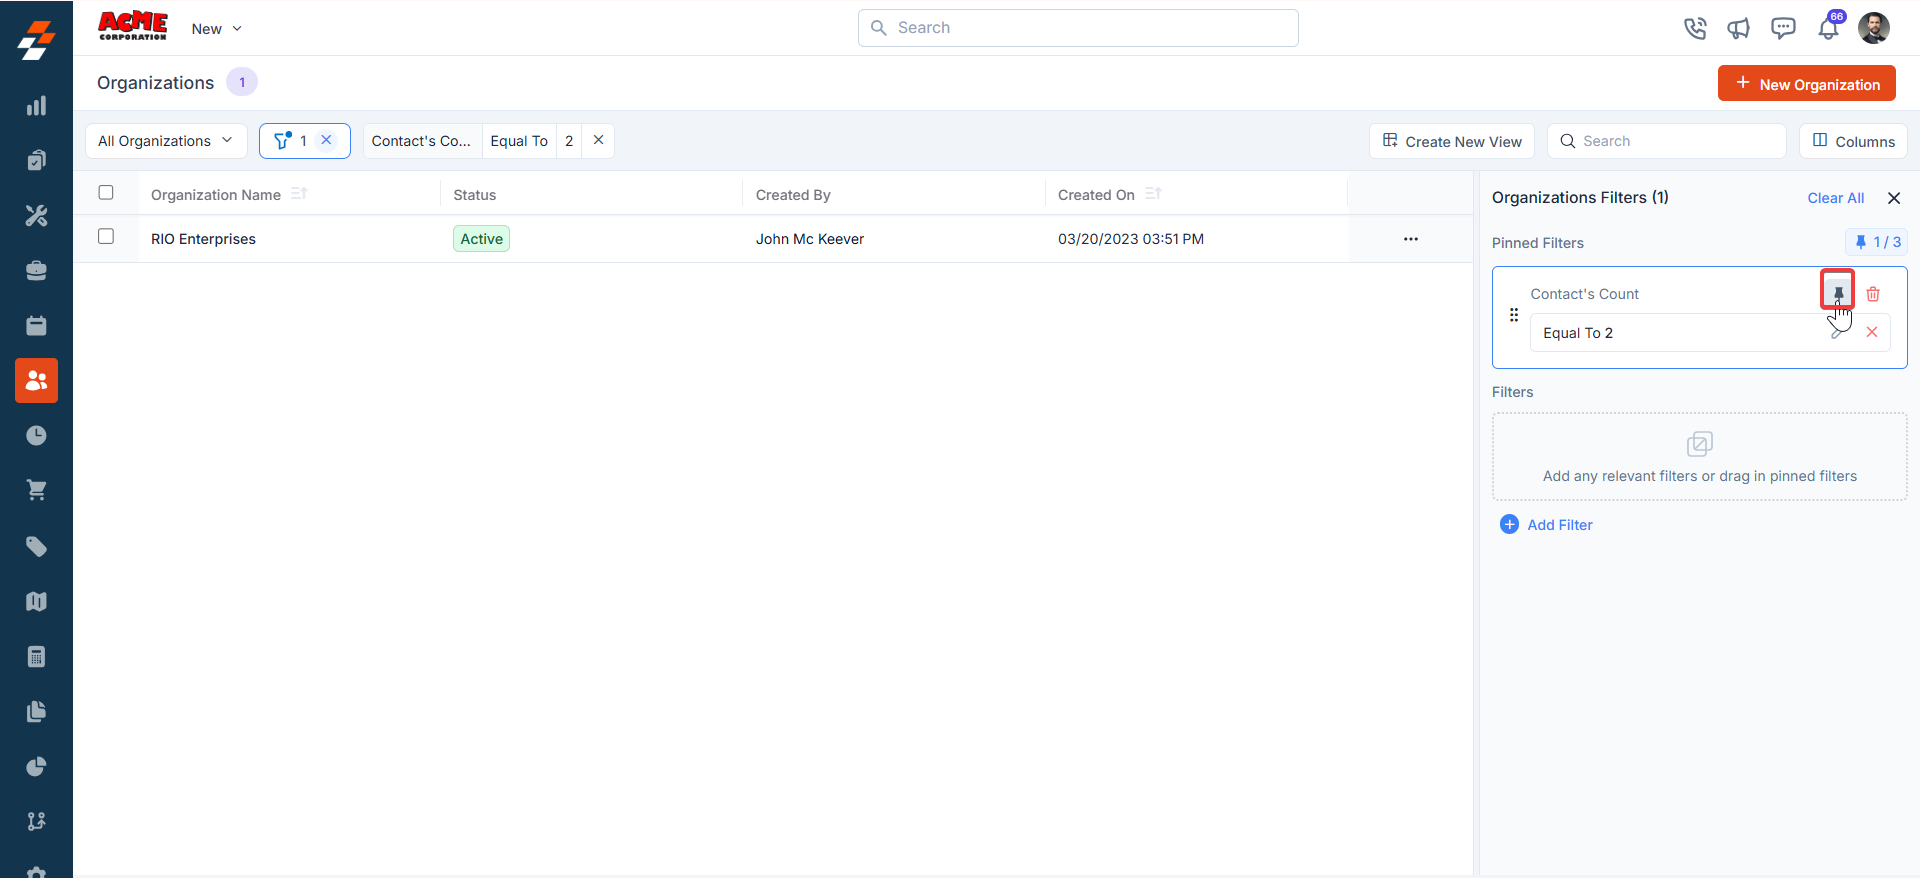
- Pinned filters appear in the dialog box’s “Pinned Filters” section, allowing you to apply them with one click in future sessions.
- To Unpin the filter:
- To unpin, select a pinned filter and click Remove.
- To apply pinned or default filters, open the dialog box and select them.
- Use Clear All to remove active filters.
Creating a new organization
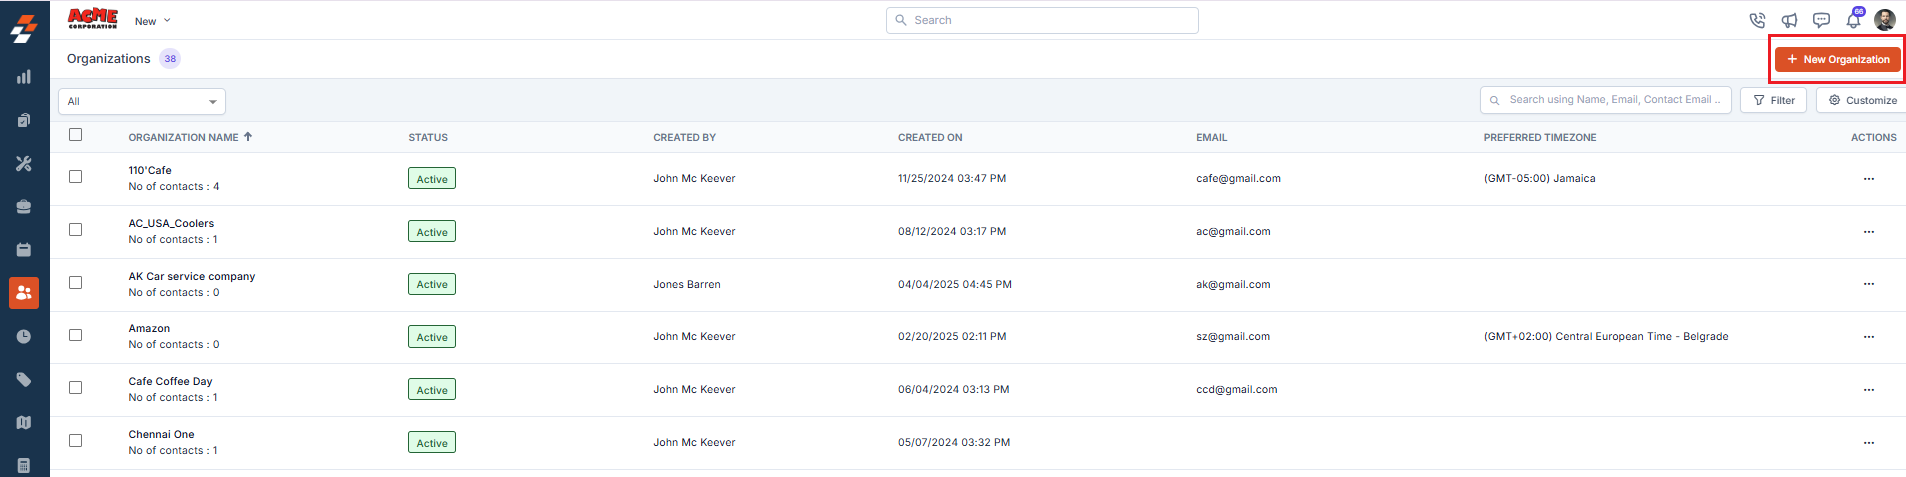
You can quickly create a new organization directly from the listing page.- Click the ”+ New Organization” button at the top right corner.
- Fill in the required fields such as Organization Name, Contact Information, Tax Details, and Service Addresses.
- For a step-by-step walkthrough, refer to the Creating a new organization article.
Managing organization details
Once an organization is created, the Organization details page becomes your go-to space for managing its lifecycle. The page follows a three-column layout, the left panel displays the organization’s primary details, while the right panel provides contextual insights and quick actions for efficient business management.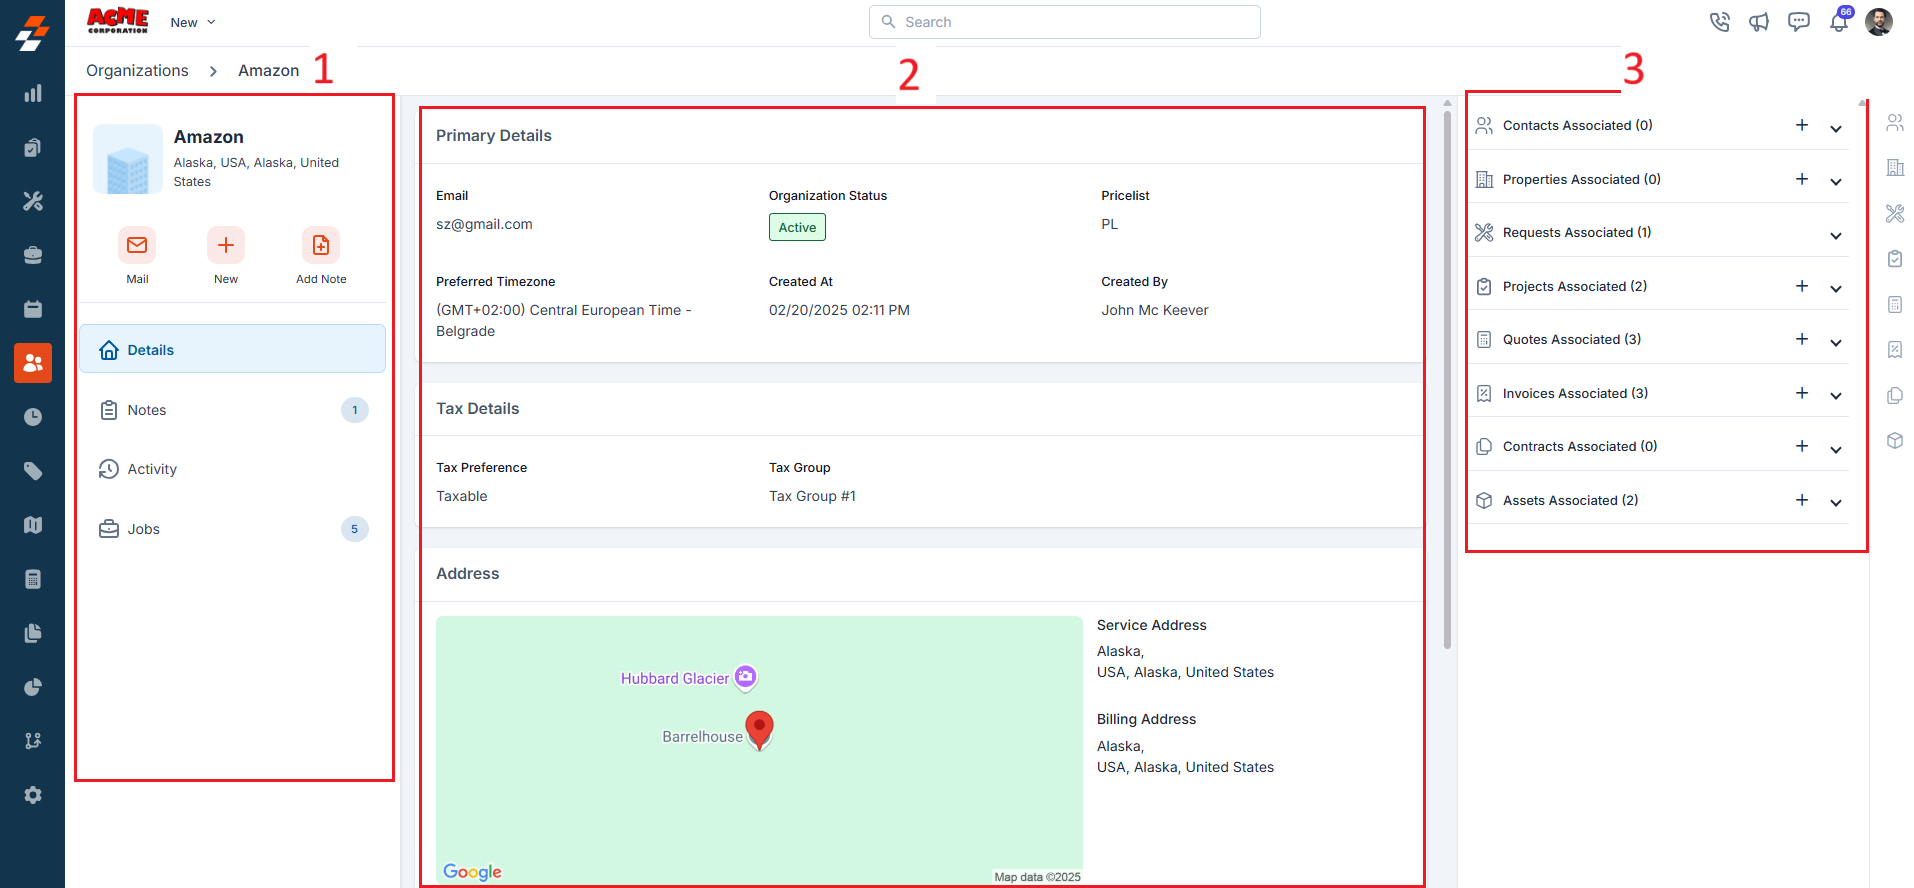
Left panel
The left panel contains organization-related details such as the organization’s name and code. Below this, you will find the quick actions bar, which provides contextual action buttons, including options to mail, create a new job, and add notes.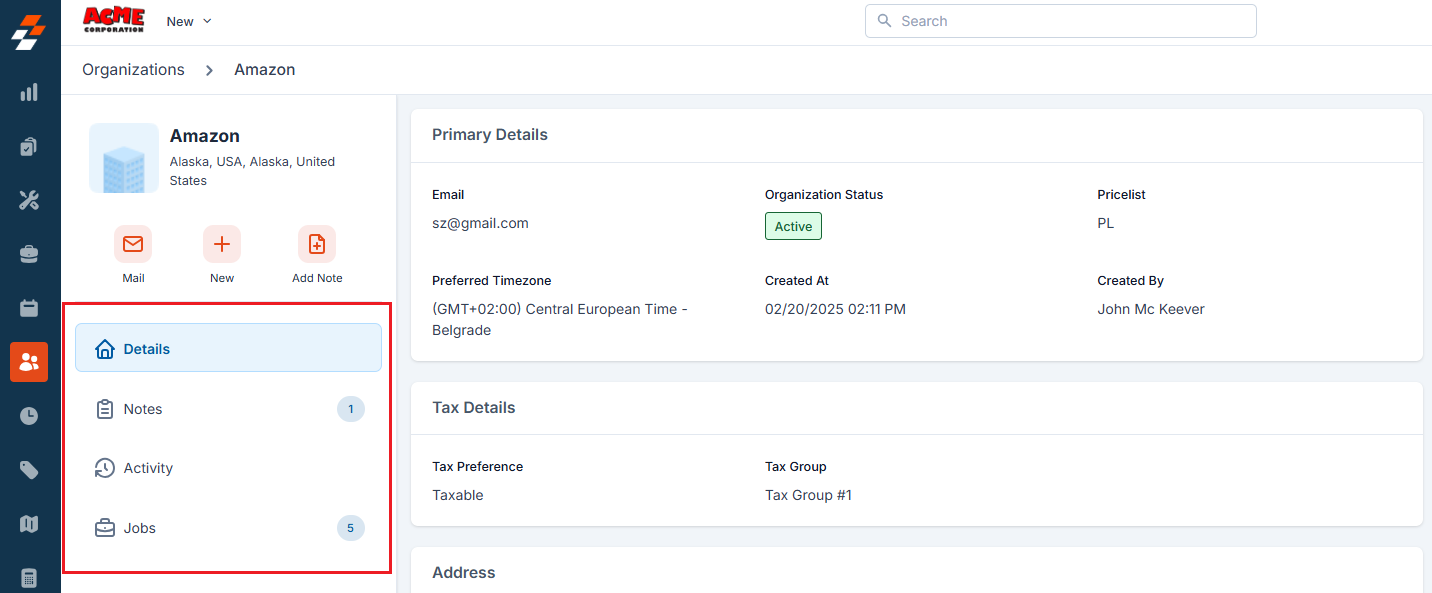
View Organization details
View Organization details
The organization details section offers a comprehensive overview of the organization.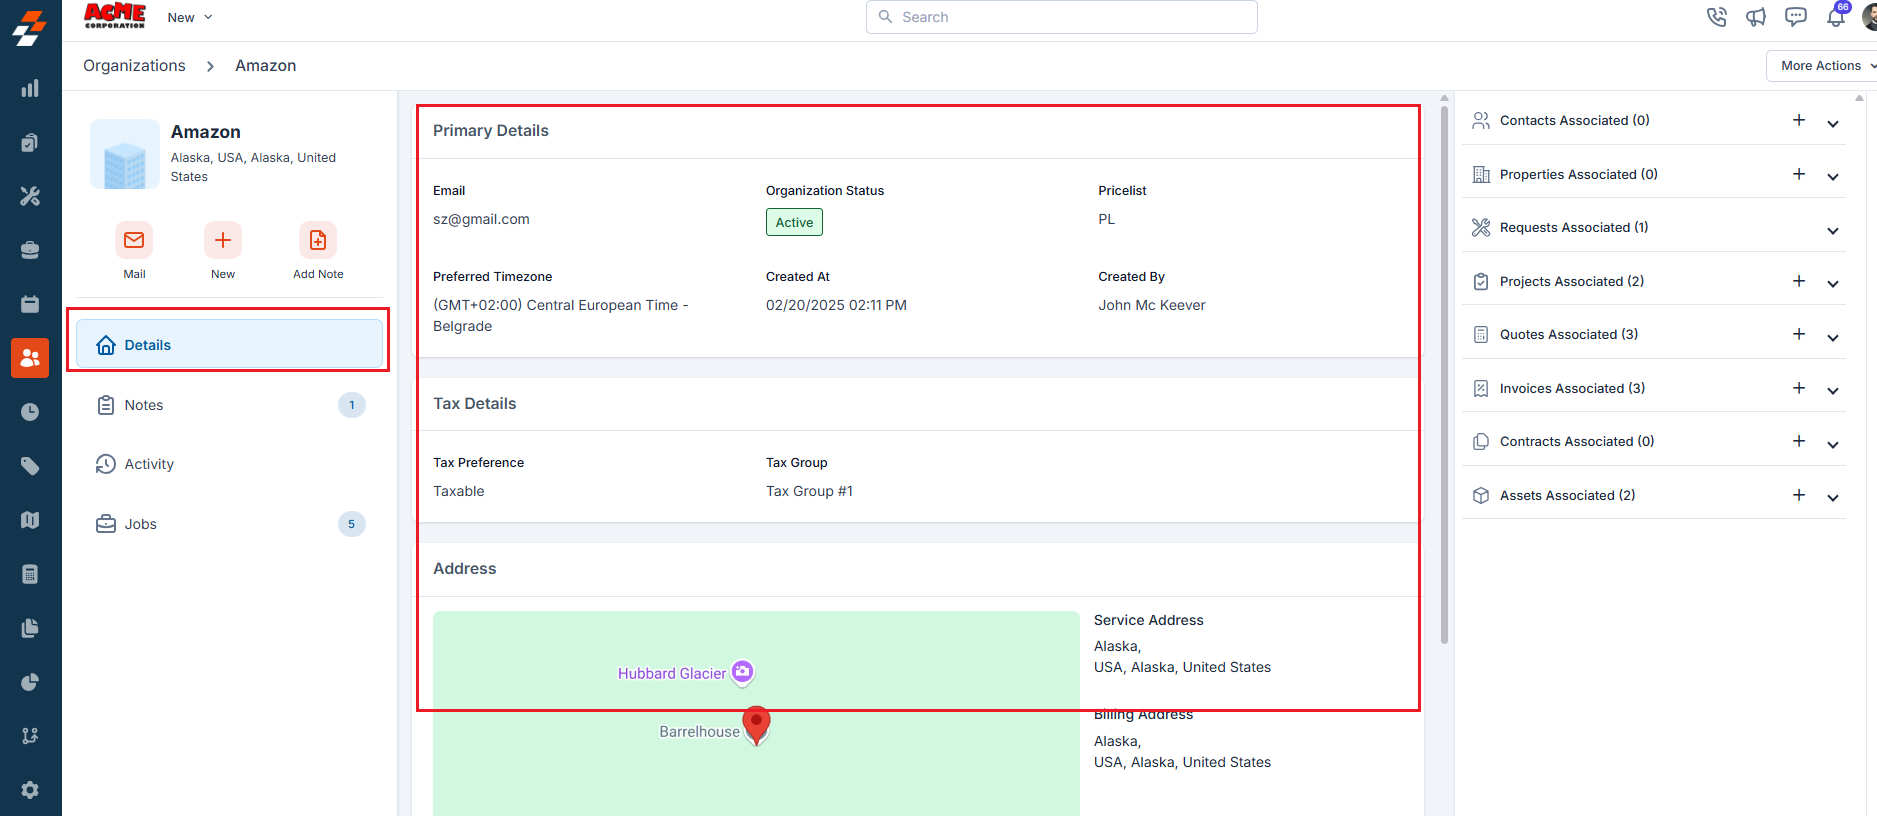
Add Note
Add Note
Use the ”+ Add Note” button to create a new note. Notes are comments or information added to an organization over its course. Your notes can be anything ranging from a simple text reminder to an image of the item, service, video, or document. All added notes can be viewed under the Notes Section. 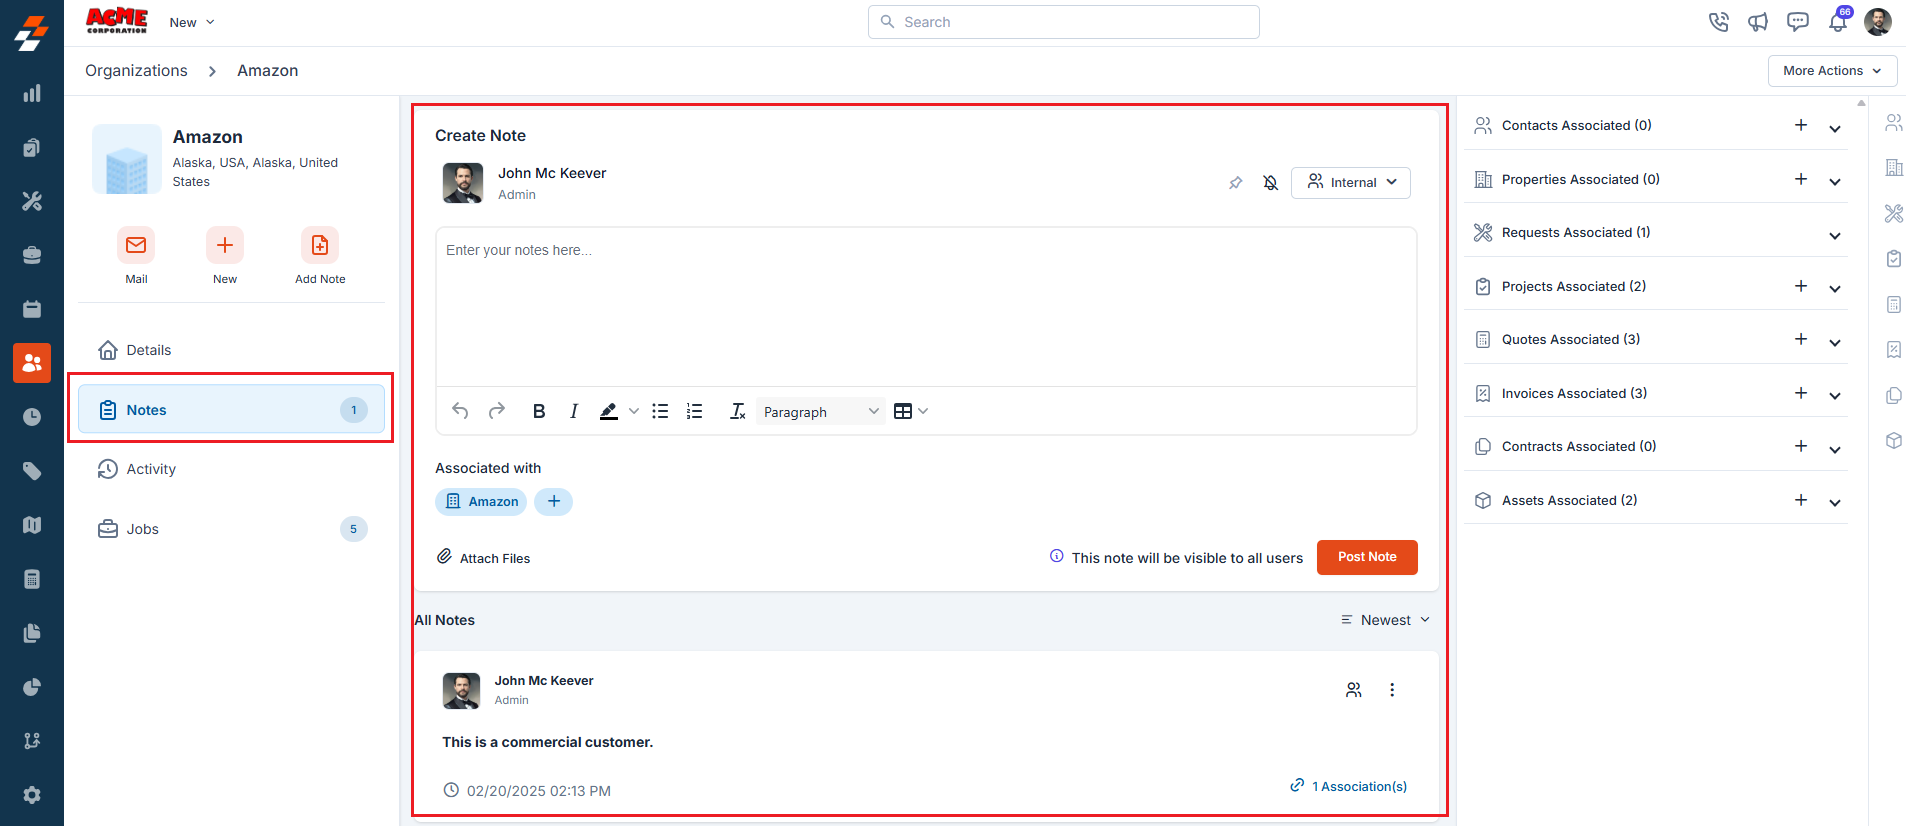
View Activity
View Activity
The activity section on the details page displays a log or timeline of all actions and updates related to this organization, helping you stay informed about recent changes and track the organization’s status. 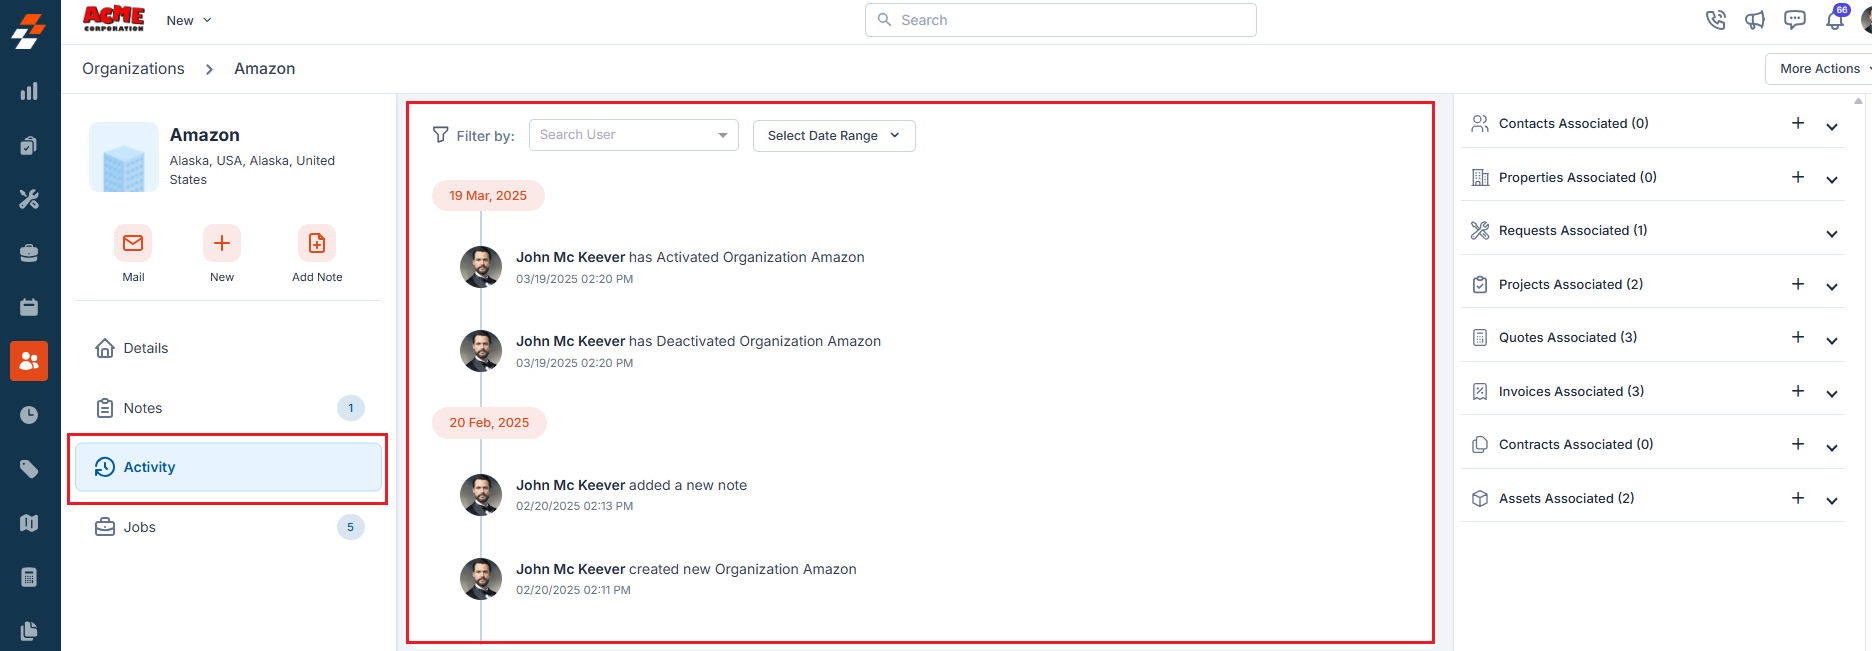
View Associated Jobs
View Associated Jobs
The Jobs section allows you to view all jobs associated with the organization. This includes both ongoing and completed jobs, providing you with a comprehensive overview of job statuses, schedule, and related details. For step-by-step instructions on how to create a new job, see the Creating a new job article. 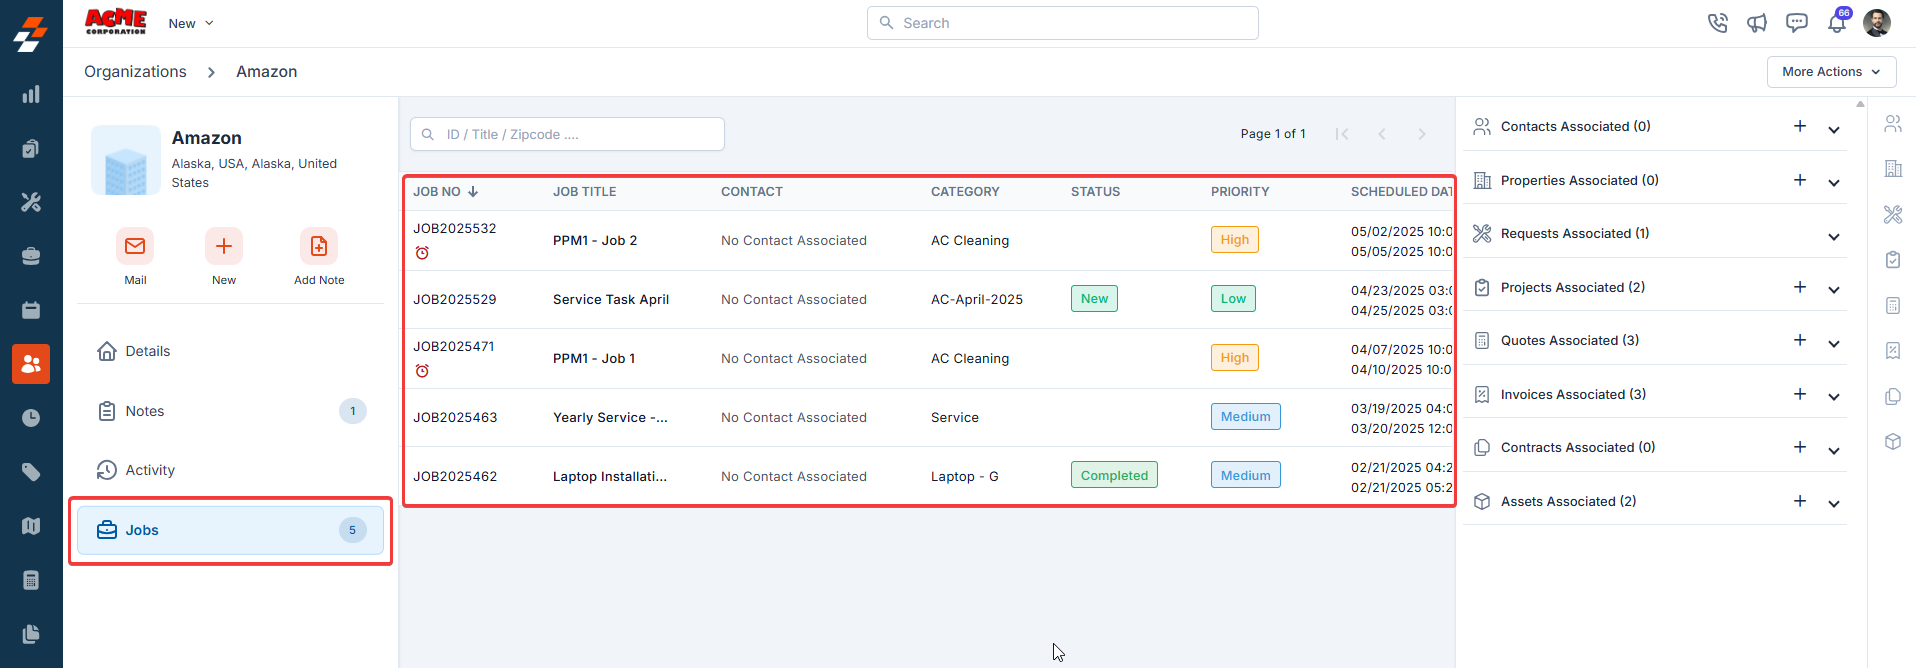
Right panel
In the right panel, you can view the other module details interlinked with the organization module, such as contacts, property, project, quotes, invoice contract, and assets association for the organization.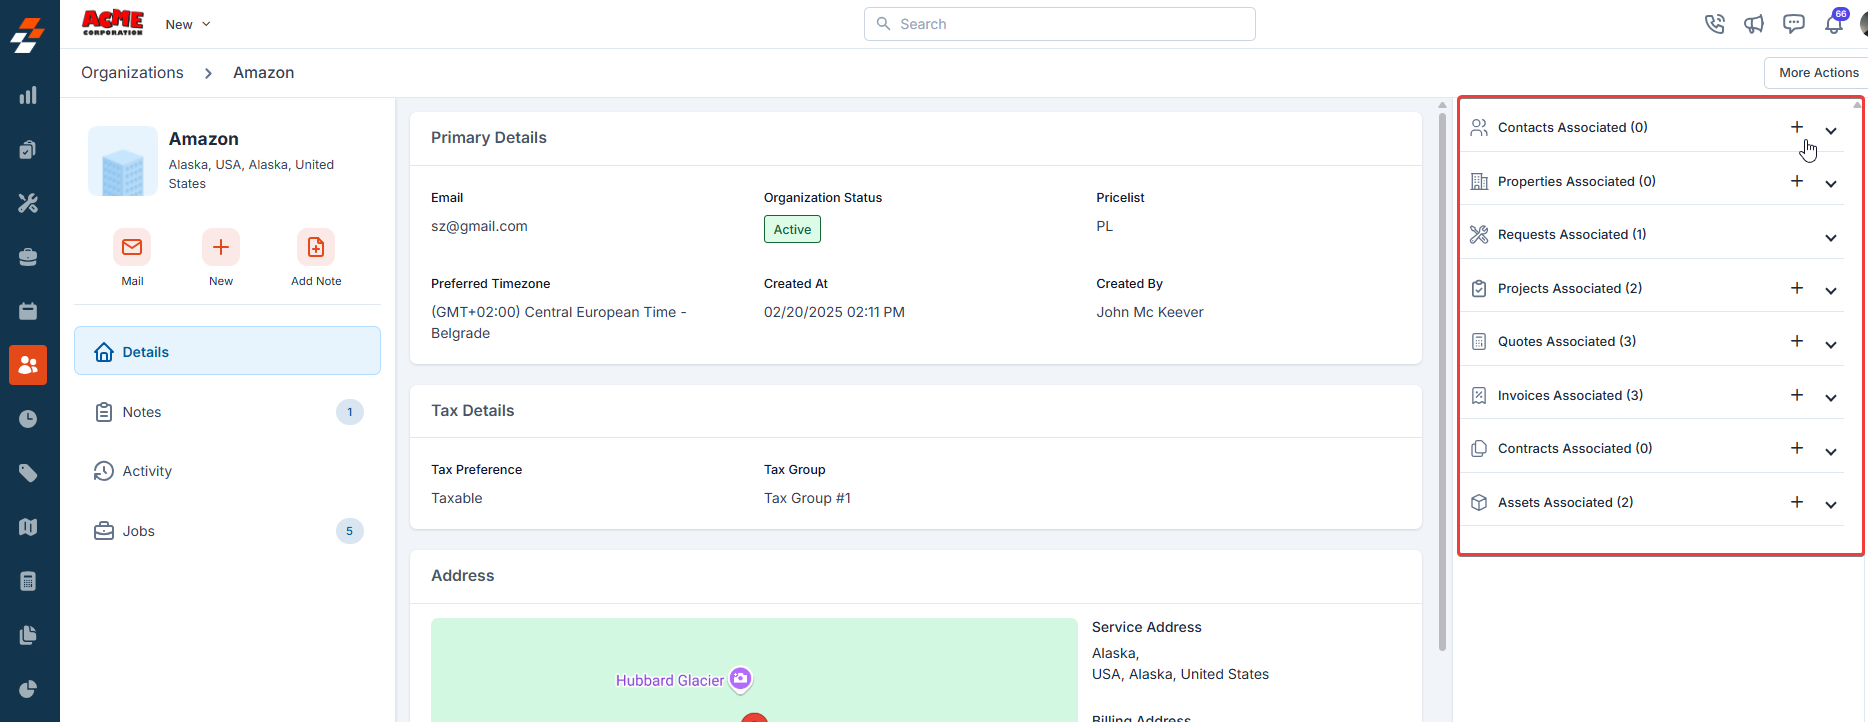
More actions
Managing organizations doesn’t stop at viewing details, and you can perform various actions such as editing, cloning, printing, sharing, and deactivating the organization. To do this, click the “More Actions” button at the top right corner of the page and select the desired option.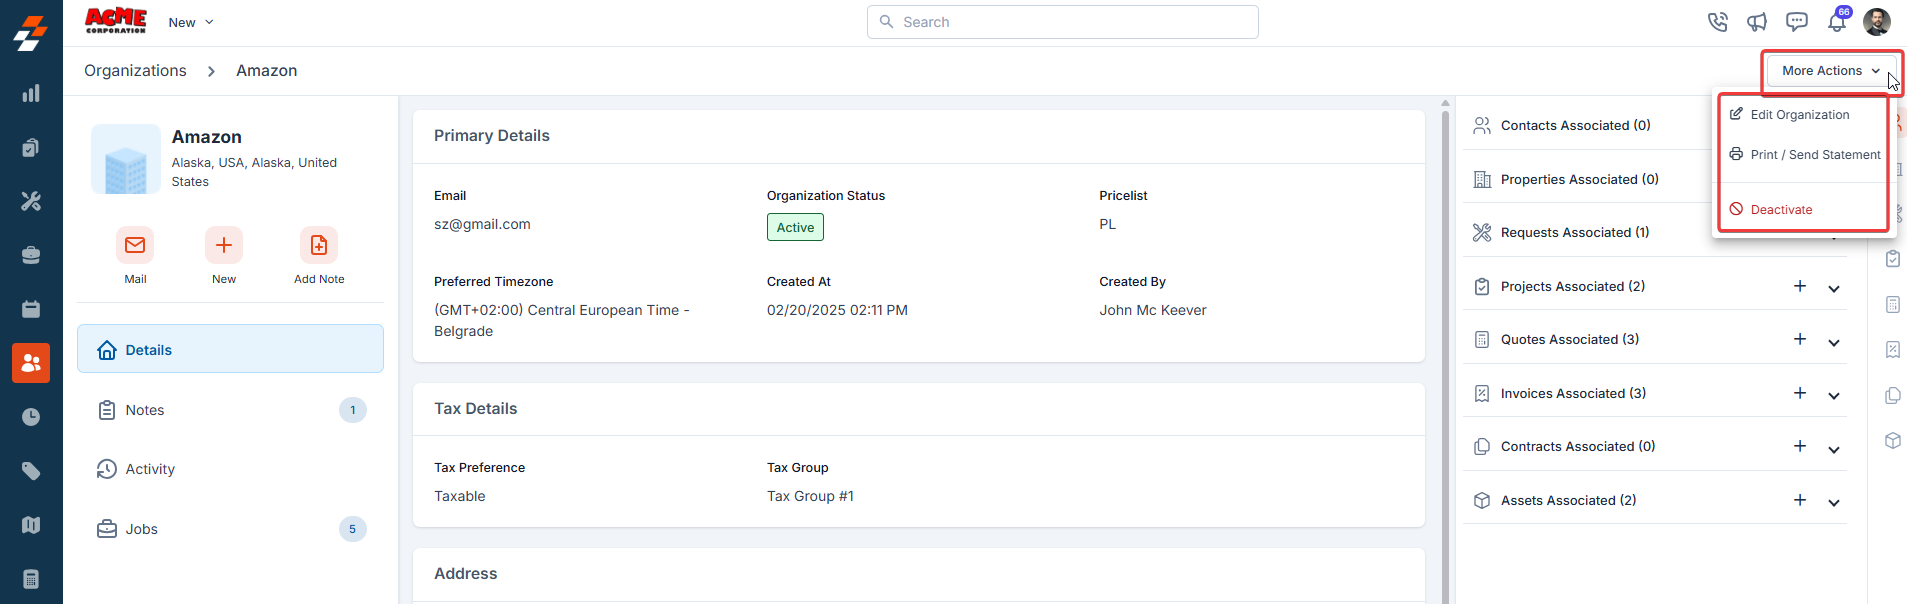
Edit Organization
Edit Organization
You can update the organizational information.
Print / Send statement
Print / Send statement
You can generate a print-ready version of the organization profile and send the organization details to stakeholders.
Deactivate
Deactivate
You can temporarily disable an organization without losing data.
How Field Executives access organizationsField Executives see only organizations they have personally created in
their default Organizations list. Organizations created by other users
do not appear in the list, even if the FE is assigned to a job at that
organization.
- Via job records: Organizations linked to a job are accessible from within the job record and appear in search results, but are not added to the FE’s default list.
- “Assigned” means via jobs: There is no direct organization-to-user assignment in Zuper. A FE being “assigned” to an organization means they have at least one job associated with that organization.