Navigation: Accounting -> Quotes -> + New (Quote)
- Click the “Accounting” module from the left navigation menu and select “Quotes.”
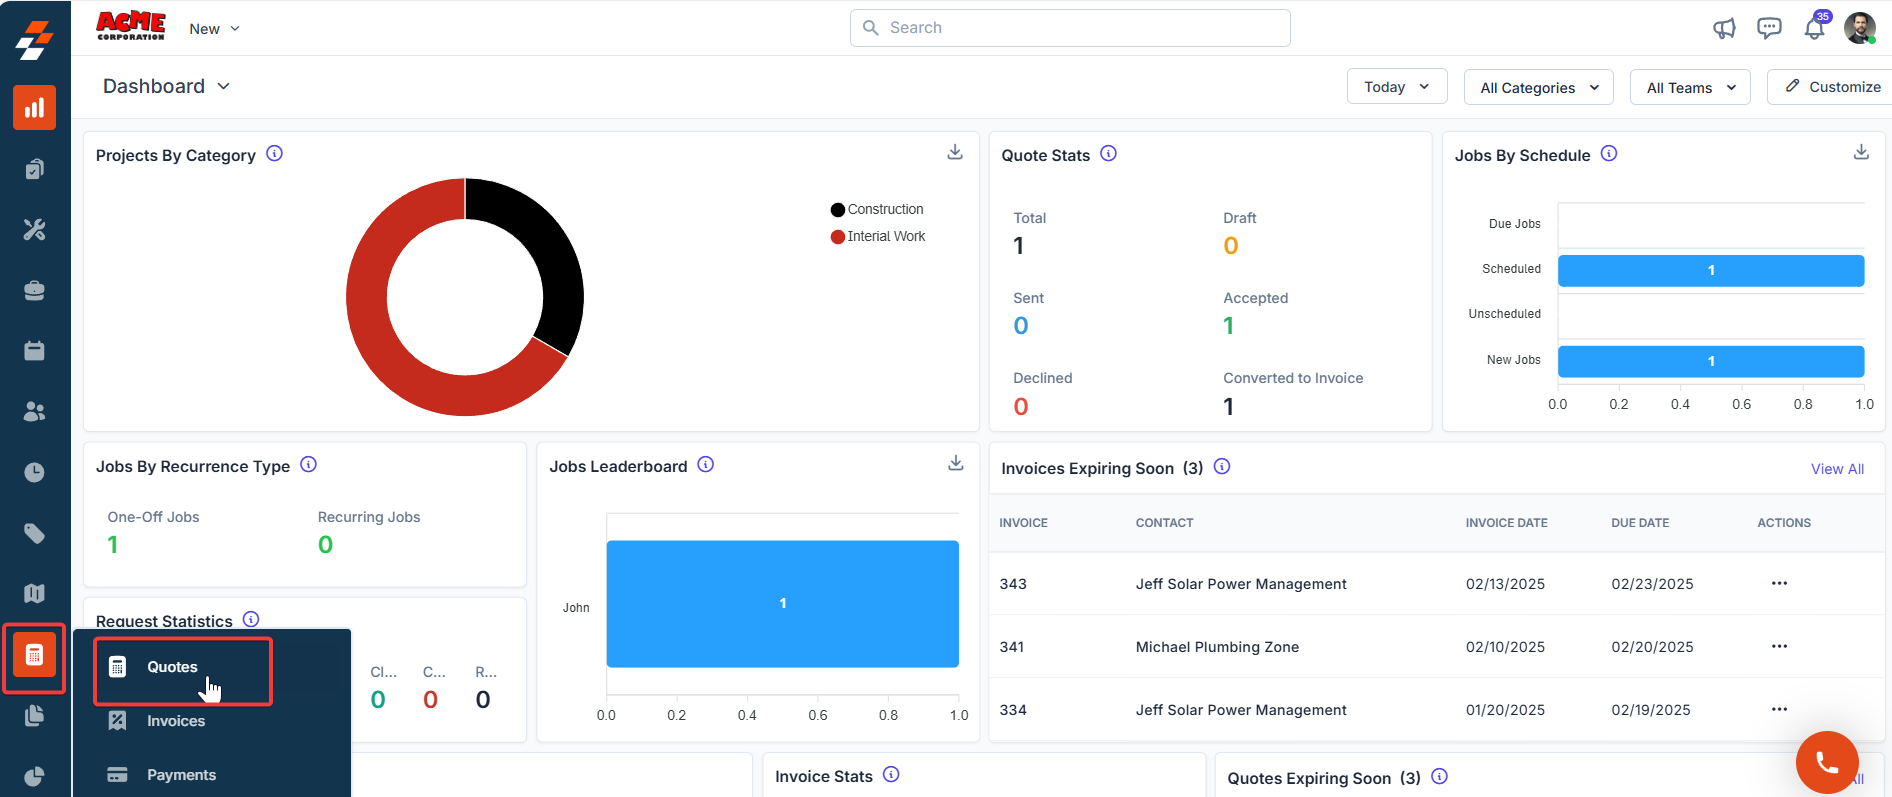
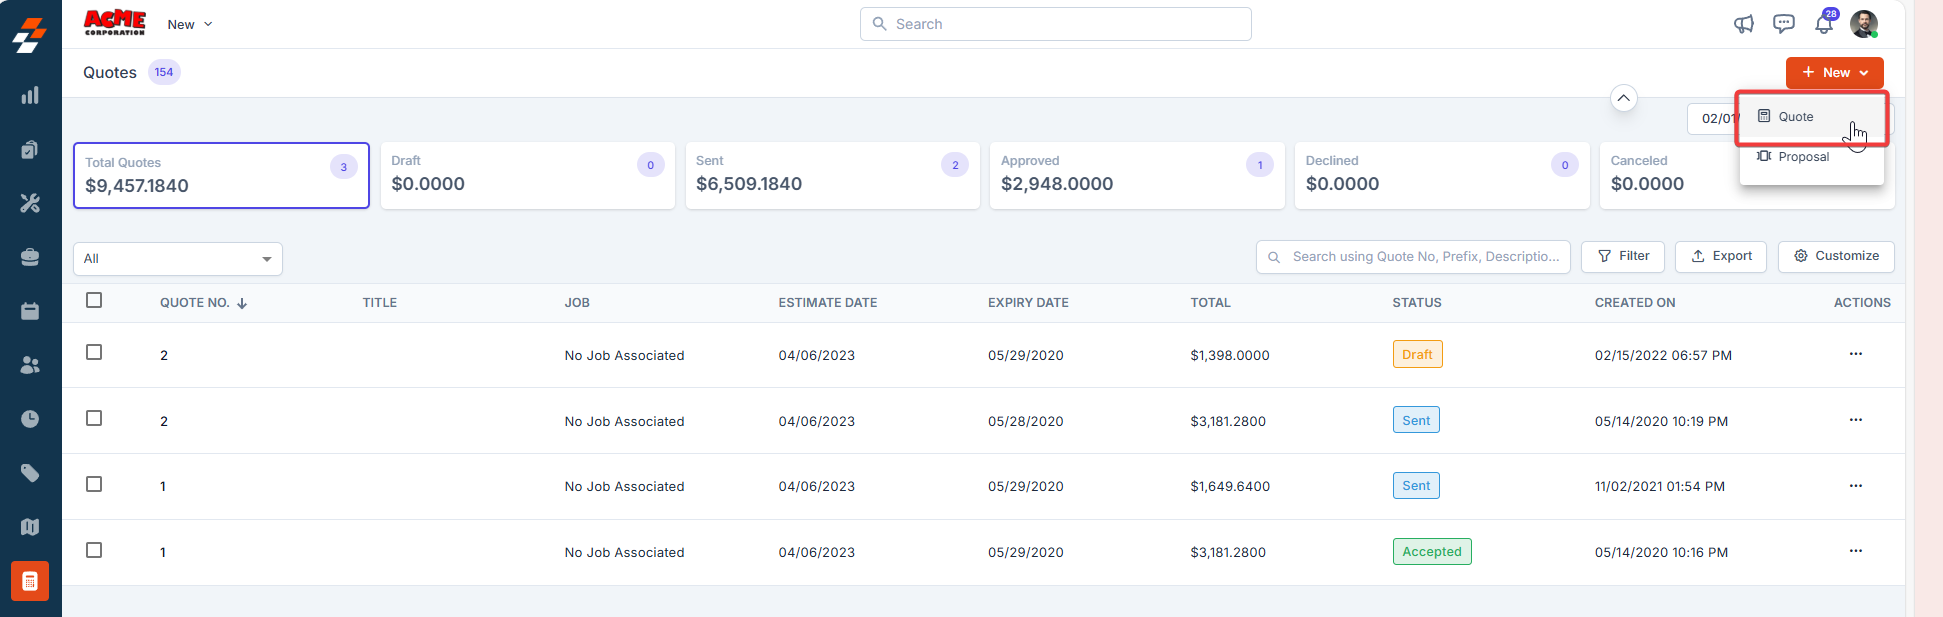
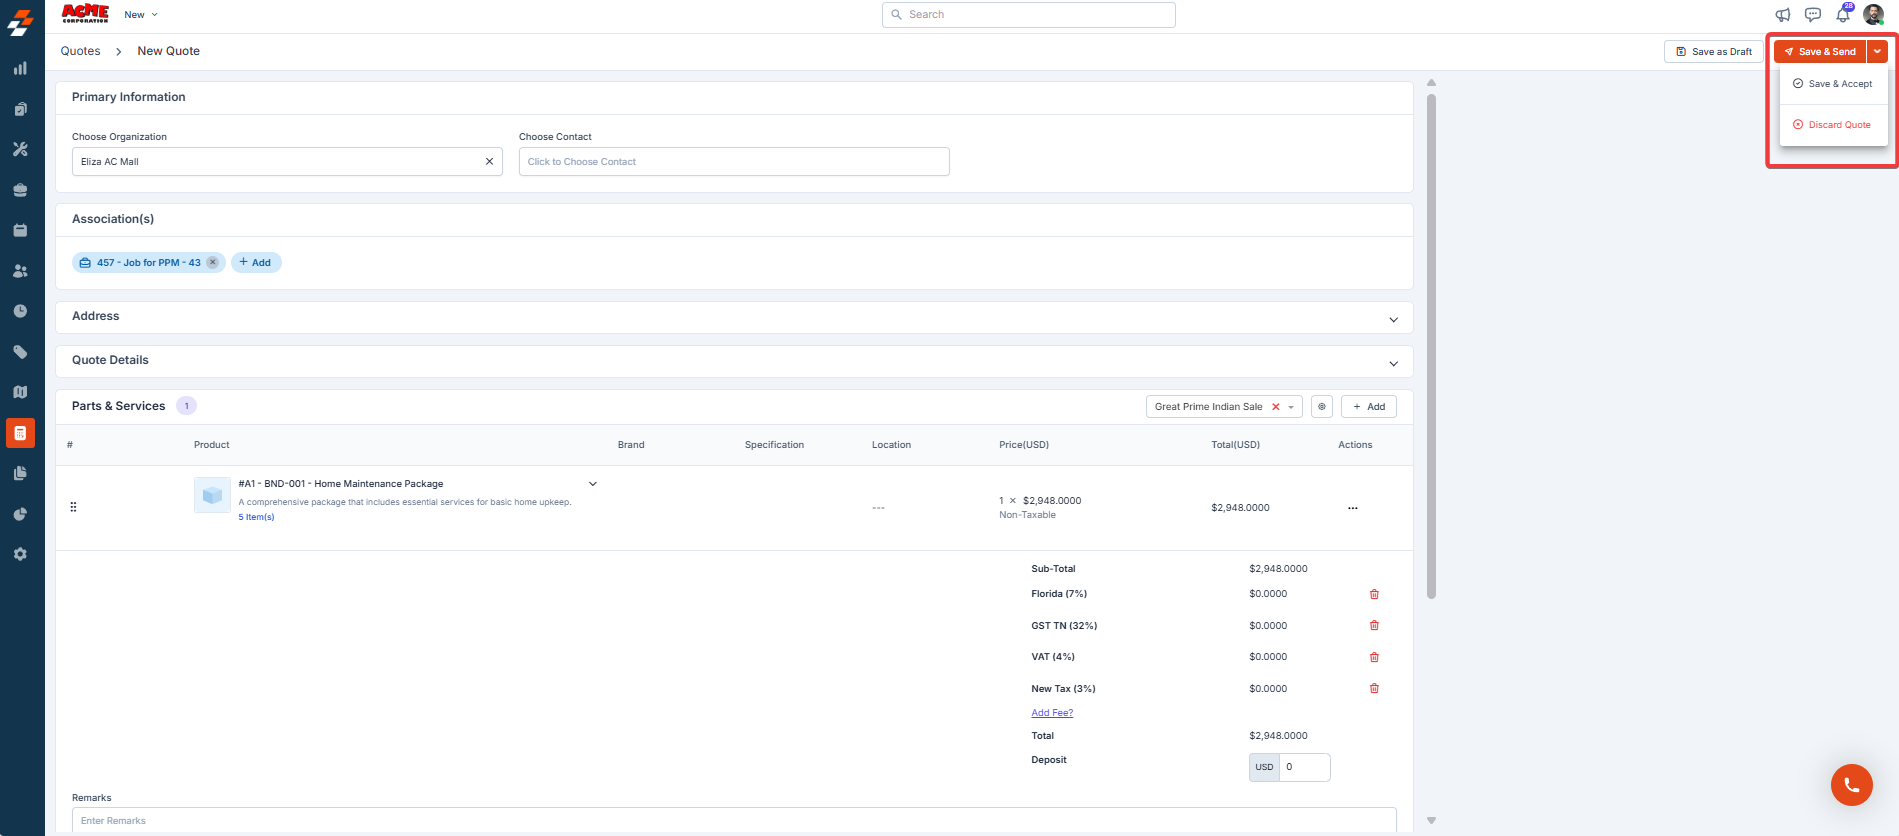
- Click “+ New Quote” to create a new quote.
- Select either “Customer ”, ” Organization”, or “Property” to associate with the quotation.
- Click ”+ Add” to associate the various modules.
NewYou can now associate multiple assets with a quote.
- A side panel will appear. Select the required module and click the “Proceed” button.
- The billing and service contact details are automatically populated based on the selected customer or organization.
- Fill in the mandatory fields in the Quote Details section:
- Quote Date
- Expiry Date
- Quote Template
The Created By field is automatically set to the user who creates the quote and cannot be changed after the quote is saved. If a different team member takes over the quote, the Created By field will continue to display the original creator’s name. To reflect updated ownership, use the Quote Sold By field to assign the team member actively handling the quote. This field can be updated at any time and is used for ownership tracking, filtering, and sales performance reporting. Important: If a specific user needs to appear as the creator of a quote, they must create it themselves from their own login. The Created By field cannot be reassigned after creation.
Note: Remarks field and PDF templates
The Remarks field on a quote lets you add custom notes that appear on the quote record. However, whether these remarks appear in the generated PDF depends on how the quote template is configured.
If the Remarks section in the PDF template is hard-coded (contains static text set during template creation), any changes made to the Remarks field on the quote will not be reflected in the PDF — the template’s fixed text will display instead.
To have the Remarks field value appear dynamically in the PDF, the template must be updated to use the dynamic Remarks field variable. Contact support@zuper.co to request this change.
Note: Custom template changes affect all quotes using that template. Before requesting a change, confirm that updating the Remarks behavior will not affect other quotes currently relying on the static text.
- Click ”+ Add” in the Parts & Services section and select an option to add parts, products, or services to the quotation, such as Line Item, Bundle, Section, Item Group, or Custom Line Item.

If Mandate asset association to line items is enabled in the Settings and your quote includes one or more assets, ensure every line item has an asset selected. Otherwise, you won’t be able to save the quote.
When you add a non-billable item directly to a quote, its cost is included in the total, ensuring proper tracking. However, if a non-billable item is part of a transaction (such as a job or contract) and that document is later converted into a quote, the item will not appear on the invoice. This is because non-billable items are excluded from the billable total.
Updating markup and discount for Parts, Products, and Services
Updating markup and discount for Parts, Products, and Services
After adding parts, products, and services, you can edit or update the Markup value and its discount by following these steps: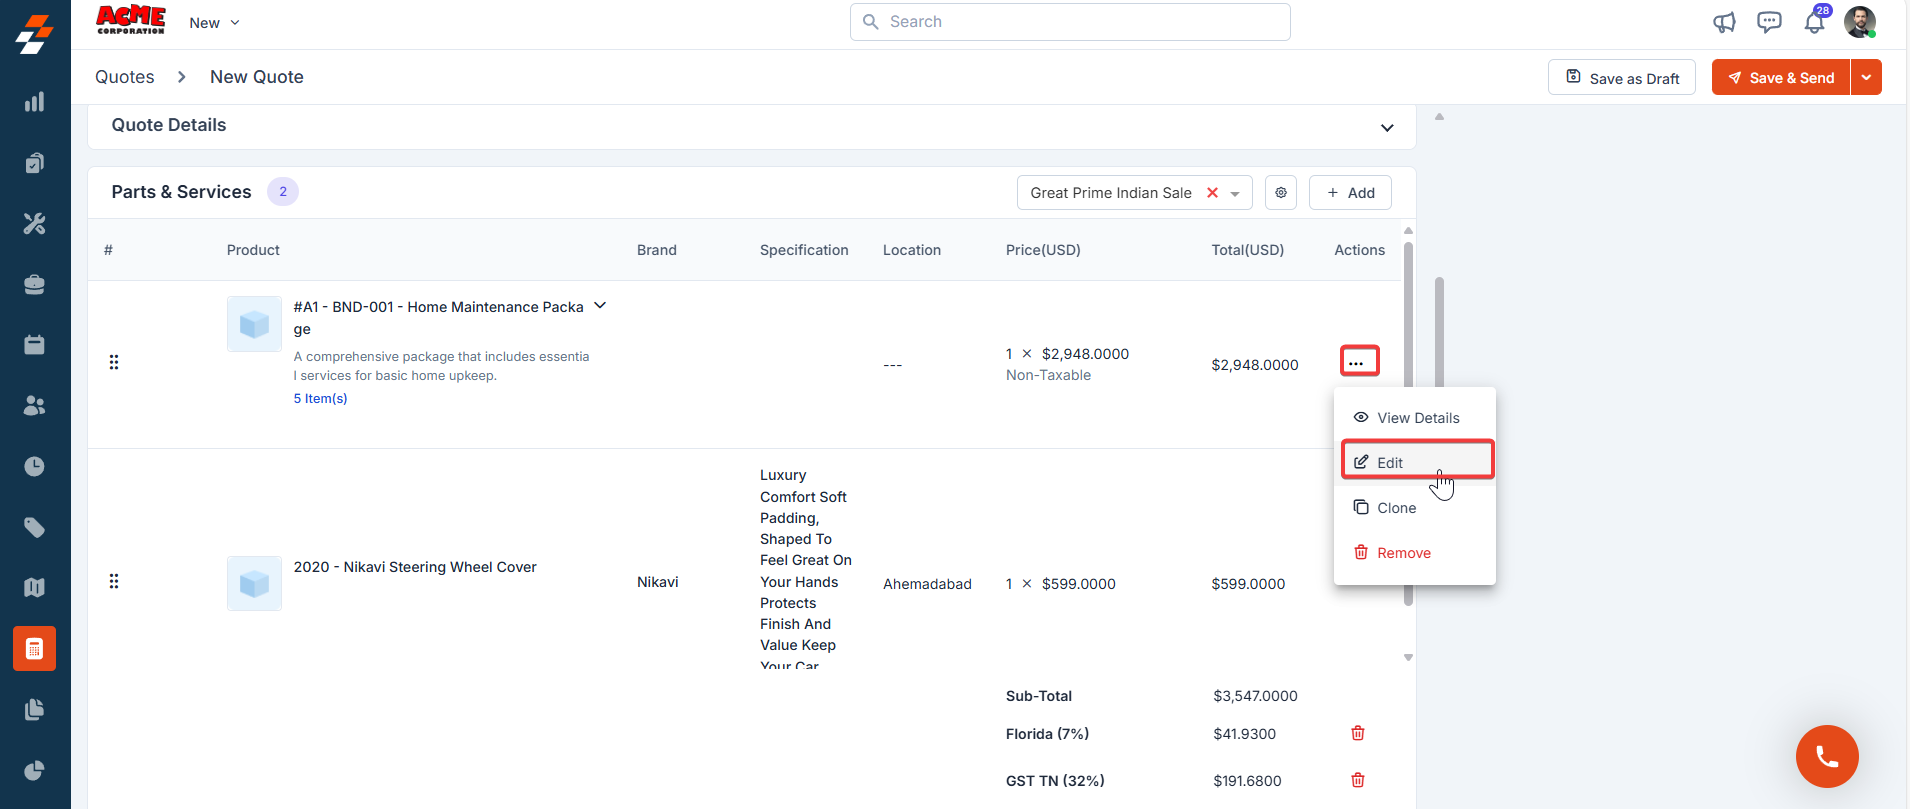
- Locate the line item in the list of added parts, products, or services.
- Click the context menu (three-dot ellipsis) next to the item you want to update.
- Choose the Edit option. An Edit Line Item pop-up will open.
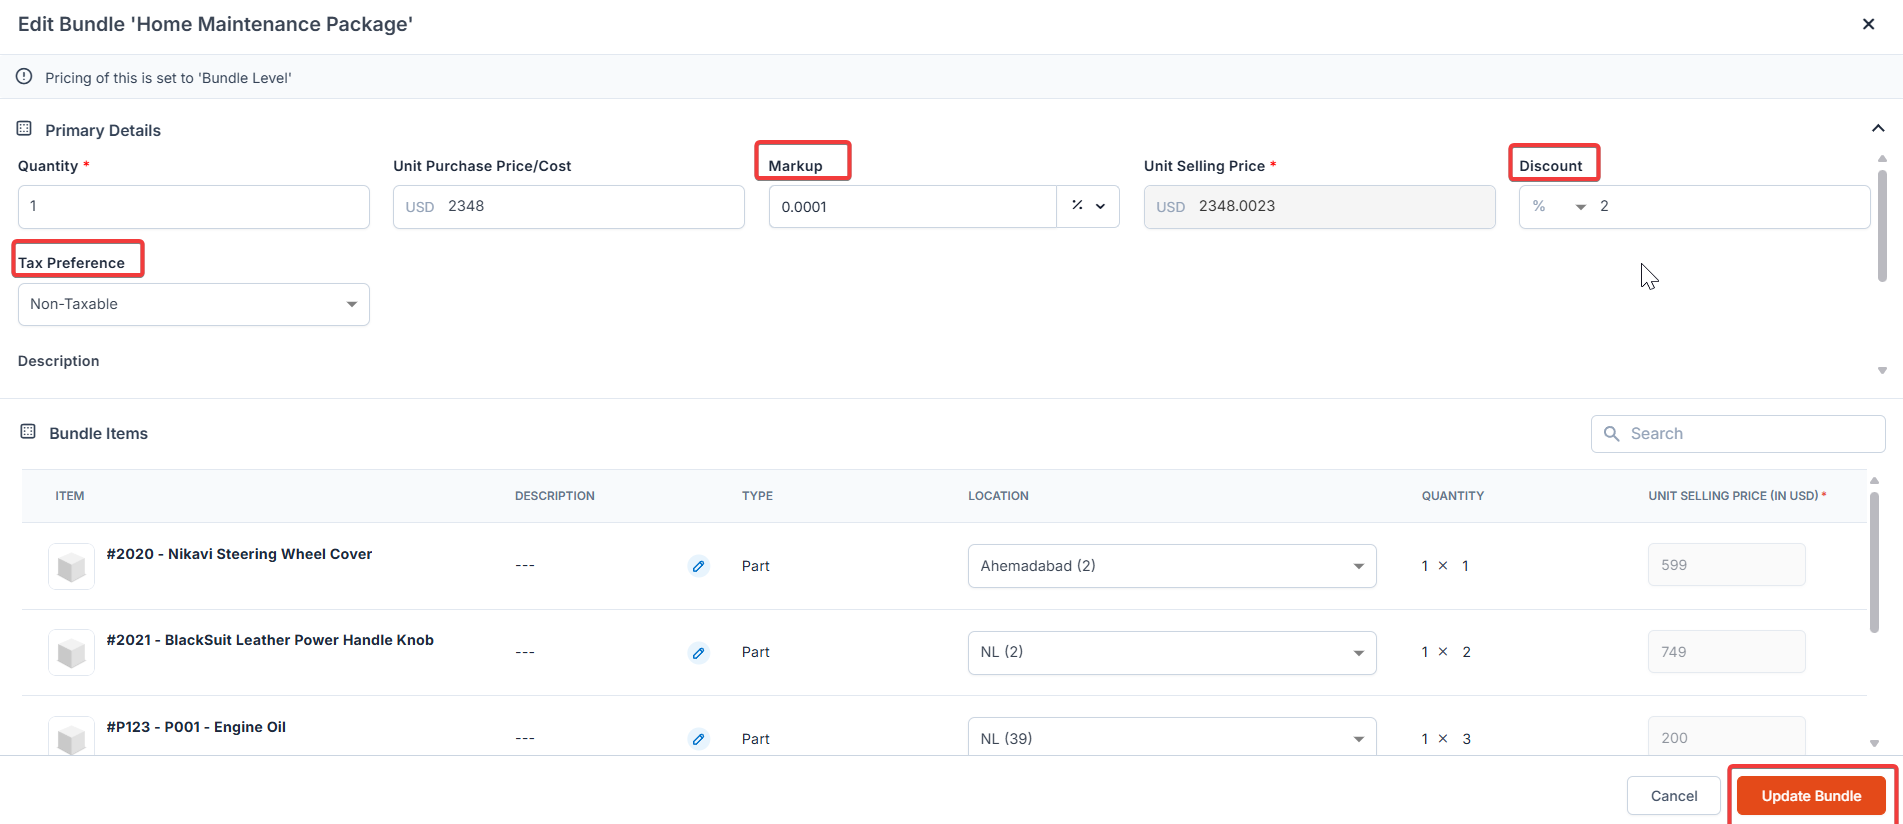
- Adjust the markup type to Flat (+), Percentage (%), or Multiplier (x) based on your requirement and enter the desired value for the selected markup condition.
- Edit the discount as either a percentage (%) or a fixed amount (USD) and enter the desired value in the Discount field.
- Click Update Line Item to apply the changes.
- If Track Serial Number is enabled and Mandate Serial No is turned on in Settings, you must need to enter a serial number before proceeding.
- After adding parts and services to the quote, transactional discounts and global taxes will be applied.
Notes:
- If a line item includes a custom tax, transactional discounts, and global taxes cannot be applied.
- Transactional-level discounts apply only when all parts and services in the quote are either fully taxable or fully non-taxable.
Tax display in templatesThe way taxes appear on your quote PDF — for example, whether tax is shown separately per line item or as a single total — is controlled by your document template settings. Some regional billing standards, such as Canadian invoicing requirements, require taxes to be displayed separately from each line item on the document. If you need to change how taxes appear on your quote or proposal templates, contact Support Your administrator cannot change this setting directly.
- Adjust the margin percentage to instantly recalculate markup % and the total selling price for all line items.
- Enter the details for any custom fields configured in the settings.
- Click ”+ Add Attachments” to upload any quotation-related files.
- Click ” Save as Draft” to temporarily save the quotation. In the confirmation pop-up, click ” Save as Draft” again to confirm.
- The quotation is created successfully.
Send a quotation
After you save a quotation, you can send it to the customer for review and acceptance.- Open the quotation from the Quotes listing page.
- Select Send at the top right of the details page.
- A send dialog appears. Before you send, review the Document Template field in the dialog.
Email attachment size limit When sending a quote by email, attachments are included directly in the email up to a combined size of 20MB. If the total attachment size exceeds 20MB, Zuper automatically converts attachments to inline download links in the email body rather than sending them as attachments. Recipients can still access the files by clicking the links, but the files will not appear as standard email attachments. Workaround: If you need attachments to be delivered as standard email attachments, ensure the total size of all attached files is under 20MB before sending. Consider compressing large files or splitting them across multiple sends if needed.
- Make any other adjustments to the email details, then select Send.
Note: If you have recently edited a quote, wait at least one minute before sending the email. Sending immediately after making changes may result in the PDF attachment showing outdated values. The electronic signing link will always reflect the latest version.If you have edited the Remarks field, ensure the quote is explicitly saved (via Save as Draft) before exporting or sending the PDF. Remarks edits that are not saved prior to PDF generation may revert to the previously saved version.
Set a default document template
To avoid selecting the wrong template each time you send, you can configure a default document template in your settings. The default template pre-populates the Document Template field whenever you send a quotation.- Go to Settings.
- Go to Accounting, then select Document Templates.
- Locate the template you want to set as the default.
- Select the context menu (three-dot ellipsis) next to the template.
- Select Set as Default.
Setting a default template does not prevent you from selecting a different template at send time. Always review the Document Template field before sending to confirm that the correct template is selected.