

Access the gallery
Navigation: Zuper Mobile App → More → Customers → [customer or contact name] → overflow icon → Gallery
- Open the Zuper Field Service App on your mobile device.
- Tap More from the bottom navigation bar.
- Tap Customers from the list.
- Type the customer or contact’s name in the Search customers bar, or scroll to find the record.
- Tap the customer or contact to open the details page.
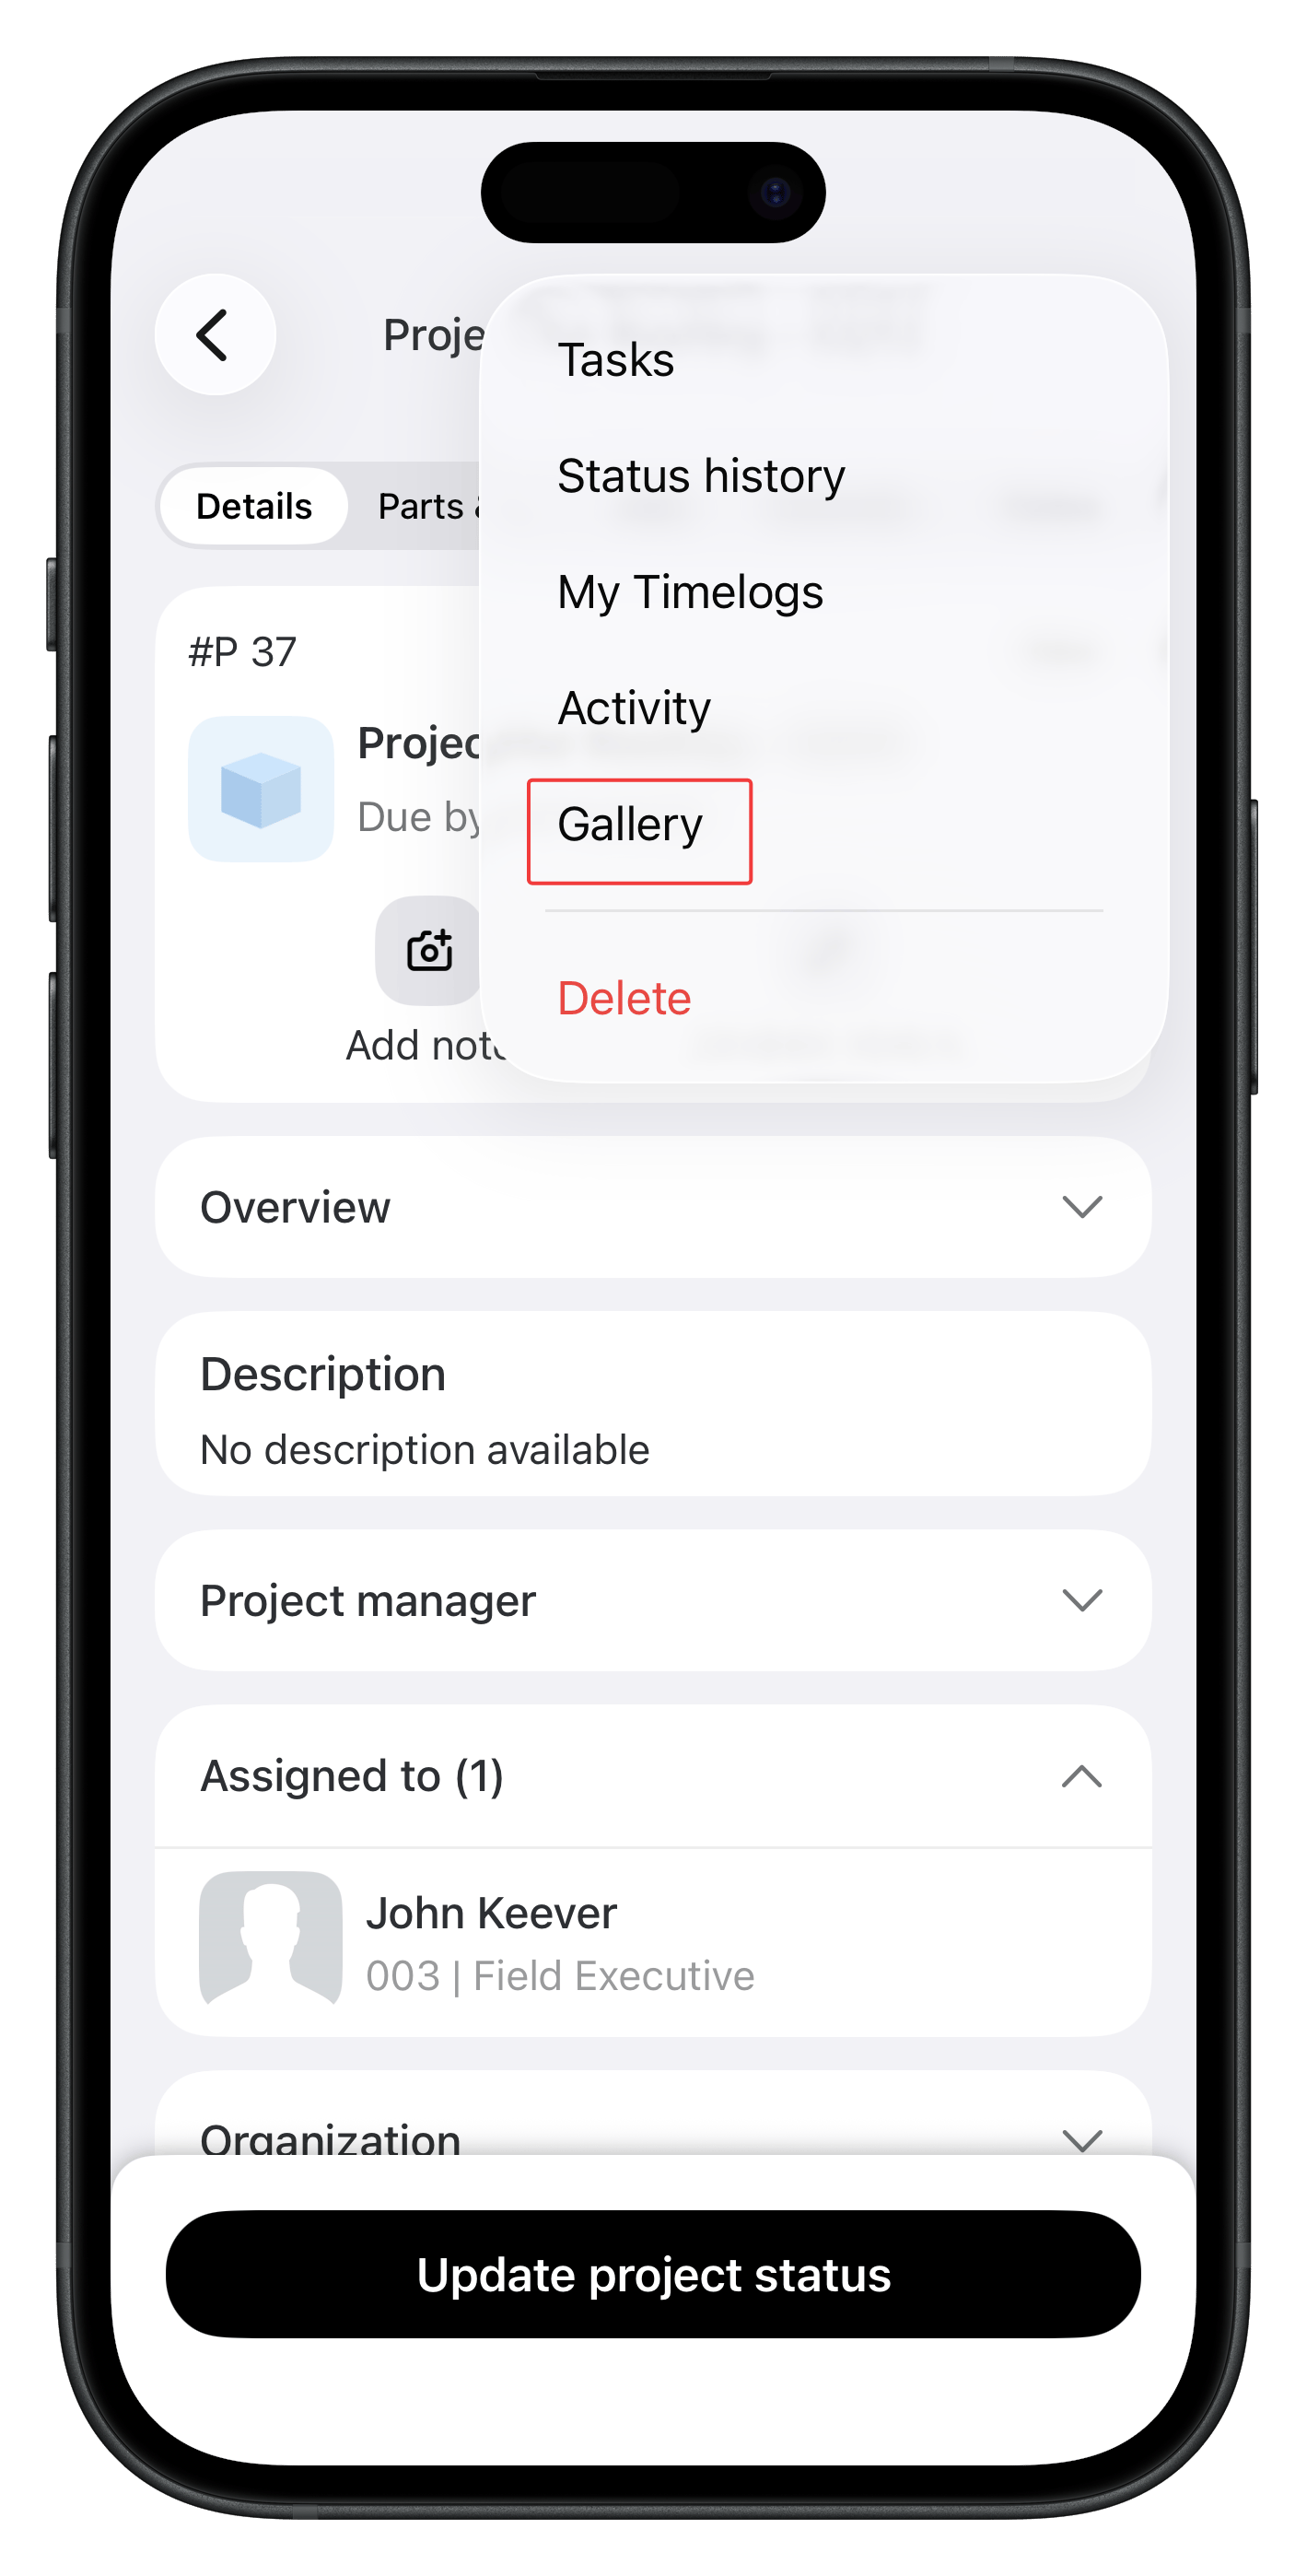
- Tap the overflow icon at the top right of the screen.
- Tap Gallery from the menu. The gallery opens, showing all media uploaded for this customer or contact.
View media
The gallery displays all photos and videos grouped by upload date. Each item shows a thumbnail, with a date label above each group. Open a file in full-screen view- Tap any photo or video thumbnail. The file opens in full-screen view.
- Review the file details in the header: the uploader’s name, the file name, and the upload date and time.
- Tap an action icon at the bottom of the screen to edit, tag, remove, or comment on the file.
- Open the file in full-screen view.
- Press and hold the file name shown in the header.
- Tap Rename from the menu that appears.
- Type the new file name, then confirm.
Add media
You can add media two ways: choose an existing file from your device, or capture a new one with your camera.- Tap the + icon at the bottom right of the gallery. A menu opens with two options.
- Tap Gallery to choose an existing photo or video, or tap Camera to capture a new one.
- Select or capture the file. The media appears in the gallery immediately after upload.
Photos or videos captured or uploaded while offline are queued. They sync to the gallery once your device reconnects to the internet.
Filter media
Use the filter chips at the top of the gallery to narrow down the media displayed. You can apply the following filters:
Tap a filter chip to open its options, then tap the option you want. The gallery updates immediately. Tap the chip again to clear the filter.
Select multiple items
- Tap Select at the top right of the gallery.
- Tap each item you want to select. A checkmark appears on each selected item.
- Use the bottom action bar to apply a bulk action to the selected items.
Remove media
Remove a single item- Tap the photo or video to open it in full-screen view.
- Tap the Remove icon at the bottom of the screen.
- Confirm the deletion when prompted.
- Tap Select at the top right of the gallery.
- Tap each item you want to remove.
- Tap Delete from the bottom action bar.
- Confirm the deletion when prompted.
FAQs
Can I upload videos as well as photos?
Can I upload videos as well as photos?
Yes. You can upload both photos and videos from your device. You can also capture a new photo directly using the Camera option.
What happens when I remove a photo?
What happens when I remove a photo?
Removing a photo from the customer or contact gallery permanently deletes it. Unlike the job gallery, there is no Deleted items album and no restore option.
Can I filter media by the person who uploaded it?
Can I filter media by the person who uploaded it?
Yes. Tap the Uploaded by filter chip at the top of the gallery and choose a team member’s name to view only their uploads.
Can I rename a photo after uploading it?
Can I rename a photo after uploading it?
Yes. Open the photo in full-screen view, press and hold the file name in the header, then tap Rename.
What if I uploaded a photo while offline?
What if I uploaded a photo while offline?
Photos uploaded offline are queued on your device. They sync automatically once your device reconnects to the internet.If the issue continues, contact Support.
Is this gallery the same as the job gallery?
Is this gallery the same as the job gallery?
No. The customer or contact gallery stores media linked directly to a customer or contact record, while the job gallery stores media linked to a specific job. Photos removed from the customer or contact gallery are permanently deleted, but photos removed from the job gallery move to a Deleted items album and can be restored.If the issue continues, contact Support.