Before you begin
Ensure at least one photo is available in the record before opening the editor.Note: The editor works on images only. Videos cannot be annotated.
Accessing the Photo Editor
You can open the editor from either the Gallery tab or the Attachments section of any supported record:- Navigate to the desired Job, Project, Customer, or Property record.
- In the left navigation panel of the record, click the Gallery tab (or Attachments section).

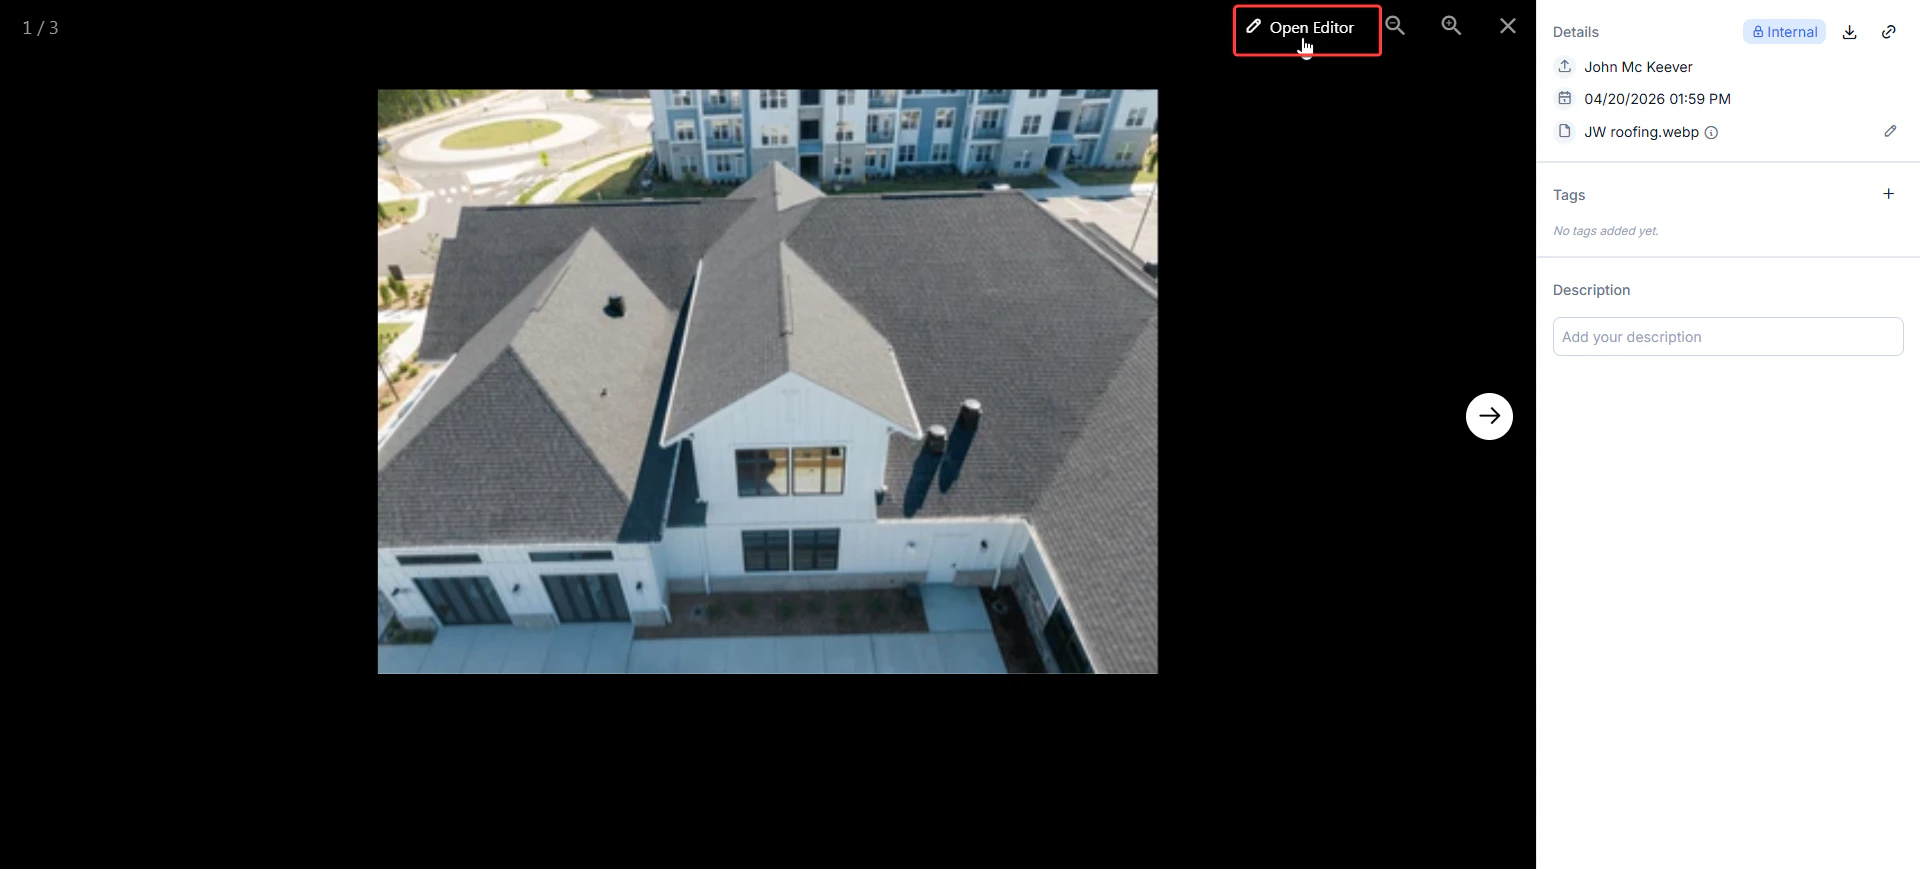
- Click the image you want to annotate. It opens in full-screen view.

- Click Open Editor in the top-right corner of the viewer.
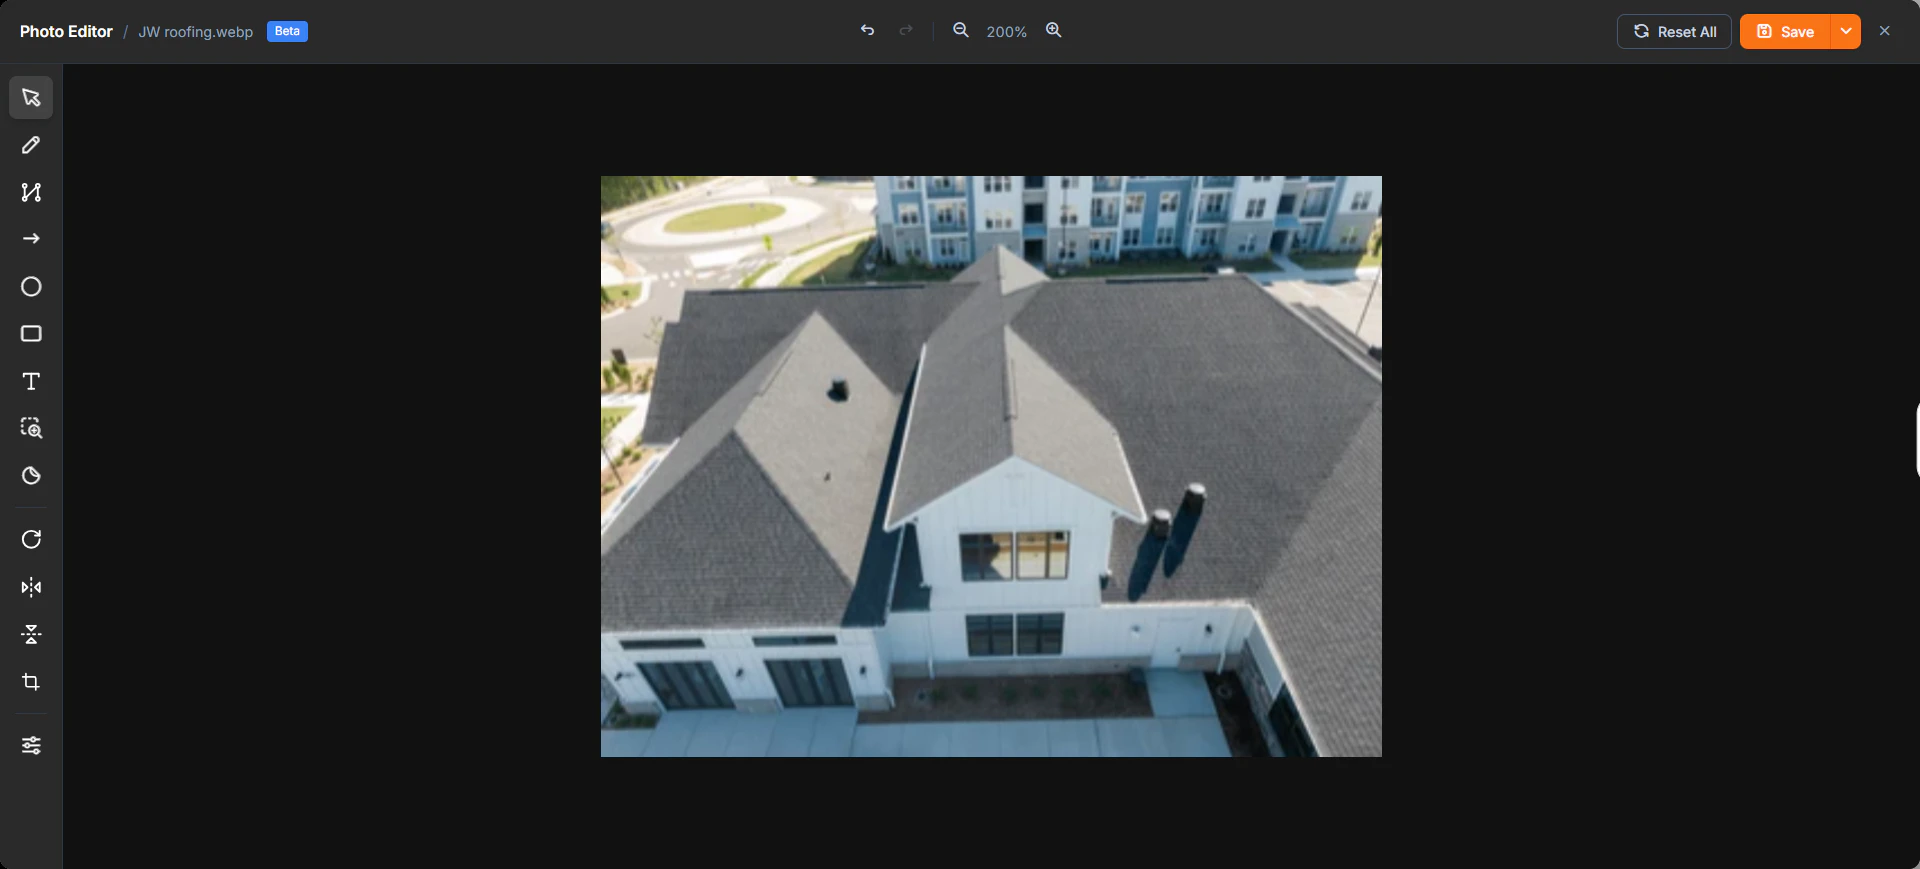
Using the Annotation Tools
Zuper offers a comprehensive yet intuitive set of tools tailored for field service and property management needs. Here is what each one does and how to use it.Select Tool
Select Tool
Use this tool whenever you need to move, resize, or make changes to something you have already drawn.How to use: Click the cursor icon at the top of the toolbar, then click any annotation on the photo. You can drag it to a new spot or use the corner handles to resize it.
Freehand Draw
Freehand Draw
Perfect for circling a defect, underlining a detail, or sketching a rough outline.How to use: Click the pencil icon, then click and drag on the image to draw. When you release the mouse, the stroke is placed, and the tool automatically switches back to Select mode so you can fine-tune it.
Polyline
Polyline
Great for tracing straight edges such as roof lines, property boundaries, or paths of damage.How to use: Click the polyline icon, then click once for each point you want to connect. Double-click when you are finished. You can later adjust its color, thickness, or delete it.
Arrow
Arrow
One of the most useful tools — it lets you point directly at an issue and add a label or measurement at the same time.How to use: Click the arrow icon, then click and drag to draw the arrow in the direction you want. When you release, a small window appears with four choices:
- Free-text note (for example: “Replace this section” or “Priority: High”)
- Linear measurement in feet and inches
- Linear measurement in metres and centimetres
- Area measurement in square feet
Circle and Rectangle
Circle and Rectangle
Use the circle tool to highlight round or oval areas like holes, stains, or leaks. Use the rectangle tool for square or rectangular sections such as windows, panels, or larger areas.How to use: Click and drag to draw the shape. Once placed, you can change the color, adjust how transparent it is, add text, duplicate it, or remove it.
Text Tool
Text Tool
Sometimes you just need a simple label on its own. Place a standalone label anywhere on the image to name an area, add an instruction, or stamp a measurement.How to use: Click the T icon in the left toolbar.
- Click the desired location on the photo. The text input box appears.
- Choose the appropriate mode from the tabs at the top:
- Abc — Free-form text (e.g., “Replace gutter section”, “Priority High”)
- ft. in. — Linear measurement in feet and inches
- m. cm. — Linear measurement in metres and centimetres
- sq. ft. — Area measurement in square feet
- Enter the content and click Save.
Magnifier
Magnifier
Need to show a tiny detail without losing the bigger picture?How to use: Click the magnifying glass icon and then click on the area you want to zoom in on. A circular magnified view appears at 4× zoom. You can move it around or adjust the zoom level as needed.
Sticker
Sticker
Apply a quick visual indicator without typing.How to use: Click the sticker icon, pick one from the collection (such as a check mark or flag), and click on the photo to place it. You can move or delete stickers easily.
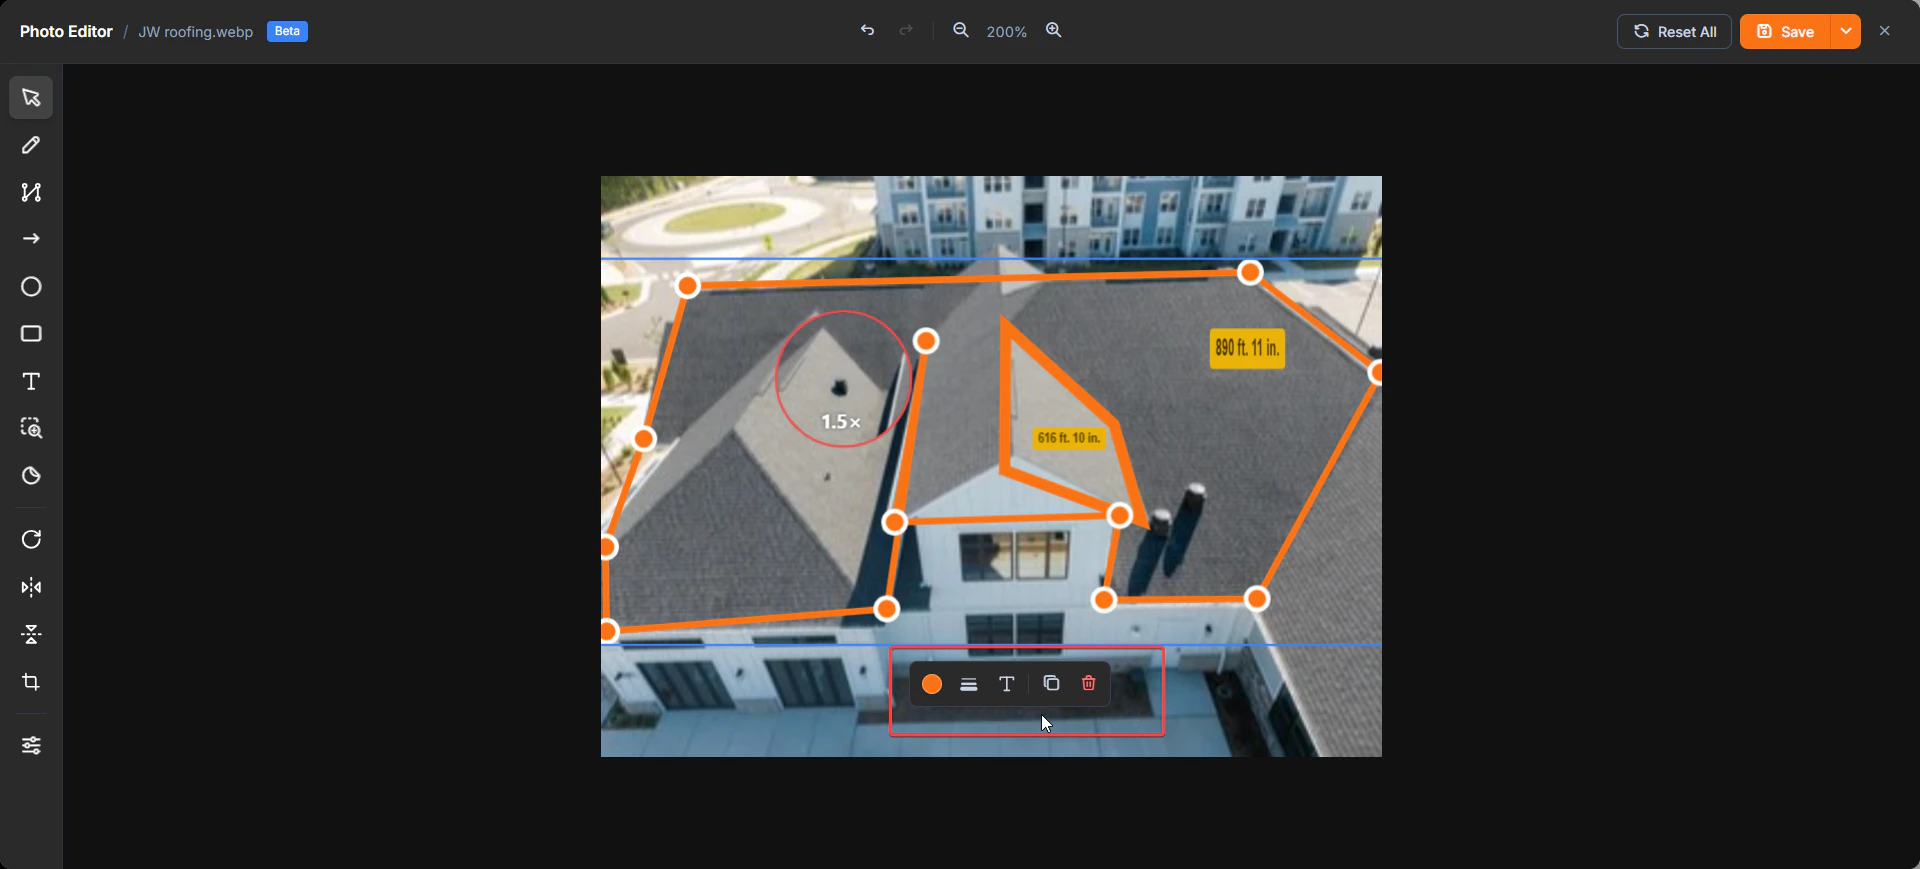
- Color picker: Change the color of the annotation to make it stand out better.
- Thickness picker: Adjust how regular or solid the annotation appears so it blends nicely or draws strong attention.
- Text (T): Edit or add a text label attached to the annotation.
- Edit: Modify the path or shape of the annotation if you need to adjust its form.
- Duplicate: Create an exact copy of the annotation. This is especially useful when you want to repeat the same measurement or marking across multiple areas quickly.
- Delete: Remove the annotation from the canvas completely.
Rotate 90°
Rotate 90°
Click this icon to turn the entire photo 90 degrees clockwise until it looks right.
Flip Horizontal or Vertical
Flip Horizontal or Vertical
Mirror the image left to right or top to bottom.
Crop
Crop
Click the crop icon and drag the handles to keep only the important part of the photo, then confirm.
Adjustments
Adjustments
Click the sliders icon at the bottom of the toolbar. Here you can change brightness, contrast, and saturation. Move the sliders and watch the photo update live. It is usually best to make these adjustments first so your annotations look clear and professional.
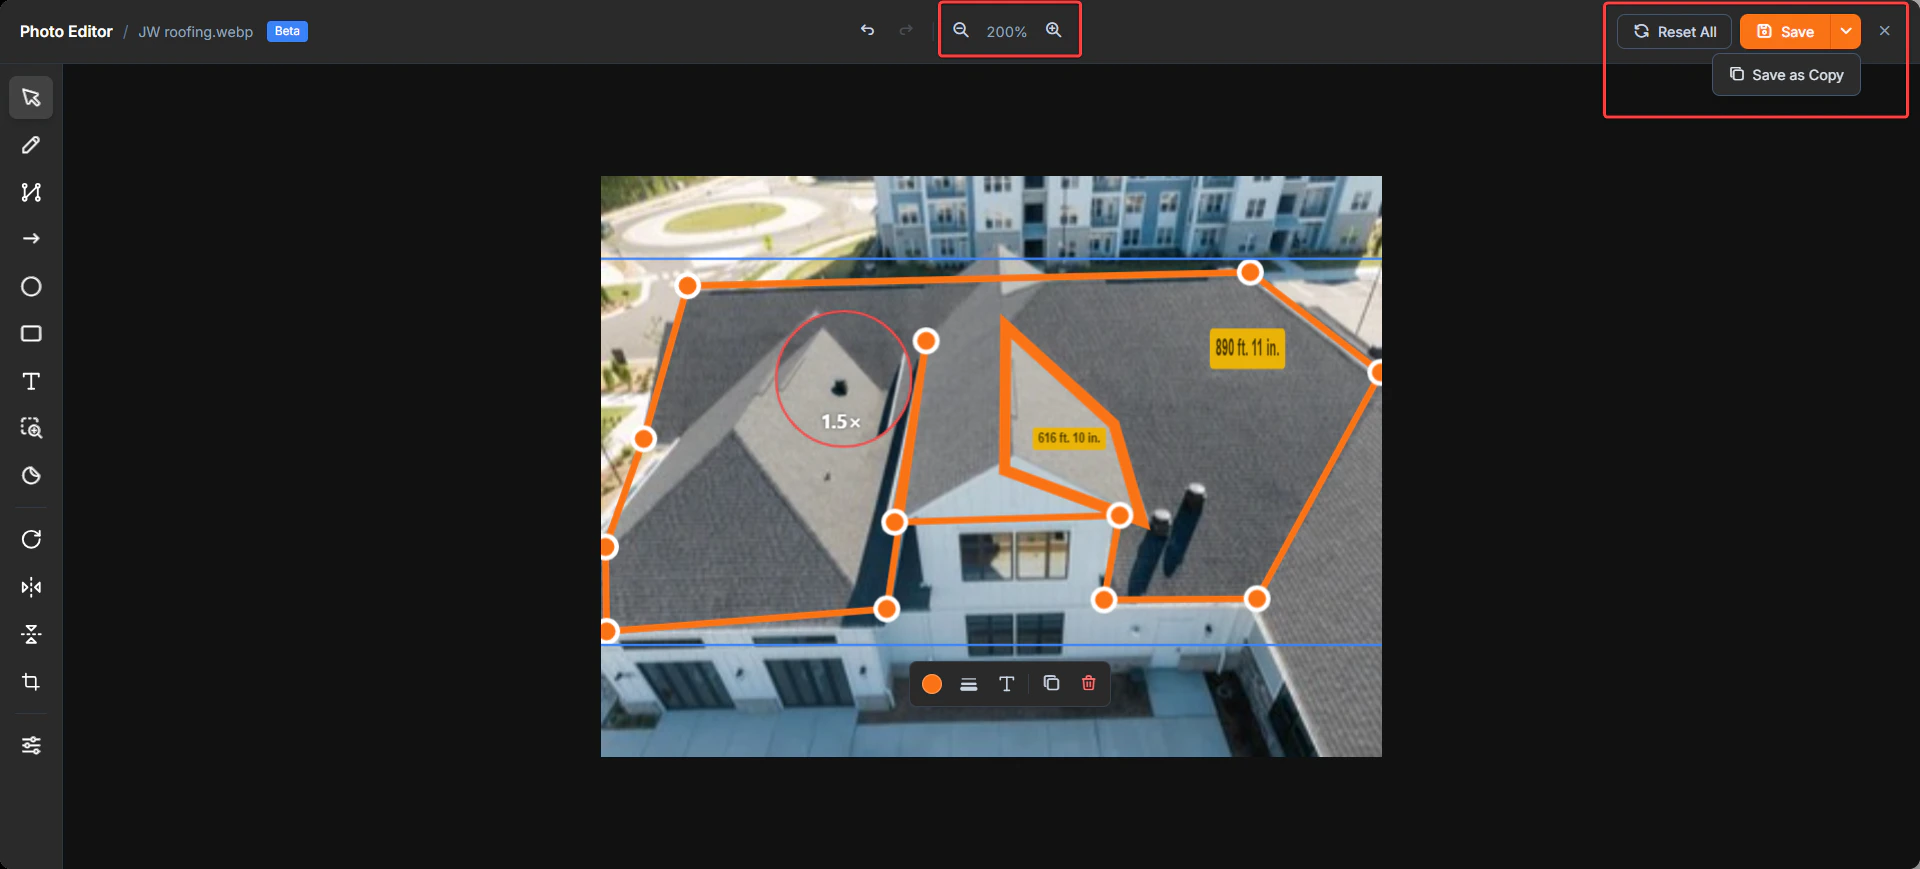
- Reset All: Clears everything you have added so you can start fresh (this cannot be undone).
- Save: Applies your changes directly to the original photo.
- Save as Copy: Creates a new annotated version while keeping the original photo untouched. This option is especially useful when you want to keep clean before-and-after records.
- Zoom controls let you get a closer or wider view as you work.
You can always reopen an annotated image later to make additional changes, including adding new annotations, adjusting existing ones, or removing previously added annotations. This flexibility helps keep your records accurate as the job progresses. Here are a few important things to remember:
- If you use Save as Copy, the original photo stays exactly as it was. This is helpful for insurance claims, warranty records, or when you need to show the unchanged starting point.
- If you close the editor without clicking Save or Save as Copy, all your work will be lost.
- Using Reset All removes every annotation and adjustment at once.
FAQs
Q: Will saving overwrite my original photo?
Q: Will saving overwrite my original photo?
It depends on which option you choose. Save commits the annotations to the existing image. Save as Copy creates a new annotated version while leaving the original untouched. Use Save as Copy whenever you need to maintain a clean original for insurance, warranty, or dispute records.
Q: How do I remove all annotations at once?
Q: How do I remove all annotations at once?
Click Reset All in the top-right corner and confirm. This removes all annotations and image adjustments in one step and cannot be undone once confirmed.
Q: If a checklist has a single image property, what happens when I annotate and save using Save as Copy?
Q: If a checklist has a single image property, what happens when I annotate and save using Save as Copy?
The annotated image is saved as a new copy and does not replace the original checklist image. The original remains intact. You can view both the original and the annotated version in the Gallery.
Q: What happens if I close the editor without saving?
Q: What happens if I close the editor without saving?
Any annotations you have placed are discarded. Your original image remains unchanged. Always click Save or Save as Copy before closing if you want to keep your work.