- A job checklist that appears when a field executive updates a job status.
- An inspection form accessed from the Tasks or Assets module.
Adding a field in the checklist
Admins add the AI Walkthrough Video field to a checklist or inspection form in Settings. Once you save the field, it appears to field executives in the mobile app when they update a job status or complete an inspection form. The user cannot record the AI walkthrough video from a desktop.Navigation: Settings → Modules → Jobs → Job Category Hub → select a job category → Checklist section → +Create (or open an existing checklist)
- From the left navigation menu, Select Settings
- Select Modules, then Choose Jobs.
- Select Job Category Hub and open the job category you want to update.
- In the Checklist section, select +Create to build a new checklist, or select an existing checklist to edit it.
- In the Checklist Builder, locate AI Walkthrough Video in the Media category on the right panel.
- Drag AI Walkthrough Video from the right panel and drop it into the checklist. The Edit AI Walkthrough Video panel opens on the right.
.png?fit=max&auto=format&n=V6lrJ2R8bYwIF8wh&q=85&s=0db7a6ccbdaf101e1c4c7c3428e60155)
.png?fit=max&auto=format&n=V6lrJ2R8bYwIF8wh&q=85&s=20b6e0c67b1a86c2d9c7daef7be8395b)
- Enter a Field Name.
- Under Configuration, toggle Mark as Required Field on to require the walkthrough before the checklist can be submitted.
- Select Save to add the field to the checklist.
Note: To add AI Walkthrough field to an inspection form, follow the steps in Configuring inspection forms.To learn more about checklists, see Configure job checklists.
Capturing a walkthrough in a checklist
Navigation: Jobs → select a job → Update Status → select a checklist → AI Walkthrough Video
Open the checklist
When you update a job status, and the checklist is configured with an AI walkthrough video, follow these steps:- Go to the Jobs module.
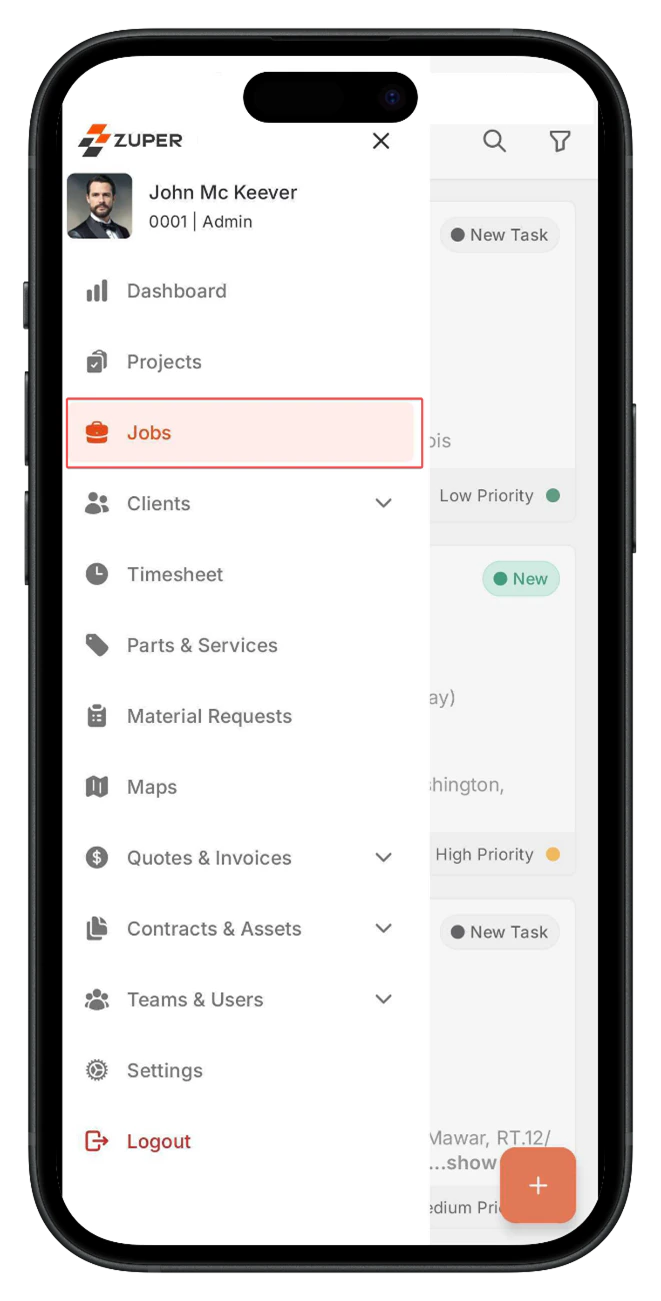
- From the job listing page, select the job you are working on to open the job details page.
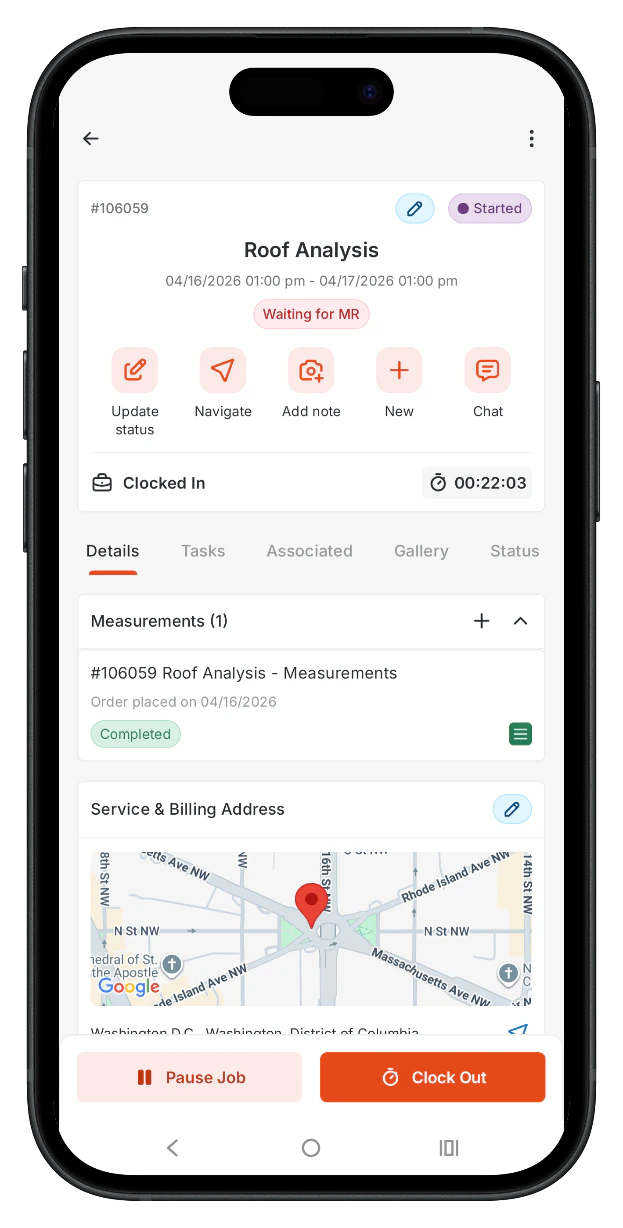
- Tap Update Status — the checklist attached to the current job status opens
Start the walkthrough
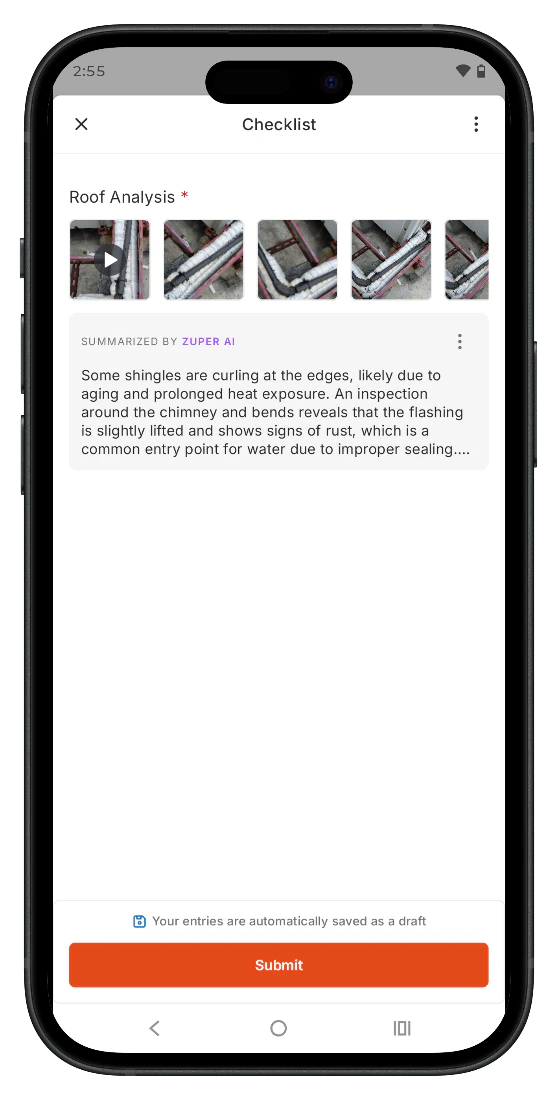
- Locate the AI Walkthrough Video field in the checklist and tap Start Walkthrough. The camera opens automatically.
- Select a camera mode. Dual Camera records from both front and rear cameras at the same time, and Single Camera records from one camera only.


- Walk through the job site. Speak naturally — Zuper AI transcribes your voice in real time.
- Tap the camera icon at the bottom of the screen to capture photos at any point during the recording.
- Tap Pause if you need to stop temporarily, then tap Resume to continue.
- Tap Stop when the recording is complete.
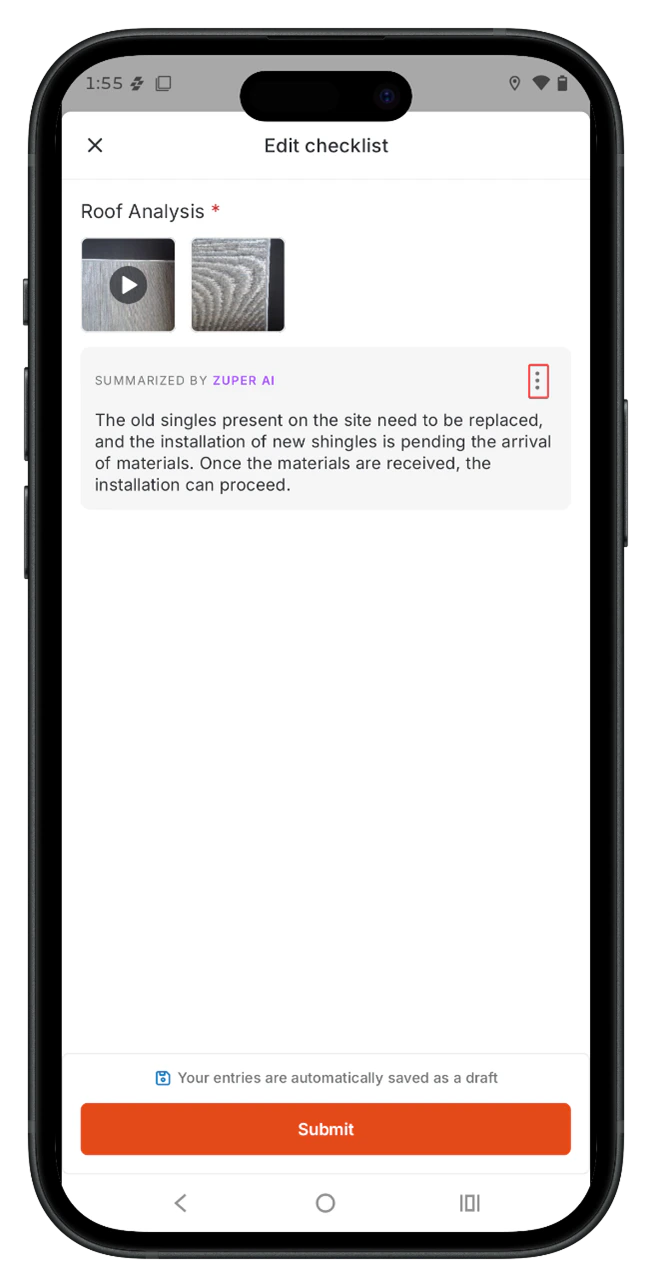
Note: Each session records a single video up to 3 minutes long. On the recording preview screen, select Add images or Clear text from the context menu to add more photos or remove the transcribed text.
Review and attach
- Review the video preview. The preview screen shows the full recording. Verify the video to ensure the footage is complete and clear before attaching it.
- Check the photo thumbnails below the video preview. Tap any thumbnail to open the full image and confirm it is usable.
- Tap Attach all to attach the video and photos to the checklist.
Submit the checklist
- Complete any remaining required fields in the checklist.
- Tap Submit at the bottom of the checklist screen.
Note: If the AI Walkthrough Video field is marked as required, the Submit button stays inactive until you attach the walkthrough. You do not need to wait for the AI summary to generate before submitting.
Viewing the walkthrough output on the web
After a field executive submits a checklist, the walkthrough output appears on the web in read-only mode. To view the submission: 1. Open the job. 2. Go to the Checklist tab. 3. Select the submitted checklist. The AI Walkthrough Video field displays the video, photo thumbnails, and the AI Walkthrough Summary inline. Note: The web view is read-only — to make a correction, reopen the job on mobile, edit the draft checklist, and submit again.Frequently Asked Questions
What happens if I close the app while recording?
What happens if I close the app while recording?
The recording stops. Reopen the checklist and tap the AI Walkthrough Video field to start a new recording. Zuper does not save incomplete recordings.
Can I re-record the walkthrough after I have submitted?
Can I re-record the walkthrough after I have submitted?
Yes. Open the job on mobile, select the checklist, and tap Edit to modify or replace the walkthrough.
The AI summary shows Generating summary… for a long time. Is something wrong?
The AI summary shows Generating summary… for a long time. Is something wrong?
AI processing normally takes a few seconds to about a minute. If you were offline when you recorded, the summary will not generate until you reconnect to the internet. Once you are online, the summary updates automatically.If the issue continues, contact Support.