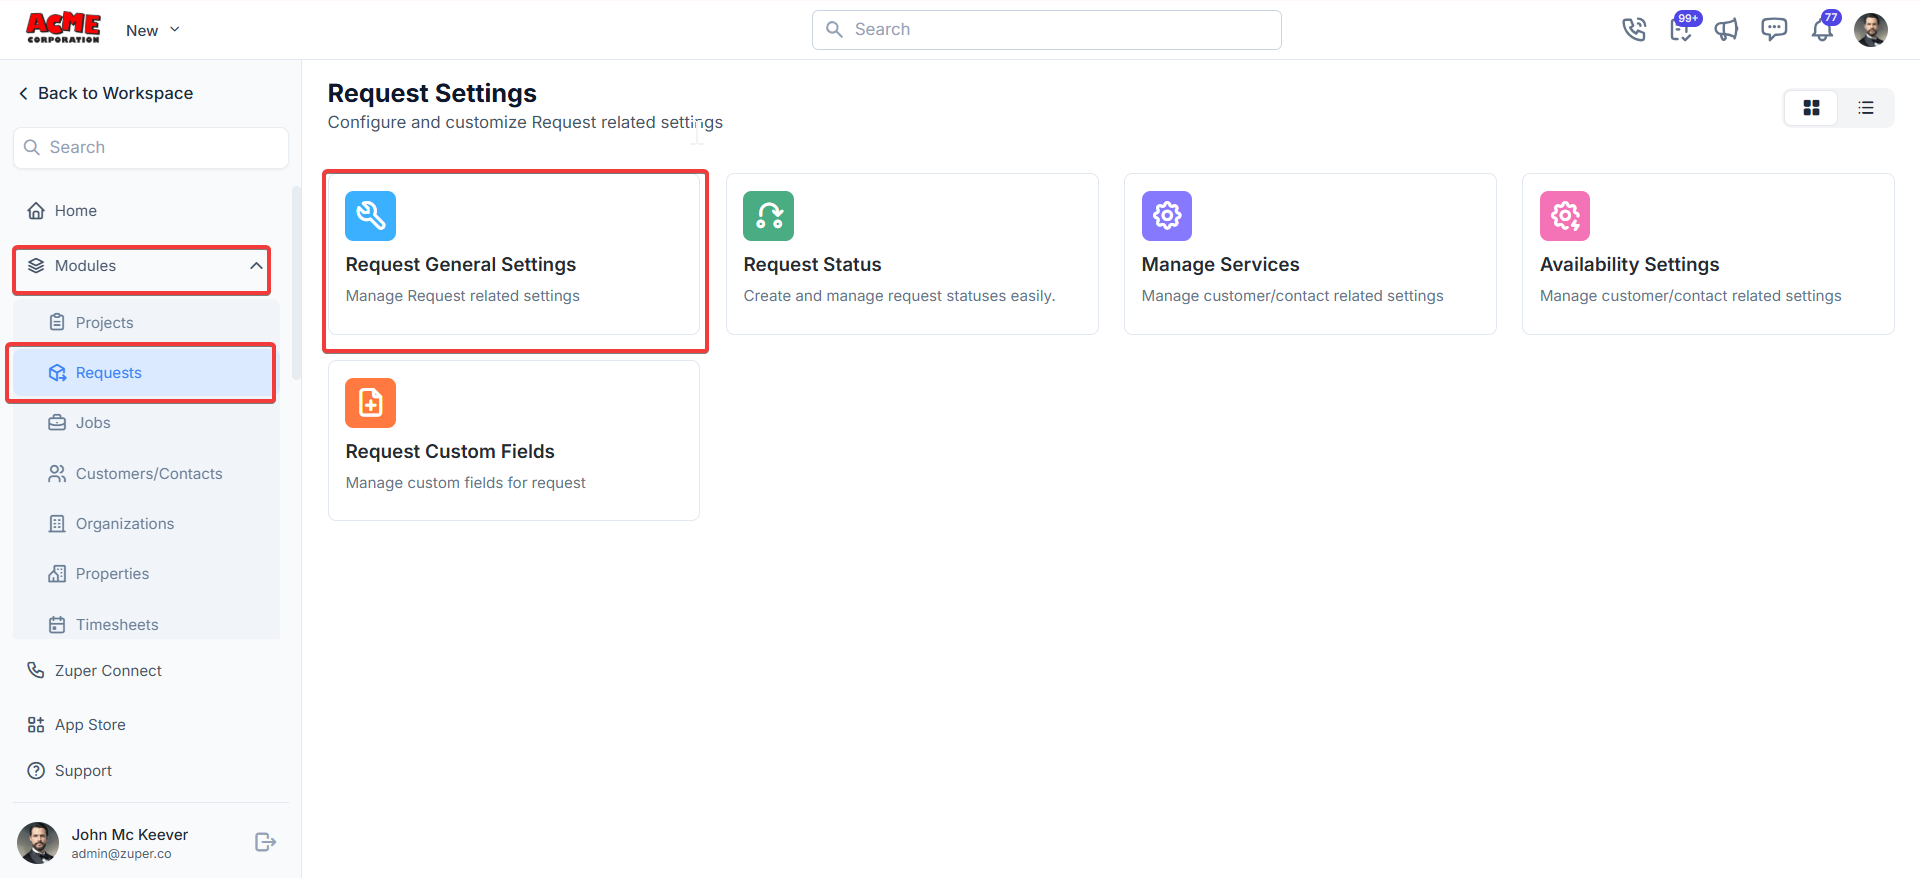
Navigation: Settings -> Modules -> Requests -> Request General Settings
Request general settings
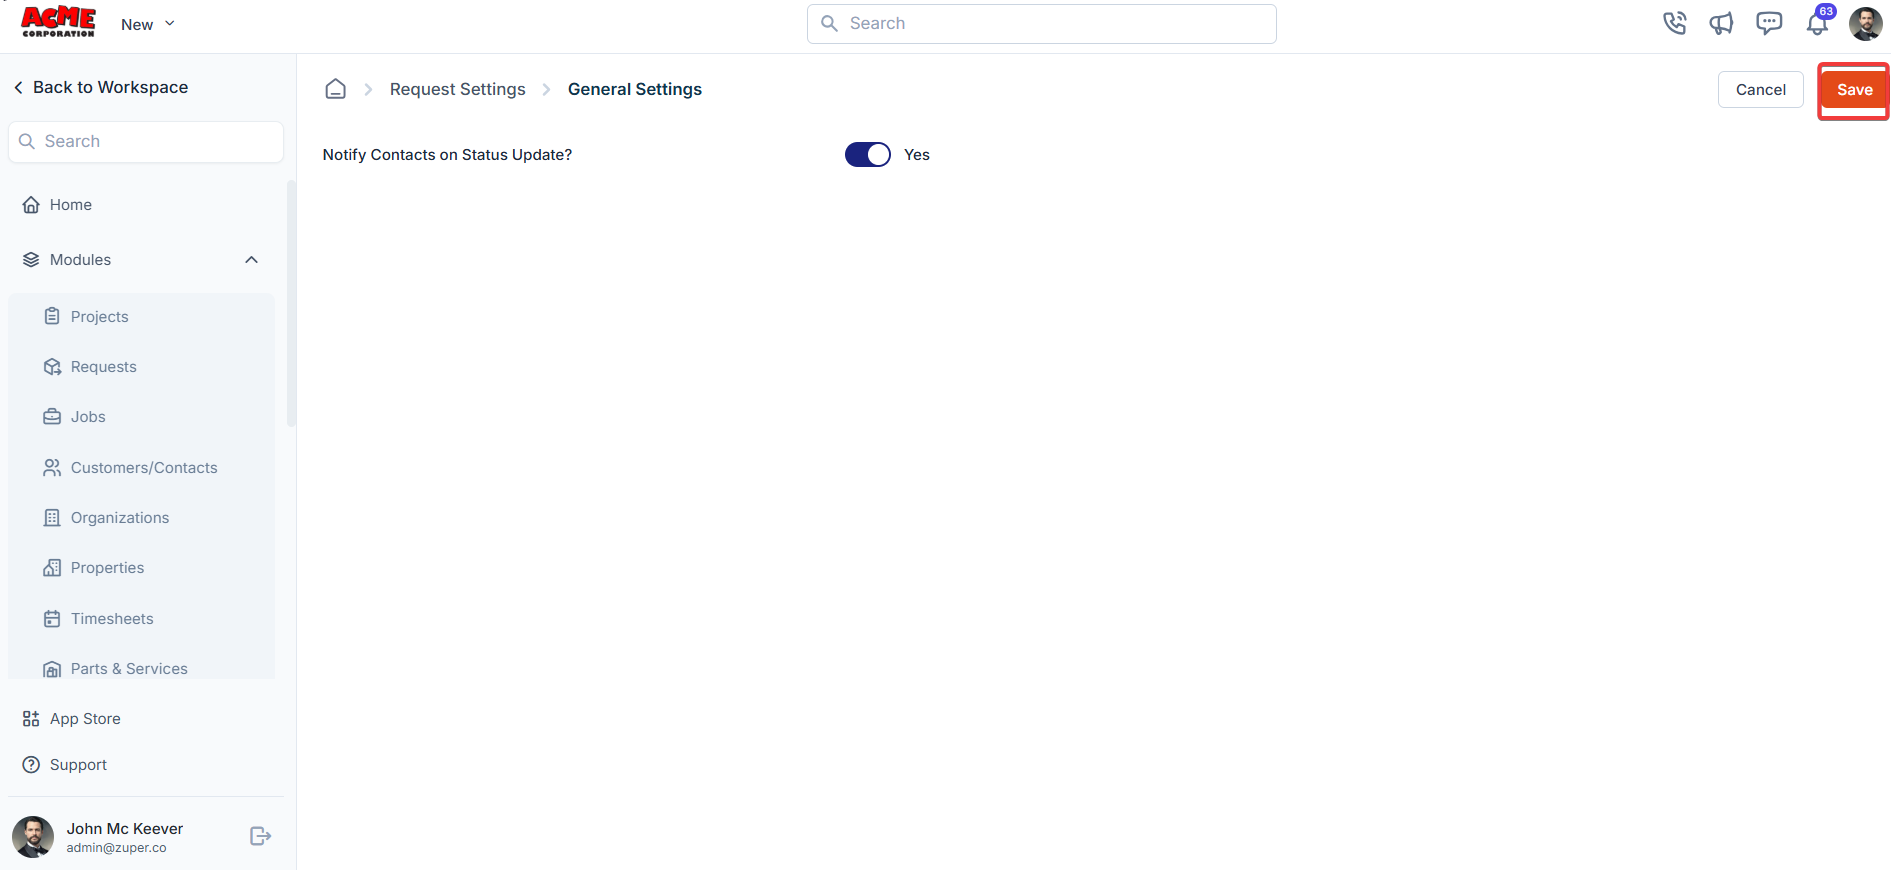
- Select the “Settings” module from the left panel. Under the “Modules,” choose the “Requests.” Select the “Request General Settings.”
- Notify Contacts on Status Updates? Toggle this to turn notifications on/off to contacts when a request’s status changes. Yes: Toggle to Yes will enable the status notifications. No: Toggle to No will disable the status notifications.
Request status settings
Navigation: Settings -> Modules -> Requests - > Request Status
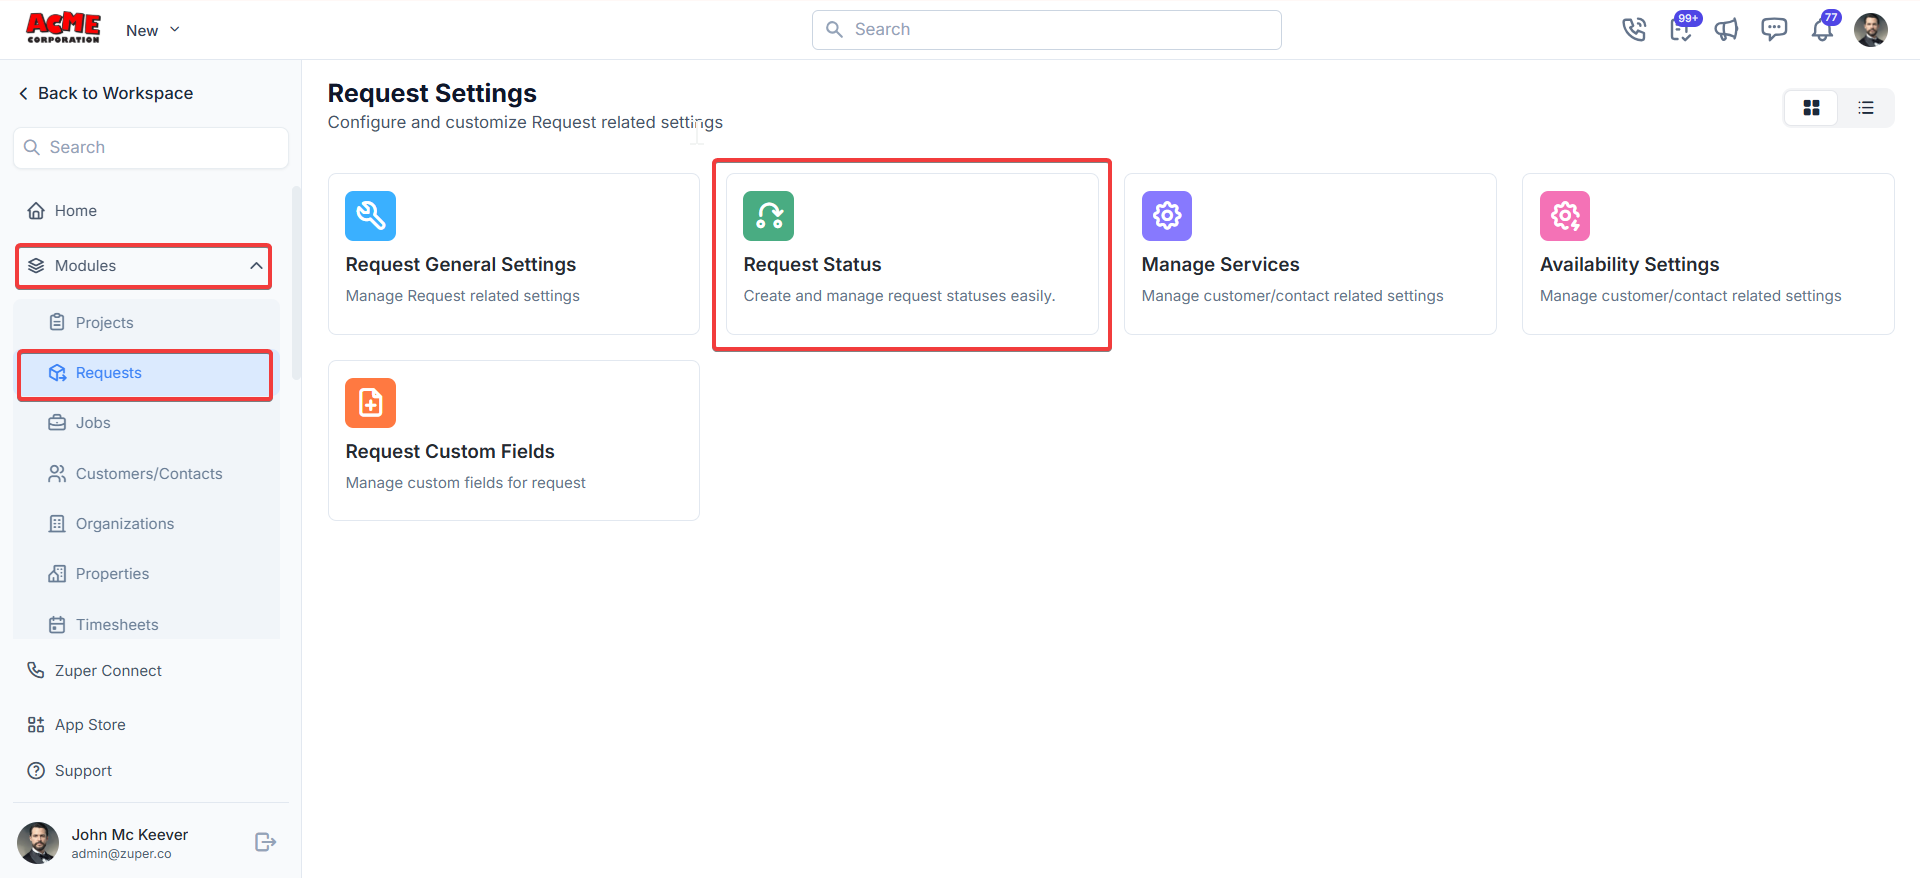
- Select the “Settings” module from the left panel. Under the “Modules,” choose the “Requests.” Select the “Request Status.”
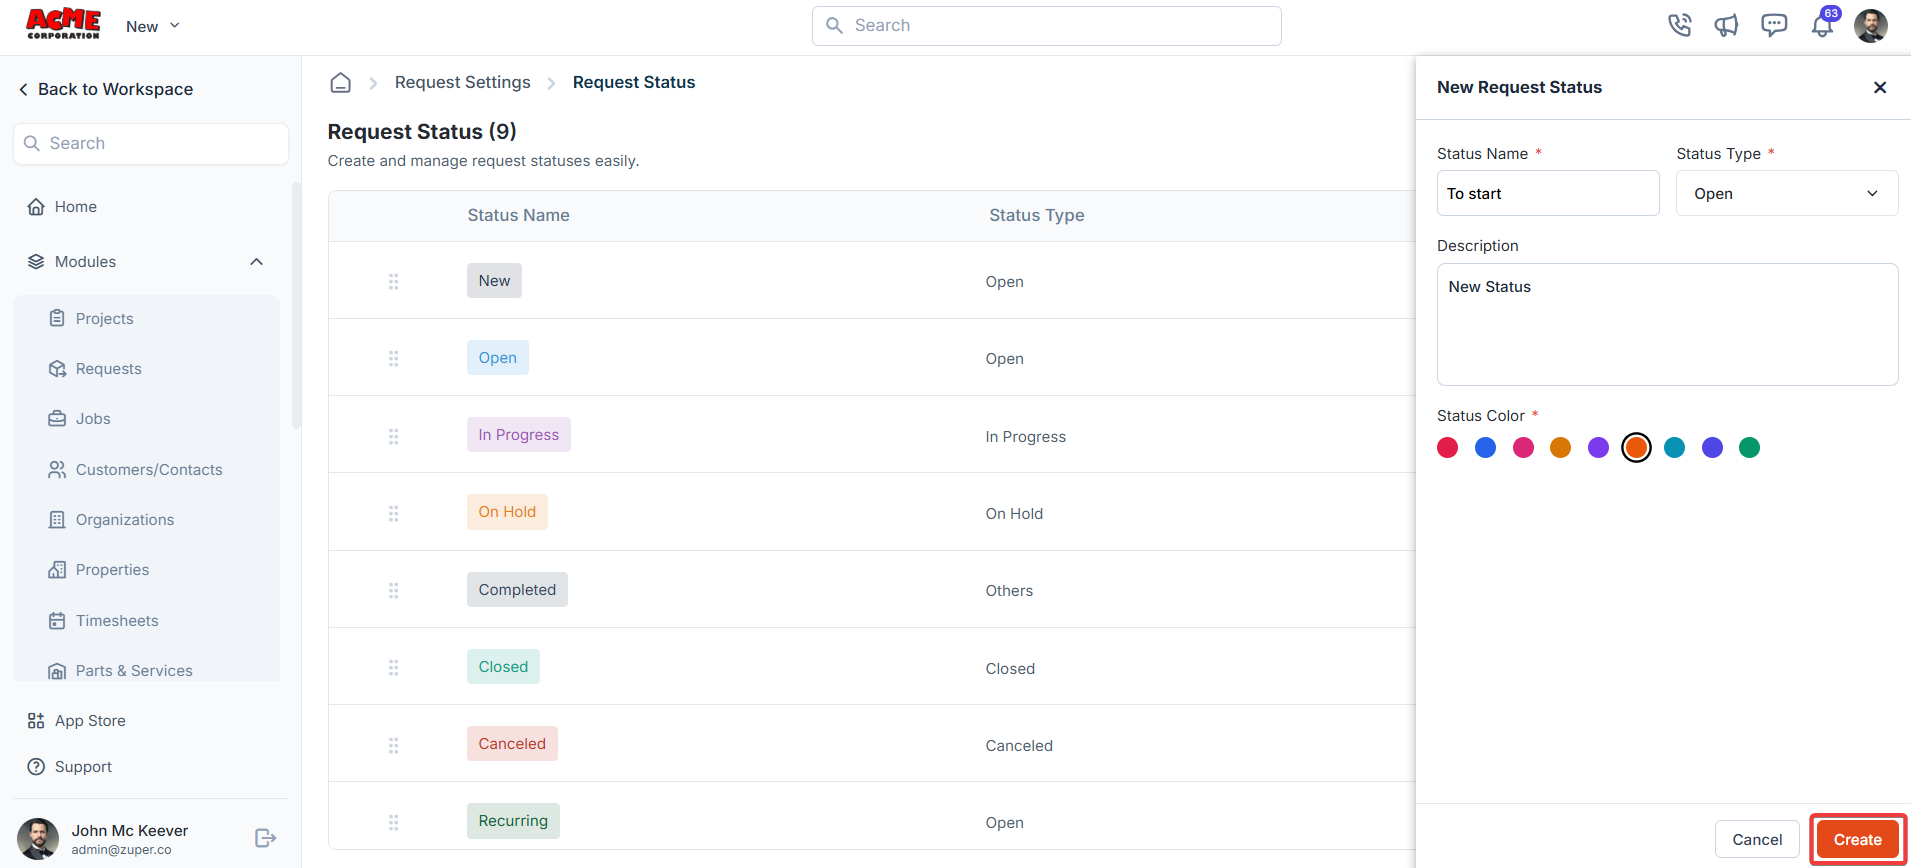
- Click the “+ New Status” to create a new status.

- A dialog box appears. Enter the following details
- Status Name: Enter the name of the status.
- Status Type: Select status type from the dropdown.
- Description: Add a brief description.
- Status Color: Choose a color for the status.
- Click “Create” to save the new request category.
Note: The symbol “*” indicates the mandatory field.
Manage services
You can manage services or add new services.Navigation: Settings -> Modules -> Requests -> Manage Services
- Select the “Settings” module from the left panel. Under the “Modules,” choose the “Requests.” Select the “Manage Services.”

- Provide the details for the service, such as “Service Name,” “Description,” “Duration” (average time to complete the service), and “Estimated Price.” You can upload the relevant image.
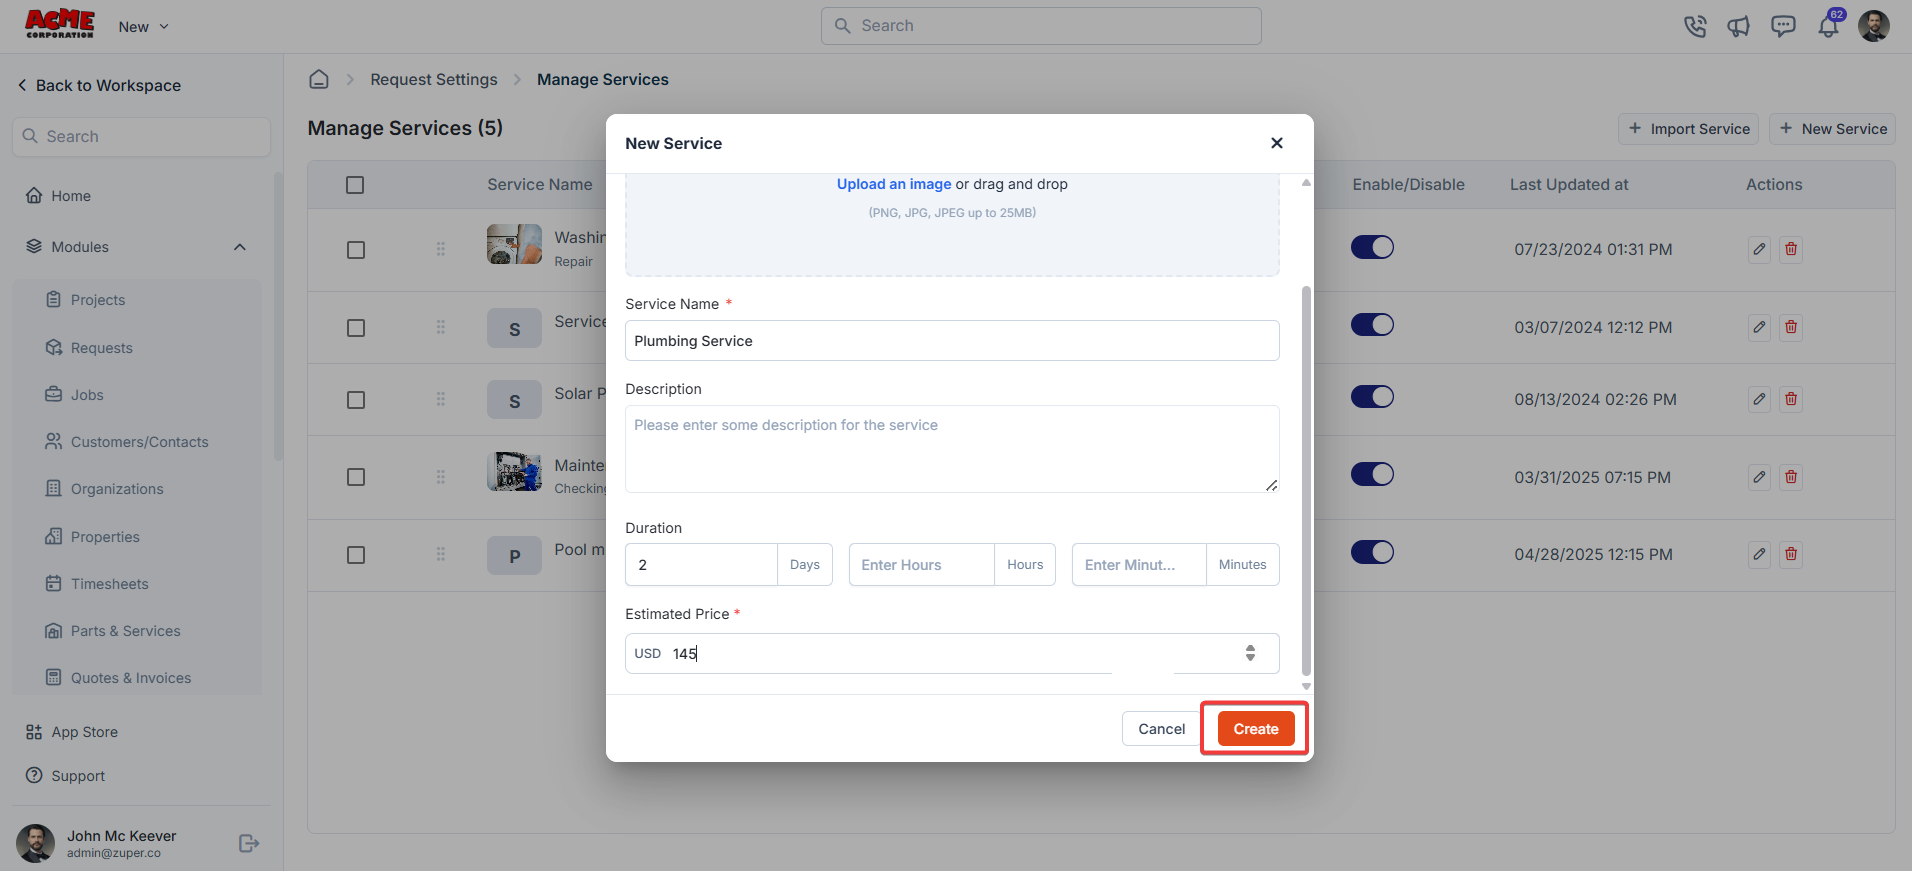
- You can also import the existing service from the “Parts & Services” module.

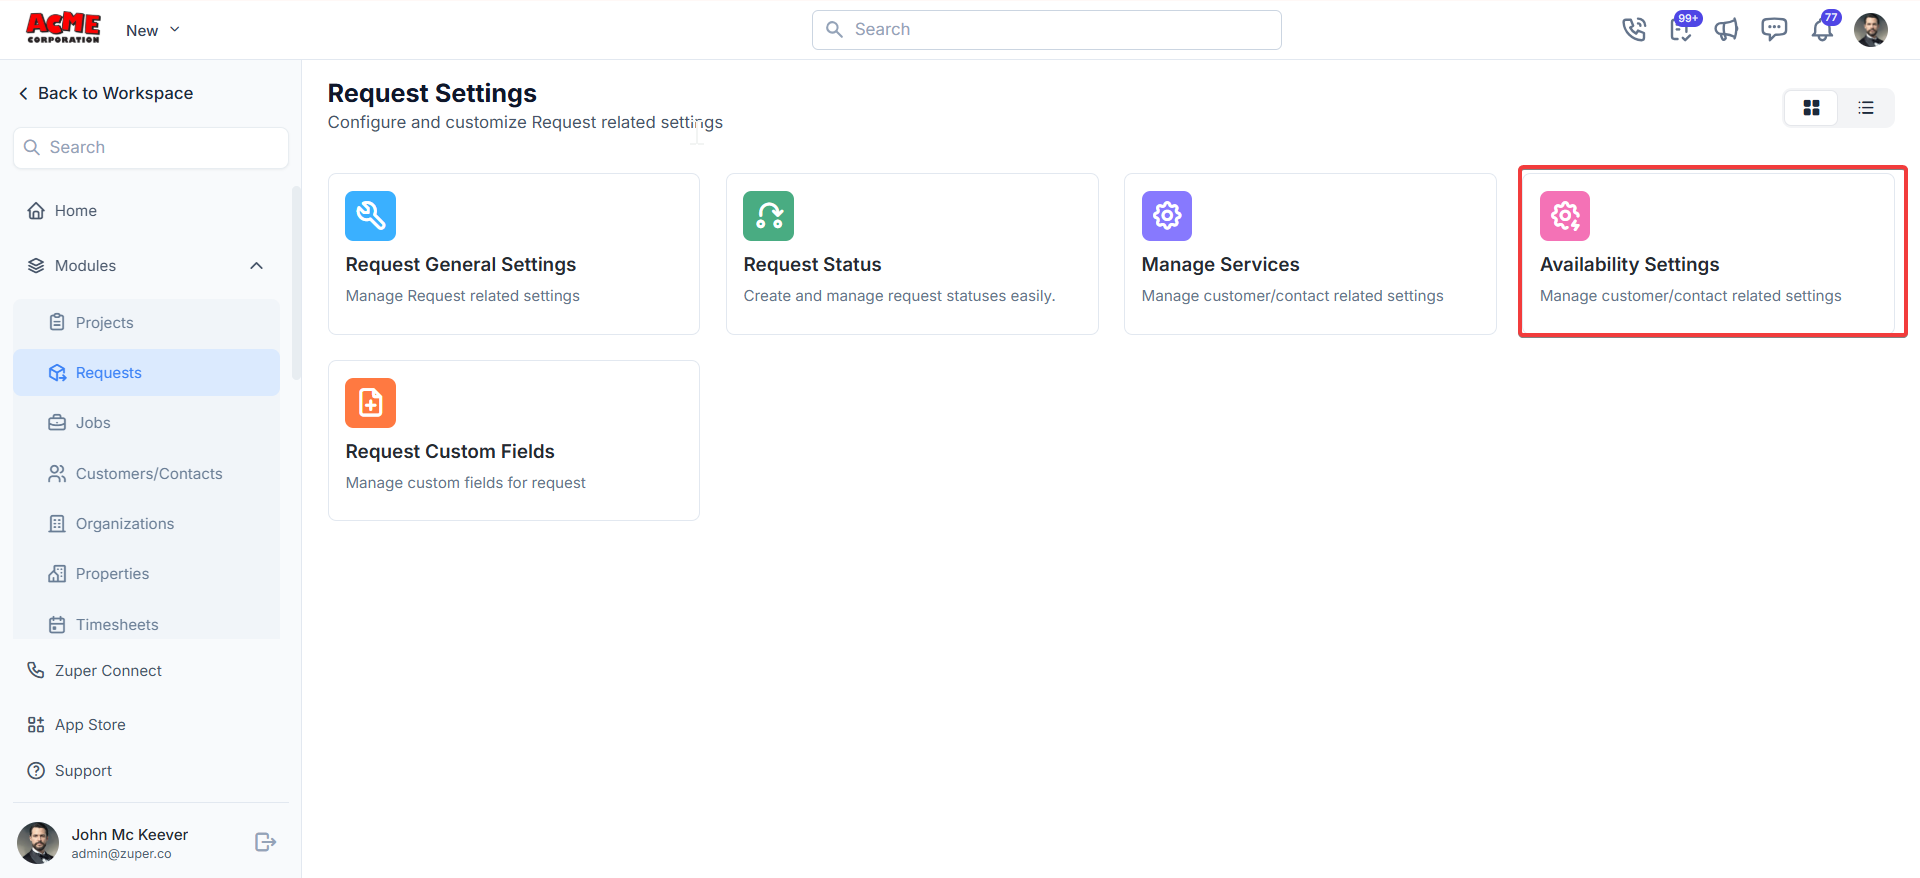
Availability settings
Navigation: Settings -> Modules -> Requests - > Availability Settings
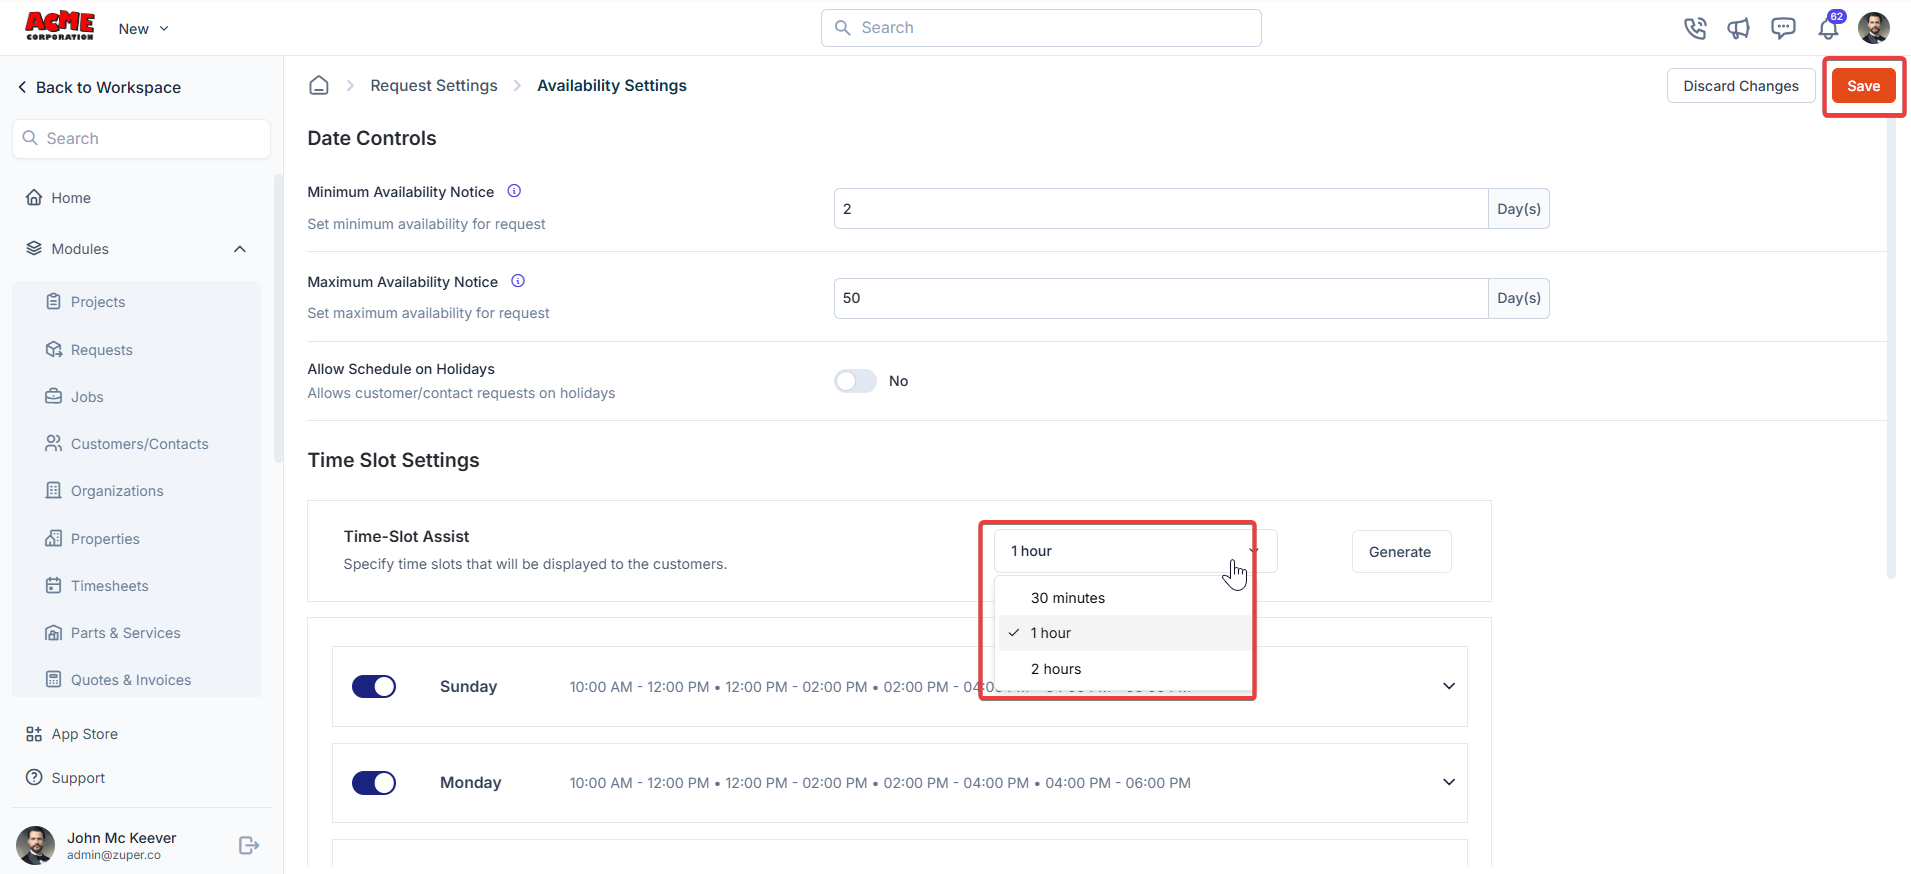
Date controls
Here, you can set the minimum and maximum availability notice, which defines the dates a customer can request a service from your business. For instance, if the minimum availability notice is set to 2 days and the maximum availability notice is set to 50 days, then the customer can request service any day between 2 days from the current date and up to 60 days later, subject to available date slots.Note: Depending on your preference, you can turn on or off “Allow to schedule on holidays.” If enabled, the customer can submit requests even when your business designates it as a holiday.
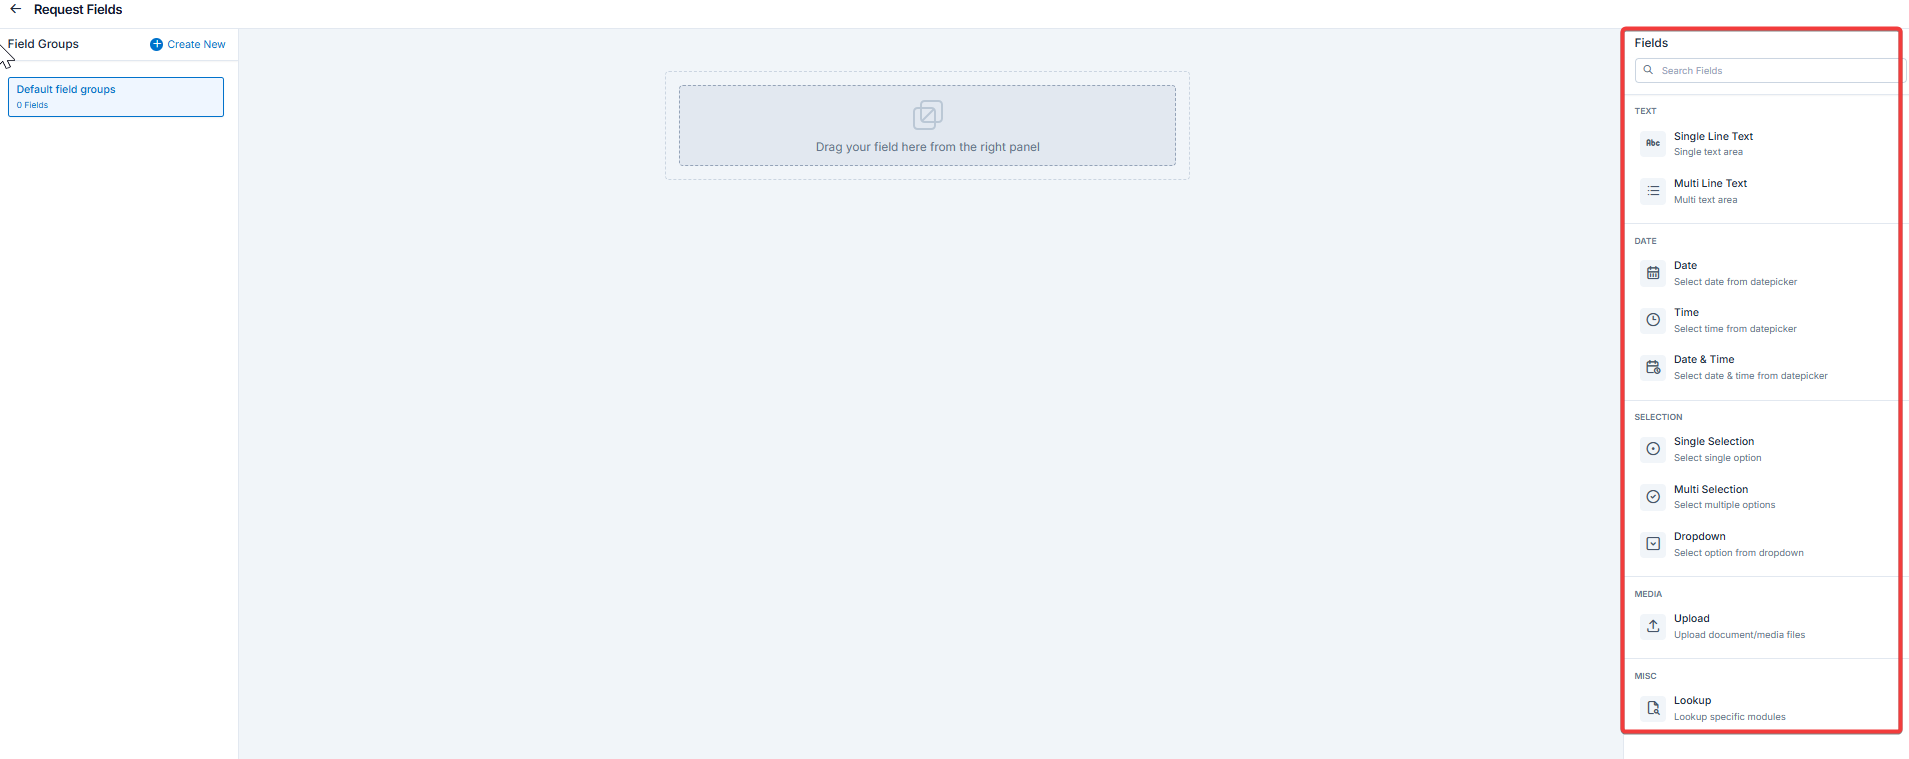
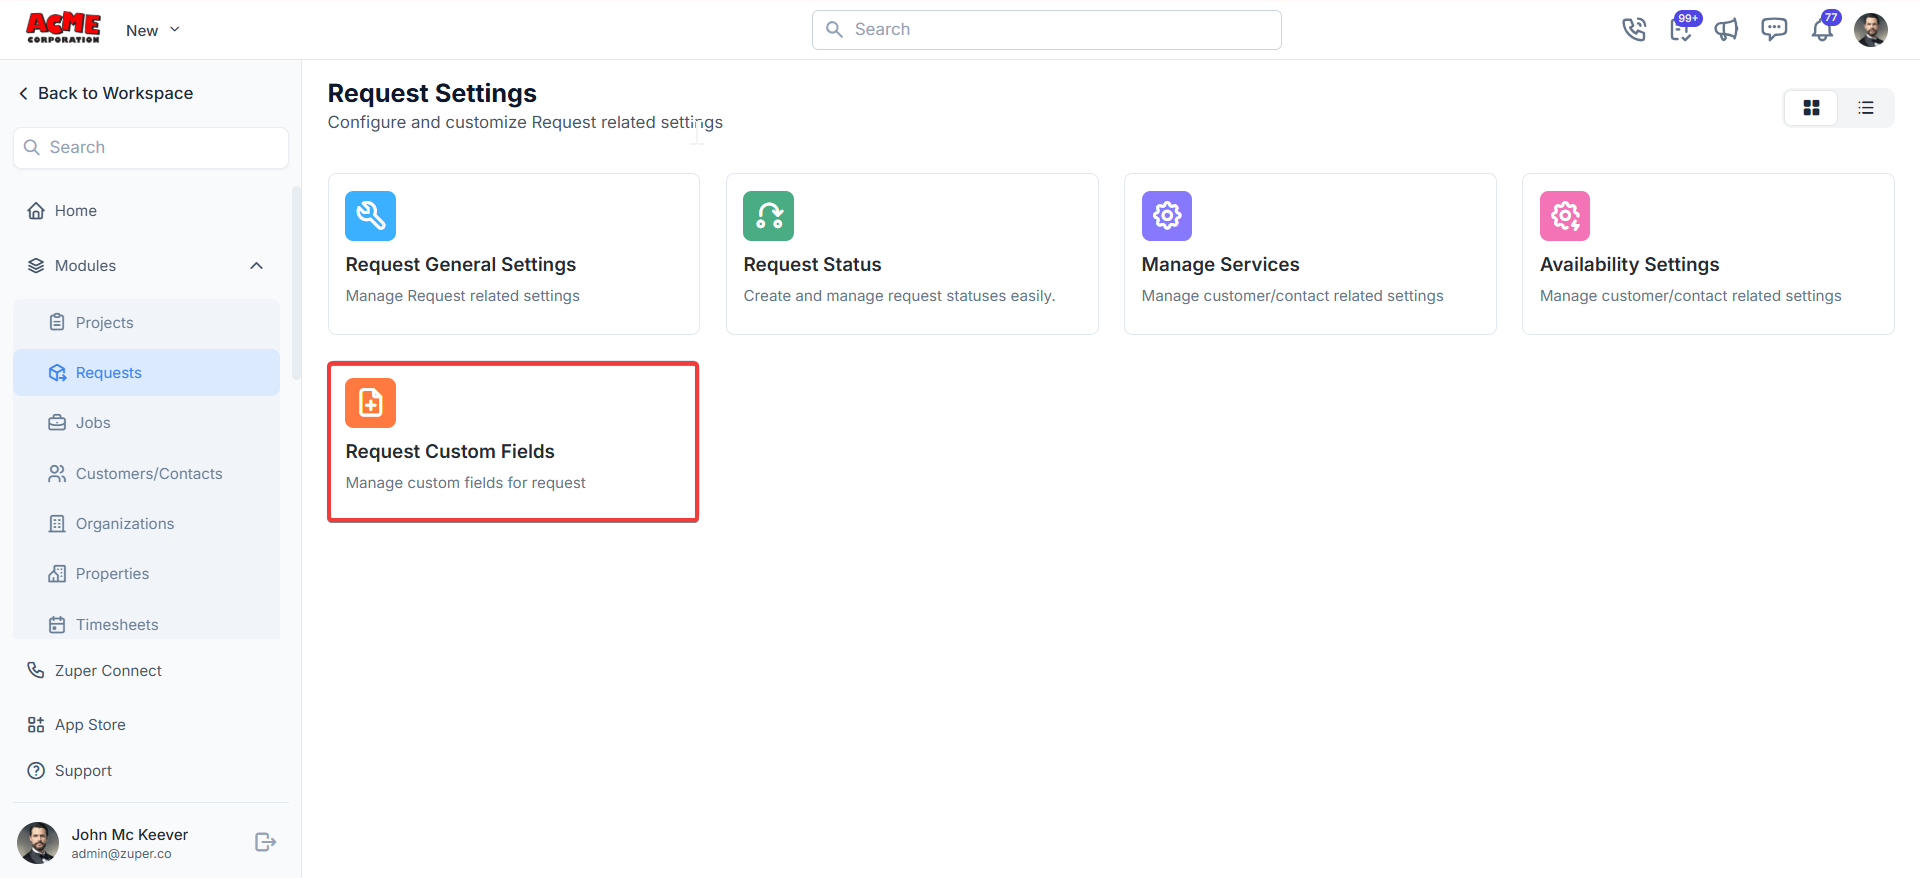
Request Custom fields
Navigation: Settings -> Modules -> Requests - > Request Custom Fields
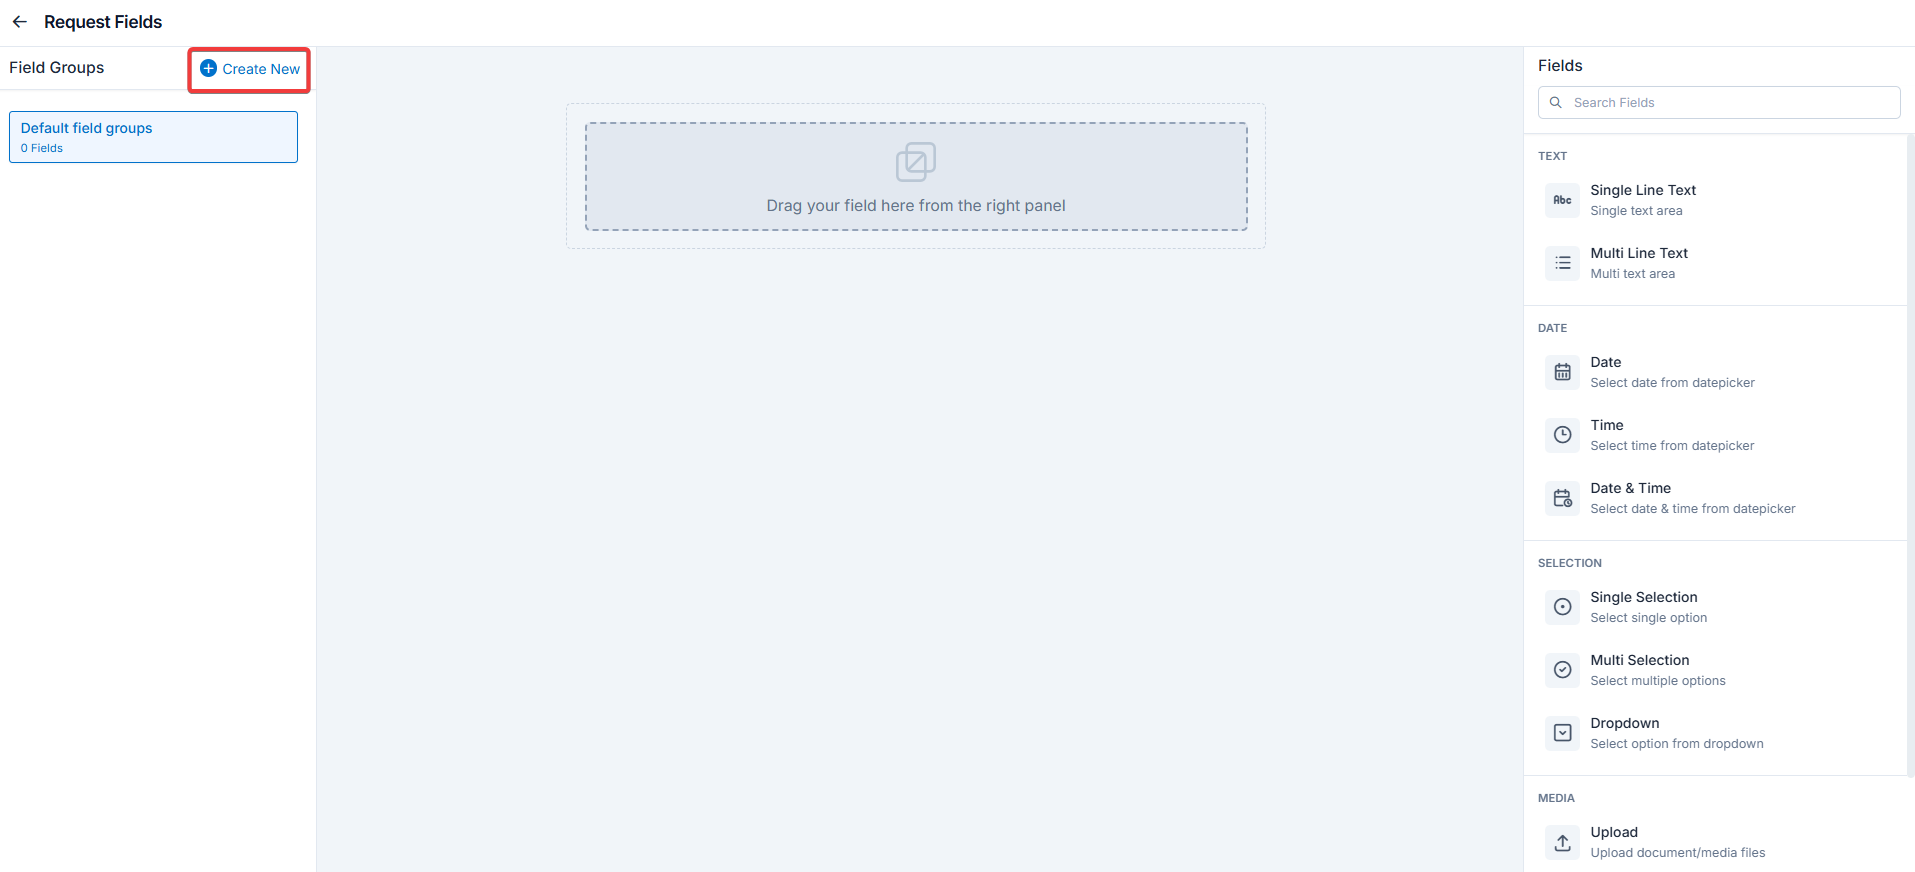
- Select the “Settings” module from the left panel. Under the “Modules,” choose the “Requests.” Select the “Request Custom Fields.”
- Single-Line Input: This allows you to create a field to enter a single line of free text.
- Multi-Line Input: This allows you to create a field to enter multiple lines of free text.
- Date Input: This allows you to create a field to select a specific date from a calendar.
- Time Input: This allows you to create a field to select a specific time.
- Date Time Input: This allows you to create a field where both date and time can be selected.
- Single-Selection: This allows you to create a radio input Field where one of the provided options can be selected.
- Multi-Selection: This allows you to create check boxes where the provided options can be checked.
- Drop-Down: This allows you to create a drop-down field with the required list of options.
- Upload: This allows you to create a file input field to upload files.
- Look up : This allows you to create a file input field to look up the products from the parts and services module.
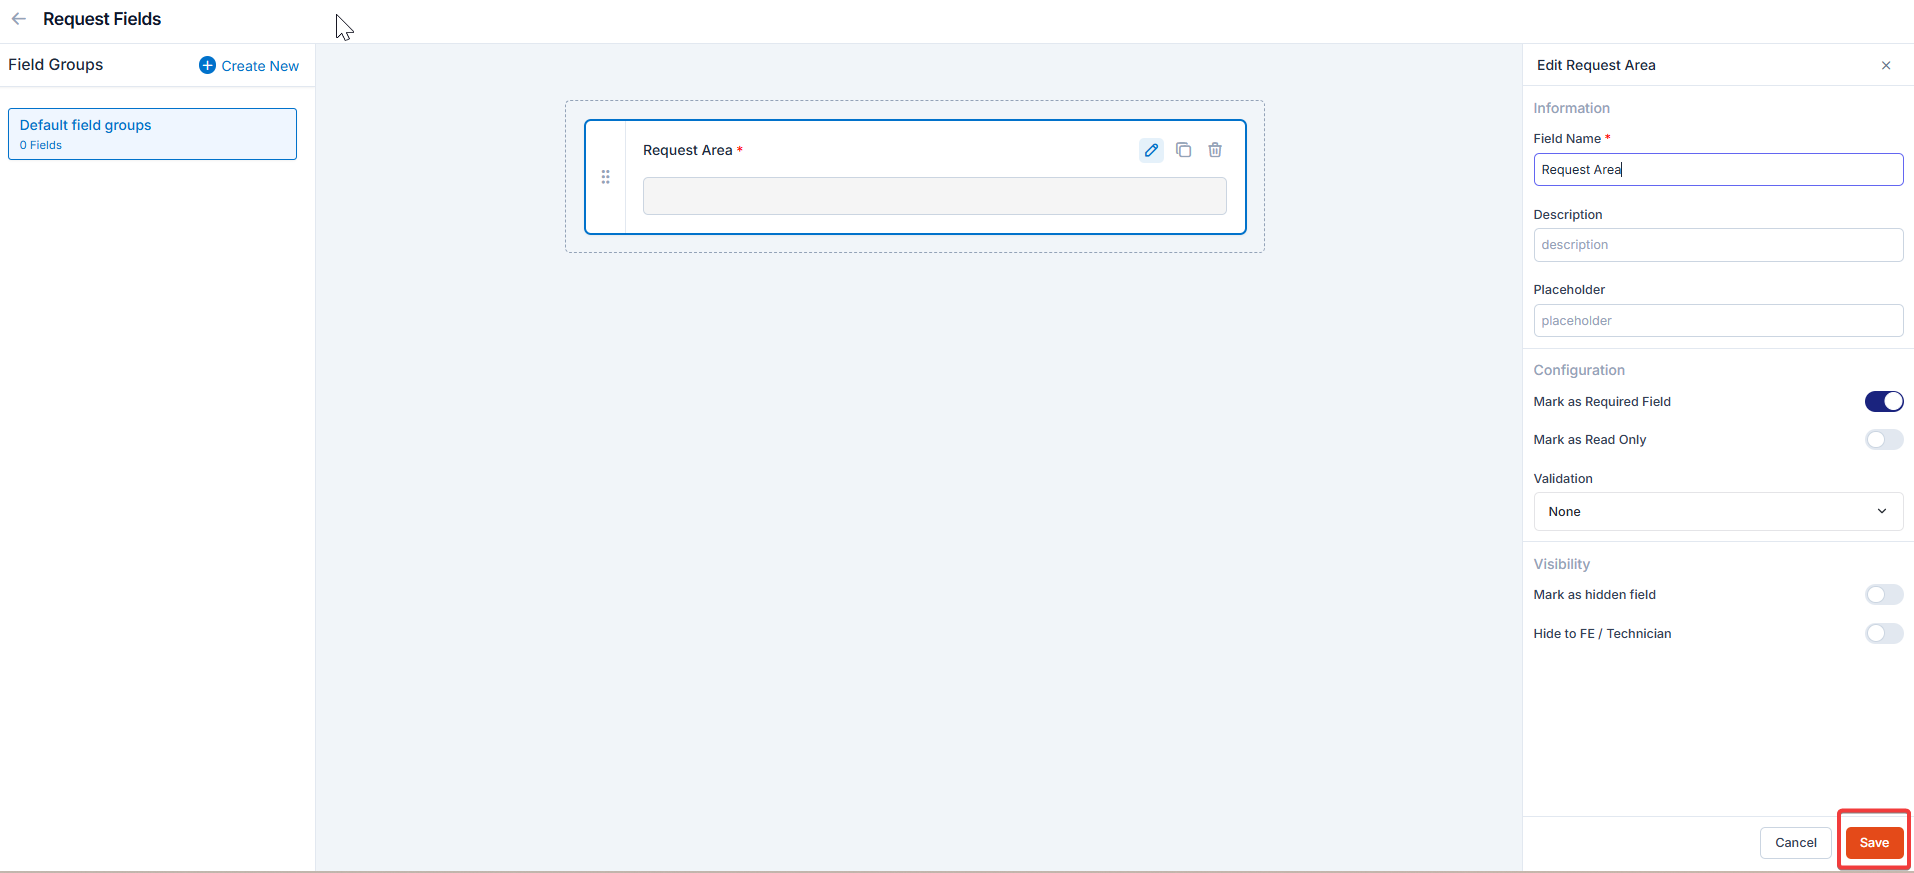
Note: You can also control the behavior and visibility of each field using the following options:
- Mark as Required Field - Makes the field mandatory to fill out before submitting the form.
- Mark as Read Only—This option makes the field non-editable; users can view the value but cannot modify it.
- Mark as hidden field- This hides the field from all users; it will not appear in the form interface.
- Hide to FE/Technician- This option makes the field invisible to technicians or front-end users during form access.