> ## Documentation Index
> Fetch the complete documentation index at: https://docs.zuper.co/llms.txt
> Use this file to discover all available pages before exploring further.
# Invoice Auto Generator
The business can set criteria for generating invoices automatically based on the billing frequency. Whenever the criteria are met based on the specified settings and status, auto-generating invoicing is possible. This integration automates invoice generation based on a customer or an organization's billing frequency.
## Connect your Auto Invoice Generator with Zuper
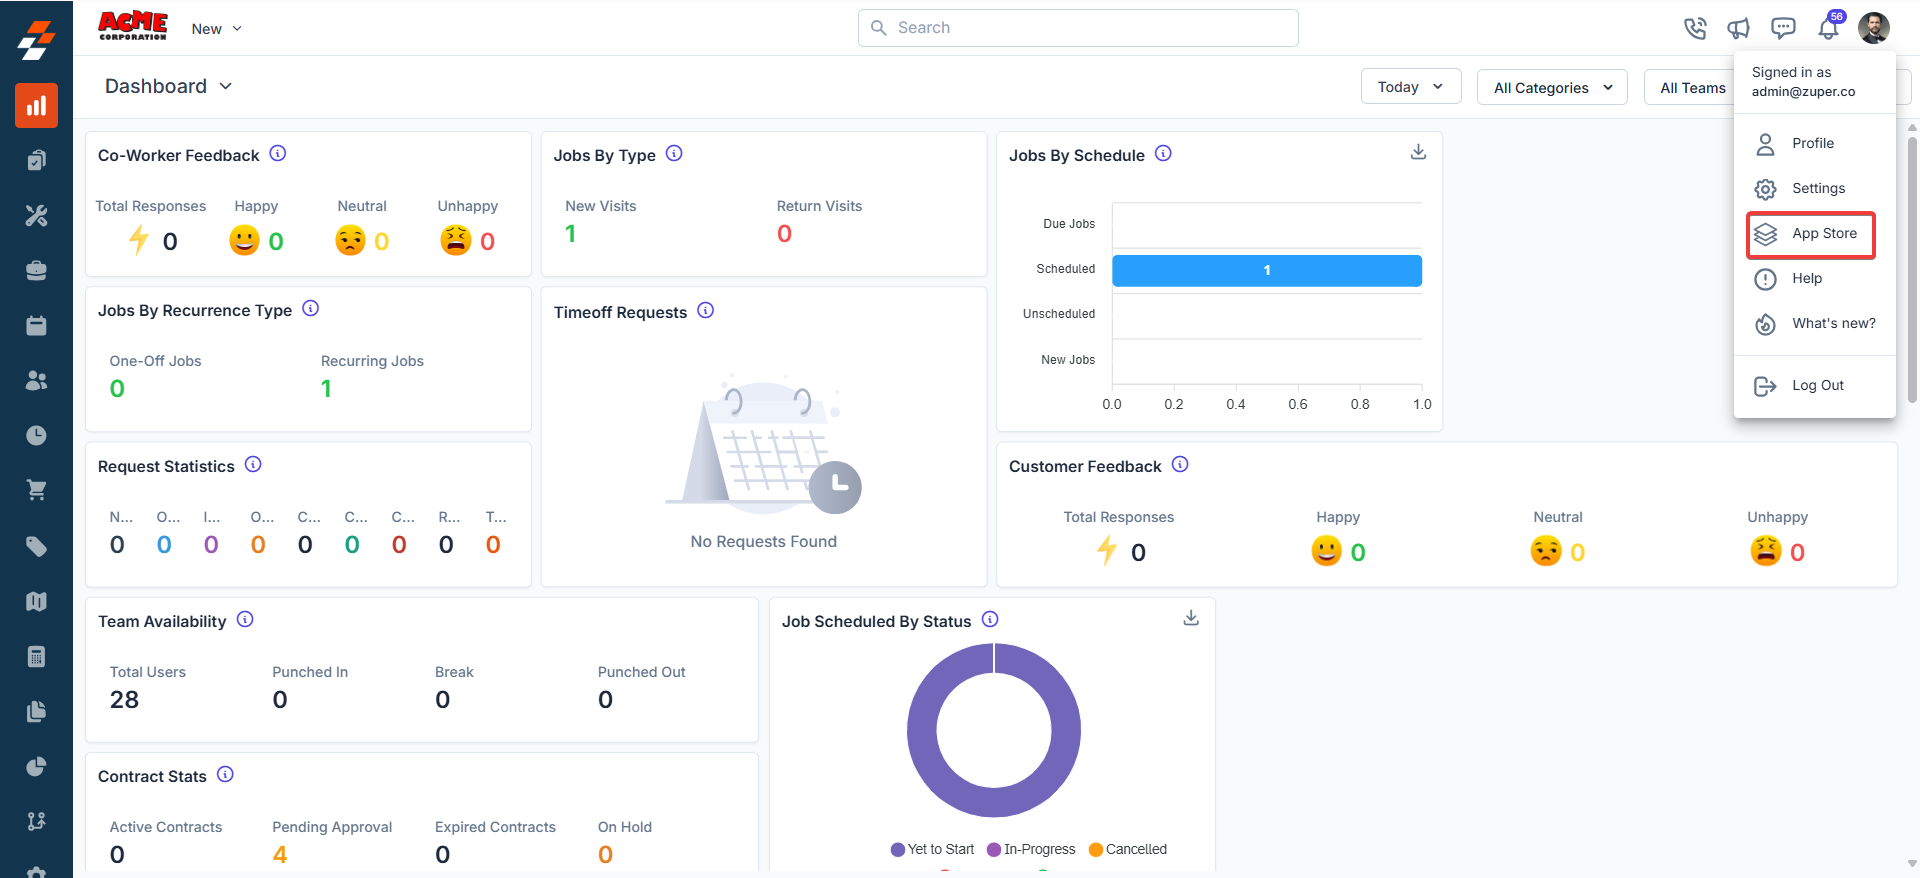
1. Open a new tab in your browser once logged in to your Zuper Account. Click on your Profile Picture in the top right corner of the screen and select the “**App Store**.”
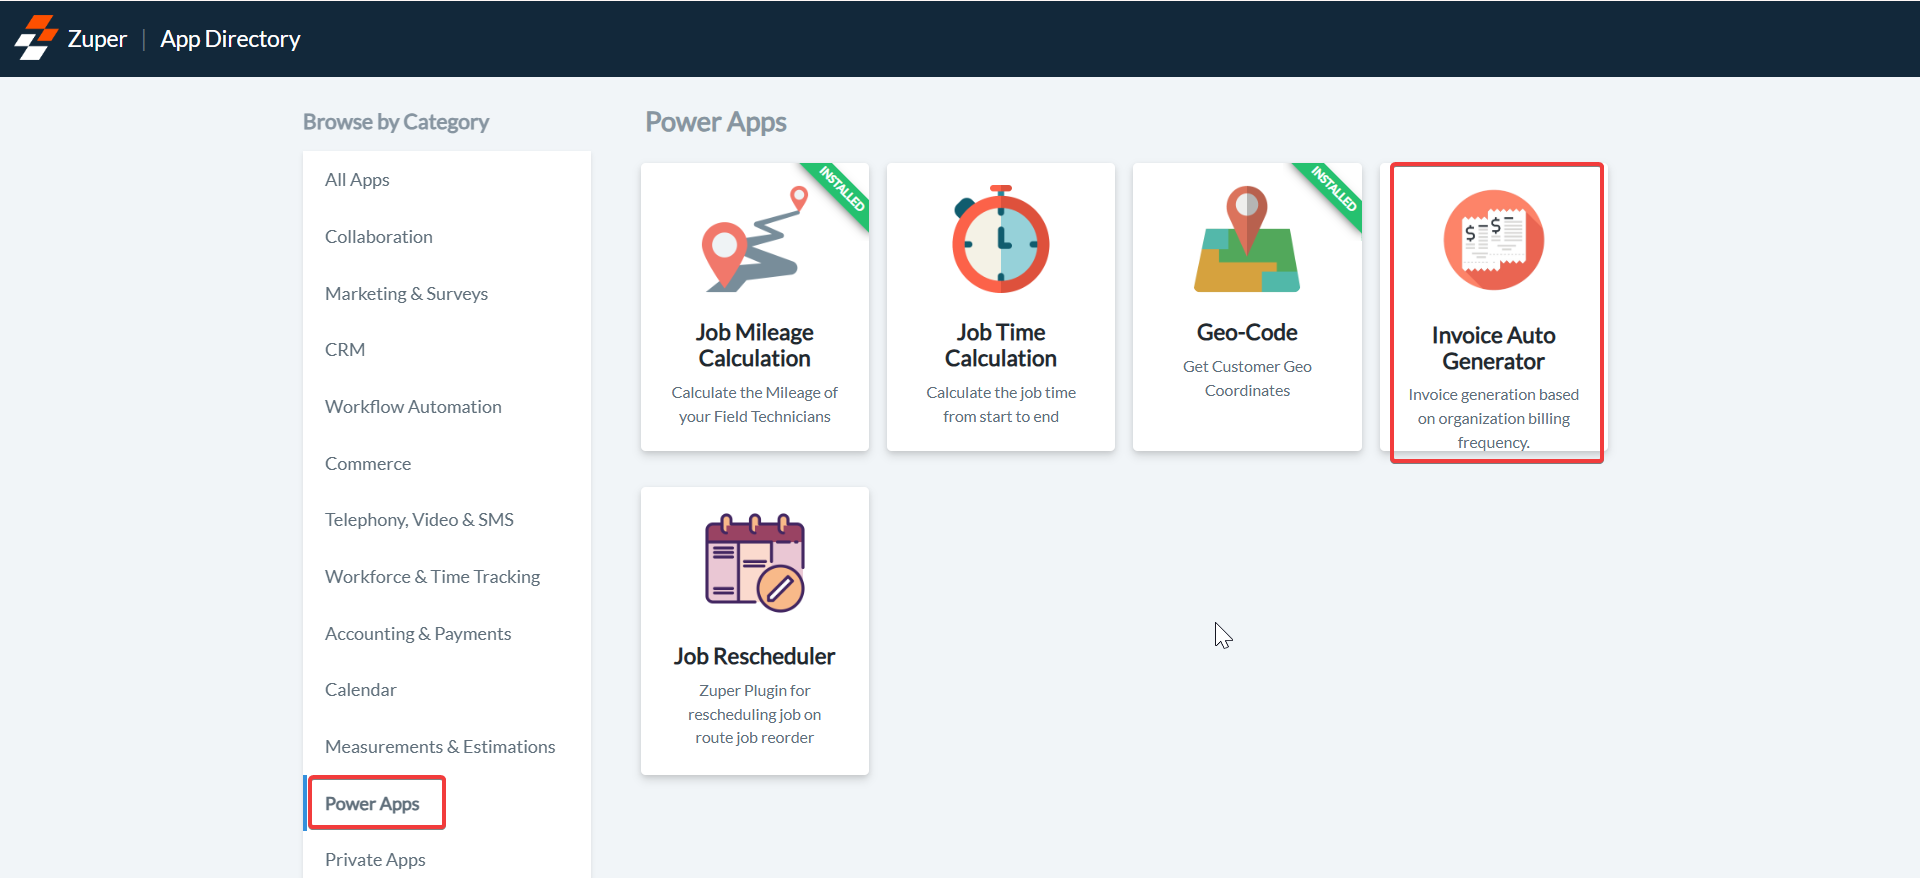
 2. Under the “**Browse by Category**”, select the “**Power Apps**” option and choose “**Invoice Auto Generator**.”
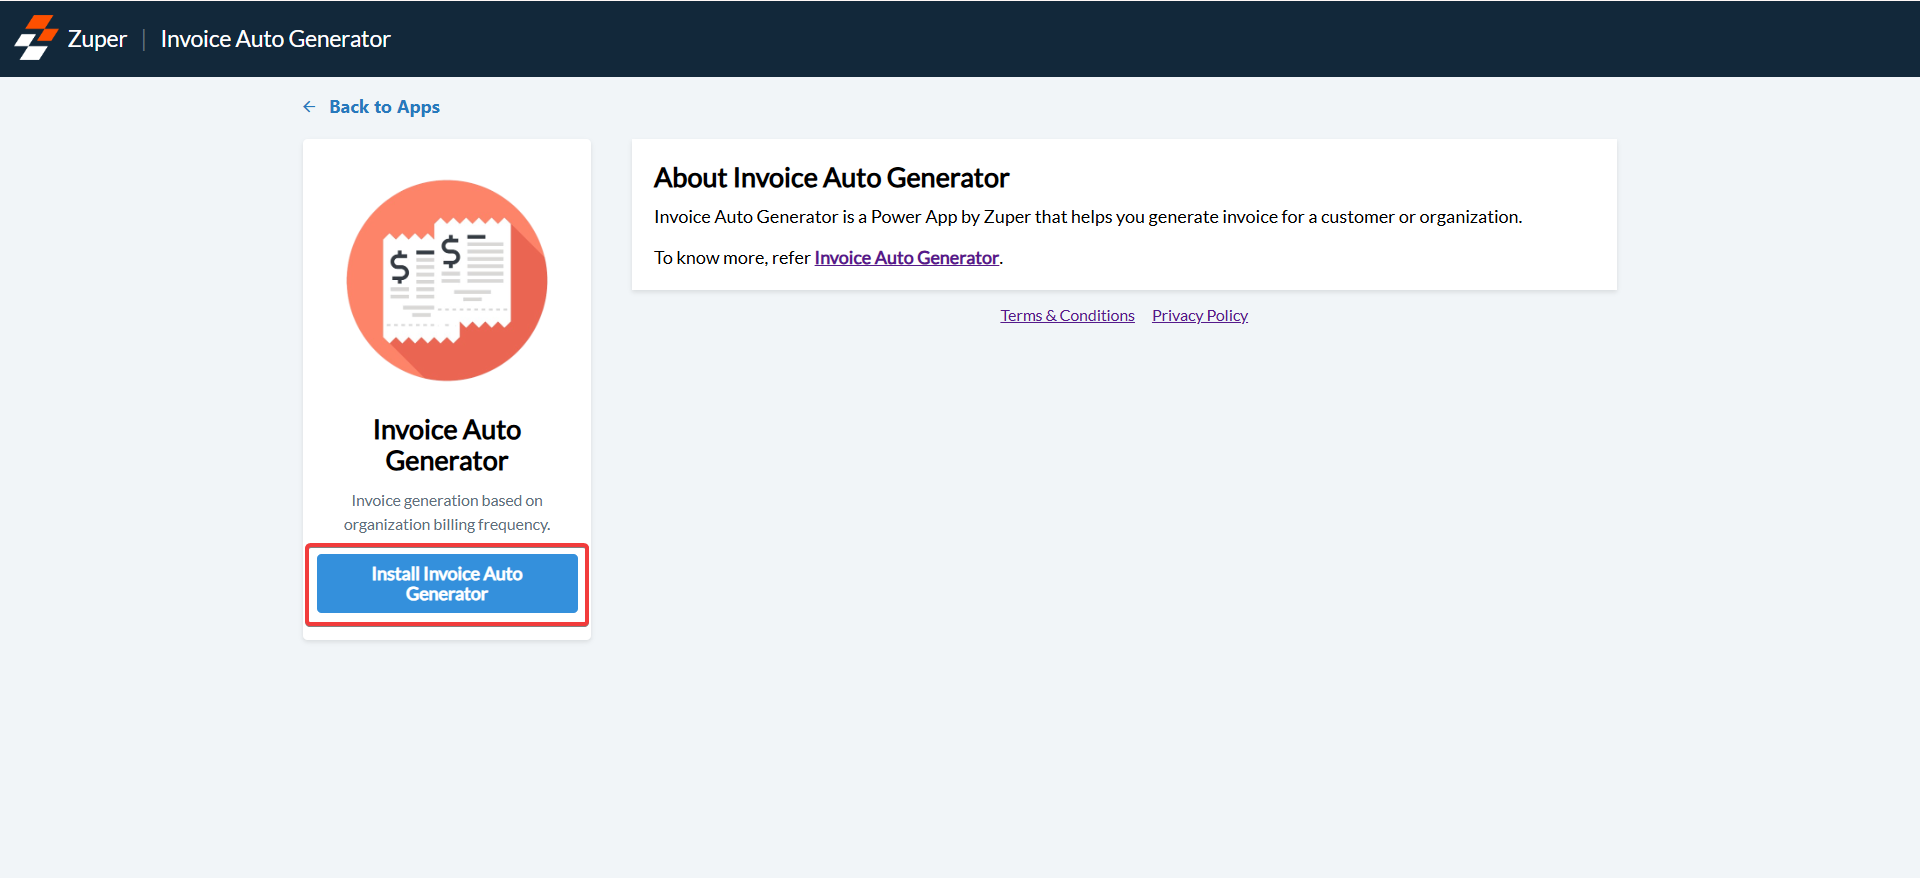
 3. Click on the “**Install Invoice Auto Generator**” button.
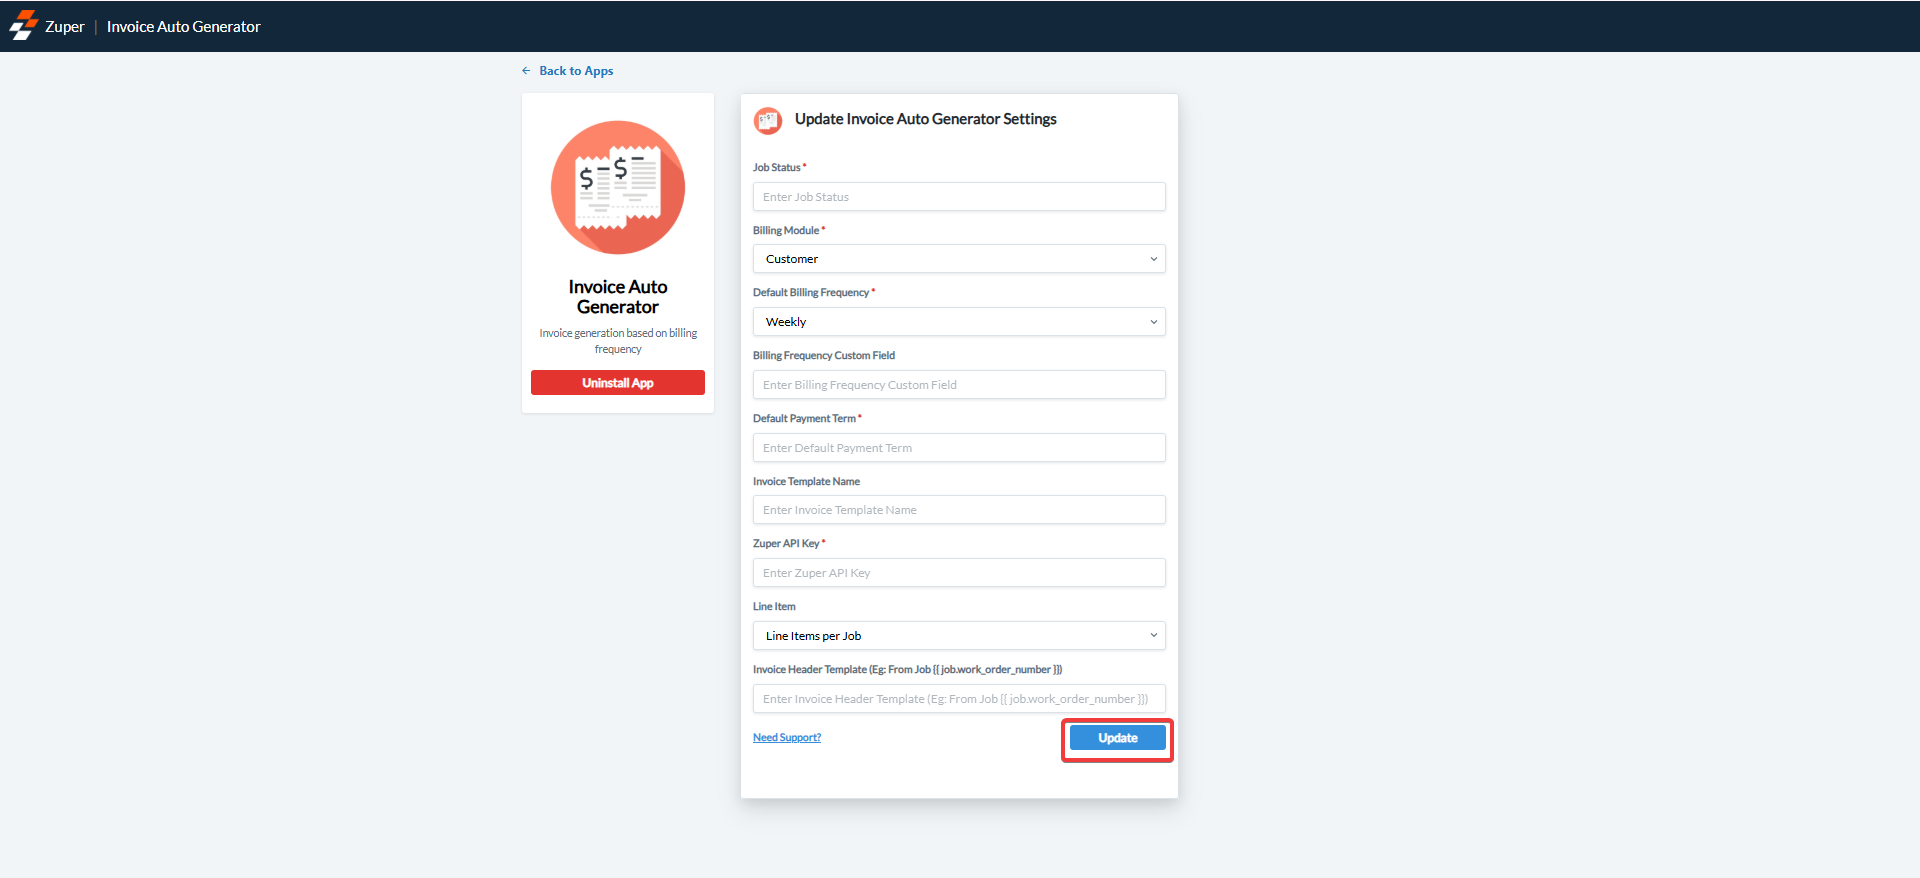
 4. Update Auto Invoice Generator Settings by configuring the following fields:
* **Job Status**(Mandatory Field) – Enter the job status for which you want to configure the auto-generation of the invoice.
**Note**: You can enter multiple statuses using the comma (,) separator.
* **Billing Module** (Mandatory Field) – Select the module from the drop-down box to confirm the module from which the billing should be considered.
* **Default Billing Period** (Mandatory Field) – Select the default billing period for the auto invoice generation.
* **Billing Frequency Custom Field** (Optional Field) – Enter the custom field name for the billing frequency. (This is applicable when you choose “**Organization**” as the option in step (b).)
* **Default Payment Term** (Mandatory Field) – Enter the invoice payment term.
* **Invoice Template Name** (Optional Field) – Enter the template name of the invoice.
* **Zuper API Key** (Mandatory Field) – Enter the Zuper API key.[(Click here: How to generate Zuper API Key).](https://docs.zuper.co/Settings/Developer_Hub/API_Keys)
* Select the “**Update**” button to connect the Auto Invoice Generator app with Zuper.
4. Update Auto Invoice Generator Settings by configuring the following fields:
* **Job Status**(Mandatory Field) – Enter the job status for which you want to configure the auto-generation of the invoice.
**Note**: You can enter multiple statuses using the comma (,) separator.
* **Billing Module** (Mandatory Field) – Select the module from the drop-down box to confirm the module from which the billing should be considered.
* **Default Billing Period** (Mandatory Field) – Select the default billing period for the auto invoice generation.
* **Billing Frequency Custom Field** (Optional Field) – Enter the custom field name for the billing frequency. (This is applicable when you choose “**Organization**” as the option in step (b).)
* **Default Payment Term** (Mandatory Field) – Enter the invoice payment term.
* **Invoice Template Name** (Optional Field) – Enter the template name of the invoice.
* **Zuper API Key** (Mandatory Field) – Enter the Zuper API key.[(Click here: How to generate Zuper API Key).](https://docs.zuper.co/Settings/Developer_Hub/API_Keys)
* Select the “**Update**” button to connect the Auto Invoice Generator app with Zuper.
 ## Zuper – Auto Invoice Generator Integration work
### **Customer Module:**
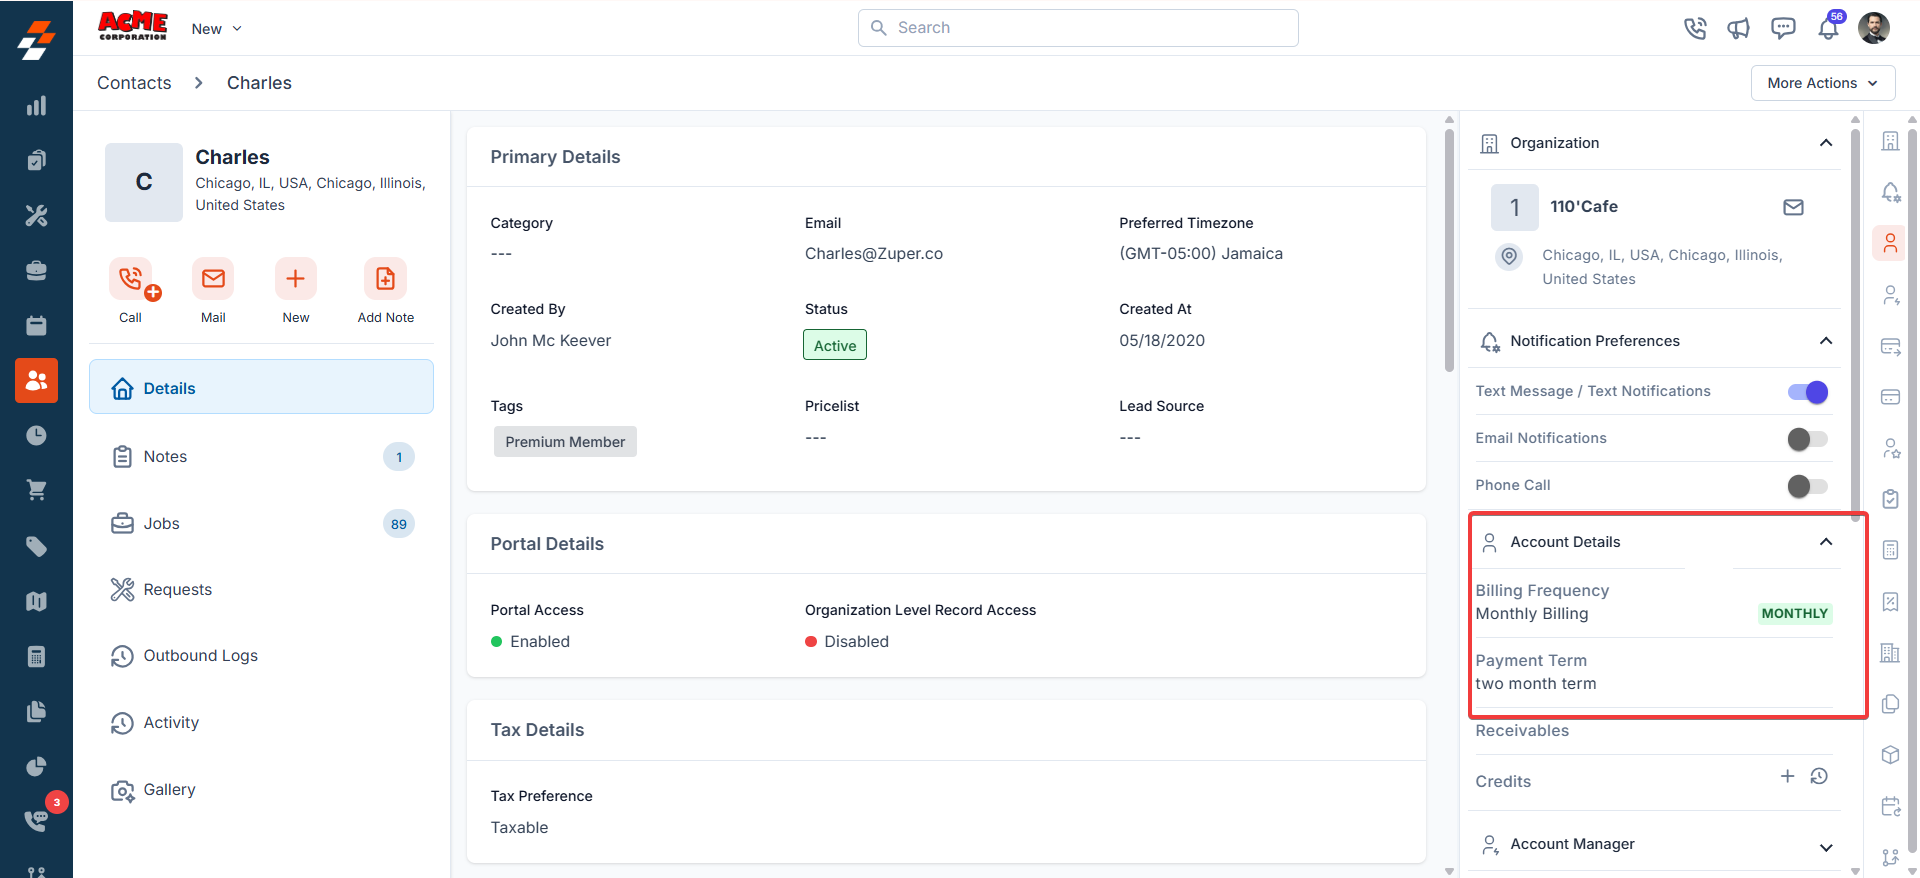
1. Log in to your Zuper account and open the **customer’s** module from the left panel. You view the customer’s account details from the right section.
## Zuper – Auto Invoice Generator Integration work
### **Customer Module:**
1. Log in to your Zuper account and open the **customer’s** module from the left panel. You view the customer’s account details from the right section.
 ### **Organization Module**
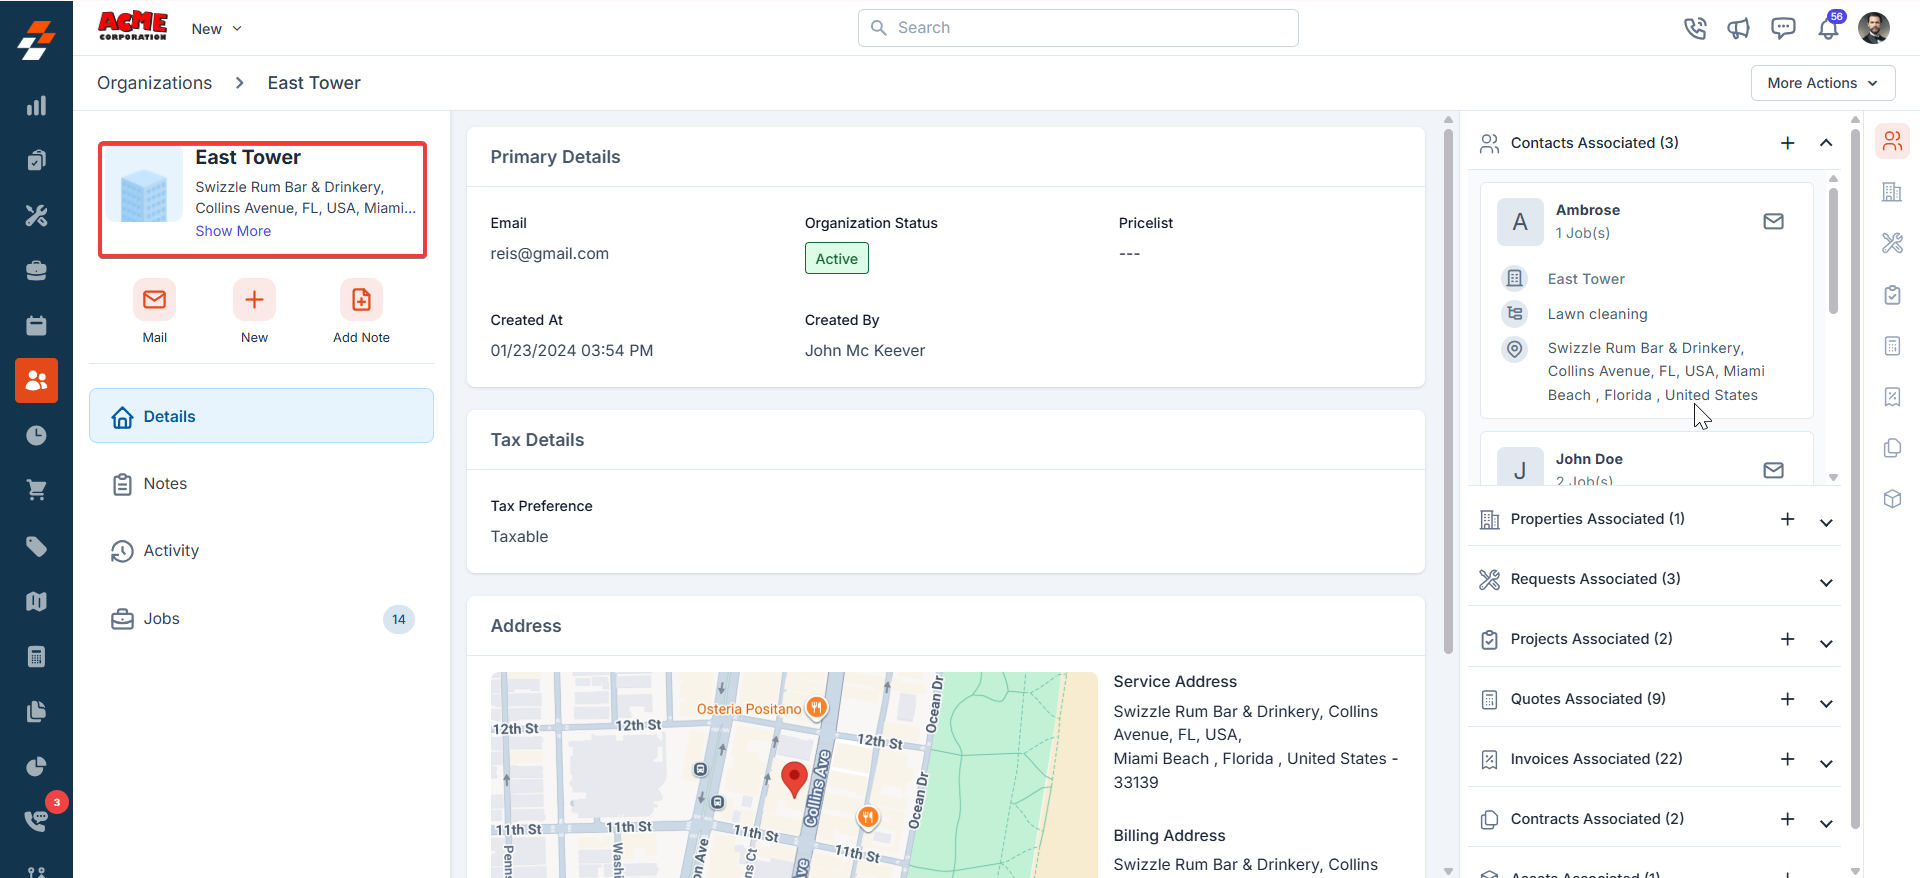
1. Log in to your Zuper account and open the **organization’s** module from the left panel. You view the organization’s account details from the right section.
### **Organization Module**
1. Log in to your Zuper account and open the **organization’s** module from the left panel. You view the organization’s account details from the right section.
 ### Jobs Module
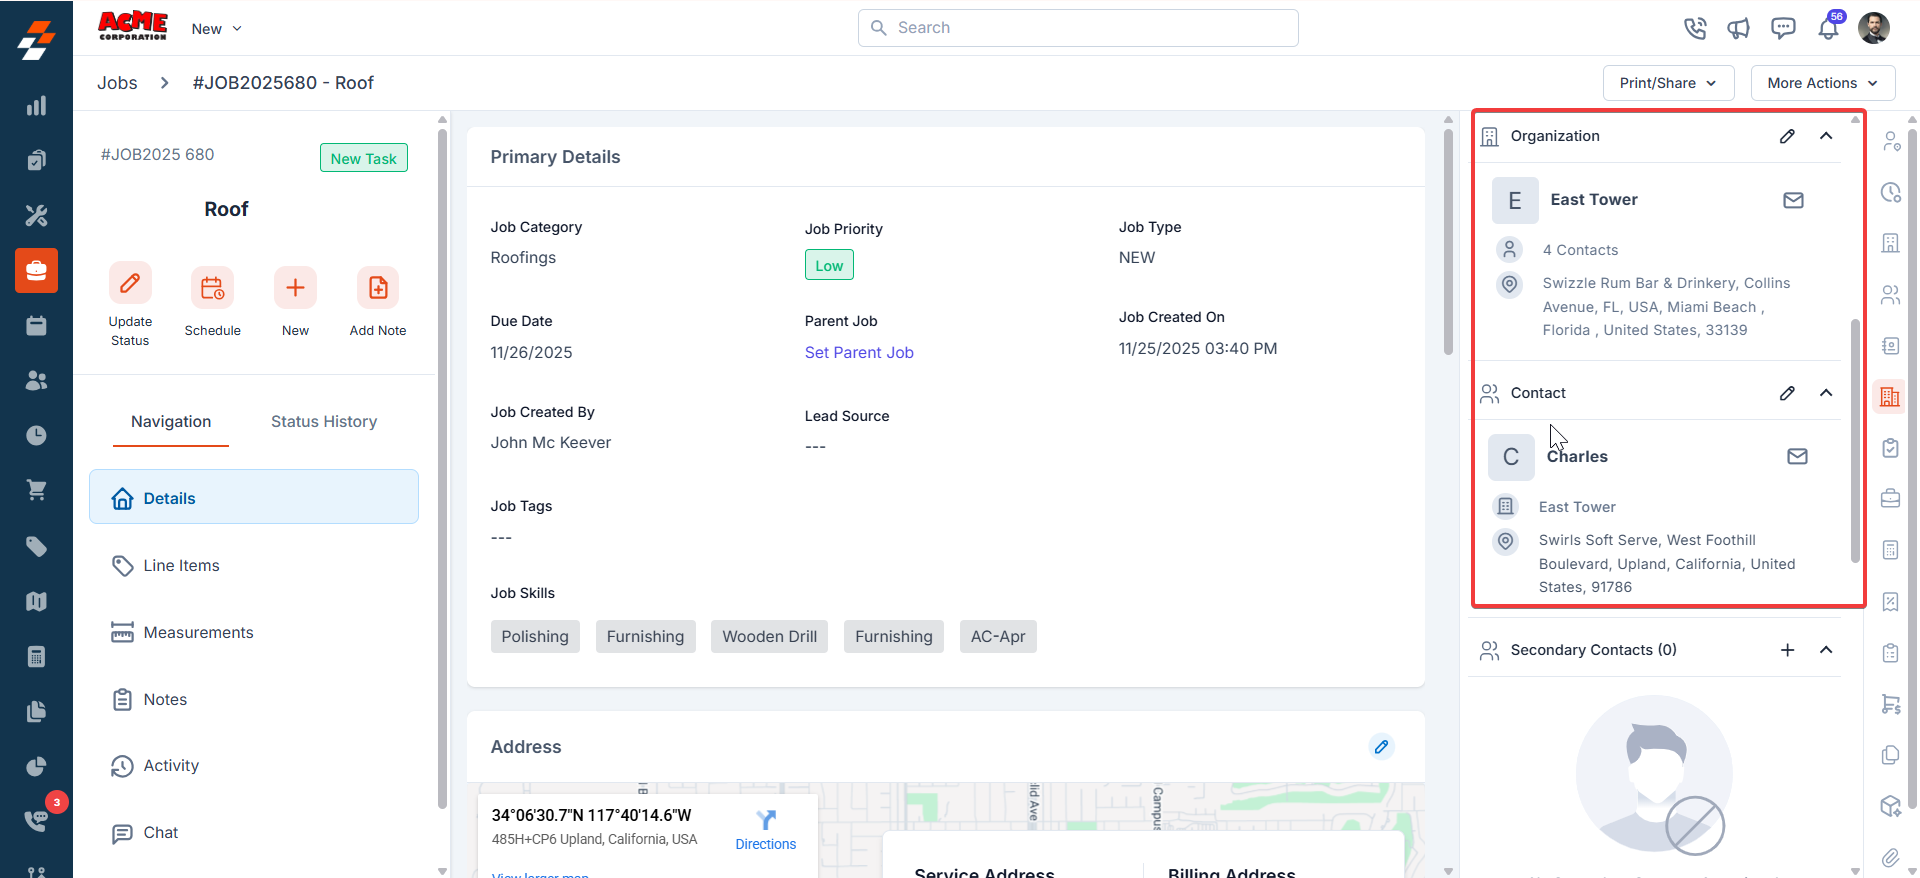
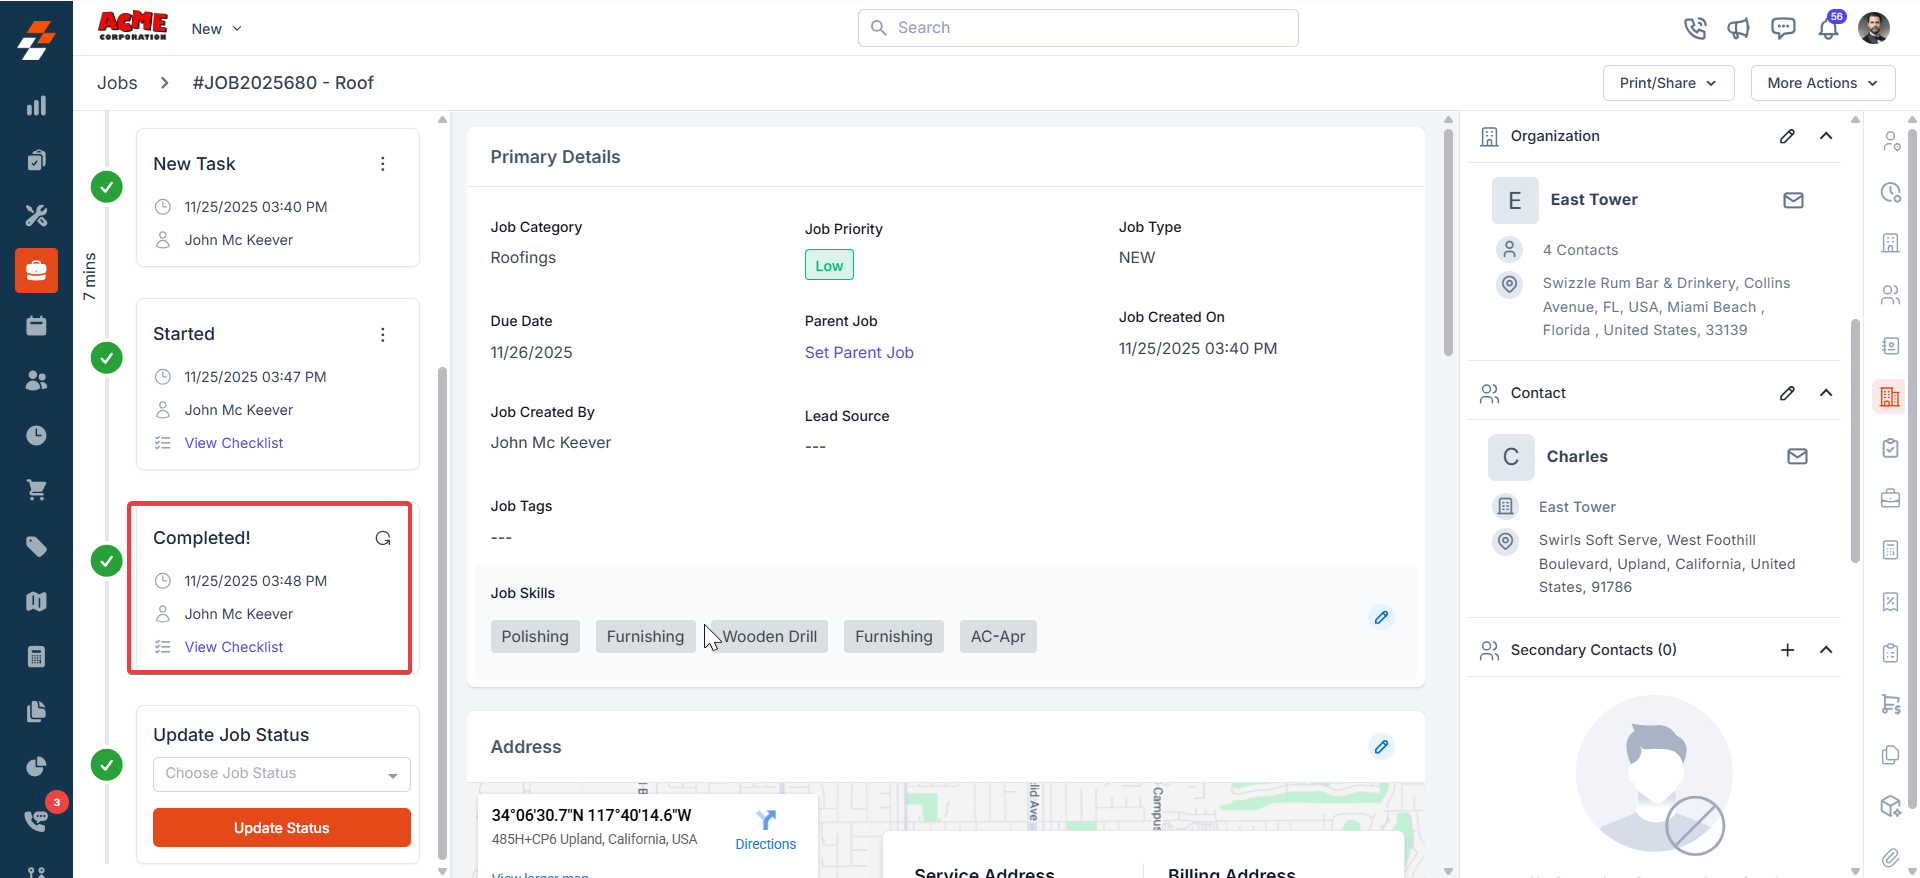
2. Open the **Jobs** module and select the Job Details page. You can view the “**Completed**” status of the Job.
### Jobs Module
2. Open the **Jobs** module and select the Job Details page. You can view the “**Completed**” status of the Job.
 ### Invoice Module
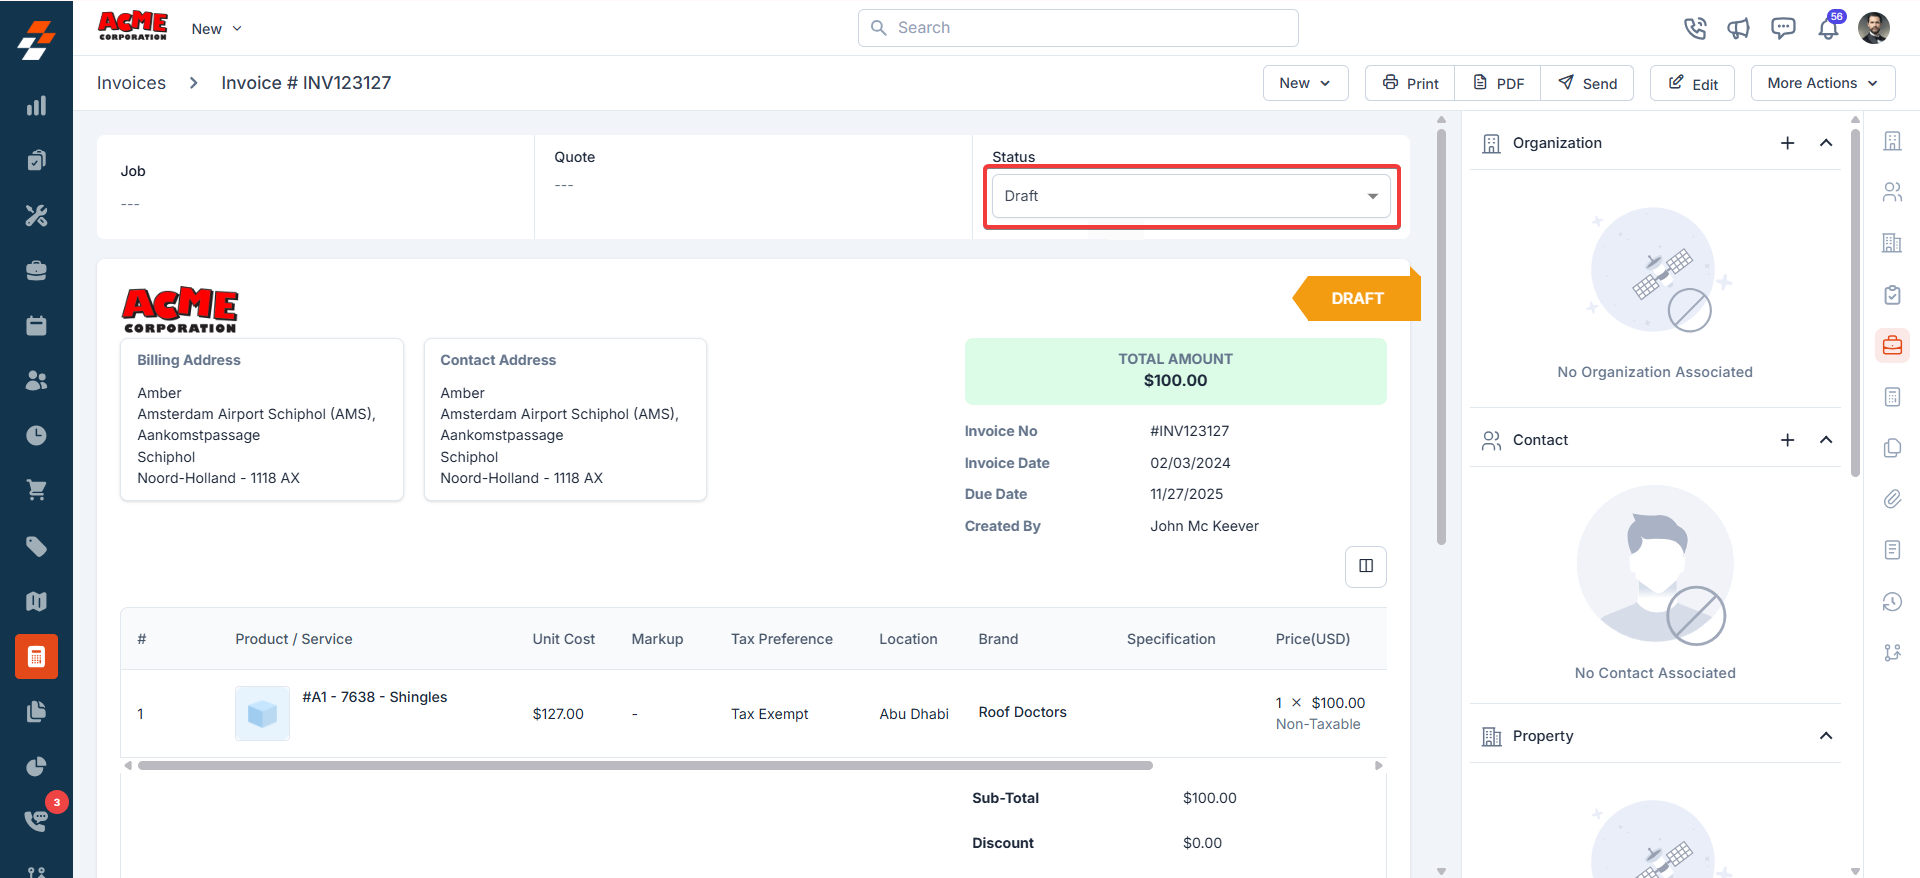
2. You can view the auto-generated invoice based on your configured settings.
### Invoice Module
2. You can view the auto-generated invoice based on your configured settings.
 ## Uninstall Invoice Auto Generator from Zuper
1. Open a new tab in your browser once logged in to your Zuper Account. Click your Profile Picture in the top right corner of the screen and select the “**App Store**.”
2. Under the “**Browse by Category**,” select the “**Power Apps**” option and choose “**Invoice Auto Generator.**”
3. Click on the “**Uninstall App**” button.
## Uninstall Invoice Auto Generator from Zuper
1. Open a new tab in your browser once logged in to your Zuper Account. Click your Profile Picture in the top right corner of the screen and select the “**App Store**.”
2. Under the “**Browse by Category**,” select the “**Power Apps**” option and choose “**Invoice Auto Generator.**”
3. Click on the “**Uninstall App**” button.
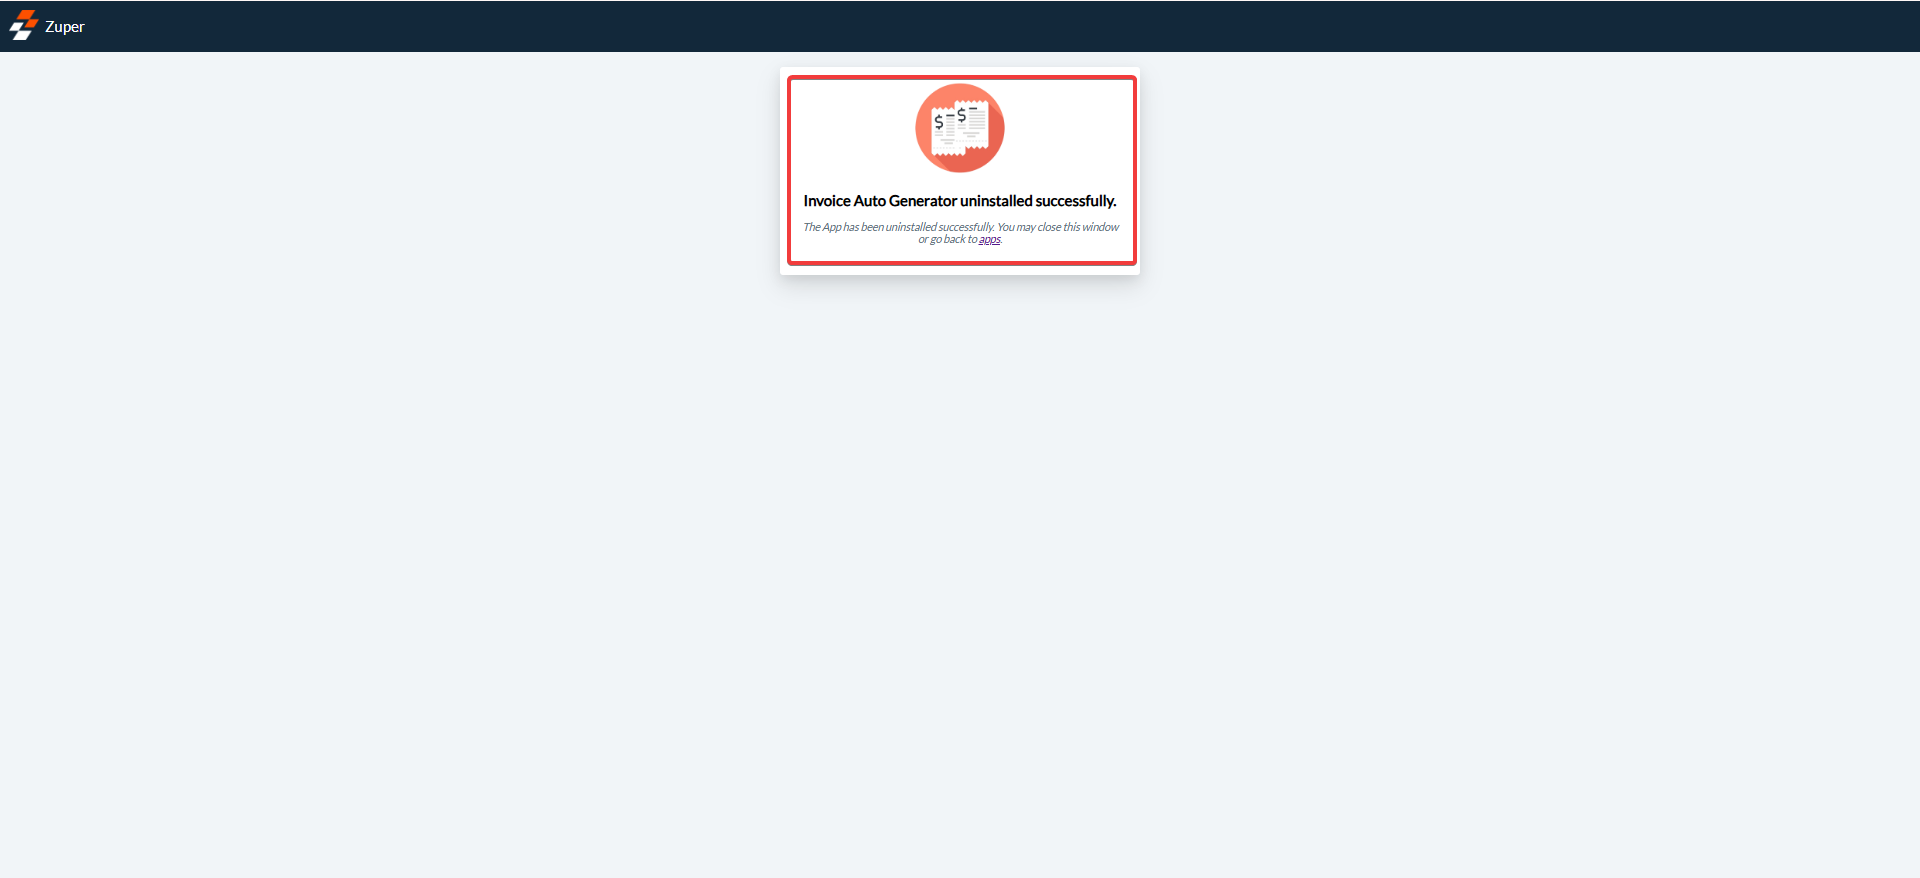
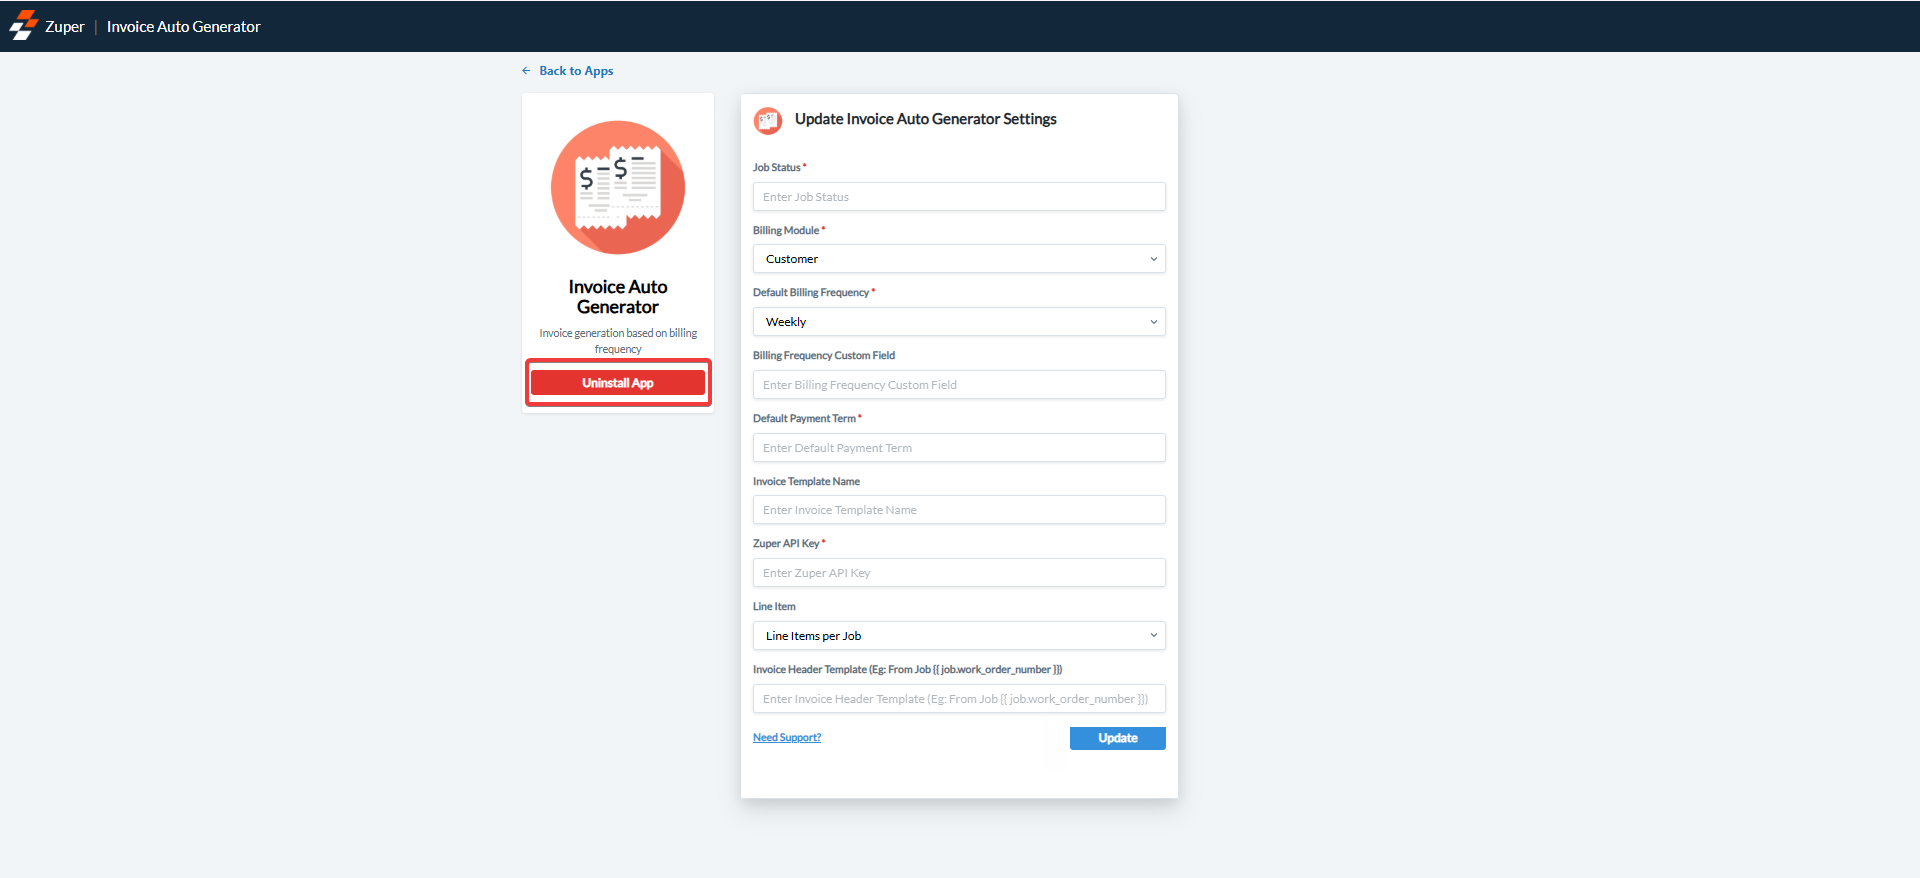 4. The Auto Invoice Generator app will be uninstalled successfully.
 The invoice auto-generator helps automate the generation of invoices based on pre-defined settings. With this process, manual intervention in the invoice process is prevented, and customers receive their invoices on time.